Thank you Jim, did you spot the deliberate mistake,Great skills, John!! Love your work!
best regards john,
 |
As a way to introduce our brass coins to the community, we will raffle off a free coin during the month of August. Follow link ABOVE for instructions for entering. |
 |
 |
The beloved Ships in Scale Magazine is back and charting a new course for 2026! Discover new skills, new techniques, and new inspirations in every issue. NOTE THAT OUR FIRST ISSUE WILL BE JAN/FEB 2026 |
 |
Thank you Jim, did you spot the deliberate mistake,Great skills, John!! Love your work!

Dear JohnView attachment 301660
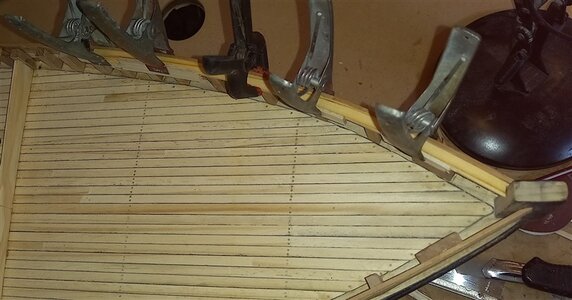
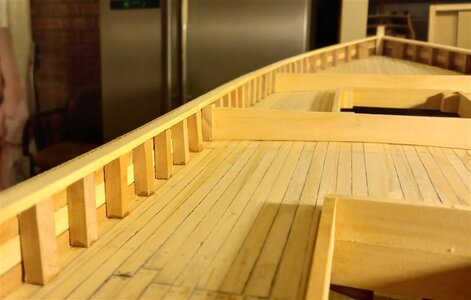
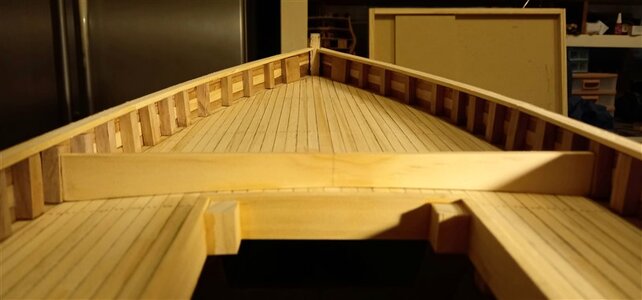
Started to plank around the stern, can you spot the deliberate mistake,
View attachment 301664
thats the port side done,
View attachment 301665
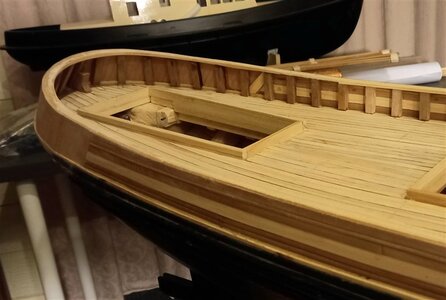
and an inside view,
View attachment 301666
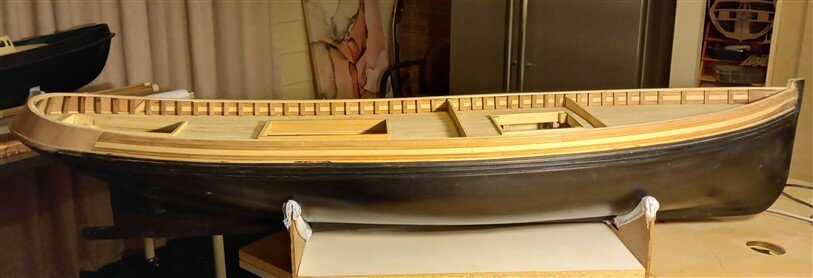
both sides completed,
View attachment 301667
view from the stern, there is a lot of trimming and sanding to do yet,
View attachment 301668
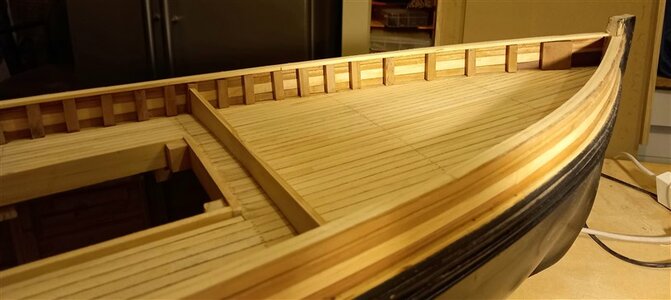
and a close up,
View attachment 301669
and one final view of the inside,
thank you for looking in,
best regards John,

Thank you shota,Dear John
it's looks beautiful work , well done
I have NOT spotted any mistakes...Thank you Jim, did you spot the deliberate mistake,
best regards john,
The top rail which was the template should have been removed and filling pieces placed between the stanchions, but i decided to leave it in place and will run the top rail over the top of it, it means I will have to do the same with all the other stanchions as well, it just means that the bulwarks will de approx 2.5mm higher than they should be,I have NOT spotted any mistakes...
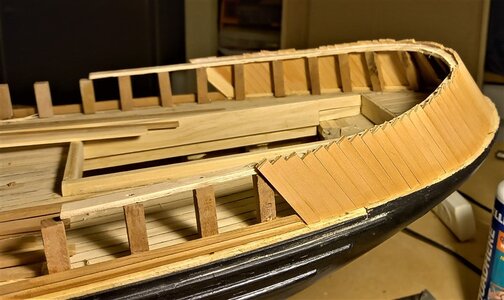
without your all-over plan in mind, it would be difficult (if not impossible) to spot. I think this template is absolutely necessaryThe top rail which was the template should have been removed and filling pieces placed between the stanchions, but i decided to leave it in place and will run the top rail over the top of it, it means I will have to do the same with all the other stanchions as well, it just means that the bulwarks will de approx 2.5mm higher than they should be,
best regards john,
View attachment 301674
Hi John,The top rail which was the template should have been removed and filling pieces placed between the stanchions, but i decided to leave it in place and will run the top rail over the top of it, it means I will have to do the same with all the other stanchions as well, it just means that the bulwarks will de approx 2.5mm higher than they should be,
best regards john,
View attachment 301674
Hallo John,The top rail which was the template should have been removed and filling pieces placed between the stanchions, but i decided to leave it in place and will run the top rail over the top of it, it means I will have to do the same with all the other stanchions as well, it just means that the bulwarks will de approx 2.5mm higher than they should be,
best regards john,
without your all-over plan in mind, it would be difficult (if not impossible) to spot. I think this template is absolutely necessary
Not only a like this time, just need to say: Great skills, this is a difficult part of the ship to get it right. And you nailed it.
Hi John,
Fantastic work, I was going to say I couldn't see the "mistake" but it looks like I am a day late and a dollar short.
Certainly makes a big difference to the look of the boat.
Cheers,
Stephen.
Hallo John,
I think it will be a good way to leave the template top rail for stability reasons
You have still the possibility to reduce the height of this template with sanding down to a minimum before you add the final permanent rail.
With this you have the possibility to reduce the 2,5mm to maybe 1mm
Thanks guys for all the comments and likes and some good idea's,Wonderful looking build John, I particularly like that unique looking stern.
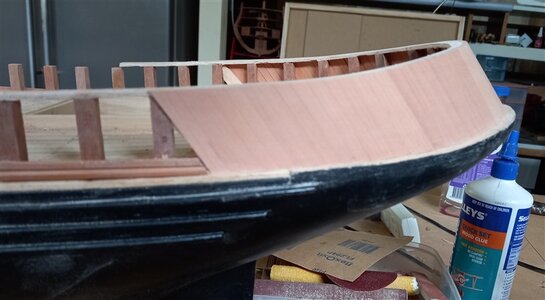
Hi John,View attachment 301842
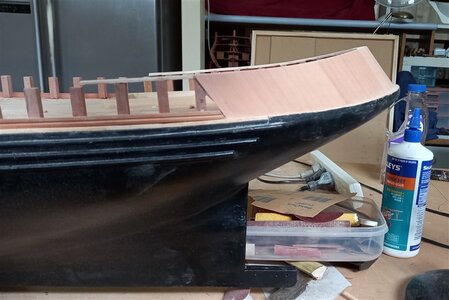
a couple of views after trimming back the excess wood and a good sanding,
View attachment 301843
a closer look, sorry its a bit blurry,
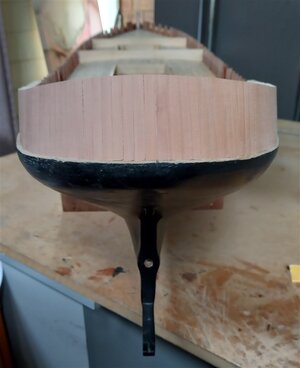
View attachment 301844
and a rear view, still need a little bit of filler and another sanding,
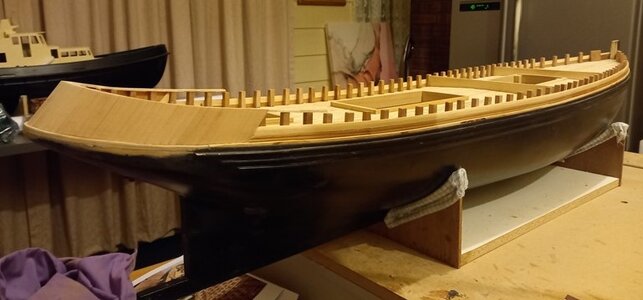
View attachment 301845
thats the last of the rounded plank added to both sides,
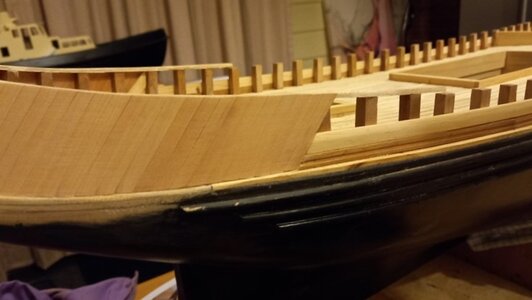
View attachment 301846
and a close up view,
thanks again for looking in,
best regards John.
Hi John,
This is only my opinion, but go easy on the filler. From photos of Tug sterned drifters the stern planking is quite visible, in that the planks are quite noticeable and not nicely blended.
Looking very nice all trimmed up.
Cheers,
Stephen.
G'day John,G'day again Steve, I was originally thinking of including the rebate with each plank but when I offered up several planks to check for fit I found that with all the angles and curves etc some of the planks would stand proud at either the top or bottom of the next plank and they just didn't look right, it only needs a very slight rebate it might even work with just a dull pointed rounded tool run down each joint, gonna practice with a couple of things,
Best regards John,

