Steam powered wooden Drifter trawler, Formidable LT100, 1/20 scale by neptune

View attachment 303255
the first of the rails going on, this is the piece cut out, I then soaked it in hot water for approx 5 minutes,

View attachment 303256
I then clamped it in place and let it dry, while it was drying I did the same for the other side,


View attachment 303257
Thats all the rails in place now,


View attachment 303258
Still some cleaning up to do, I'm going to glue a veneer plank around the inside of the rails and also on top of the rails, but before I do I have to decide if I am going to paint the inside of the bulwarks or just varnish them, I have decided to leave the stern vertical planking the way it is, I dont think it is worth the risk to try and score a line down each plank joint,


View attachment 303259
and a few views from different angles,


View attachment 303260


View attachment 303261


once again thank you for looking in,

best regards John,
Looking great John,

I don't blame you for not wanting to score the stern, risky business.
Your molded boards look great.
The Bulwarks make a big difference to the look of the boat.
I don't mean to be critical but I think there is a plank missing on the bow, that is tapered and sits on the capping rail.
How did you go with the decretive scroll work on the bow?

Cheers,
Stephen.
G'day Steve I know the part you mean, it is fairly thick and is shaped to give some extra sheer to the bow area, I just haven't go to it yet, still got some cleaning up to do before cutting and attaching it, I'm going to take a break from the Drifter for awhile and do a bit more on my Royal William,

best regards john,
G'day John,

I thought I might have been telling you how to suck egg's, sorry.
Maybe I can catch up a bit....

Enjoy getting back to building your Royal William.

Cheers,
Stephen.
 
G'day John,

I thought I might have been telling you how to suck egg's, sorry.
Maybe I can catch up a bit....

Enjoy getting back to building your Royal William.

Cheers,
Stephen.

No worries Steve, I would rather have it pointed out now if you think I might have missed something, and even if I haven't I appreciate it, thank you for following my build, which after all was inspired by your build, I'm waiting for some brass tube, some brass rod and a piece of thin brass plate to make up some more of the fittings, the brass plate is for the name plate, I have a nice piece of French Boxwood that is big enough for the name plate and was thinking about trying to cut the name and scroll onto it, or maybe the guy at the Trophy shop could do it, I have enough of the Boxwood so might try myself first,
Best regards John,
My pleasure John,

I think that carving is a good skill to learn and after watching Hubac's Historian's work on his magnificent Soleil Royal he inspired me to try it one day, there are videos on You Tube that give you an idea of how to do it.

Cheers,
Stephen.
 
601.jpg
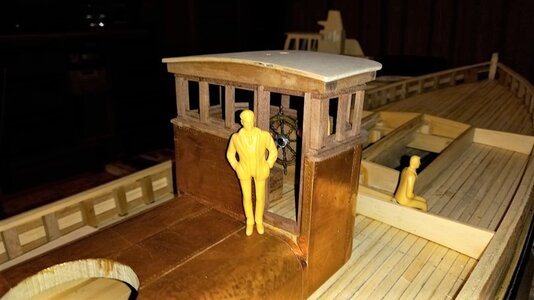
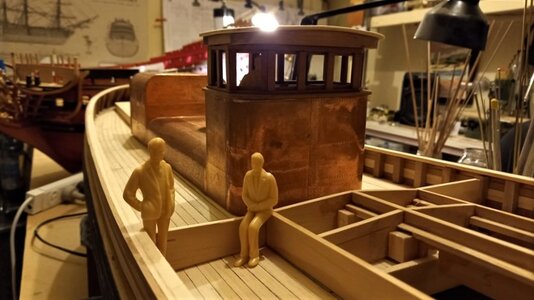
i had my crew arrive today, they are 1/25 scale and the boat is 1/20 but they seem to fit OK, there wasn't much selection in the packs I bought, so I will have to modify some a little bit,

602.jpg
another couple,


603.jpg
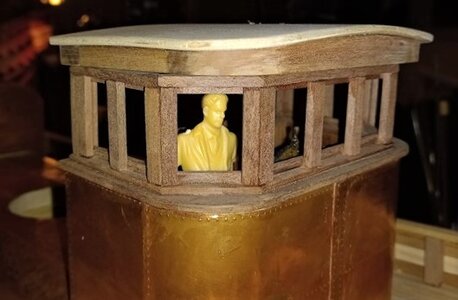
and one in the wheel house,


604.jpg
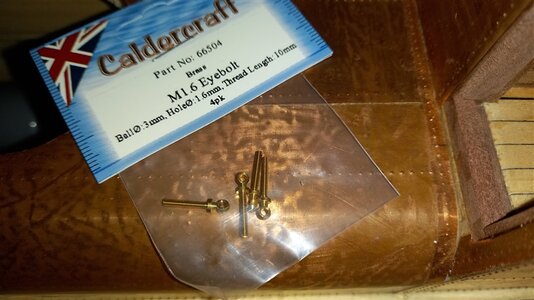
I also received some eye bolts for holding the side rails along side the engine room casing,


605.jpg
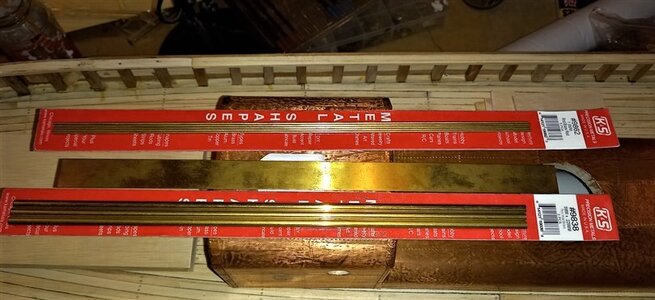
and also the brass rods for the hand rails, brass tubing for the smoke vents and a thin flat piece of brass for maybe the name plate,

but I will not be starting back on the drifter for awhile yet, ( famous last words )


best regards john.
 
This is hopefully a build log that i will be commencing shortly, it is of the Steam Drifter Formidable at 1/20 scale, this build log has been inspired by Steves fantastic build, see it here,
https://shipsofscale.com/sosforums/...r-trawler-formidable-lt100-1-24th-scale.6093/

I am still thinking about this scale as at 1/20 scale it makes a very large model which comes out at 57inches long X 11.5inches width,

and at 1/24 scale it is still a large model 48inches long X 10inches width,


Luckily I took the safe guard of enlarging the plans to both 1/20 and 1/24 scale, so I will have to do a little bit of comparing so as to see which size I can comfortably fit in the car, below are some photo's which show the plans at 1/20 scale laid out in front of my Royal William which is 55inches long just for comparision, the Royal william is planked with Huon Pine and the wales are Tasmanian Myrtle, I am not sure yet what I will plank Formidable with,

View attachment 192614
Side elevation,


View attachment 192615
side and plan views,


View attachment 192616
close up with my hand shows how large at 1/20 scale, but it would be lovely size to work at,


View attachment 192617
and a stern view, this build may take awhile to progress as I have a few more ships in the dockyard yet to be finished,
any questions or comments welcomed,

best regards john

.
Hallo John alias @neptune
we wish you all the BEST and a HAPPY BIRTHDAY
Birthday-Cake
Enjoy your very special day and celebrate with family and friends
 
Thank you all for the lovely Birthday Wishes,

I have managed to do a few hours on the LT100, my Admiral is finally home after a couple of months in hospital and they reckon it could be up to another 5 weeks before her shoulder has mended, while in hospital she was complaining about back pain and they found out that she had also fractured her back in two places, hopefully all will be good from now on,
Once again thanks for all the nice wishes,

best regards john,
 
606.jpg
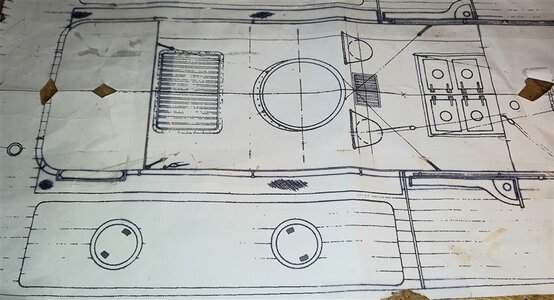
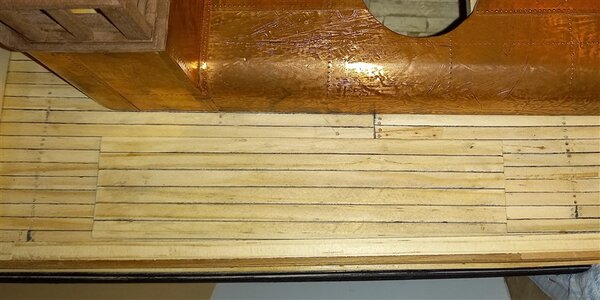
A bit more work on the deck area where the coal bunkers are located, this is on the plan, there is an overlay of planking
over the deck in which the the bunker rings and lids are fixed,

607.jpg
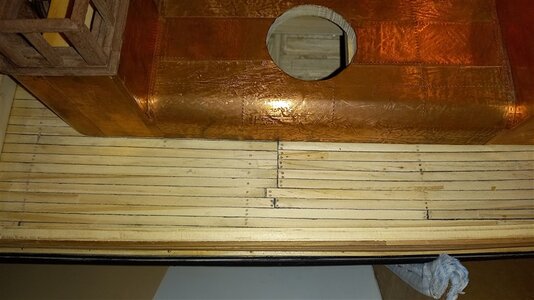
this is the area on the model where they will be fixed,

608.jpg
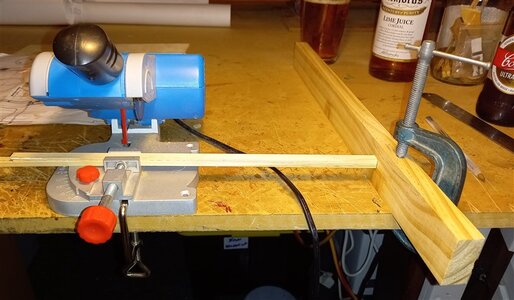
I set up my little drop saw with an very crude distance measure with which I cut the planks to length,

609.jpg
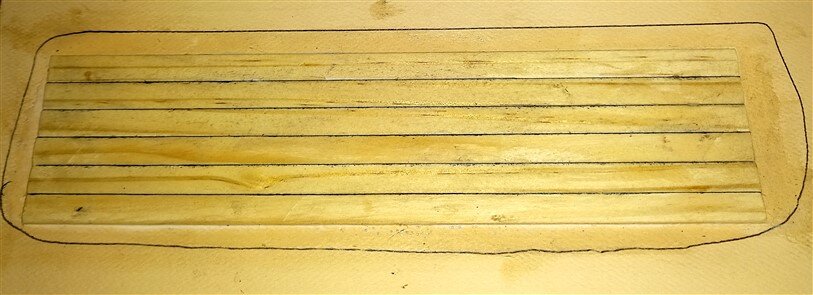
I then glued the planks to some thick cartridge paper after lining the edges with a black textra,

610.jpg
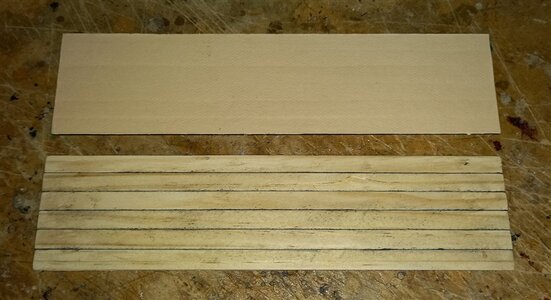
after drying I cut away the excess cartridge paper, shows the the top of the planks and the one above shows the
cartridge paper underneath, I will glue them in place once I have cut the holes for the bunker lids to fit, they also
have to have the sides and ends half rounded first,

611.jpg
and approx where they will sit,


best regards john,
 
Back
Top