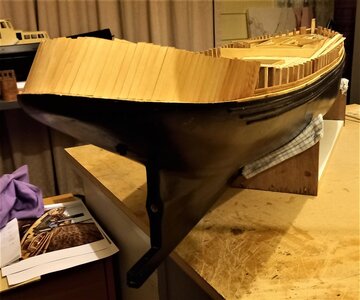
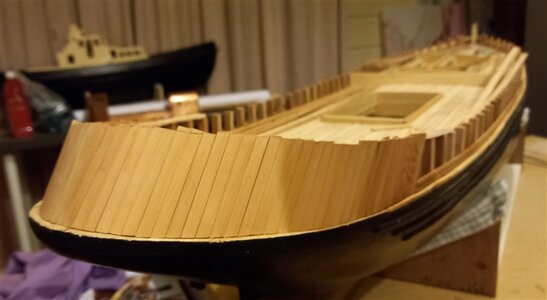
Steam powered wooden Drifter trawler, Formidable LT100, 1/20 scale by neptune

Hi John,

I had some catching up to do and good to hear you are doing fine again after some major setbacks lately.

Your trawler however looks as good as it gets, I love the copper plating it really blends in great with the wooden deck and black hull. The classic lines of this hull as just beautiful.

Thankyou Maarten, for the nice comments, I have a lot of catching up to do as well, I'm feeling a lot better now thanks,.
It's going to be a shame to paint over the copper, but that will be awhile yet, I've still got to finish the Royal Caroline as well as a couple of other models, ah I will get around to them soon,
Best regards John,
That would be fun John to start again with the RC. I will work on her also after finalizing my Alert. Would be great again working on the same project.
 
549.jpg
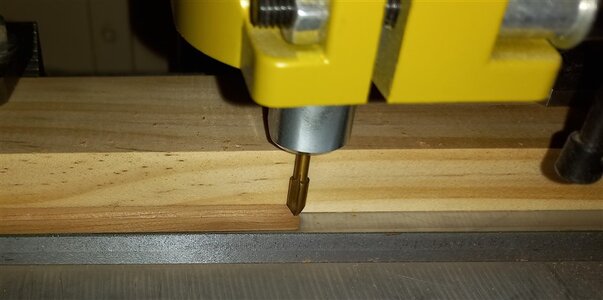
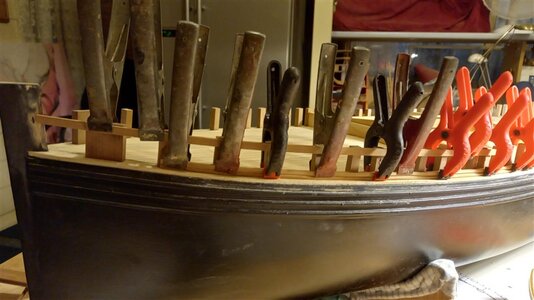
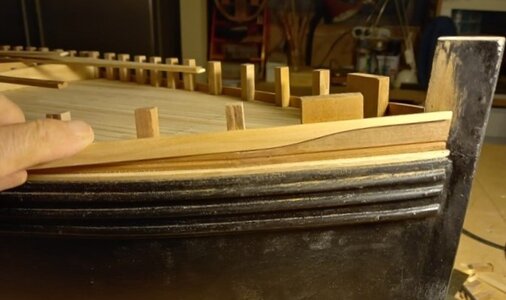
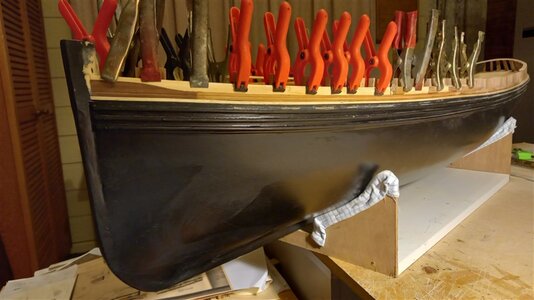
I wanted to make sure the stanchions were secure so I have started planking up the bulwarks, I deviated from actual practice which was to have the lowest plank sitting with a narrow space under it to allow the water on deck to escape overboard, hopefully I will use the model on the pond a lot, and I wanted to make sure the bulwarks were securely attached to the decks so I glued the lowest plank to the deck, this plank has a groove running along it for decoration, so I set up my milling machine and cut the grooves, there are another two wash ports either side of the ship, one each side forward and one each side aft,

550.jpg
they just have to be finished off with sand paper,

551.jpg
and the first plank attached, it is attached half way on the first upright stanchion, the hawse box timber comes from the stem and meets this firt plank,

552.jpg
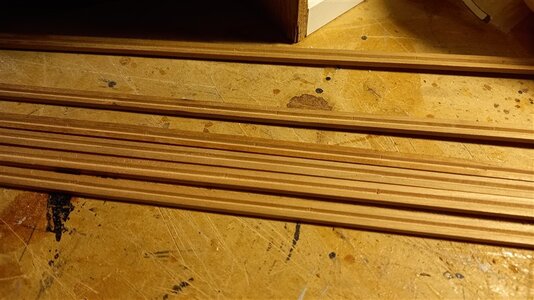
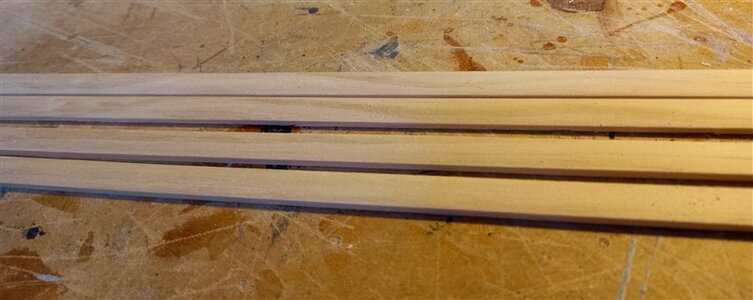
the next plank above has a rounded face, again for decoration, these four planks should be enough for what i need,

553.jpg
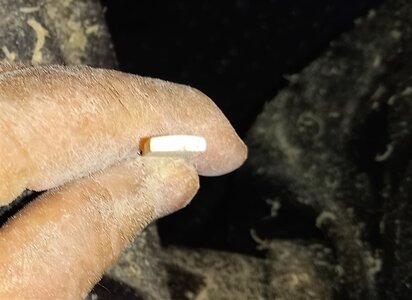
shaping the plank, I scraped along both sides with a craft knife to get the shape and then finshed off with sandpaper,
the next plank above is a flat plank then the one above is a bull nosed moulding,


554.jpg
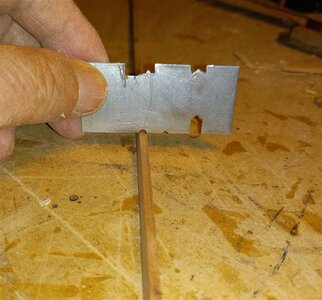
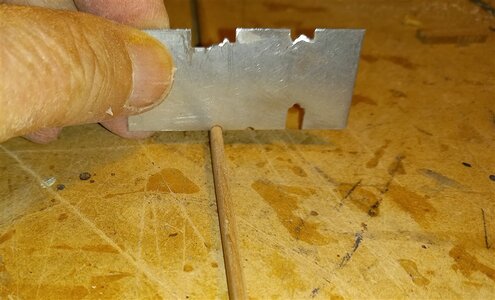
I filed the shape on a piece of stainless steel, I am just about to start scraping the shape on the strip,


555.jpg
and getting near the final shape,


557.jpg
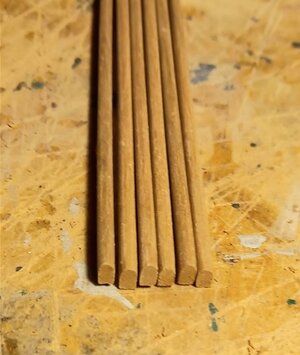
just need a little bit of sanding to finish them off,


558.jpg
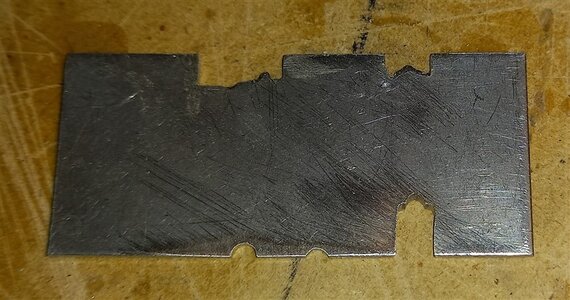
a close up of the steel plate, you can see the other shapes I have cut for using on different models,

559.jpg
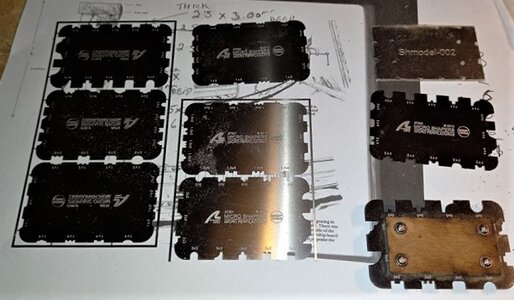
i also have some of Artesania's scrapers and a couple of Sh models,


560.jpg
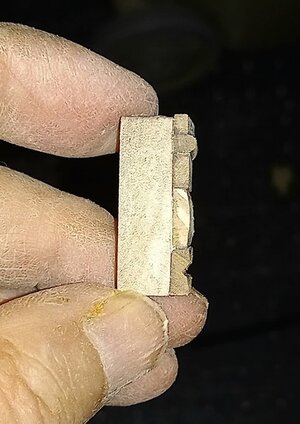
These are just some small off cuts glued to a scrap piece of wood, just to get an idea that all will be OK and fit on the model OK,


561.jpg
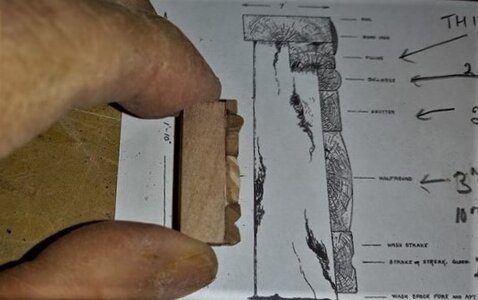
and a view against the plan,

thanks for looking in,

best regards John,

.
 
It is amazing how detailed the planking becomes. One would be forgiven for thinking that because of the utility function of the boat, it would be a bare-bones type of construction - however - very far from it!
 
View attachment 300496
I wanted to make sure the stanchions were secure so I have started planking up the bulwarks, I deviated from actual practice which was to have the lowest plank sitting with a narrow space under it to allow the water on deck to escape overboard, hopefully I will use the model on the pond a lot, and I wanted to make sure the bulwarks were securely attached to the decks so I glued the lowest plank to the deck, this plank has a groove running along it for decoration, so I set up my milling machine and cut the grooves, there are another two wash ports either side of the ship, one each side forward and one each side aft,

View attachment 300499
they just have to be finished off with sand paper,

View attachment 300500
and the first plank attached, it is attached half way on the first upright stanchion, the hawse box timber comes from the stem and meets this firt plank,

View attachment 300501
the next plank above has a rounded face, again for decoration, these four planks should be enough for what i need,

View attachment 300502
shaping the plank, I scraped along both sides with a craft knife to get the shape and then finshed off with sandpaper,
the next plank above is a flat plank then the one above is a bull nosed moulding,


View attachment 300506
I filed the shape on a piece of stainless steel, I am just about to start scraping the shape on the strip,


View attachment 300507
and getting near the final shape,


View attachment 300508
just need a little bit of sanding to finish them off,


View attachment 300509
a close up of the steel plate, you can see the other shapes I have cut for using on different models,

View attachment 300510
i also have some of Artesania's scrapers and a couple of Sh models,


View attachment 300511
These are just some small off cuts glued to a scrap piece of wood, just to get an idea that all will be OK and fit on the model OK,


View attachment 300512
and a view against the plan,

thanks for looking in,

best regards John,

.
Looking good John,

I like your approach to making the moldings, something I will need to do at some point and will do something similar.
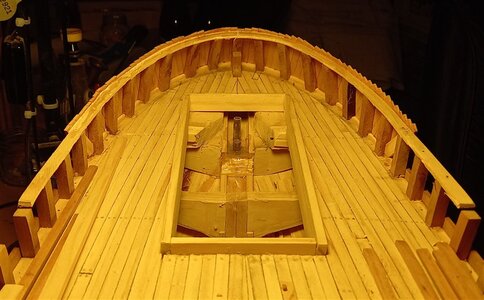
Your build is getting exciting. Thumbsup

Cheers,
Stephen.
 
It is amazing how detailed the planking becomes. One would be forgiven for thinking that because of the utility function of the boat, it would be a bare-bones type of construction - however - very far from it!

Thank you Heinrich, I thought when I first started the model that it was going to be a quick build, boy was I wrong, the sheer size of the model alone, she is 57 inches long, and it is surprising how much detail there is, I am really enjoying building her, but I think that once I have secured the bulwarks and stanchions I might take a break for awhile and return to do some more on the Royal William,
Best regards John
 
Looking good John,

I like your approach to making the moldings, something I will need to do at some point and will do something similar.
Your build is getting exciting. Thumbsup

Cheers,
Stephen.

Thank you Steve, I've got to get some filling pieces in around the stern so that I can work out where the vertical planking finishes,
Best regards John,
 
562.jpg

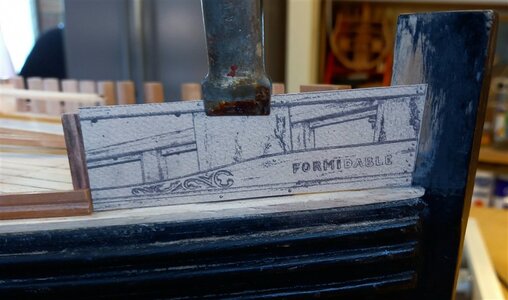
This next part is the is timber for the hawse box and the name plate, this is photo copied from the book, turns out it is the exact size, I'm not sure how I will do the name plate and the scroll work, I was thinking of cutting a thin piece of brass to size then taking it down to the Trophy shop and asking if they could engrave the name onto it, any thoughts are welcome,


563.jpg
test fitting,

565.jpg
and glued in place,


564.jpg
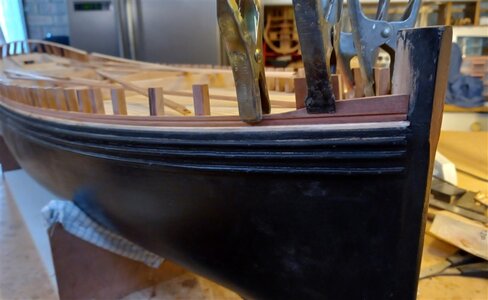
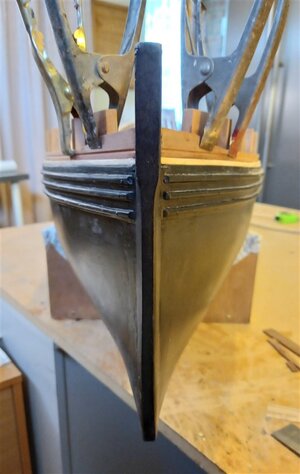
bow view both sides attached,

566.jpg
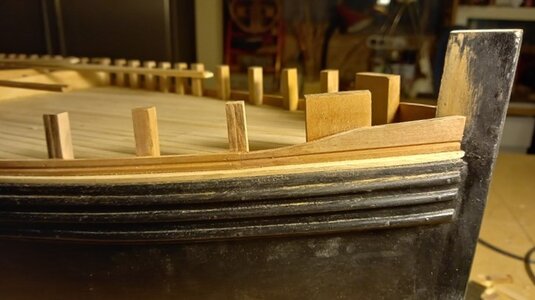
next up was scarfing the end of the rounded plank to fit over the Hawse piece,


567.jpg
both sides glued in place,


best regards John,
 
Last edited:
View attachment 300701

This next part is the is timber for the hawse box and the name plate, this is photo copied from the book, turns out it is the exact size, I'm not sure how I will do the name plate and the scroll work, I was thinking of cutting a thin piece of brass to size then taking it down to the Trophy shop and asking if they could engrave the name onto it, any thoughts are welcome,


View attachment 300704
test fitting,

View attachment 300705
and glued in place,


View attachment 300706
bow view both sides attached,

View attachment 300707
next up was scarfing the end of the rounded plank to fit over the Hawse piece,


View attachment 300708
both sides glued in place,


best regards John,
Great progress John,

That's incredible that the book sketch matches your model perfectly, well done.

For the scroll work and name plate the Trophy shop might work I don't know. Otherwise a small CNC router would do the job nicely but requires a program.
This is one of those areas I have pondered on and off, personally I am going to try carving it myself, this will mean learning another skill. Another possibility is to cut a mask and paint through it.

Cheers,
Stephen.
 
Hello John (and Stephen),

See the following for a possible solution to the ship's name: https://shipsofscale.com/sosforums/...omas-marocke-completed-build.5038/post-206820. Thomas then continues in his build log if you keep reading...

The original technique was posted by Maarten. There is a link to that in the post I just referenced for you.

Hoping this will help or give you fuel for your own solution.
Hi Paul,
Interesting technique, thanks for the link.

Cheers,
Stephen.
 
Hello John (and Stephen),

See the following for a possible solution to the ship's name: https://shipsofscale.com/sosforums/...omas-marocke-completed-build.5038/post-206820. Thomas then continues in his build log if you keep reading...

The original technique was posted by Maarten. There is a link to that in the post I just referenced for you.

Hoping this will help or give you fuel for your own solution.
G'day Paul, thanks for the info, I will have a look at the post,
Best regards John,
 
569.jpg+
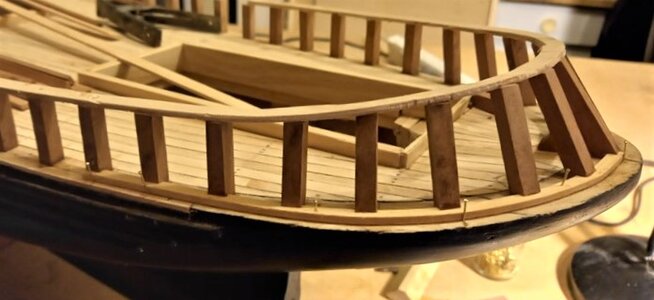
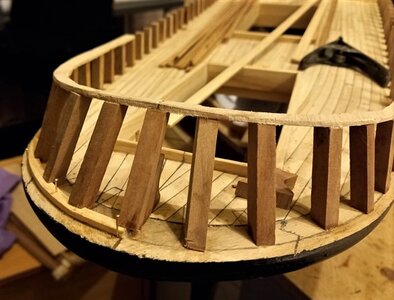
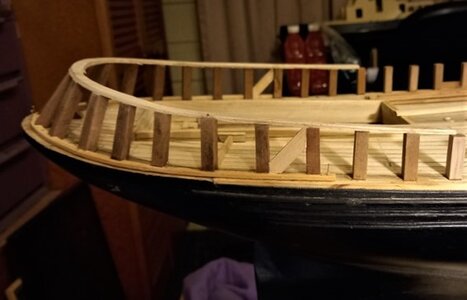
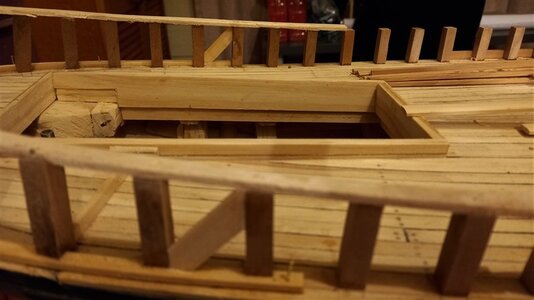
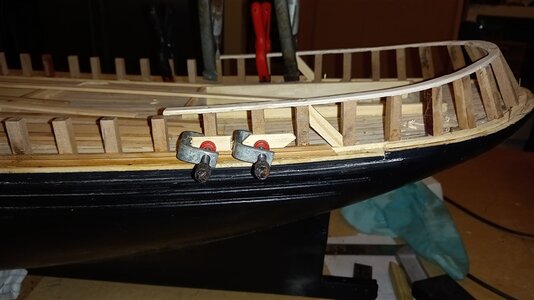
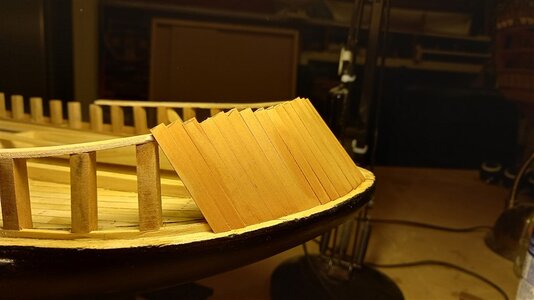
so before I do anything else I have decided to do the vertical planking around the stern, here I'm fixing a timber strip around the stern stanchions, i cut a notch into the bottom of the stanchions to accept the strip, once the glue has dried I will trim the strip to the edge of the stanchions,

570.jpg
another view from the stern,

571.jpg
thats the strip glued in place around the stern I've also attached two diagonal pieces for where the vertical strips will end,

572.jpg
a close up view,

573.jpg
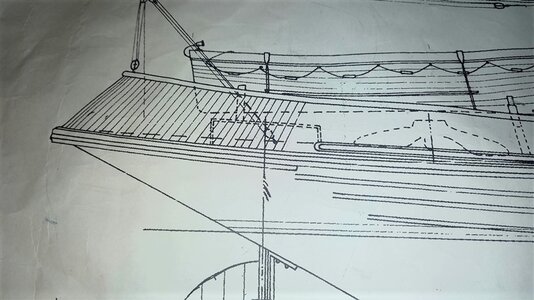
just to give an idea of what I am doing,


574.jpg
attaching the bottom moulding up to where the vertical strips finish,


best regards John,
 
576.jpg
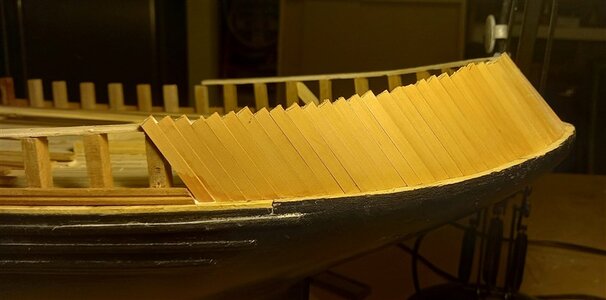
Started to plank around the stern, can you spot the deliberate mistake,


577.jpg
thats the port side done,


578.jpg
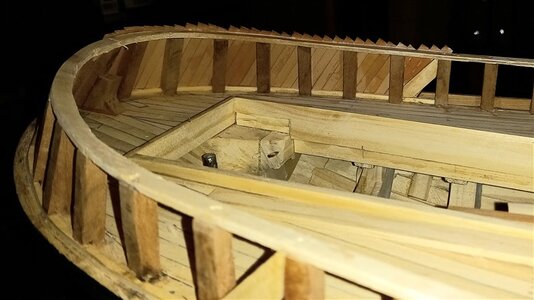
and an inside view,

579.jpg
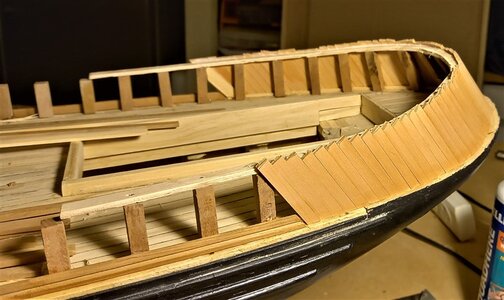
both sides completed,


580.jpg
view from the stern, there is a lot of trimming and sanding to do yet,


581.jpg
and a close up,


582.jpg
and one final view of the inside,

thank you for looking in,

best regards John,
 
Back
Top