you will have a lot of outlets - but do not connect them one after the other - I had once some problems with the main fuse of my workshop with using too much powertools in the same time ..... maybe you have to reinforce the main fuseI am putting 3 of these 5 foot long power strips along the bottom of the French cleat , when done I will have 55 outlets, that should do it !! LOL
View attachment 360187
-

Win a Free Custom Engraved Brass Coin!!!
As a way to introduce our brass coins to the community, we will raffle off a free coin during the month of August. Follow link ABOVE for instructions for entering.
-

PRE-ORDER SHIPS IN SCALE TODAY!
The beloved Ships in Scale Magazine is back and charting a new course for 2026!
Discover new skills, new techniques, and new inspirations in every issue.
NOTE THAT OUR FIRST ISSUE WILL BE JAN/FEB 2026
You are using an out of date browser. It may not display this or other websites correctly.
You should upgrade or use an alternative browser.
You should upgrade or use an alternative browser.
Sussex 1693 navy board model
- Thread starter Bird
- Start date
- Watchers 31
-
- Tags
- navyboardmodels sussex
- Joined
- Dec 24, 2021
- Messages
- 131
- Points
- 88

That is a bloody marvellous workshop, however, with note to the above, daisy-chaining your extension outlets can create a fire risk, you will find the cables getting hot when heavy duty items are under load, just something to bear in mind, other than that, smashing job!you will have a lot of outlets - but do not connect them one after the other - I had once some problems with the main fuse of my workshop with using too much powertools in the same time ..... maybe you have to reinforce the main fuse
- Joined
- Apr 23, 2019
- Messages
- 3
- Points
- 1
If you are able, try to split your outlets up between two or more circuits. Also, it is good practice to have your lights on a circuit independent from your power outlets. That way, if you trip a breaker or fuse, you are not left in the dark.I am putting 3 of these 5 foot long power strips along the bottom of the French cleat , when done I will have 55 outlets, that should do it !! LOL
View attachment 360187
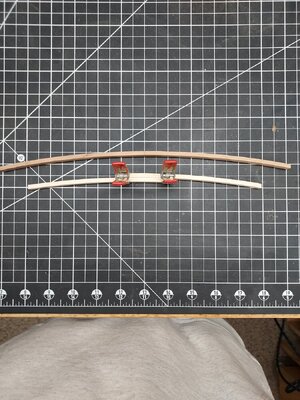
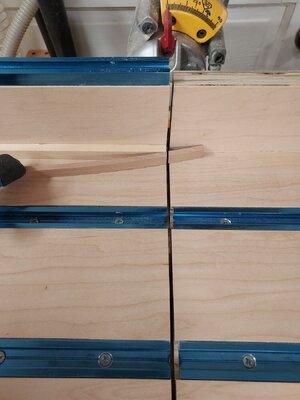
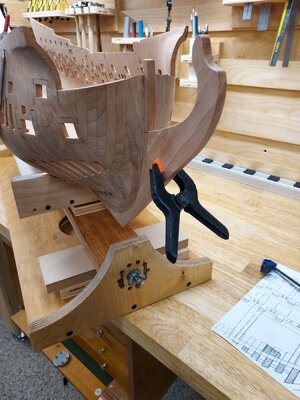
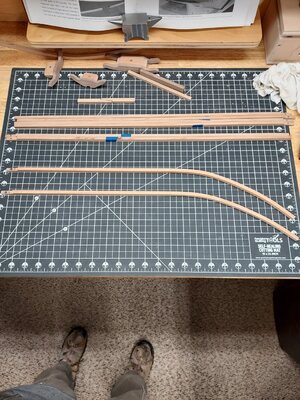
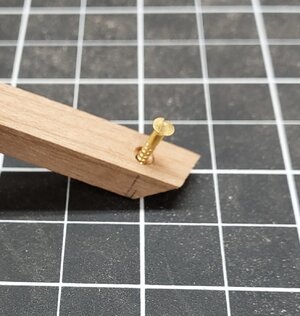
Hello everyone it's been awhile since my last update on the Sussex navy board model, I've finally finished with redoing my shop and back to work on the Sussex, I've built a lot of shelves and T track jigs, I've made the master steps and going to be milling some wood for the limber stakes, I've also finished the fore keel and I'm now in the process of steam bending the major whales, I made a form to bend and clamp to,it is not exact but close enough, I also predrilled for a small brass screw in the front, good weather is hear now and I like to get outdoors as much as possible but I will be working on it in early mornings and evenings, I will keep you posted along the way, thank you..
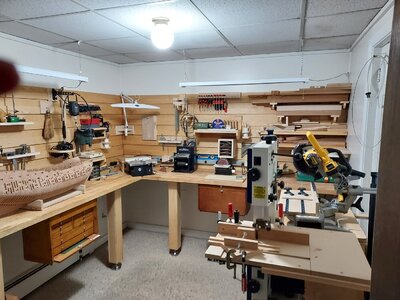
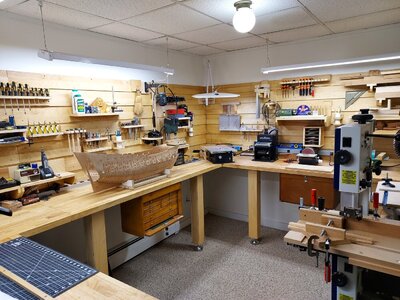


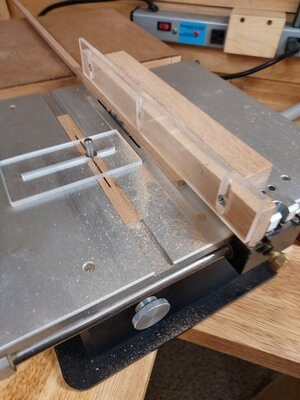

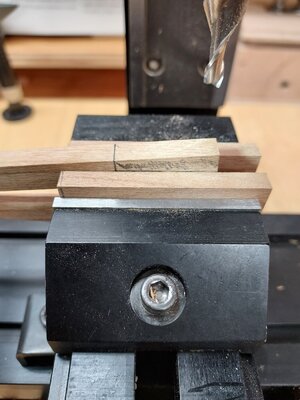
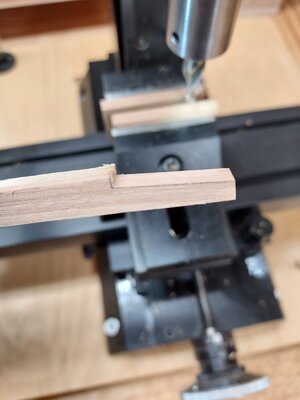







Wonderful workshop and of course also on the Sussex
Kurt Konrath
Kurt Konrath
Never seen anyone use a bolt head to grove a strip of wood before.
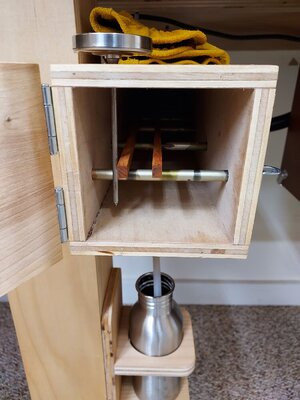
Nice looking steam cabinet. Did you build yourself also, got plans to share?
Nice looking steam cabinet. Did you build yourself also, got plans to share?
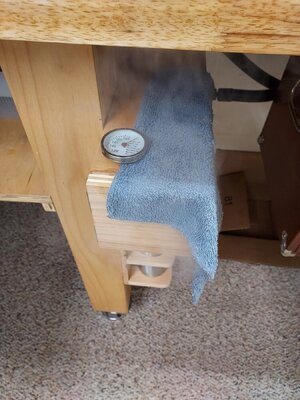
It's just 4"x4" square x 25" long made of 1/2 " plywood I put a 3/4 " door on it and bought the earlex steam generator, I use a stainless steel cup for the moisture drip into, yes that is a round carriage bolt that I sharpened to scoop out the back side of the major whales, worked fantastic..Never seen anyone use a bolt head to grove a strip of wood before.
Nice looking steam cabinet. Did you build yourself also, got plans to share?
Kurt Konrath
Kurt Konrath
Thanks for the box info, not hard to make and I may have scraps around from railroad hobby for that.It's just 4"x4" square x 25" long made of 1/2 " plywood I put a 3/4 " door on it and bought the earlex steam generator, I use a stainless steel cup for the moisture drip into, yes that is a round carriage bolt that I sharpened to scoop out the back side of the major whales, worked fantastic..
- Joined
- Apr 20, 2020
- Messages
- 6,241
- Points
- 738

You created a first class workshop,Hello everyone it's been awhile since my last update on the Sussex navy board model, I've finally finished with redoing my shop and back to work on the Sussex, I've built a lot of shelves and T track jigs, I've made the master steps and going to be milling some wood for the limber stakes, I've also finished the fore keel and I'm now in the process of steam bending the major whales, I made a form to bend and clamp to,it is not exact but close enough, I also predrilled for a small brass screw in the front, good weather is hear now and I like to get outdoors as much as possible but I will be working on it in early mornings and evenings, I will keep you posted along the way, thank you..
View attachment 373913
View attachment 373914
View attachment 373915
View attachment 373916
View attachment 373917
View attachment 373918

View attachment 373919
View attachment 373920
View attachment 373921
View attachment 373922
View attachment 373923
View attachment 373924
View attachment 373925
View attachment 373926
View attachment 373927
View attachment 373928
View attachment 373929
View attachment 373930
View attachment 373931
View attachment 373932
View attachment 373933
View attachment 373934
View attachment 373935
View attachment 373936
View attachment 373937
I saved the photos for the day when I too can build a similar room.
You are also do an extremely impressive job on the model, learning effective methods. well done
Thank youYou created a first class workshop,
I saved the photos for the day when I too can build a similar room.
You are also do an extremely impressive job on the model, learning effective methods. well done
Your workshop is really jaw dropping, we would nearly forget you are building a gem of a model also.
Thank you, I don't know if it's a gem, but I am giving it my best, I am doing a lot of second guessing myself, I'm sure learning a lot..Your workshop is really jaw dropping, we would nearly forget you are building a gem of a model also.
Very accurate and all very good prepared - your work and the workshop
Best Quality tools + best quality wood + best quality workmanship => resulting an a wonderful model
Best Quality tools + best quality wood + best quality workmanship => resulting an a wonderful model
Thank youVery accurate and all very good prepared - your work and the workshop
Best Quality tools + best quality wood + best quality workmanship => resulting an a wonderful model
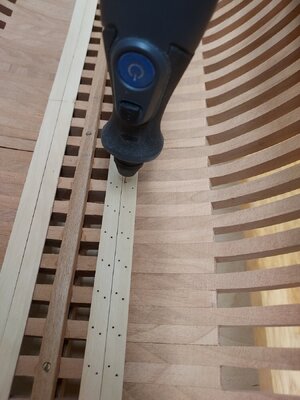
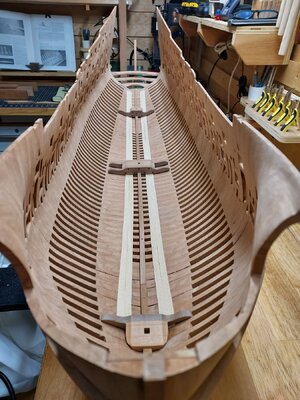
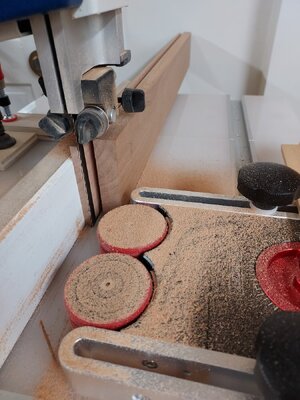
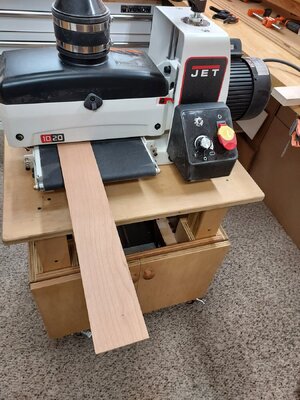
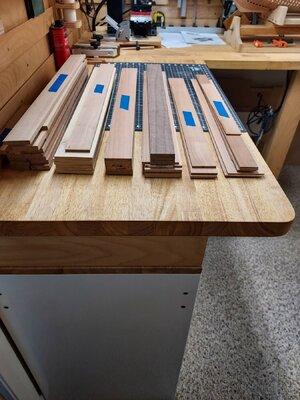
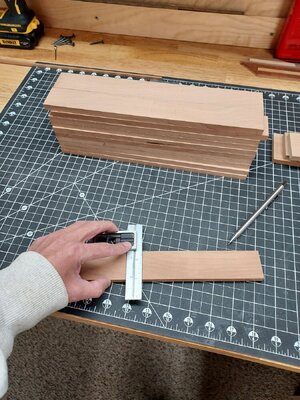
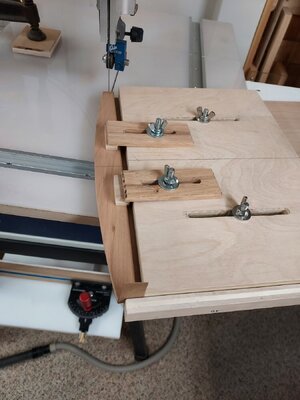
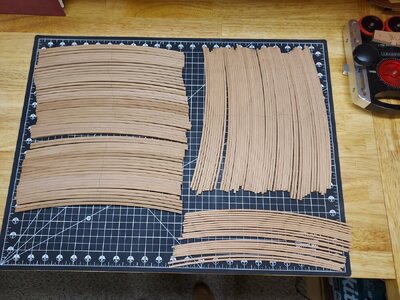
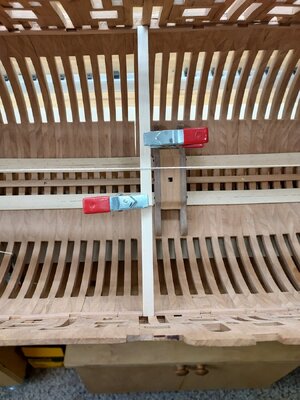
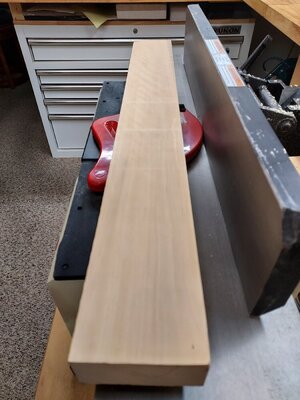
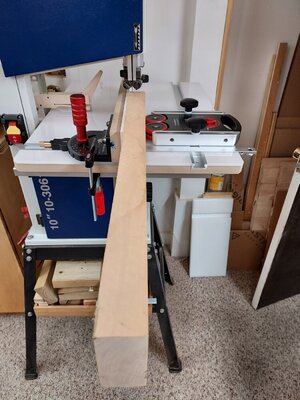
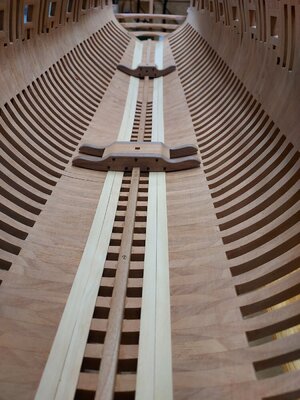
Hello everyone it's been a while since my last update on the Sussex navy board model, summer was longer than I expected (lol) I'm now on to the interior work of the ship,I bought some beautiful boxwood from Dave Stevens from the (Lumberyard) thank you so much Dave I really appreciate it, I squared them up on the jointer and then resawed it to 5/16 thick and then put it through the thickness sander to get it to 1/4 thick and then I cut some 1/16 strips on the table saw for planking and decking,I also made up some black bolts for the mast steps and I have glued down the limber strakes, I still have to treenail them and glue the mast steps in place and then I will be on to the gun deck and planking the outside, long long way to go!! I will keep you posted along the way, thanks


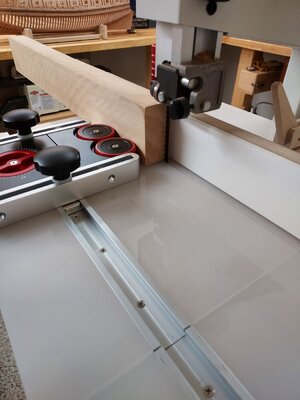
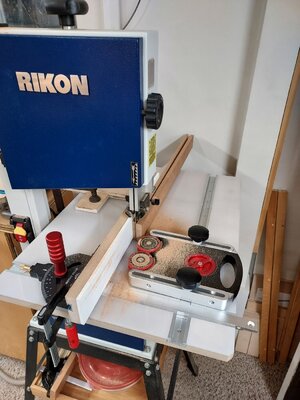


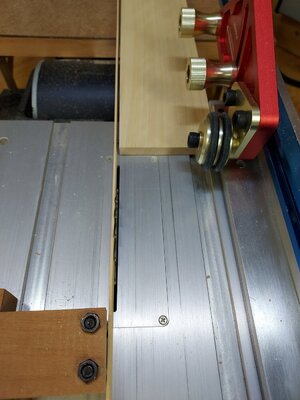


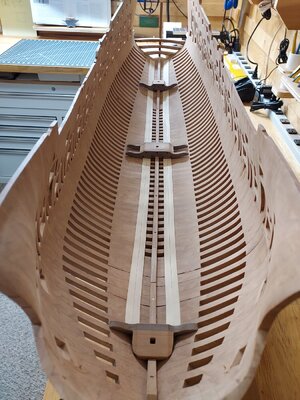


Nice to see you back at it. That is some nice machinery you have there!
Very good work - looking veryx good
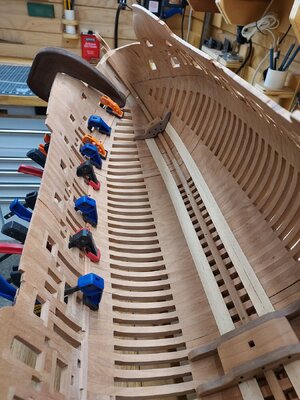
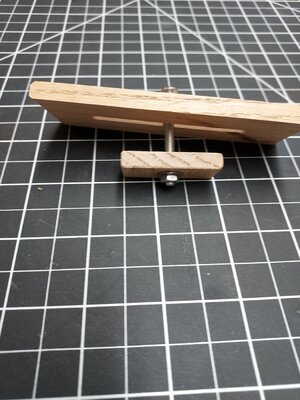
I like your special handmade clamps for the inner planking - clever idea
Maybe you can show one photo from the outside of the hull, means the back side of these clamps?
I like your special handmade clamps for the inner planking - clever idea
Maybe you can show one photo from the outside of the hull, means the back side of these clamps?
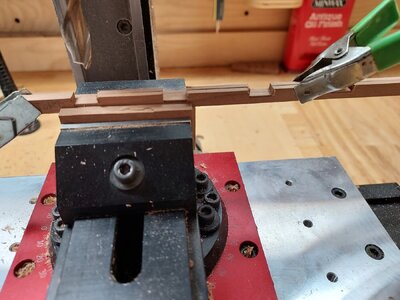
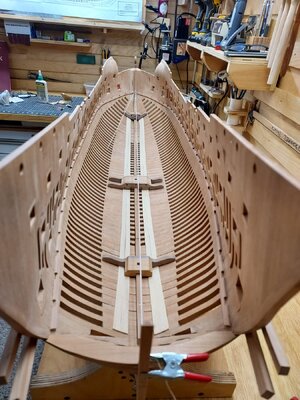
Hello everyone a quick update on the Sussex navy board model, I finished the limber strakes and I milled up some wood for the interior work,deck beams, upright posts, ledges, decking and more, I laid out the mortises for the gundeck clamps and milled them out on the mill, I also put a little steam to the front 2 to get the bend nice, I have made a little measuring jig for the gundeck beams and I have snapped a line down the center to keep everything centered, now I will be cutting deck beams and putting a finish on the bottom 1/4 of the ship, I will keep you posted along the way, thanks
