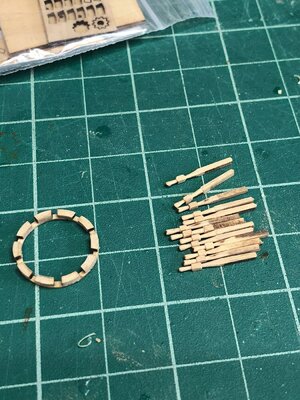
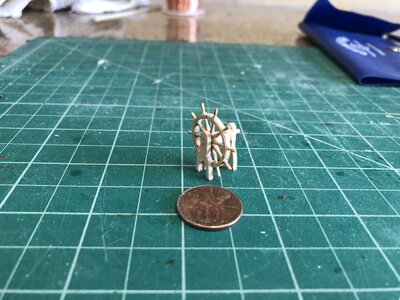
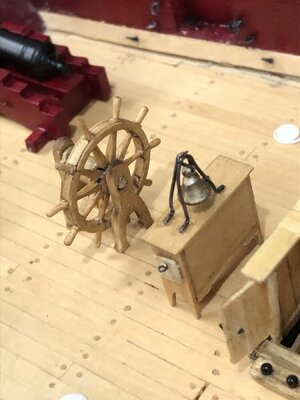
That’s a good foundation to start with Roger. The window frames can be made from thin veneer, which when soaked in water can be curved easily to conform to the radius surface. The leaves on the bottom can be carved (practice on flat piece first), or they can be thin pieces that are glued on. Same with the floral piece above that. It can be carved and soaked and then glued onto the radius surface. Shingles can be made two ways as you mentioned. With thin veneer individual pieces glued on, or carved.The quarter badges.
I made a start on making my own quarter badges and first efforts are a mix of frustration and wonky eyesight. Nevertheless I intend completing my prototype and then decide if the badges will be used or not.
Will @Will @ Trilogy gave me a link in a previous post, which gave me some insight into how I might approach this mini project. Lacking tiny carving expertise a similar modular approach seems a likely solution. I’ll write some brief notes on progress as I go but I have to admit to many little failures and lost parts over the past days. This has become a lot more difficult than I anticipated.
As I looked at the metal kit badges I decided to use a backing plate to glue on the mini modules. So I copied the badges from the plans and glued the paper copies to a piece of 1/32” thick pear. I cut the badges out on a scroll saw then carefully cut around the edges with a #11 blade to roughly outline the side scrolls. Problem #1, the badges “lean” and curve at different angles from each other so duplication is a non starter. Using the backing plate I mentally broke the first badge into parts/modules, as mentioned earlier. Then I cut out, carved and sanded each modular part to resemble the original. A pain in the butt because there are multiple angles to consider. As I get older my thinking in 3D becomes more of a challenge. Regardless, the pieces eventually came together in a basic resemblance of the original. I haven’t shown a glued up badge in the photo because I’m still reworking the pieces.
Thinking ahead the windows and margin separators will need to be applied. I had a 3/128” (0.55mm) thick piece of pear I previously cut on the bandsaw. Much too thick to use so I reduced that to 1/128” (0.28mm) to use like a veneer. It needs to be thin enough to allow for the overhang of the “roof”. Time will tell if that idea works.
I used pear because I like the wood. I initially tried basswood but couldn’t get fine edges. Trouble is the pear quarter badges, if used, will not match the existing stained basswood planks above the wales. Important?, maybe but I’m not going to sweat that for the moment, again time will tell.
My admiration for the experienced ship model carvers has gone sky-high. It’s not until you try working on different and difficult components of a ship model that you really appreciate and respect the fine work of others.
Thanks to you all for your continued help, advice and input, it is always very much appreciated.
View attachment 380172
View attachment 380173
Best of luck! I am confident with practice and persistence you can achieve something acceptable.
Ps - people mistakenly assume a carving is always one piece. Normally small intricate pieces are done individually and added to the main piece, like on a figurehead.


 .
.


