-

Win a Free Custom Engraved Brass Coin!!!
As a way to introduce our brass coins to the community, we will raffle off a free coin during the month of August. Follow link ABOVE for instructions for entering.
-

PRE-ORDER SHIPS IN SCALE TODAY!
The beloved Ships in Scale Magazine is back and charting a new course for 2026!
Discover new skills, new techniques, and new inspirations in every issue.
NOTE THAT OUR FIRST ISSUE WILL BE JAN/FEB 2026
You are using an out of date browser. It may not display this or other websites correctly.
You should upgrade or use an alternative browser.
You should upgrade or use an alternative browser.
Some advise needed from the audience ...... 
Gentlemen, I have a question.
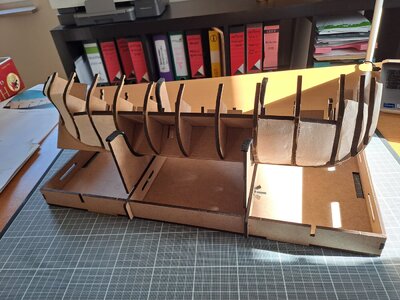
I will soon start with the planking of the main gun deck.
The manual suggest to plank this deck before fixing (pinning) into the Hull.
Why?
I would prefer to first fit the gun deck into place, glue it and afterwards staring the planking.
And the whole deck at once, not leaving the middle section empty as mentioned in the instruction manual.
My preference?
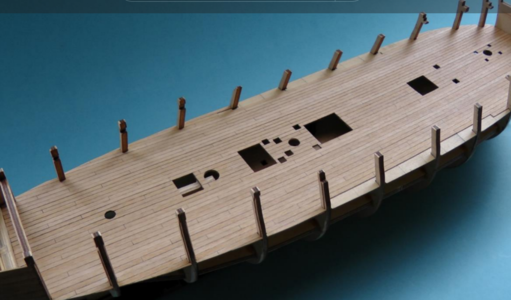

When it comes to that stage in the build. I like to fix the deck then plank afterwardsSome advise needed from the audience ......
Gentlemen, I have a question.
I will soon start with the planking of the main gun deck.
The manual suggest to plank this deck before fixing (pinning) into the Hull.
Why?
I would prefer to first fit the gun deck into place, glue it and afterwards staring the planking.
And the whole deck at once, not leaving the middle section empty as mentioned in the instruction manual.
My preference?
View attachment 362698
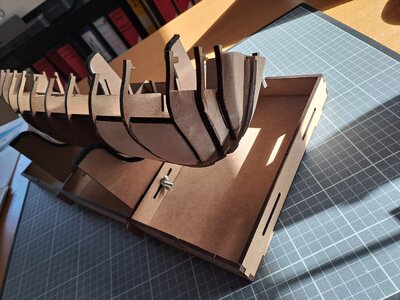
Leave enough material of the Balsa, so that youPreparing the Hull for Planking.....with BALSA wood...
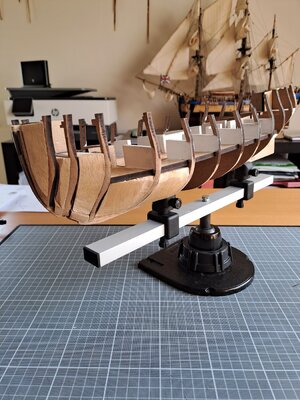
I meanwhile added in the stern-part and front some wood (BALSA). This will allow me to better fix the lime wood strips...at the most challenging curves...
It's a hell of a job, but, worth the time.
Next I will sand the bulkheads....
View attachment 362696
View attachment 362697
Hallo Marc alias @HMSFlyHello Everybody,
I'm since +- 2 weeks member and in this context I would like to actively participate in the group.
Yesterday, I received the kit and the upgrade kit.
It is my intention to honestly write my experience and activities, and will post on a regular base photo's and comments.
I learned a lot from already existing blogs (zie NOMAD) and I will try to achieve the same level.
It is now my third ship:
- Artensia Latina Virginia (first small kit)
- I finished a month ago the Occre's Endeavour.
I consider this kit as a last big step in my learning process: after the FLY I will build a "big" one like The HMS DIANA or other.
So, I hope you enjoy my pictures.
Marc
we wish you all the BEST and a HAPPY BIRTHDAY

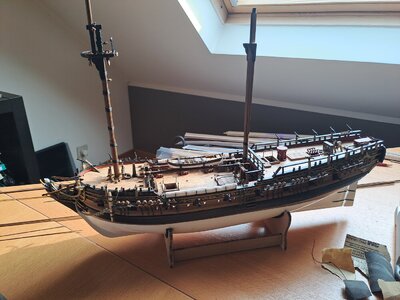
Slowly making progress but started to spent attention to details .......
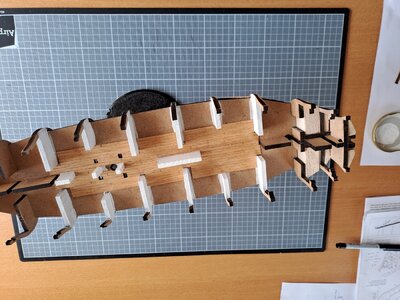
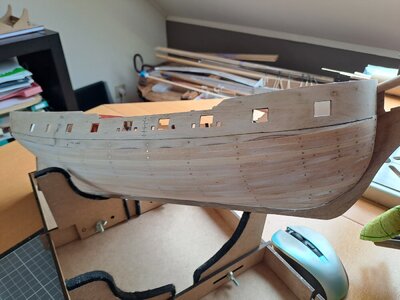
I meanwhile finished the planking of the Gun-deck....I followed "Mark - Nomad" layout : 4 - 2 planking which gives a nice result.
Also sanded the whole and tried to give the deck a more or less "old" look.....
Before starting to fit the gun port patterns, I also decided to glue the deck beams. Because this will strength the construction when using the brass pins...
Being afraid that the deck beams can break....
I also prepared the entre where a ladder has to be placed....(in the front)...because it's easier to access know .....
Please give your comments, they are more than welcome!
Marc

gentlemen,
I would like to receive some advice:
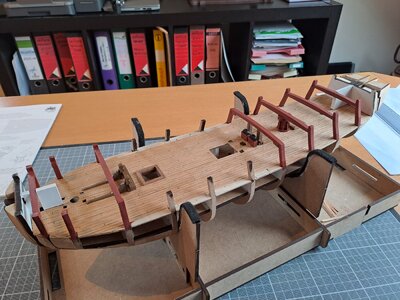
I used the supplied nails to attach the gun-port strips. While carefully hammering this in, I discovered to my amazement that the bulk warks (ie the wooden supports) simply burst! See first photo. What did I wrong? And this happend several times......???????????
Does anyone have the same experience?
In the meantime I have decided not to remove the nails to prevent worse. I simply filed off the cups carefully.
On the other hand, I thought it would be a good idea to fix the inner walls completely with walnut strips. Nice and finished result, and, I also strengthen the gunport strip.
So please be welcome!
Marc
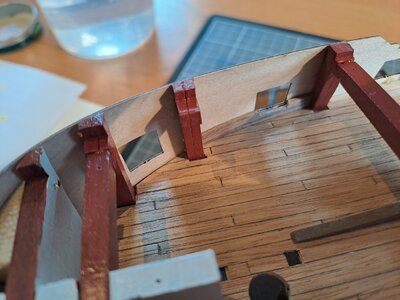
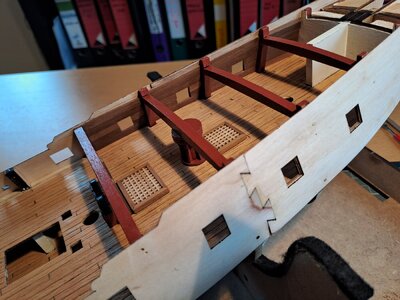


Splitting like that I have seen become more and more common when the framing is made of MDF boards. You might want to pre drill your holes for nailing might help prevent that from happening. And you can pull the nails out and you frames should go back to normal or you can fill the very small gap with CA glue and recoat with paint.gentlemen,
I would like to receive some advice:
I used the supplied nails to attach the gun-port strips. While carefully hammering this in, I discovered to my amazement that the bulk warks (ie the wooden supports) simply burst! See first photo. What did I wrong? And this happend several times......???????????
Does anyone have the same experience?
In the meantime I have decided not to remove the nails to prevent worse. I simply filed off the cups carefully.
On the other hand, I thought it would be a good idea to fix the inner walls completely with walnut strips. Nice and finished result, and, I also strengthen the gunport strip.
So please be welcome!
Marc
View attachment 364984
View attachment 364986
Thx for the advise: I will add CA glue to the bulk warks before nailing... see wat happens...
Yes, I'm not happy at all with this MDF Frame: altough it is only me second serious attempt, my first was one from the company Occre and this was an whole other world (eg much much better wood quality...).
Thx
Yes, I'm not happy at all with this MDF Frame: altough it is only me second serious attempt, my first was one from the company Occre and this was an whole other world (eg much much better wood quality...).
Thx
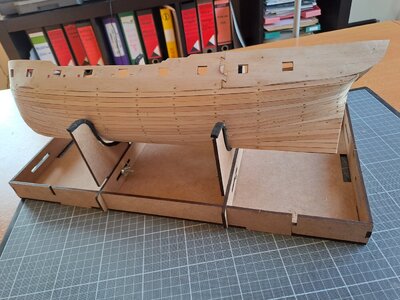
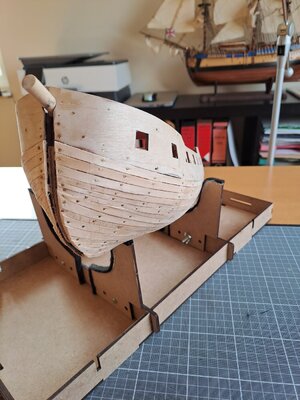
Ready for the first sanding.... The first planking went very well.
And, thx "Gibby" for your advise:
I applied the CA glue to the sanded parts of the support beams. The wood absorbed the glue like a sponge and several coats of CA were necessary... afterwards the nailing was a lot easier, but the MDF still showed some minor cracks....
thx again!
And, thx "Gibby" for your advise:
I applied the CA glue to the sanded parts of the support beams. The wood absorbed the glue like a sponge and several coats of CA were necessary... afterwards the nailing was a lot easier, but the MDF still showed some minor cracks....
thx again!


Hello my world!
Has somebody experience with the AMATI Life boat kit?
I purchased this kit but.... no clear instructions... ?
Thx
Marc
Has somebody experience with the AMATI Life boat kit?
I purchased this kit but.... no clear instructions... ?
Thx
Marc
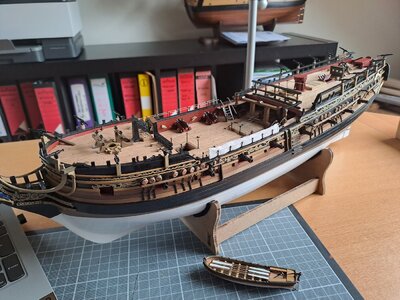
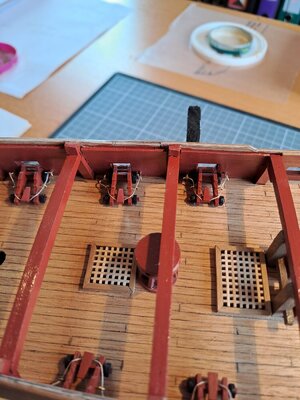
I try to add as much as possible details: I bought the extension kit from AMATI in order to have nicer gun supports.
Looks much better instead the metal casted guns.
I also studied documents how the guns have being placed on the decks: I will try to to do for the guns at the open deck.....
See you later.
Cheers
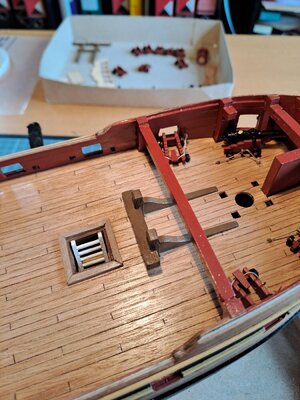
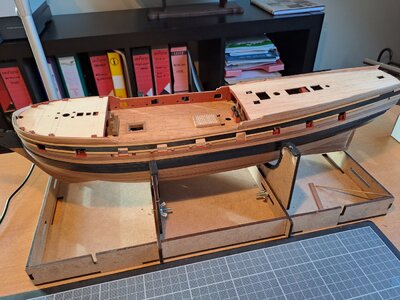
Looks much better instead the metal casted guns.
I also studied documents how the guns have being placed on the decks: I will try to to do for the guns at the open deck.....
See you later.
Cheers


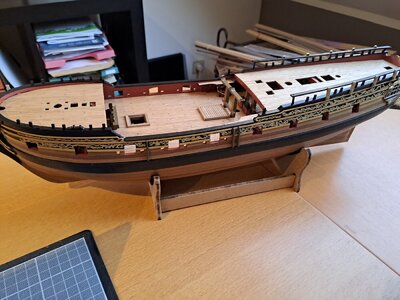
I meanwhile made some progress.... the advantage of being retired....
However, it was not easy at all: I made some (again) mistakes : each mm counts.... and that
I got a problem with the positioning of the stern ... the left side fits better then the richt one... and saw it to late, because error of 2 mm due to the planking of the rails...
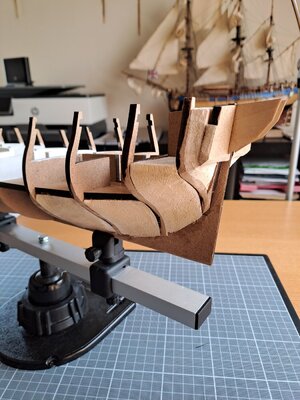
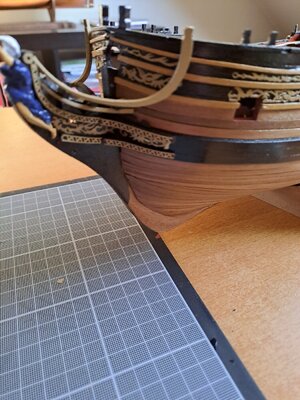
I'm also a little bit struggling with the plans...for example the bow (see photo).
Because I prefer a 3-D image but .... not availble. I spend a lot of time on the internet, but neither clear pictures...
Mainly on the plan (sheet 4) they are referring to part number 288 which should connect the catheads with the bow...
Still now not clear so....
I hope you enjoy the pictures'
Marc


Hello,
A small update:
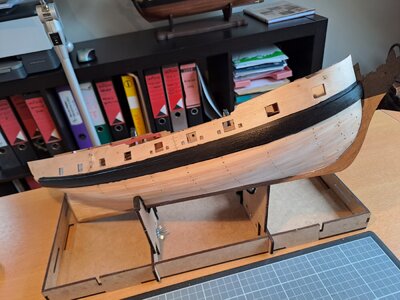
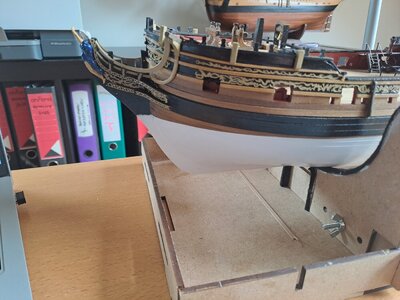
I painted the hull below the waterline in White: It took me 7 layers to obtain a smooth result: each day one layer and afterwards carefully sanding the Hull.
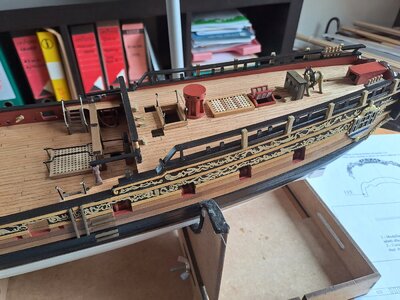
I maenwhile started with the deck fitting: I have still to finish the painting details (some small sanding and repaint...)
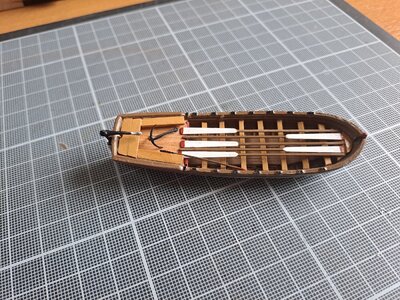
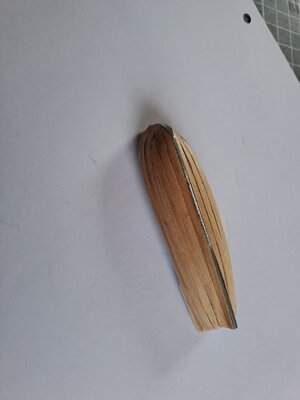
I also bought the upgrade kit: the life boat is in metal and I decided to plank the hull with wood: it wass a hell of a job because the boat is very small...and now I have to sand the whole and finish the painting job....
Comments welcome!
Sheers


I too like a good joke and I have not a clue of what a clean desk looks like. Looking at the dates of blog entries how do you accomplish so much work in such a short time. On another subject material between the hammocks was bedrolls acting as wooden splinter shields in another post a model by "gahm on his Syren by Model Shipways" made an excellent representation.
The netting between the hammocks
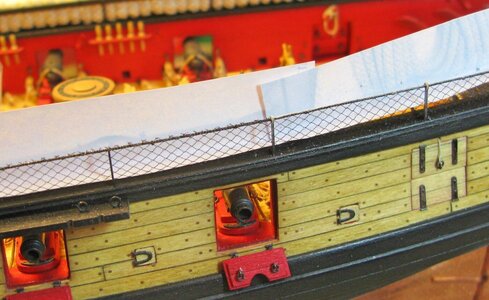
The individual bedrolls
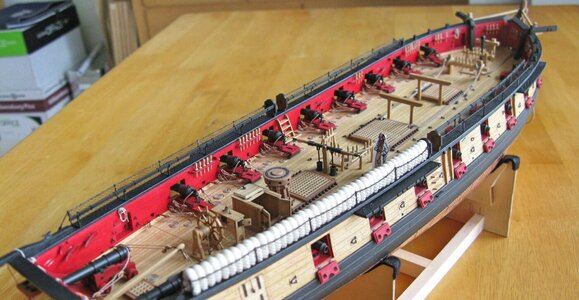
Just a thought about your beautiful HMS Fly
The netting between the hammocks

The individual bedrolls

Just a thought about your beautiful HMS Fly
Dear Will,
Thank you very much for your feedback! Really pleases me because that's exactly what I was hoping for with our blog.
I'll try to make individual bed rolls, although it doesn't seem easy to me. How were the nets made? I'm afraid I can't do this...
As far as the speed is concerned... you should know that from the beginning of February until today it rains almost continuously here in this small Belgium.....
And lucky that I am, my wife let me work on the fly when it rains....
I plan to start the big work in September: I would like to build a ship like the HMS Diana from Jotika or the San Idelfonso from Occre....
But then I have to stop making essential mistakes: I didn't place the gunports strips accurately enough with all the consequences....
The bible:
Looking forward to your comments,
Marc
Thanks Marc for the nice reply and I'll pm you about the rest of you questions.


