The "Chinese" Harvey

"The bars are only inserted into the capstan barrel when the capstan is being used." That is HUGE info. Much appreciated.

I guess I should at least consider drilling the holes where the bars insert though. I mean, I've got this cool new pin drill (thanks again, Jimsky) that I've never used...

M.
 
"The bars are only inserted into the capstan barrel when the capstan is being used." That is HUGE info. Much appreciated.

I guess I should at least consider drilling the holes where the bars insert though. I mean, I've got this cool new drill (thanks again, Jimsky) that I've never used...

M.
I have more fun discussing model ships on this forum than building model ships. That's why it takes me so long to finish a model. :D
 
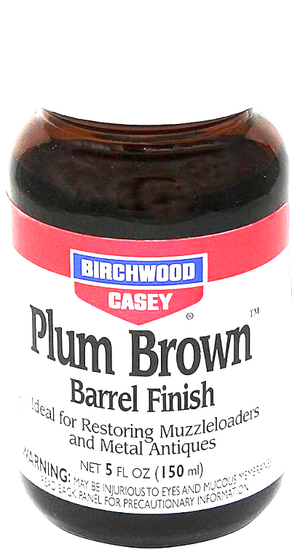
Do you mean this stuff? View attachment 428598 'Cuase I did not know it even existed (brown, I mean).

M.
Nope. That is a browning solution meant for use on iron and steel, such as browning the barrel on your Winchester lever action rifle or flintlock to age it.

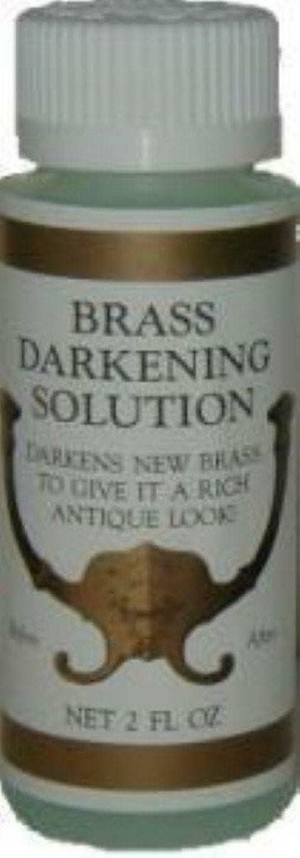
Here is what you want: BRASS browning solution. <--link
1708205570313.png

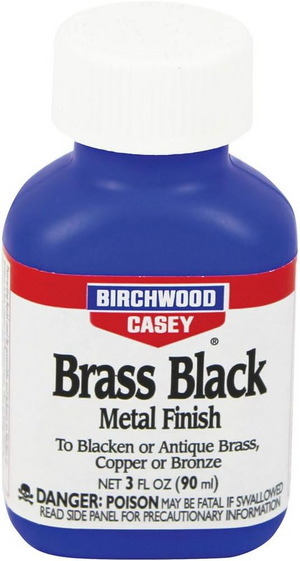
Now, if you want to turn brass BLACK, such as for simulating iron cannon barrels when the model barrels are brass, this is used: Brass Black on Amazon

1708205700908.png
 
I have the black. And it took a few tries and a lot of input from SOS to learn how to use it correctly. The brown is now also on the way. Please let me know if it needs a different application method.
 
I have the black. And it took a few tries and a lot of input from SOS to learn how to use it correctly. The brown is now also on the way. Please let me know if it needs a different application method.
As long as the brass part is proper cleaned with denatured alcohol to remove any surface oils, the browning works about the same. If you want a darker brown, leave it in the solution a bit longer. I also had issues with the blackening solution when it was used full strength, because some of the black flaked off. It works better now with a little water dilution and experimentation.
 
Thanks. I think the black gets "crusty" if you leave the brass in the solution too long. At least that is what I learned from someone on SOS (in Sweden) I think. Now I do brass in black oxide after a thorough cleaning and then time it out for exactly 60 seconds in the dip (1:5 solution with water). Sometimes the pieces requires a second dip. But it is DEFFINETELY better to do them slowly IMHO.

M,
 
Last edited:
Thanks. I think the black gets "crusty" if you leave the brass in the solution too long. At least that is what I learned from someone on SOS (in Sweden) I think. Now I do brass in black oxide after a thorough cleaning and then time it out for exactly 60 seconds in the dip (1:5 solution with water). Sometimes the pieces requires a second dip. But it is DEFFINETELY better to do them slowly IMHO.

M,
I'll give your method a try. Thanks!
 
WOW! That Musicbox took WAY longer than I would have thought! Cool diversion, though! Made by ROKR.

And so back to more serious boating sh**....

Back off the shelf and looking for love is:

IMG_0391.jpeg

FYI I think I'll have some laser printed nameplates made to cover up the rather unimpressive (imo) etched wood on the stand. I just have to CAD it up first. And then Gean will burn it for me. I think. I mean, we go back about 20+ years. And I've never asked him to do anything not work related before. So...?
 
A side rant... MicroMark. Such cool stuff! And I would not know about all of it except that anytime I order anything they always include a physical copy of their paper catalogue. Which I must look at. Because, well, I'm one of us.

And so I was thinking, shouldn't they sponsor (if they are not already and I don't know about it)? I'm thinking about when I used to ride jet ski's and some friends up in Sandusky were in the race circuit. And since they were all sponsored, I could get huge discounts on really nice wetsuits etc. using their names. I wore the meanest gear for someone riding on an inland lake in Ohio!

M.
 
The glue did not hold well enough. Definitely a problem with me and not the glue! And then I started the second try and the needle threader broke! And so we have a dozen needle threaders on order. But REALLY?

In retrospect, that needle threader was from a sowing kit that has been in my travel bag for over 30 years. I guess it and I can agree to break.

M.
 
Last edited:
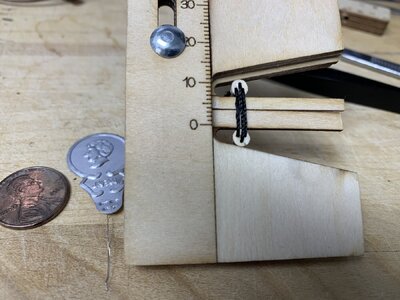
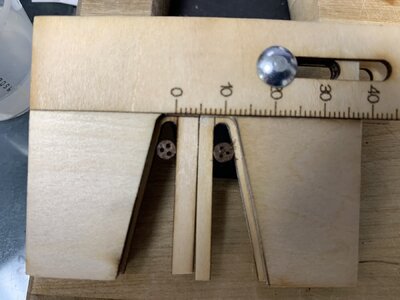
I've seen before the little tool you use for making the stays...
Can you (or someone else) explain how these work?
I mean how to fix the rope so it doesn't slide out again? Glue seems logical...

One can make these tools fairly easy...
 
I've seen before the little tool you use for making the stays...
Can you (or someone else) explain how these work?
I mean how to fix the rope so it doesn't slide out again? Glue seems logical...

One can make these tools fairly easy...
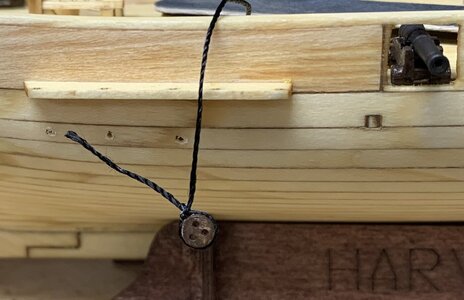
The more I have learned about the proper way to run the lines for deadeyes the more I think these jigs cannot be used. Your comment that gluing the ropes seems logical might work. But since glue does not work well with any finish (before or after), I have since been preparing to follow the methods I have seen here on SOS: secure the chain side deadeye first, and then build upwards. Using the jig is likely a fine idea for less than accurate stay/deadeye modeling. But I think I will pass unless more accurate modeling at this scale is beyond me.

M.

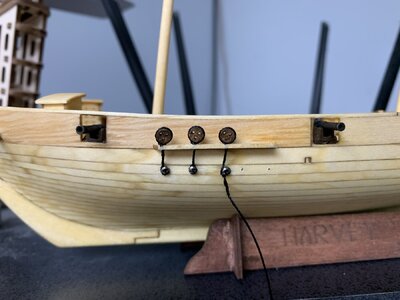
The new use of the jig is for holding deadeyes for painting. Working great like that!

IMG_0397.jpeg
 
Back
Top