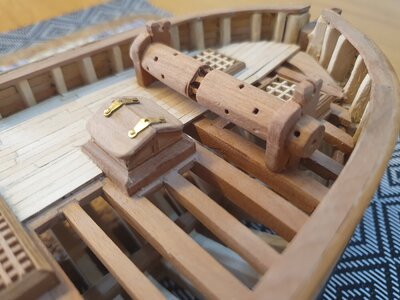
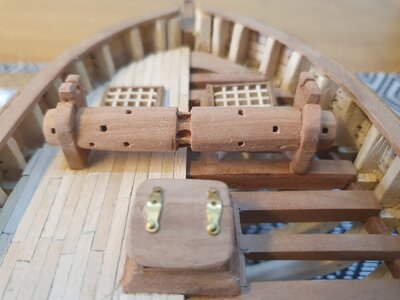
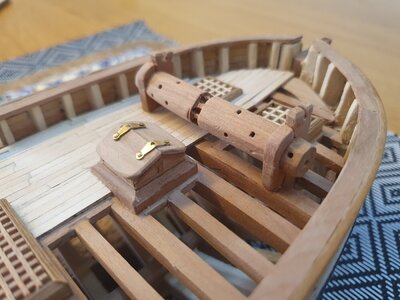
the Colonial Schooner Hannah in 1/48 [COMPLETED BUILD]

Hello dear friends
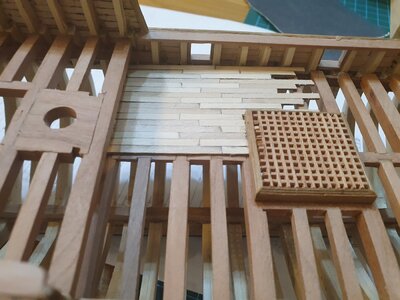
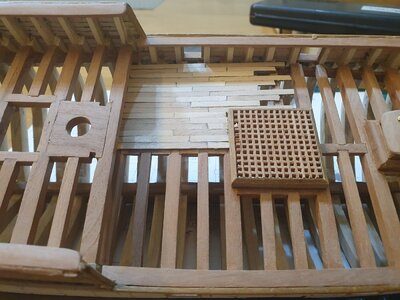
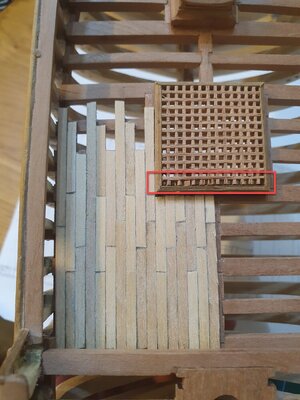
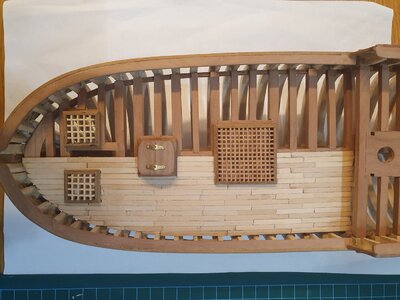
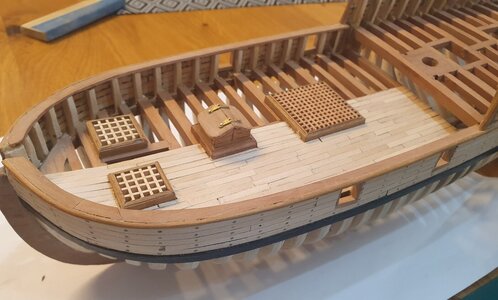
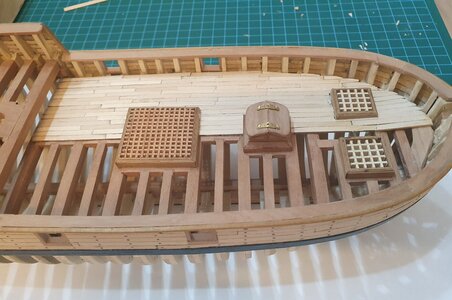
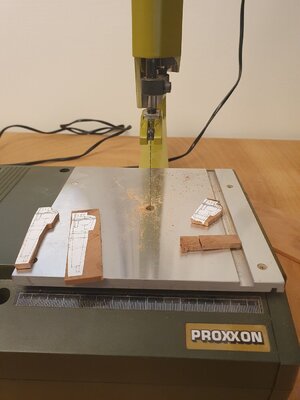
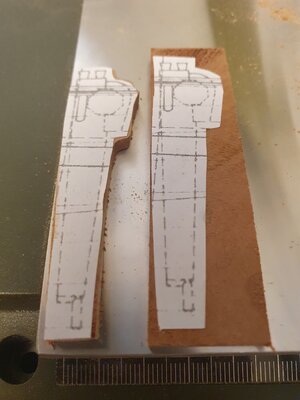
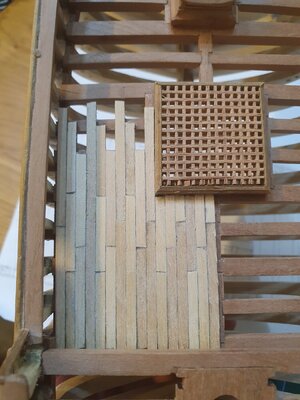
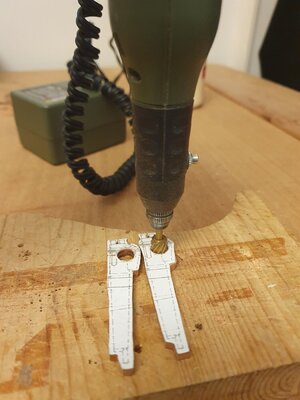
Tonight I returned to the ship, after practicing and learning the cnc machine. I was cutting the boards to the bottom deck. Unlike the practicum I decided not to place the deck in the center, instead I chose to build the decks in half, with the upper deck to be built on the opposite side to the lower deck so that in each part an opposite side of the ship would be seen. Hope it turned out nice and quality. Wishing us all a pleasant and enjoyable weekend.
20210501_004748.jpg20210501_004803.jpg20210501_004836.jpg
 
Hello dear friends
Today I finished laying the boards of the lower deck, there is still a lot of work to be done until it is completely ready. I must confess that I chose the discount form of the boards in a graded manner, the boards were in the size of 22 millimeters, 28 millimeters and 38 millimeters. Towards the middle of the deck I noticed that the boards had reached almost the same line, I was hesitant because most model builders strive for perfection in the way the boards are laid. However, in the real world of ships at sea they were required to replace some of the boards so the classic sequence changed. To me it's just fine, the boards at the same height and continuity. I would love to hear and get advice on the method of nailing the connection points between the boards.
20210501_175839.jpg20210501_175908.jpg20210501_175858.jpg
 
Try soaking your brass parts and nail
In gun bluing solution from Walmart to give them an aged look
 
On my deck planking I rub the edge of the wood across the lead of a carpenters pencil. When glued down and lightly sanded the planks have a natural aged look that you might expect to see on a wood deck after years of use and scrubbing down by the crew.
 
Hello dear friends
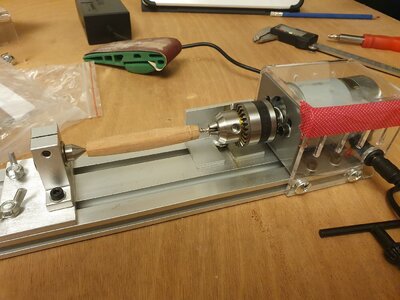
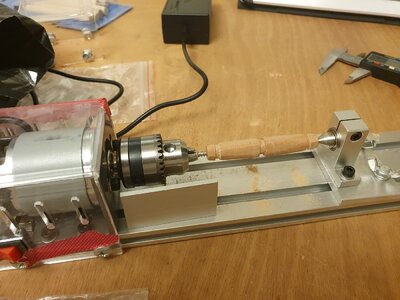
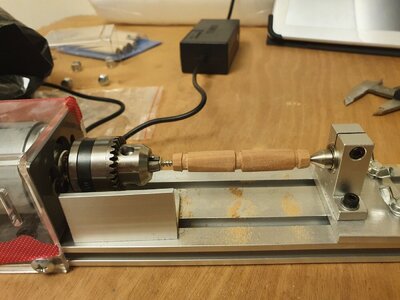
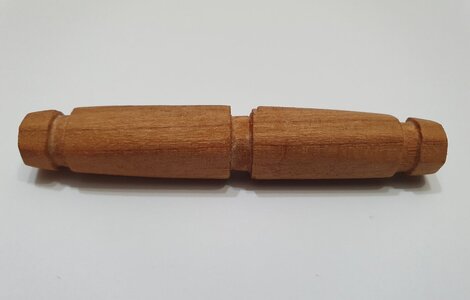
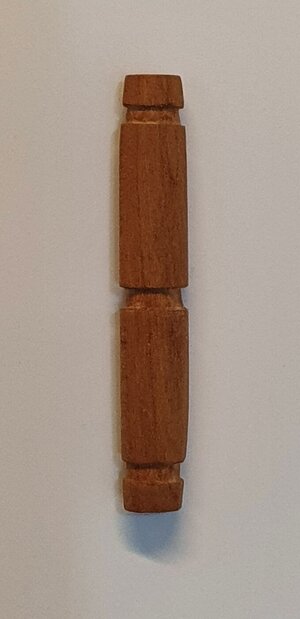
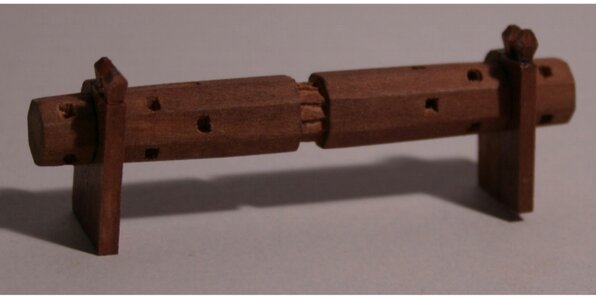
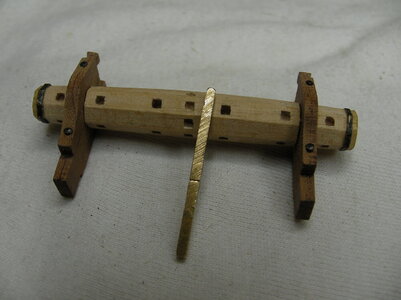
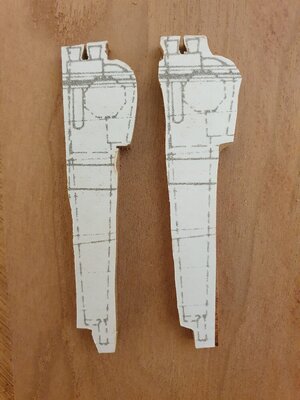
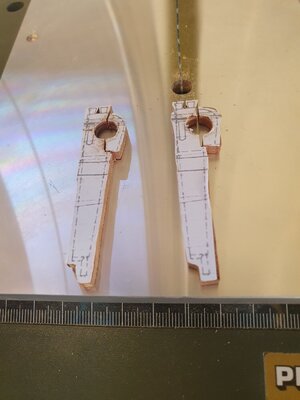
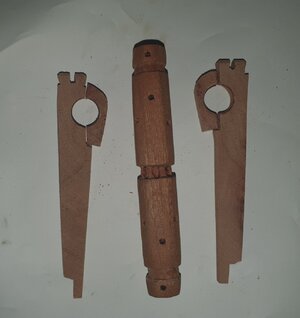
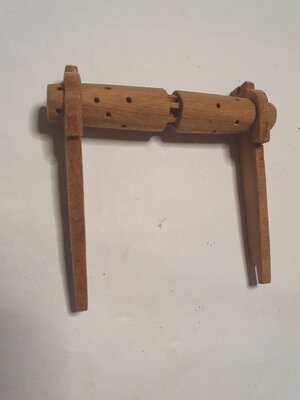
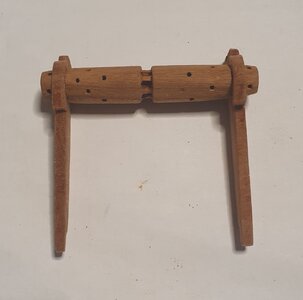
Tonight I was able to find several hours to continue the work on the ship. I started making the windlass. I am in the midst of the work, I am attaching pictures from the process that also thanks to the cherry tree block it turned out beautifully for my taste.
20210504_203004.jpg20210504_203011.jpg20210504_214844.jpg20210504_224001.jpg20210504_224024.jpg20210504_230433.jpg20210504_230640.jpg

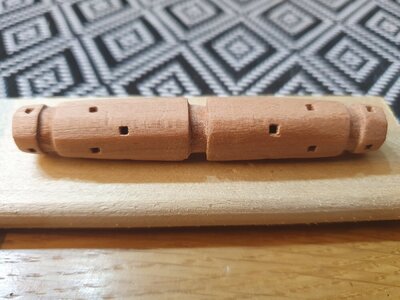
I have a question: in which drills should I use to make the gaps in the center of the windlassScreenshot_20210504-233318_Drive.jpg
and also in which drill for the holes were the rods inserted to roll the windlass
.
Screenshot_20210504-233408_Drive.jpg
 
Hi Shota70!

SANY1207.JPG
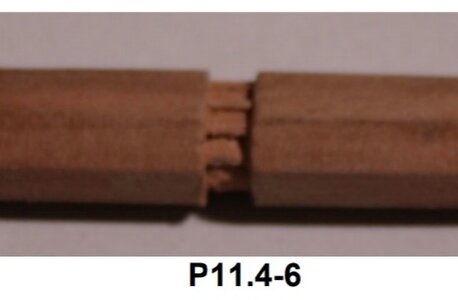
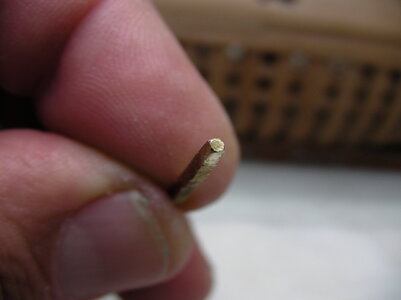
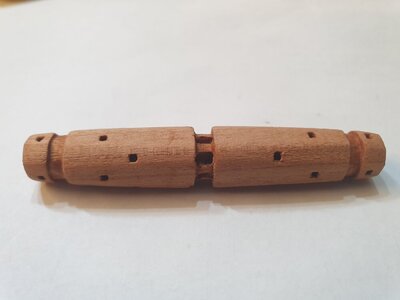
I first drill the holes in the desired diameter and then build myself a punch in the same diameter, but as a square. At the very front I file the square round. Now I can place the tip of the punch in the drilled hole and drive it into the winch with gentle hammer blows.

SANY1208.JPG
The formerly round holes are now square and stay that way.

Much success
Thomas
 
Hi Shota70!

View attachment 231402
I first drill the holes in the desired diameter and then build myself a punch in the same diameter, but as a square. At the very front I file the square round. Now I can place the tip of the punch in the drilled hole and drive it into the winch with gentle hammer blows.

View attachment 231406
The formerly round holes are now square and stay that way.

Much success
Thomas
Hallo Thomas,
sounds like a good way Thumbsup
- maybe this method should be checked first on a scrap piece of the same wood used - not that with the gentle hammer hit, the wood is cracking by the pressure
 
Hallo Thomas,
sounds like a good way Thumbsup
- maybe this method should be checked first on a scrap piece of the same wood used - not that with the gentle hammer hit, the wood is cracking by the pressure
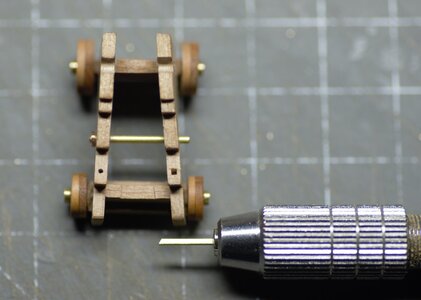
Hello, Uwe. I did check this method on windlass for the Avos cuter, and also when assembling the carriages for Alert (vertical bolt for the hind axletree). The trick is to find an optimal balance between the hole diameter and the square tool.

600_1973.jpg
 
Hello dear friends
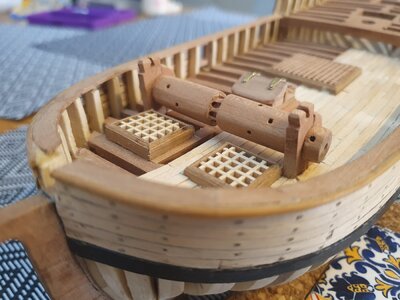
Tonight I was able to continue the work on windlass.
20210507_175605.jpg20210507_175626.jpg20210507_180743.jpg20210507_183255.jpg20210507_185250.jpg20210507_205636.jpg20210507_222857.jpg20210507_222835.jpgAs you can see in the pictures I made significant progress in the creation process, but I still had work to do in adapting the windlass to the infrastructure of the ship's structure. May we all have a pleasant weekend.
 
Back
Top