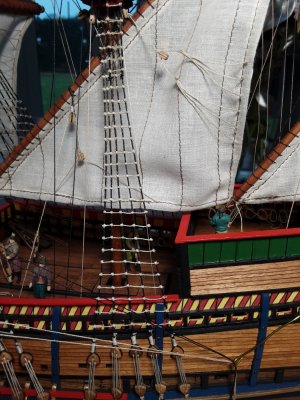
The Mary Rose

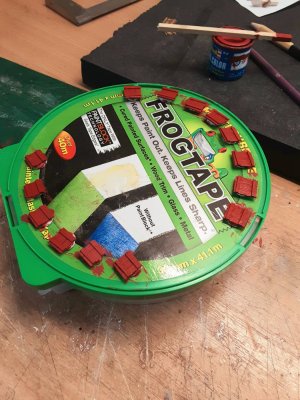
I found some suitable shields online, copied onto a slide, tweaked the colour saturation and printed. As luck would have it the old printer packed up a couple of months ago and the new one is markedly better definition-wise. I don't know what it is with printers, the old printer hated me and the new one isn't that keen on me either.

Thin PVA used to stick on black card -
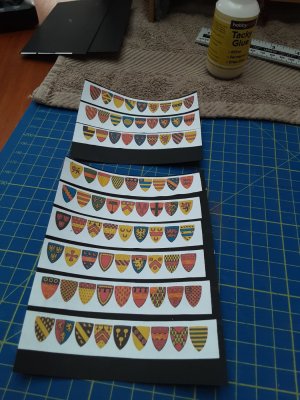
20241117_134133.jpg

All cut out and a black Sharpie used to run around the edges to blend in the white edge of the paper -
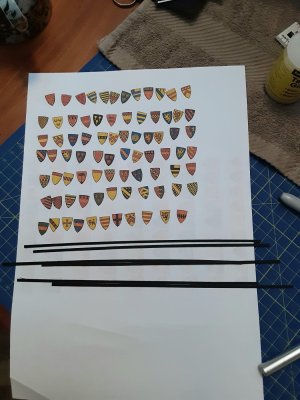
20241117_155656.jpg

My plan is to glue the shields to thin strips of card which can then be glued on the rails around the fighting platforms. We'll see how that goes.
 
I have to say that I have been very impressed with this build and have thoroughly enjoyed watching the ship come together. I will be sort of sad when you finish it, but that is the way it is with model projects.
 
I have to say that I have been very impressed with this build and have thoroughly enjoyed watching the ship come together. I will be sort of sad when you finish it, but that is the way it is with model projects.
Thank you, that's most appreciated. I have some more ideas in the pipeline for this build before it is finished, so I hope you will stick with me. You're right that it is always a bittersweet moment when a build is finished, but my mind is ticking over regarding what the next one should be. Maybe something in the Admiralty style.
 
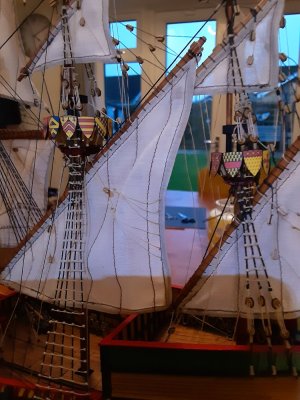
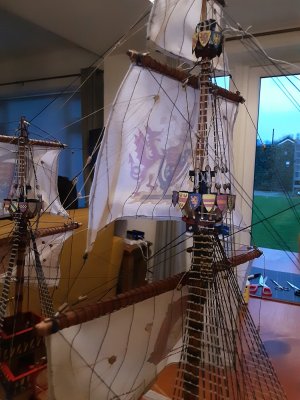
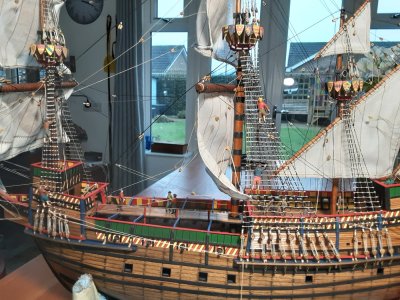
Gluing the shields onto strips of card did not work too well - too fiddly in working around the rigging lines and I needed an extra thumb. So I just eyeballed it and CA'd them on. I used a medium CA because it has a longer drying time (around 30 seconds) than the thin CA and gives me a bit more wiggle time.

20241118_161109.jpg

20241118_161126.jpg

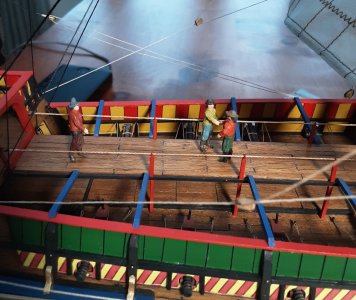
Next job is to paint some figures (see earlier post) and see if I want to add them; not too many, just a few for a sense of scale. But I need to set the ship aside for a couple of weeks and crack on with some carvings for Christmas gifts. Keep well.
 
Storm Bart has hit the UK. High winds, snow, rain and dire weather warnings. Seems like a Winter's day to me, but the boss says it's too cold to be in the wood shop ripping wood.

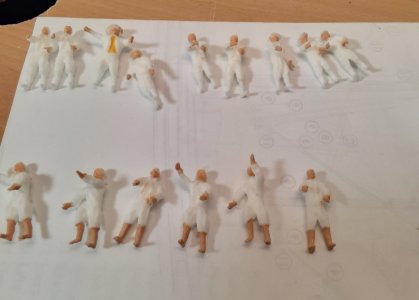
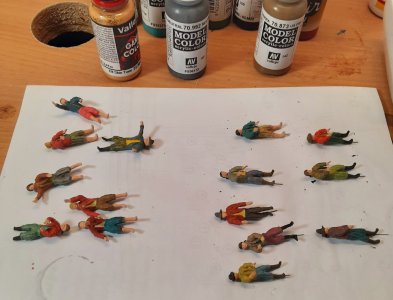
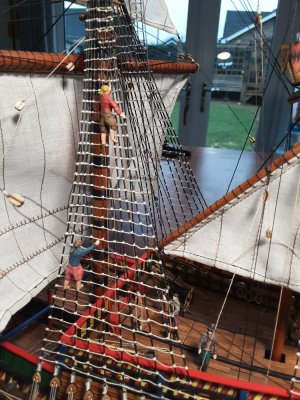
She's probably right and I know better than to argue, so meet the crew. Flesh tones first -


20241123_140135.jpg

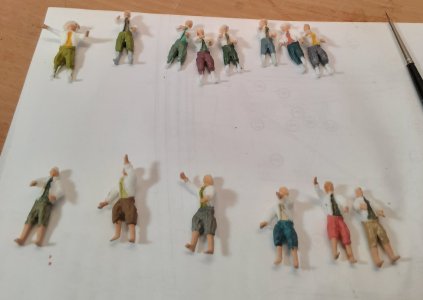
Making progress with the clothing. I am mixing up various acrylics to get a bit of variety, but keeping it to earth tones -

20241123_152042.jpg
 
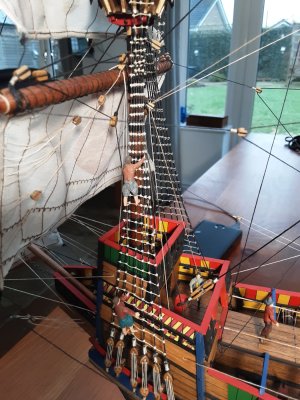
That's the painting completed. One of the guys on the left has no feet as they did not print well and he lost them in the Battle of the Sprue. I will nestle him in one of the fighting platforms behind the shields and nobody will know - apart from you guys.
I have modified the guys on the right so that they will stand on the deck. I used my finest drill in a pin vice to make a hole in the leg and then glued in some wire. For the wire I cut some bristles off a wire brush; strong but very fine.

20241125_150252.jpg
 
That's the painting completed. One of the guys on the left has no feet as they did not print well and he lost them in the Battle of the Sprue. I will nestle him in one of the fighting platforms behind the shields and nobody will know - apart from you guys.
I have modified the guys on the right so that they will stand on the deck. I used my finest drill in a pin vice to make a hole in the leg and then glued in some wire. For the wire I cut some bristles off a wire brush; strong but very fine.

View attachment 486431
Very cool Graham.
 
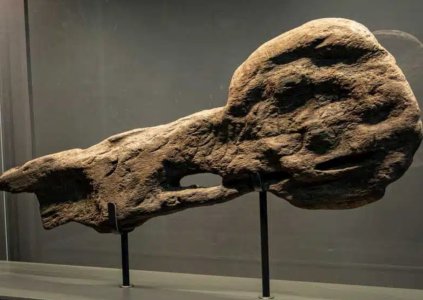
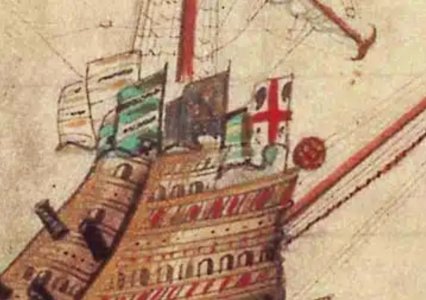
The Mary Rose had a figurehead and this has been recovered. Although badly eroded it was carved with the Tudor rose -

Screenshot_20250115-141140_Samsung Internet.jpg

It is also depicted on the Anthony Roll illustration -

Screenshot_20250115-141216_Samsung Internet.jpg

It is said to be the first depiction of a figurehead and laid the way for future figureheads on English ships. I think that there is a whole debate there somewhere.

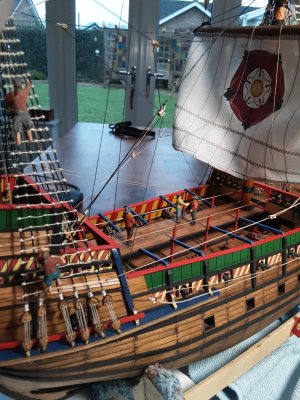
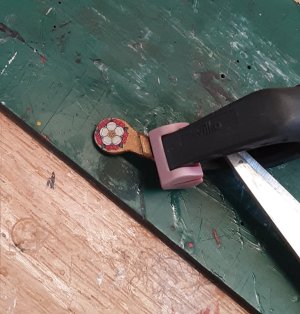
Anyway, here is my stab at it. A bit small to attempt a carving, so I made a waterslip transfer -

20250117_141529.jpg

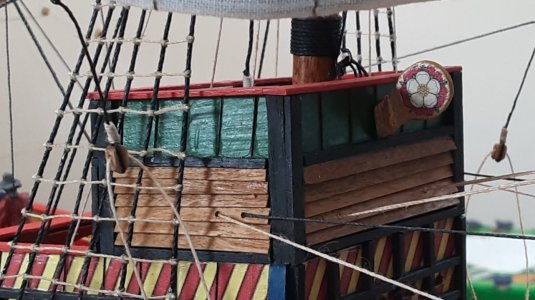
and fitted -

20250117_143148.jpg
 
Dear Graham. This is a wonderful build. There are some models (very few) that I would dearly like to see in the flesh, touch and examine in detail. This model gives free reigns to my imagination of what life onboard must have been in days yonder. Congratulations, my friend.
 
Dear Graham. This is a wonderful build. There are some models (very few) that I would dearly like to see in the flesh, touch and examine in detail. This model gives free reigns to my imagination of what life onboard must have been in days yonder. Congratulations, my friend.

Thank you, Heintich, that is very kind of you and means a lot to me. Keep well.
 
Last edited:
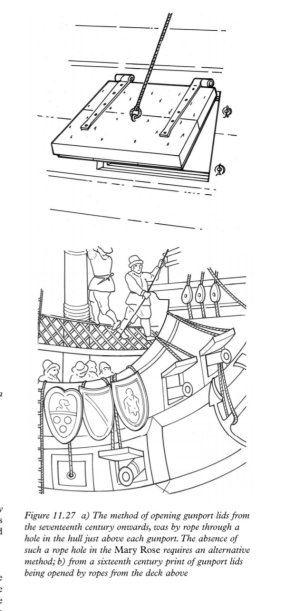
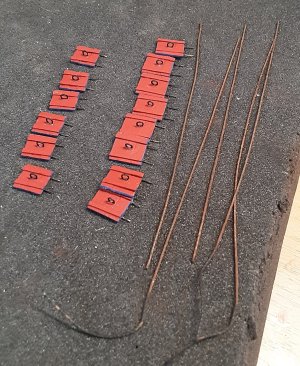
Gunport lids. The ones that come with the kit are laser cut ply and, to my eye, look a bit clunky and lack detail, so I decided to make some out of spare 0.5mm strip.

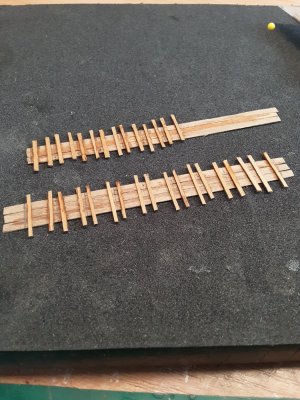
Laying out -

20250115_133918.jpg

Cut to size and interior face painted -

20250115_150326.jpg

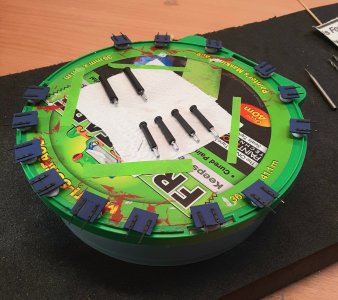
Exterior face painted and blackened hinges fitted -

20250120_145956.jpg

Archaeological evidence can not confirm whether the lids were painted or not. I made the decision to do so because the strip I used looked a bit ratty when stained and was not a good look.

The planks on the gunport lids of the actual ship were put together by using rove nails, where a longer nail is used and the protruding pointed end is then hammered down flat.
 
Back
Top