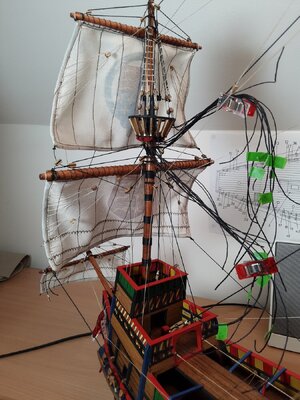
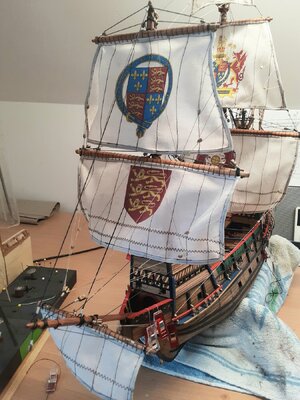
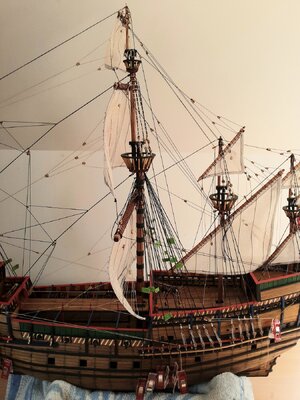
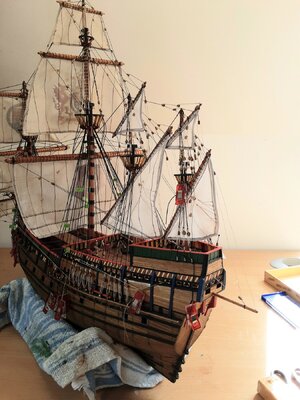
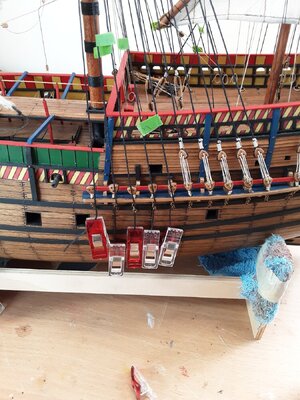
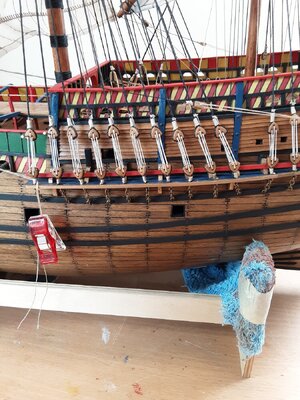
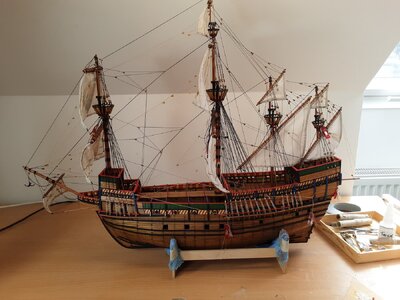
Thank you, Heinrich. The old navy saying of 'Get to know the ropes' is never more true than when rigging the sails, but I am thoroughly enjoying it.I can only marvel at the beauty that you are building, Graham. Looking at all the modifications which you have incorporated and at the extremely detailed build, makes my imagination run wild on what it must have been to actually sail on her (sans the sinking of course).
-

Win a Free Custom Engraved Brass Coin!!!
As a way to introduce our brass coins to the community, we will raffle off a free coin during the month of August. Follow link ABOVE for instructions for entering.
-

PRE-ORDER SHIPS IN SCALE TODAY!
The beloved Ships in Scale Magazine is back and charting a new course for 2026!
Discover new skills, new techniques, and new inspirations in every issue.
NOTE THAT OUR FIRST ISSUE WILL BE JAN/FEB 2026
You are using an out of date browser. It may not display this or other websites correctly.
You should upgrade or use an alternative browser.
You should upgrade or use an alternative browser.
The Mary Rose
- Thread starter Graham
- Start date
- Watchers 53
-
- Tags
- caldercraft mary rose
- Joined
- Jan 9, 2020
- Messages
- 10,566
- Points
- 938

Depth; depth ... that was the word I was looking for and I just realised it now. Nope, I haven't gone mad, Graham but that was what I had wanted to say about your model. The first picture, in particular, shows great 3D dimensional and structural depth. The juxtaposition of angles - especially in your scratch-built "castles" really set this model apart. It goes without saying that the rigging is superb.
Another example of the great skill I see every time I sign on. Fantastic work.
Thank you Heinrich and swampdweller123.
Working on the spritsail lines, but before I add too many more lines I will add the grapnel -
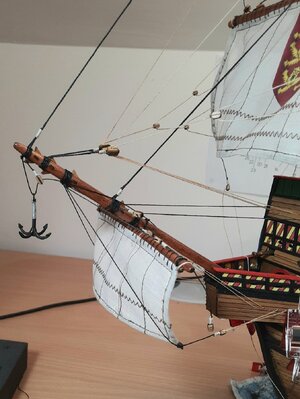
Scale-wise it would be about 7ft and a fair chunk of iron. The strategy was more to board a vessel rather than to smash it as it was in Nelson's time. If this clonked down on an enemy deck I think it would take several men to throw it overboard and all whilst under intense small arms/archery fire; no easy task.
Another aid to boarding were sheerhooks on the ends of the fore and main spars, the idea being to snag enemy rigging when alongside. I will add these at the end of the build and when I have decided what to make them from, otherwise they will end up continually snagging me as I work on the rigging.
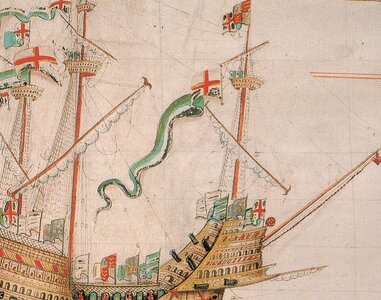
Both the grapnel and the sheerhooks are depicted in the Anthony Roll illustration below. It leads me to think that a chain is attached to the grapnel as well as the rigging to drop it, and that makes sense because it could not then be cut away. I will add some as a trial and update you -
Working on the spritsail lines, but before I add too many more lines I will add the grapnel -

Scale-wise it would be about 7ft and a fair chunk of iron. The strategy was more to board a vessel rather than to smash it as it was in Nelson's time. If this clonked down on an enemy deck I think it would take several men to throw it overboard and all whilst under intense small arms/archery fire; no easy task.
Another aid to boarding were sheerhooks on the ends of the fore and main spars, the idea being to snag enemy rigging when alongside. I will add these at the end of the build and when I have decided what to make them from, otherwise they will end up continually snagging me as I work on the rigging.
Both the grapnel and the sheerhooks are depicted in the Anthony Roll illustration below. It leads me to think that a chain is attached to the grapnel as well as the rigging to drop it, and that makes sense because it could not then be cut away. I will add some as a trial and update you -

This picture is from the Mary Rose Facebook page today -
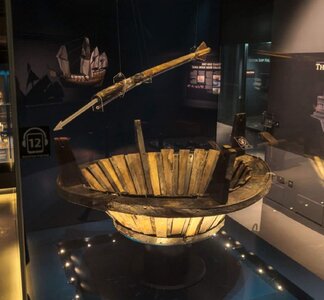
When I asked them about the 'harpoon' their response was -
'We believe it to be a incendiary dart, a large arrow with a spike on the end surrounded by a bag of gunpowder, pitch and other sticky substances. It may have been thrown from the mast top, or shot out of one of the ship's guns.'
You learn something new every day - a Tudor phosphorus grenade?
One reason you don't want the clumsy guy stationed in the top?This picture is from the Mary Rose Facebook page today -
View attachment 434830
When I asked them about the 'harpoon' their response was -
'We believe it to be a incendiary dart, a large arrow with a spike on the end surrounded by a bag of gunpowder, pitch and other sticky substances. It may have been thrown from the mast top, or shot out of one of the ship's guns.'
You learn something new every day - a Tudor phosphorus grenade?
Certainly not the guy with the eye patch! I would think that lobbing this down from the masthead onto an enemy deck while trying to miss all of your own rigging lines was quite risky.One reason you don't want the clumsy guy stationed in the top?
What a beautiful model. The rigging is fantastic. Really great work.
Congratulations for reaching this step
PUH - rigging is finished
PUH - rigging is finished
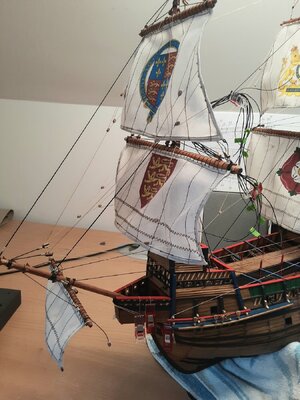
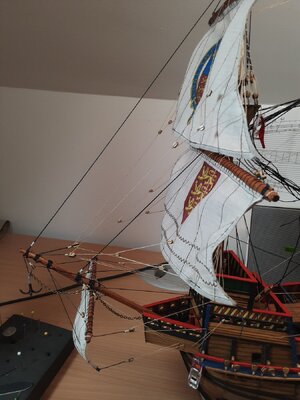
Thank you Norgale and Uwek. Putting the sails on her has effectively doubled the rigging workload, but I have thoroughly enjoyed it. The main thing I learned was not to tie anything off until happy with the run of the lines and that there are no conflicts - some rework was necessary in the early stages.
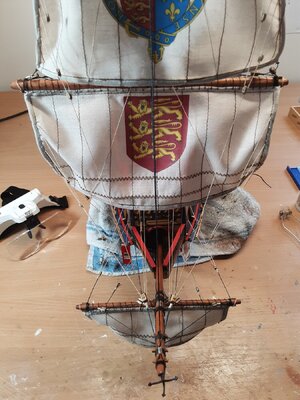
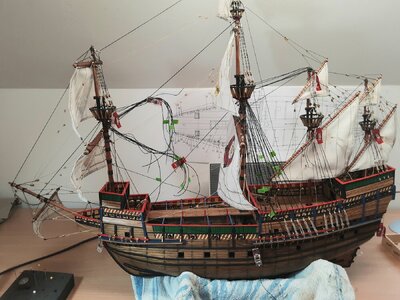
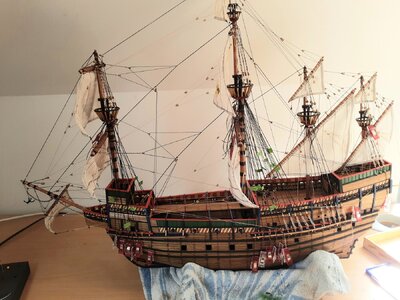
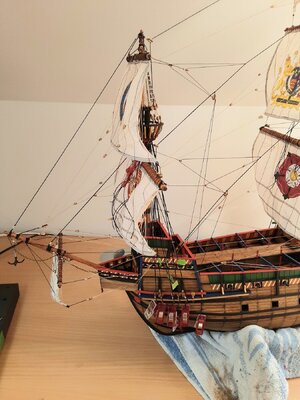
Good morning Graham. Wonderful. Looks very realistic other than the cloth at the bottomAll rigging is now fixed or temporarily run to length; the temporary lengths can be moved aside or de-rigged as I start to work on the shrouds. I have reviewed the rigging plans front to back and several times over and think I have got it all covered - famous last words?
View attachment 445078
View attachment 445079
View attachment 445080
View attachment 445081
Shhhhhhhh. My wife still wonders where that towel went. Keep well.Good morning Graham. Wonderful. Looks very realistic other than the cloth at the bottom. Cheers Grant
I have had a couple of weeks out of the shipyard sorting out my garage workshop and now that the weather has warmed up a bit I have been playing with the bandsaw Santa brought me. I have done several projects, including cutting out and then carving this wolf plaque -
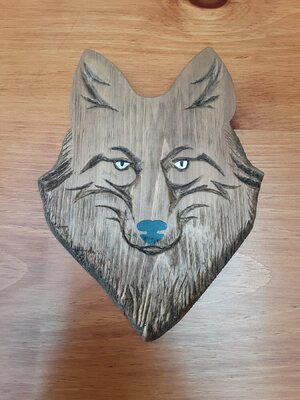
Good fun.
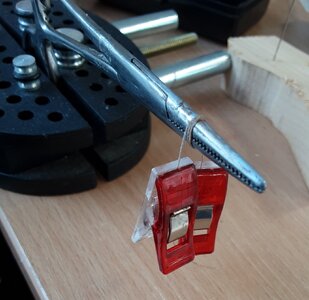
Anyway, to things more nautical and I need to make some hanks to finish off the ropes tied to the side rails. What I do is clamp the forceps in a vice, rub the top with a hard wax (a tea light is ideal) to stop it sticking, then wrap the appropriate cord twice around and then cross over the top. When happy with the lay of the rope add a touch of CA on the top. Note the clips for weight -
Give it a minute to dry and then I use my nails to slide it off. It works fine, but after five or so it starts to stick a bit because of CA residue, so a quick rub with wet & dry, apply some more wax and make some more.
Done for now and leave for a while to fully dry and then trim the ends -
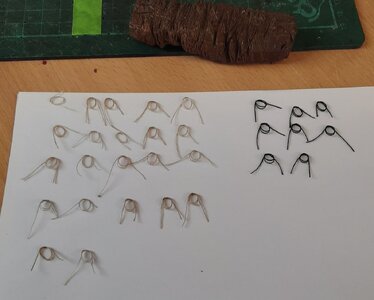
I am not saying this is THE way to do it, just what works for me. Anyone got any different methods?

Good fun.
Anyway, to things more nautical and I need to make some hanks to finish off the ropes tied to the side rails. What I do is clamp the forceps in a vice, rub the top with a hard wax (a tea light is ideal) to stop it sticking, then wrap the appropriate cord twice around and then cross over the top. When happy with the lay of the rope add a touch of CA on the top. Note the clips for weight -

Give it a minute to dry and then I use my nails to slide it off. It works fine, but after five or so it starts to stick a bit because of CA residue, so a quick rub with wet & dry, apply some more wax and make some more.
Done for now and leave for a while to fully dry and then trim the ends -

I am not saying this is THE way to do it, just what works for me. Anyone got any different methods?
- Joined
- Aug 14, 2018
- Messages
- 825
- Points
- 403

Looks great JJ..
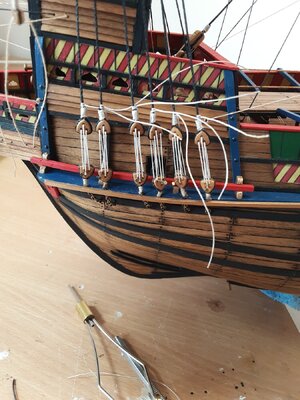
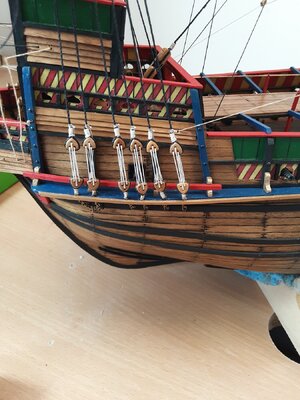
Good morning Graham. Great work on the dead eyes and lanyards. I love the last pic of the whole ship looks impressive. Cheers GrantTying off the deadeyes -
View attachment 458359
View attachment 458360
View attachment 458361View attachment 458362
Nice to be rid of the clips and tape -
View attachment 458363
Ratlines are next.
Thanks Grant. I also got rid of the ratty old towel, just for you. Keep well.Good morning Graham. Great work on the dead eyes and lanyards. I love the last pic of the whole ship looks impressive. Cheers Grant


