The Mary Rose

Thanks very much, guys.
Planking is a good time to ponder the next stages of the build and my mind has turned towards decoration on this ship. The ships were highly decorated in order to '....glorify the King's majesty', i.e. show off a lot. I am proposing to use waterslide decals made using PowerPoint and got the idea and some good information from Grayson72 who is building the Wells Fargo Stagecoach - check out his excellent build log on this site.
I have scanned all bulkheads and gunwhales and the waist rail below is an example -

Waist 1.PNG

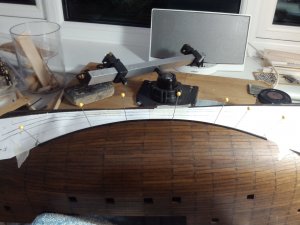
This gives me an actual size picture to scale onto. Now I can overlay the designs made using PowerPoint -

Waist 2.PNG

From here I can play around with the sizes and designs until I am happy with them. I think I will certainly stick with the upper design which features the Tudor Green colour and the St George's Cross, both of which I like and I think might have featured strongly. These designs would have been painted on to individual panels on the actual ship, some of which were fixed and some removable - removable in order to enable the archers to get a clear shot and not shoot through the anti-boarding netting above their heads. Anyway, I just thought I'd share the idea with you and I need to finish the planking first but that might slow down a bit because my fishing season starts at the weekend and I'm off to catch some carp. Fishing is a bit like building these ships - sometimes you have great days, sometimes it all goes wrong and you wonder why the Hell you bother. Here's hoping for some sunshine and a few tight lines!
 
Hi Graham,

Looks great must be a joy to decorate these very colourfull 16th century vessels. As you mention Powerpoint is a great tool to create this type of decorations, I use it a lot.

Regs Maarten
 
Hello Graham,how is the Mary Rose coming along,any updates on your build?
 
Hi Zoltan,
Thanks for your prompt on my build log regarding any progress to report. My last entry coincided with the start of the lake and river fishing season here in the UK, so that is pretty much what I am doing, and it has been a good Summer. I expect I will get back to the build around late September and you can be sure that I will keep you all posted. Regards.
 
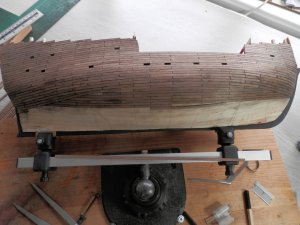
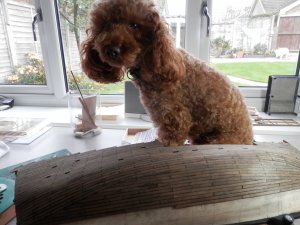
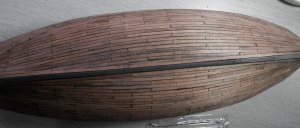
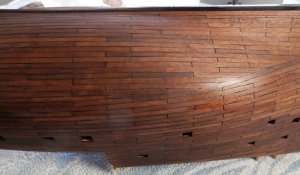
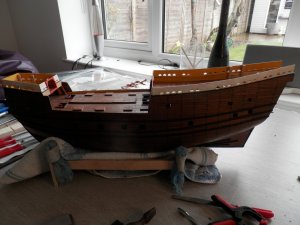
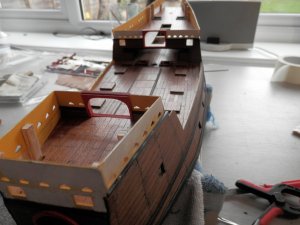
Back in the shipyard after a good Summer, some great fishing and all DIY/decorating completed and fully signed off by She Who Must Be Obeyed. It took me a couple of hours to sort things out and get back up to speed on where I am because I have not touched this build since April. However, the grey matter kicked back in and here we are cracking on with the Mary Rose - second layer of planking (walnut) down to the keel.

PA300002.JPG

PA300006.JPG

As you can see, Red was keen to help.

PA300004.JPG
 
Last edited:
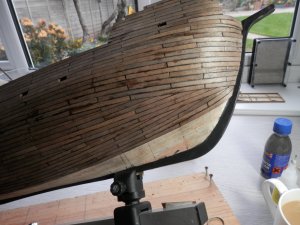
Second planking now complete -

PB010007.JPG

PB010008.JPG

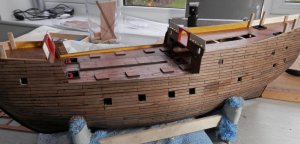
Right way up and the gun ports cut out -

PB040009.JPG

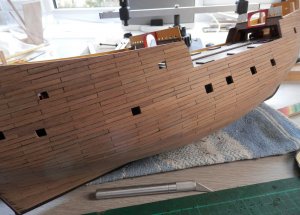
Sanding completed -

PB050010.JPG

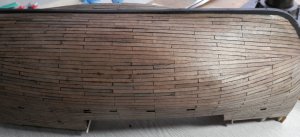
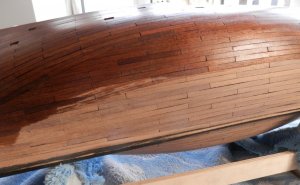
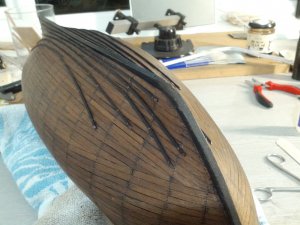
At this point I gave the hull a wet down and had a close look at it. Due to the differences in the individual planks (I guess in a kit they aren't the highest quality you can get) there are bright spots, so I stained the hull to even it out -

PB050011.JPG

PB050012.JPG

Stain used was oil based medium oak with a dash of dark oak to give some contrast to the deck planking colour. I was a little worried that the charcoal edging I did on the planks would not stand up to the stain, but it seems to be OK.

Some plank facts from the actual ship -
1. From the keel to the level of the main deck the planking is 94 - 105mm thick, upwards of that it is 76mm.
2. The longest plank is 10.85m, the shortest is 1.47m, but most are between 4.5m and 9m long, the longest planks being in the midships area.
3. Seams between plank edges are caulked with a mixture of animal hair (from calves or cows) mixed with resin, the hair first being formed into rolls.
 
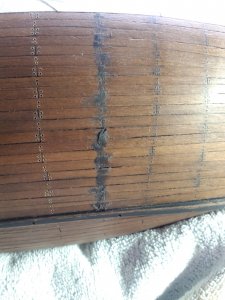
Thanks for your comments, guys, much appreciated. I have put on a couple of coats of enamel lacquer and it is now time to do the treenails. There are a few methods to be found on this forum using filler or toothpicks and they look great. However, I will call on my furniture and French Polishing skills (?) and use wax. The process is -
1. Apply a couple of coats of lacquer. You can not wax fill bare wood as it gets in the grain and looks messy; a lacquer coat seals the grain.
2. Soften some wax by melting in a tin and adding a few drops of turpentine. This is trial and error until you get the softness you require i.e. malleable when warmed in your hand.
3.Mark the holes - I use a dental pick.
4.Drill the holes - depends on scale and I used a 0.6mm bit.
5.Fill holes using a blunt penknife.
6.Scrape off the excess.

Here it is as work in progress -
IMG_20181119_133228.jpg

It is going well but it is mind-numbingly boring, so what I do is three or four 'strips' then take a break, do other tasks for a while, then get back to it. Here the fighting platforms or 'Crow's Nests' are coming together -
IMG_20181119_134249.jpg

Treenails on the actual ship are of oak with shanks of 38mm and heads of 40mm. The outboard ends are made tight by caulked splits being either an arrow cut of two lines, a cross shaped cut or three cuts forming a triangle. There is no evidence of a wooden wedge being driven into the treenails to expand them and most were used as through fastenings where the cut off inboard ends have been found loose in the hull spaces.
 
Last edited:
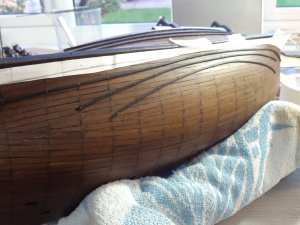
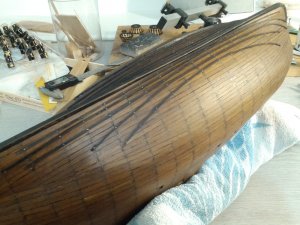
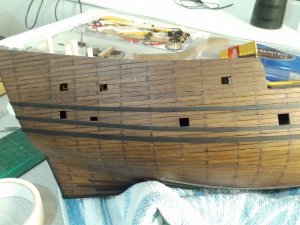
Next step is a series of rubbing strakes on the lower hull, five on either side using 1.5 x 1.5mm strip which I pre-painted. To get them the same on each side of the hull I made a template from paper and drew the five lines on it, then cut the paper to the outermost line -

IMG_20181206_160315.jpg

Then flip the paper over and fix the strake on the opposite side of the hull. Then cut to the next line and on we go towards the keel -

IMG_20181209_151528.jpg

And finished -

IMG_20181209_165650.jpg

IMG_20181209_165724.jpg

The strakes need touching up in black to cover the pins and cut ends, but I will do that after fitting the wales (next job) and do the whole lot in one go.

Apologies that the photos are somewhat dark and not cropped. I normally use a camera and then edit the photos on my laptop. However, my laptop has died on me and my son has given his technical assessment that the hard drive is 'completely knackered'. Bloody computers, I could understand it if I had dropped it, but it is only just over a year old ( so just out of warranty - typical!) and has been well treated. The good news is that my research and art work files for this build are safe, so at least I have not lost that. Anyway, rant over and in the meantime I will soldier on with my tablet.
 
Thanks, guys, for your likes and for following this log. Time to fit the wales, three in total.
Lower wale first -

IMG_20181212_134955.jpg

Then the upper -

IMG_20181212_175213.jpg

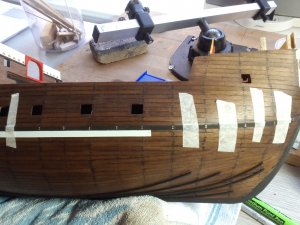
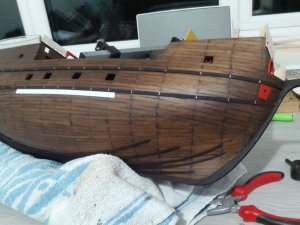
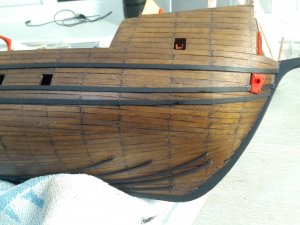
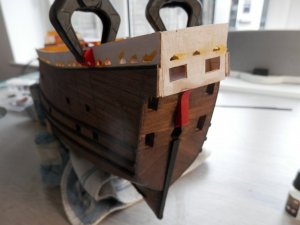
The plate around the anchor cable hole (the red bit) is then fitted because the third and middle rail fits up to the edge of it. Since the real bow is still on the seabed awaiting salvage it probably looked something like this.

Note that the waterline would have been where the top of the horizontal white tape is and shows how low the gunports are, probably the contributing factor in how she sank. No doubt the History Channel will one day make a programme suggesting that she was sunk by aliens, but my money is on the 'flooding via the gunports as she heeled over' theory.

No interesting facts to tell you about the wales on the actual ship. They were fixed in position with treenails and to represent this I cut the heads off brass pins, filed that cut end flat, pre-drilled the holes and then tapped them home. When all is done on both sides I will flash the rails over with matt black.
 
Back at the bench after a great Christmas, hope you had a good one, too.
The wales are now finished -

IMG_20190109_164703.jpg

IMG_20190109_165801.jpg

Next job will be to line the gunports, so I am pre-painting some 0.5mm strip in preparation.
I now have my laptop back which has been wiped and reloaded, so I can get back to finishing the artwork for the bulwarks. The problem was that as Windows 10 uploads a big update it does it in the background and you do not know that it is doing it. So, if you are an infrequent user (as I am) and only use it for, say, an hour every couple of days and then turn it off the update gets fragmented and can sometimes not stitch the numerous files together as was the case for me. The solution? The guy in the PC shop says I should leave my laptop on all day for a couple of days a week - not something Mr Gates tells you when you buy his software, eh? He then went on to talking about gigs, something about a cloud, synchronicity and checking the Windows blogosphere; it was then that I left the store and went to the pub.
 
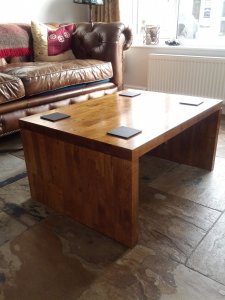
Back in the shipyard after some distractions. The fridge freezer packed up, so we got bigger ones which necessitated re-jigging the kitchen. I over-bought on the oak worktop to also make a coffee table -

83210

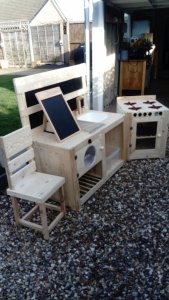
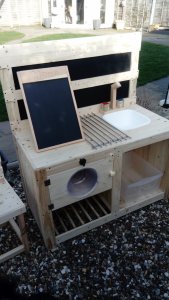
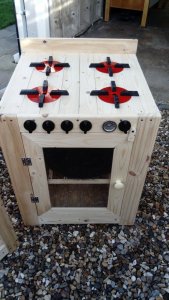
Then my son's house buy came through, so two weeks decorating there. Then his little one said she'd like a mud kitchen for her birthday, so I made something out of pallet wood for her -
832118321283213

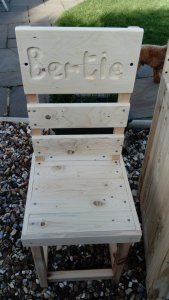
and her favourite bear -

83214

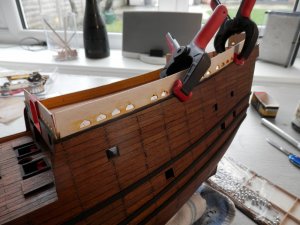
So here we are back on the build - until something else comes up. I decided to do some work on the bulkheads. They glue along the top of the rail, but that's not much to fix on and I also wanted to tidy up the edge, so I pinned on some pre-painted 1.5mm x 1.5mm strip. Dry fit -

83215

and pinned, three more to go - 83216

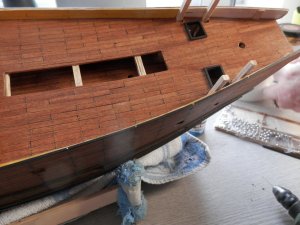
Fore and aft done, bulkheads dry-fitted -

83217

83218

and the transom fettled to fit -

83219
 
Back
Top