Yes thank you !stavi cercando questo tipo di pompa?View attachment 290207
-

Win a Free Custom Engraved Brass Coin!!!
As a way to introduce our brass coins to the community, we will raffle off a free coin during the month of August. Follow link ABOVE for instructions for entering.
-

PRE-ORDER SHIPS IN SCALE TODAY!
The beloved Ships in Scale Magazine is back and charting a new course for 2026!
Discover new skills, new techniques, and new inspirations in every issue.
NOTE THAT OUR FIRST ISSUE WILL BE JAN/FEB 2026
- Home
- Forums
- Ships of Scale Group Builds and Projects
- Group Build Archives
- Blandford Cross Section PoF Group Build
You are using an out of date browser. It may not display this or other websites correctly.
You should upgrade or use an alternative browser.
You should upgrade or use an alternative browser.
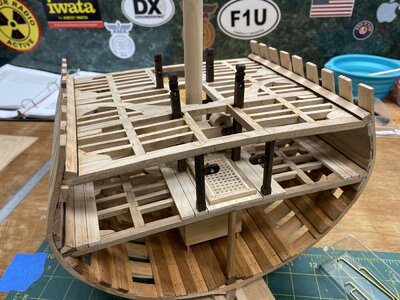
Major setback yesterday. Apparently I had left the bitts way too long. Had them all installed and was figuring out my next moves yesterday when I noticed the mistake. I had to take them out to shorten them and that of course involved taking all the pump cranks and rods out and debondong the CA I used to hold them in. Long wasted day yesterday but I’m lucky I found it now and not even later on in the build. I’m waiting for yellow heart for the hull planking. I’m at the stage now where I have to get the outer hull parts and upper deck parts made.
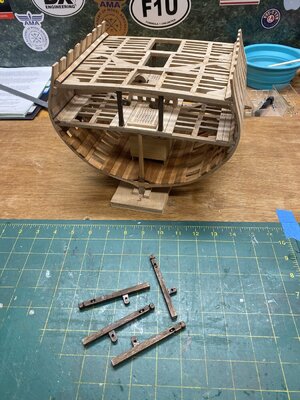
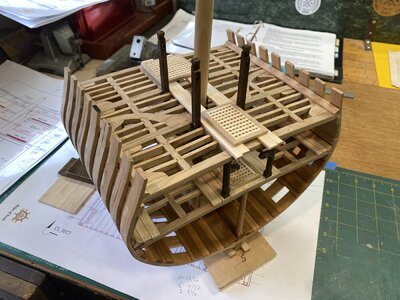
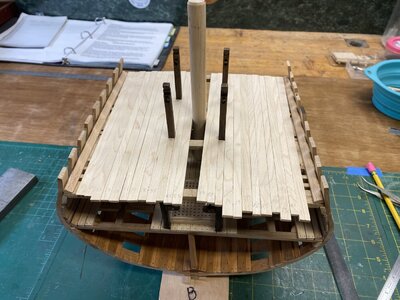
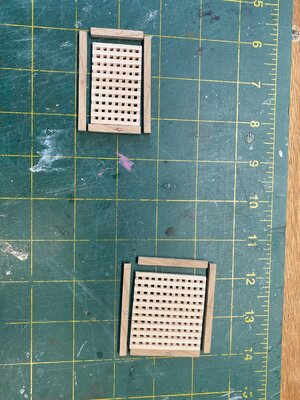


If the deck support structure above the chain pumps was already glued in place, I would have cut the bitts off at the level of the deck support structure, shortened the top portions containing the sheaves, then reattached them to using brass pins for reinforcement if necessary. The cut seams would be below the next layer of deck planks and thus be invisible, being buried in the structure. Disassembling the entire bitt column is a huge amount of effort and difficulty.Major setback yesterday. Apparently I had left the bitts way too long. Had them all installed and was figuring out my next moves yesterday when I noticed the mistake. I had to take them out to shorten them and that of course involved taking all the pump cranks and rods out and debondong the CA I used to hold them in. Long wasted day yesterday but I’m lucky I found it now and not even later on in the build. I’m waiting for yellow heart for the hull planking. I’m at the stage now where I have to get the outer hull parts and upper deck parts made.
View attachment 292109
View attachment 292110
View attachment 292111
View attachment 292112
very good work - Bravo
Kurt Konrath
Kurt Konrath
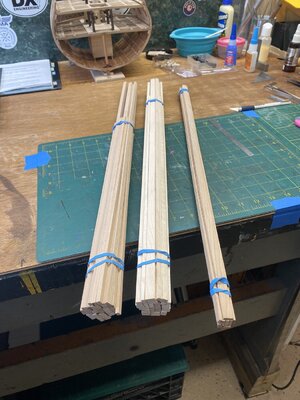
Your stock of new wood looks as good as your model build.
Glad you got your error noticed and fixed.
Keep up the good work, more inspiration for me to dig my kit out and get going as I am far far behind all others who have started.
And now we have the new Blandford ship kit to think about.
Glad you got your error noticed and fixed.
Keep up the good work, more inspiration for me to dig my kit out and get going as I am far far behind all others who have started.
And now we have the new Blandford ship kit to think about.
Thanks yes, I got through that issue unscathed. Yea get going. Models wont build themselves !Your stock of new wood looks as good as your model build.
Glad you got your error noticed and fixed.
Keep up the good work, more inspiration for me to dig my kit out and get going as I am far far behind all others who have started.
And now we have the new Blandford ship kit to think about.
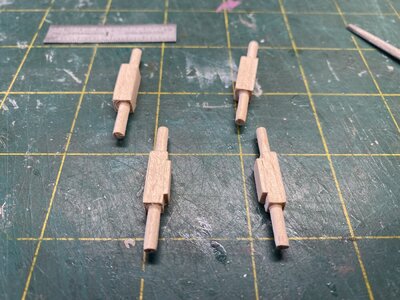
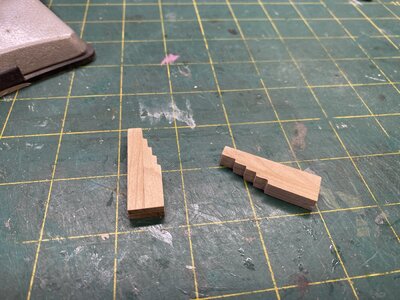
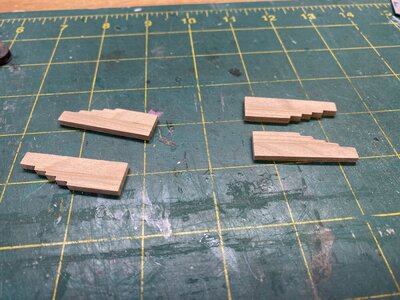
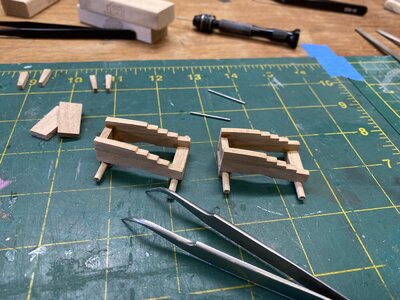
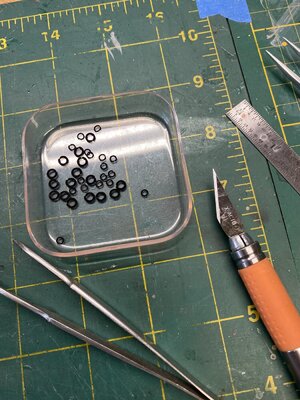
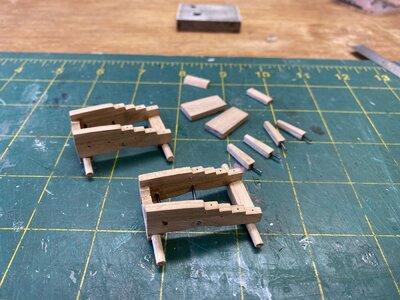
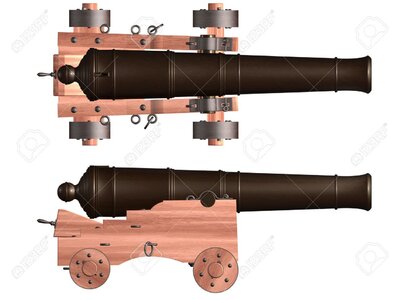
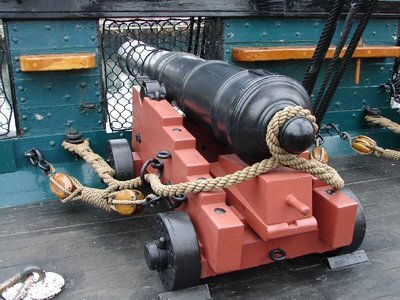
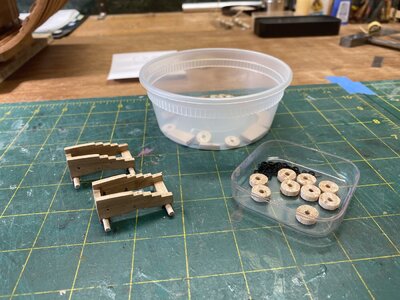
Doesn't the rectangular portion of the axel extend under the cheeks, and not the cylindrical part of the axel?Gun carriage progress. I rubber cemented two half’s and cut them out at once so I’d have identical sides, they are made up up 2 pieces each side although the joint can barely be seen. I cannot for the life of me figure out how the Quinn’s go in. Anyone ????
View attachment 293568
View attachment 293569
View attachment 293570
View attachment 293571
View attachment 293572
View attachment 293573
View attachment 293574
- Joined
- Oct 17, 2020
- Messages
- 1,691
- Points
- 488

Hello tonphil, if you allow me, Thank you, these puleges must be two but separate.Progress. Waterways, spirketting and liner installed. Pillars and bits made. Hold completed. Etc etc.
View attachment 287471
View attachment 287472
View attachment 287473
View attachment 287474
View attachment 287475
View attachment 287477
View attachment 287478
View attachment 287479
View attachment 287480
View attachment 287481
View attachment 287482
View attachment 287483
View attachment 287484
View attachment 287485


Yes it does but these are together now so they'll stay that way. The quoins I was mistaken how I saw the plan, I saw it as two per gun when it was a view of the top and side of only one. My first scratch build I'm giving myself some leeway on accuracy.Doesn't the rectangular portion of the axel extend under the cheeks, and not the cylindrical part of the axel?View attachment 293670
View attachment 293671
yes indeed, but this is the way I made them and I'd like to get this done sometime in the near future. My first scratchbuild, I'm not looking for perfection.Hello tonphil, if you allow me, Thank you, these puleges must be two but separate.View attachment 293674
View attachment 293673
- Joined
- Oct 17, 2020
- Messages
- 1,691
- Points
- 488

Thanks for answering me, I'm sorry it's not for the perfection but just for an observationyes indeed, but this is the way I made them and I'd like to get this done sometime in the near future. My first scratchbuild, I'm not looking for perfection.
yes understood, no problem, I learn everyday and that's what its all about.Thanks for answering me, I'm sorry it's not for the perfection but just for an observation
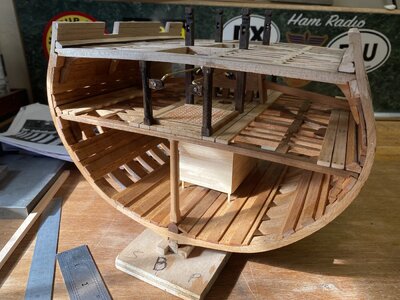
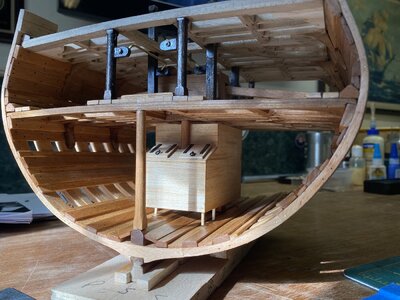
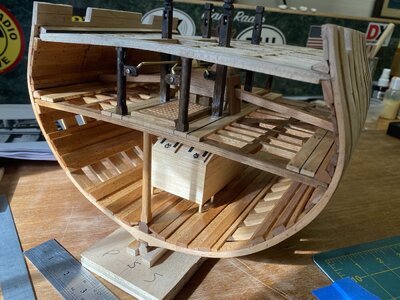
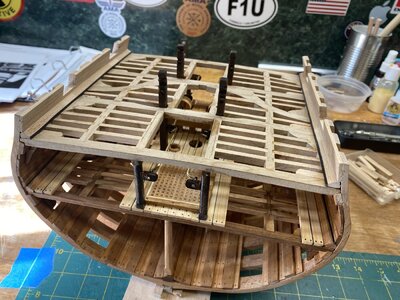
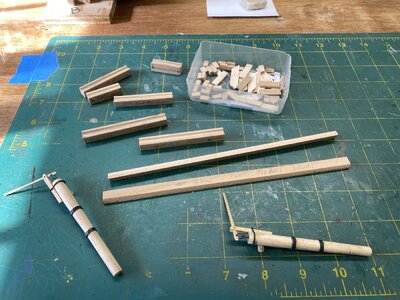
I oiled what I could again going up to above the lower deck. I got a lot or parts made this week. Added the lining at top deck, cut the gunports. Made the waist rails and plank sheers. I had to take the elm tree pumps apart and change the direction of the handles. Cut the parts for the top deck ladders. Gun carriages almost ready to go. Good progress. Getting close.
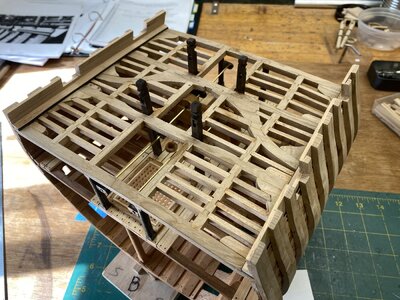


Your work on the Blandford section is really looking good - well done
Thanks so much. I hit some hurdles but nothing insurmountable.Your work on the Blandford section is really looking good - well done
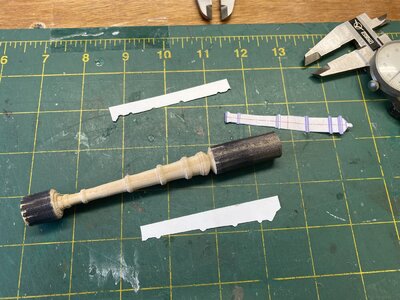
Managed to turn a prototype gun in wood today. Also made positive and negative templates from styrene. The cannon tip section is off by about 1/16 in diameter so I’ll just have to make sure when I turn the aluminum I don’t make the same mistake. I was working quickly and with lathe tools by hand. The aluminum barrels will be cut with much more care !
