• LUCZORAMA SHIPWRECK SCAVENGER HUNT GIVEAWAY. 4 Weeks of Fun • 1 Legendary Prize ((OcCre’s Fram Ship)) • Global Crew Welcome!
    **VIEW THREAD HERE**

Unimat Hobby Lathe Restoration

OK, ladies and gentleman, If I can call you that....

First up today is repair of the motor power cord. So first step was to remove the black tape to see damage, then inspect wire to actual damage which looks like a not so friendly rat or squirrel might have nibbled on.

I think I had show the power cord and damage in another posting so here is repairs.

I stripped back insulation on cord till I got to damages spot, which exposed about 4" of wire. Then I measured what I needed from original ends for installation.
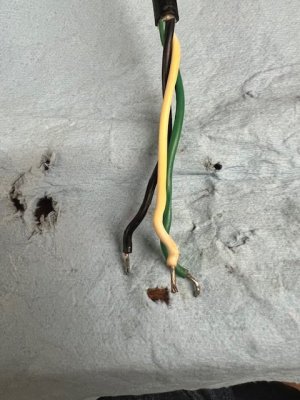
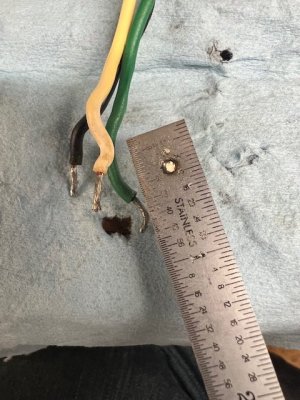
Stripped Wire.jpgMeasure needed lelngth.jpg

Next up was to cut and strip the wires and solder the new ends for installation in the switch housing.
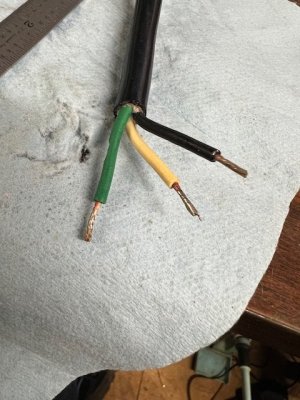
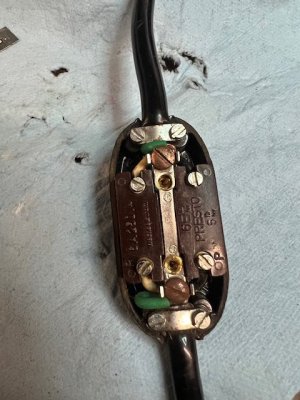
Cut and Soldered.jpgInstalled in switch.jpg

then it was time to reinstall the cover and check how it fit and went together, all was well at this point with repairs.
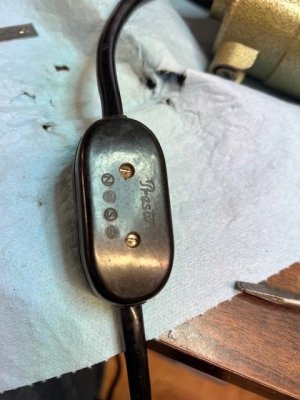
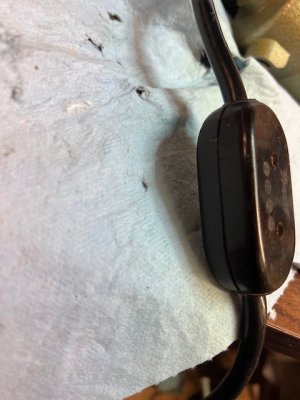
Switch assembled back.jpgView of switch.jpg

Last but not least as another user mentioned, time to check the bushes for the motor, they have a nice cap to remove and then pull them out, they both looked good so careful install was done, as they are slightly rectangular, to not go back wrong. Just had to make sure I didn't have them 180 out. Fun with spring cap end, as it also only fit a certain way in and pop the cap on and finger tighten.
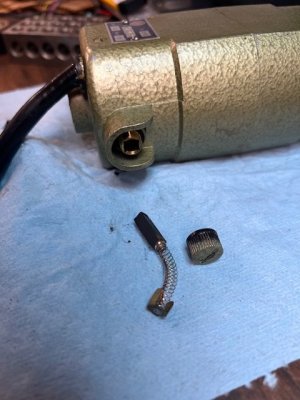
Inspecting brushes.jpg

Last but not least was a quick test run and all was well.
 
Next up the old traditional Saturday night bath, we all got one as kids weather we thought we need one or not. ROTF

So this was a multi-step process, repeated in batches for small parts and all the hardware.

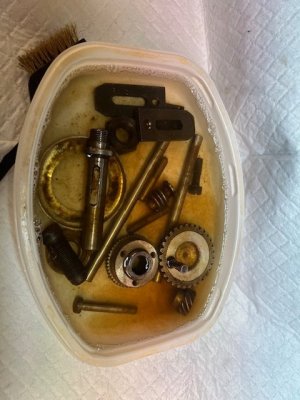
First up was a quick dip in degreaser to remove junk and grime, and any grease or oil coating.

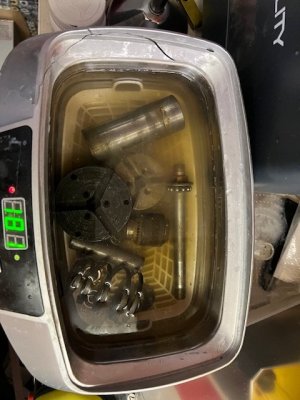
Then a warm bath in ultrasonic cleaner for a few minutes to get stubborn stuff loose.

Last up was clean water rinse, and a bath in white vinegar, to help with rust removal. Other websites said the WV was safer than some other chemical rust removal dips, and I had some on hand. It worked well on helping get metal surfaces looking nice. At one of the steps, it seems that the "Bluing" on some hardware was removed, so I have replace that to help keep them from rusting.

Parts in degreaser.jpgUltrasonice cleaner 1.jpg

So steps one and two went OK, but I learned water gets HOT in ultrasonic cleaner when trying to fish out the little parts that drop thru the lift basket.

Not easy to due with thick rubber gloves.

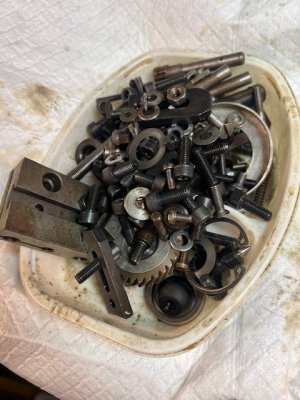
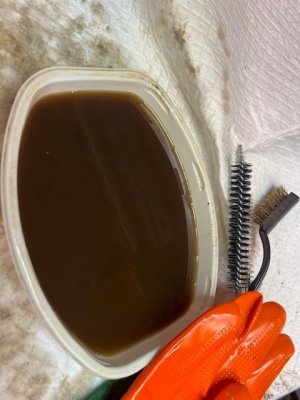
Bits and Pieces after cleaning.jpgdegreaser after first batch of parts.jpg

These are tub of parts after cleaning and ultrasonic cleaning waiting dip in white vinegar to help the rust. And the degreaser after about three batches of parts ready to be tossed and replaced with clean stuff.
 
I don't care for the 'Group' cookie policy
I am a member of several hobby related groups and put up with the cookies, but it is the incresing of AI posted messages that are getting most folks made at the groups. Seems the owners turned AI responses on for all groups by default, and each group moderator has to turn them off. What a waste of time.
 
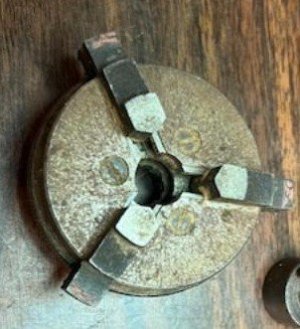
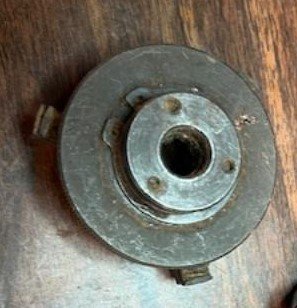
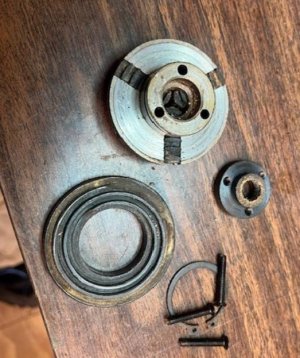
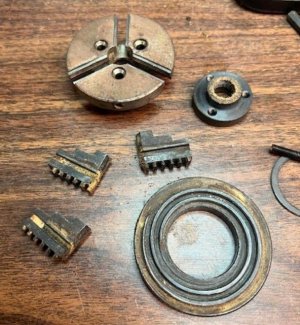
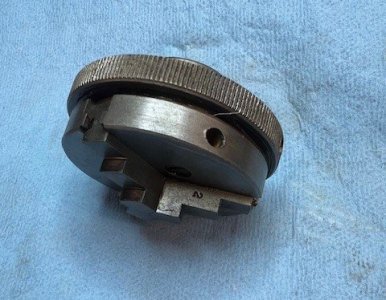
OK, up for more of todays work, I got the nasty rusty and crusted 3-Jaw chuck cleaned up and reassembled today.

Not too many parts on this one, main part is the moving back with spiral slots on it, which drive the 3 dependent jaws in and out. You have to insert the jaws in proper sequence aka 1-2-3 as you spin the back ring to bring them in. They can be brought all the way out and reversed, and again must be installed properly.

The back ring is held in place with a snap ring, and then there is a mount base which screws onto the jaw base, it has the threads that allow it to attach to the spindle shaft, or tailstock shaft as they are the same thread, 12x1.
 
OK, so I click post reply before adding photos.

3-jaw chuck before.jpg3-jaw chuck backside.jpg
The before photos showing cruds and rust.

3-jaw back side.jpg3-jaw disassembly part 1.jpg
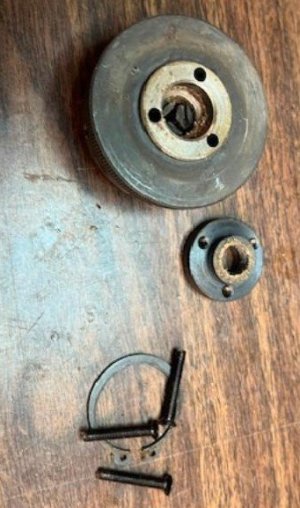
So here is photos showing the mount ring removed by removing three screws from front of jaw face.


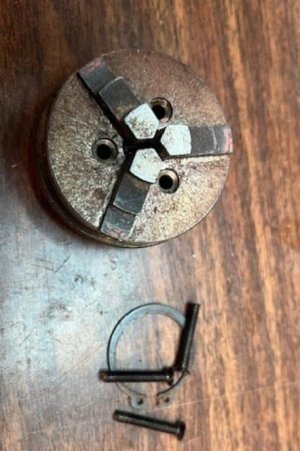
3-jaw disassembly part 2.jpg3-jaw parts.jpg
These are photos showing back removed, with jaw still in front body, visible in center of jaw body and bottoms in slots, then the shot with jaws removed, which are so dirty you can't see the numbers on the side.

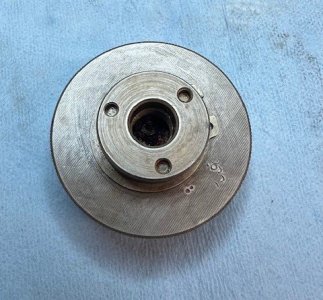
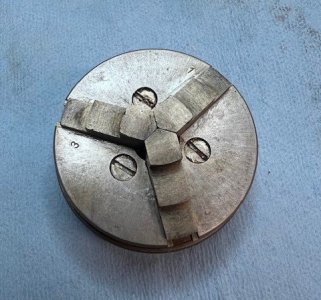
3-jaw back done 2.jpg3-jaw front.jpg
3-jaw back done.jpg
so now you see the cleaned and reassembled 3-Jaw chuck, ready for use, and you can see the numbers on side of jaw in last photo and on face of second photo, critical for proper assembly. Now to wait on my order of bars to use for opening and closing and tightening the jaw of death...just kidding there.
 
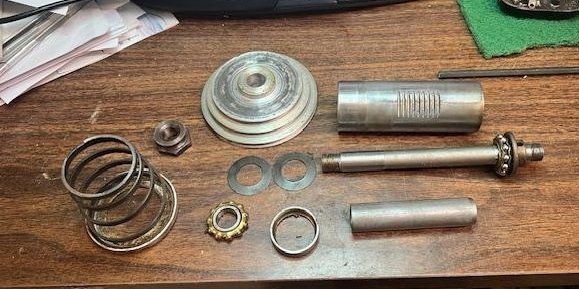
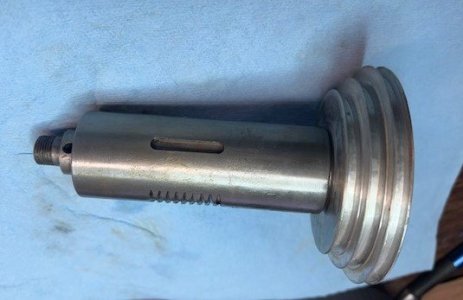
Also for nights pleasure for those up late the spindle is reassembled and ready to install in headstock when it is cleaned.

First up is photo of the spindle as removed and parts.

spindle parts.jpg

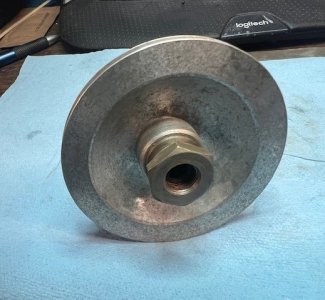
Next is photos of assembled spindle, except for spring, which will come when I am ready to install in headstock with motor mount bracket, as a working group.

spindle done.jpgspindle drive end.jpgspindle drive see thru.jpg
 
Last edited:
they were a mix of Philips and slotted screws, and I only had imperial screw driver on hand!
Kurt,
Emco was made in Austria, they will be metric slot head screws. Good job you didn’t mix up metric and imperial Philips head screws though, it’s really easy to get that wrong.

J
 
This is a super refurb tutorial, Kurt.
Like you, mine was a deep dive but this will give the more cautious confidence to jump in. It took me a week to sort my 3 lathes out, I was fortunate as any rust was a light bloom.

Looking at my diaries, mine were done 10 years ago!
No ultrasonic cleaner or fancy chemicals; just a brass wire brush, parafin and green pan pads.

Make sure all bare metal is blathered with machine oil.
Just wipe it down with a lint free cloth when you want to use it, clean up and don't put it away before more oil to preserve it (the bluing isn't a great deterrent to rust).

The hole for the quill shaft can be usefully bunged up with a suitable item, to stop chips and swarf getting inside.

A guard over the lead screw saves a lot of clean up.

UNIMAT produced a riser block to significantly give more swing.

s-l1600 e.jpgs-l1600 b.jpgs-l1600 e.jpg
 
Last edited:
so now you see the cleaned and reassembled 3-Jaw chuck, ready for use, and you can see the numbers on side of jaw in last photo and on face of second photo, critical for proper assembly.

WOW that chuck looks good like almost new. When you done with the rebuild you are looking at a $1,000 + machine

Reminds me of the days with my brother who restores classic cars. He stripped then down to a pile of parts then began the rebuild. When he was done it was a show piece.
 
i hope you continue this topic so we can see the machine up and running and the full potential of using it. I never tried the table saw or planer. i will say it is an absolute precision machine for milling.
 
Kurt,
Emco was made in Austria, they will be metric slot head screws. Good job you didn’t mix up metric and imperial Philips head screws though, it’s really easy to get that wrong.

J
I used the great Amazon to find a good source for Metric screws and nuts, I ordered a few extras for just in case, as parts cost way less then the shipping for a few allen screws.
 
i hope you continue this topic so we can see the machine up and running and the full potential of using it. I never tried the table saw or planer. i will say it is an absolute precision machine for milling.
I do plan on trying it out on something, but that may be a month down the road. I got lucky on the UNIMAT groups page, and found another retired AF guy who also has a Unimat, just a few miles from my house. He said he can help me with getting my project started.
 
I may have nice ultrasonic cleaner to help, but there is still plenty of work with elbow grease being applied with brass wire brush and scrubbing with scotch bright pads to get them clean. I started out with big start, and now into the slow actual cleaning and assembly work, one piece at a time.

At least it gives me something to do in my airconditioned shop while the outside temps are still in mid 90s at 7-8 PM here in sunny Oklahoma.
 
Back
Top