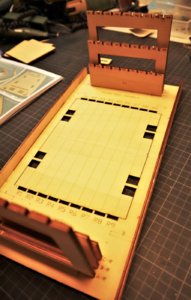
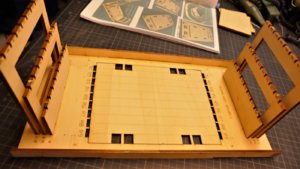
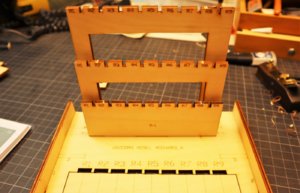
USS BONHOMME RICHARD - POF - Cross Section in Pear - 1:48 - by Uwe

Uwek

Administrator
Staff member
Administrator
Forum Moderator
Joined
Dec 25, 2017
Messages
33,359
Points
1,238

Location
Vienna, Austria
Yesterday I started the first activities on my section model - in order to warm up

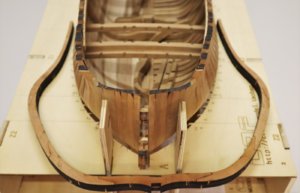
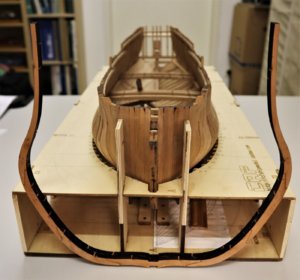
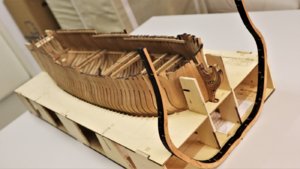
At the end it should look like this
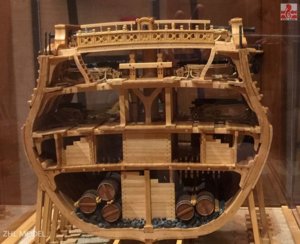
USS Bonhomme Richard 9_zpsebr2jkf6.jpg

a kit review you can find here:


OK now let us start:

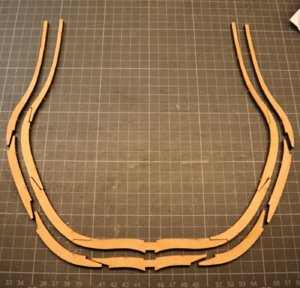
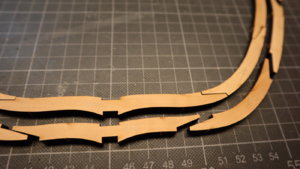
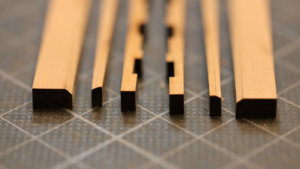
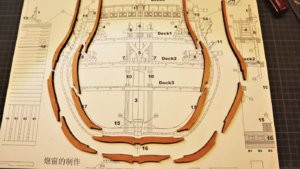
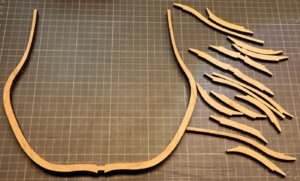
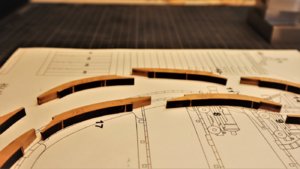
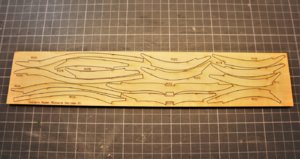
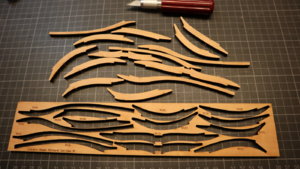
- the first parts of one double frame - the parts of one frame are laser cut on one timber board - btw: very accurate laser cuts, definitely 90° vertical cuts with only some 0,2mm cut - you need a very strong and sharp knife to get them loose
IMG_3799.JPG

IMG_3800.JPG

IMG_3801.JPG

IMG_3803.JPG
 
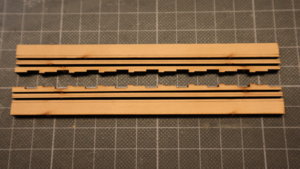
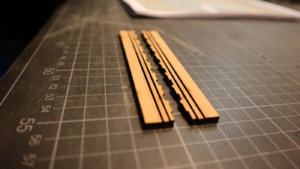
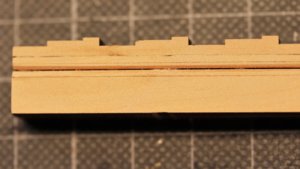
The keel is prepared with six parts, I guess to make it easier to cut or sand the rabbet - the contact line of two element is exactly in the center of the rabbet line
Nice idea, I will see at the end if this is an advantage

IMG_3804.JPG

IMG_3805.JPG

IMG_3806.JPG

IMG_3808.JPG

IMG_3817.JPG

IMG_3816.JPG
 
G'day Uwe, it's nice to see you have made a start, I hope to pick up some useful tips, good to know it looks like everything will fit OK, I will follow along, I 'm itching to start mine but I already have a lot going on now, it will be interesting to see how the top of the bulwarks turn out, before I bought mine I sent them a message and asked if that is how the kit builds up, and they said the photo's were of a model that someone had built but there had been a lot of scratch work incorporated, anyway enjoy,

Best regards John,
 
Nice start Uwe, I have to say that I envy you a bit since most of the parts are finished cut and a practical build jig.
In my projects now I have to produce all the parts myself, but the time comes when (Alert) comes to me in the mail.
If I have calculated correctly I am number 43 on the list and if Trident makes 15 sets a month will believe around January 15 or some later.
---
 
This must be for sure a very nice build! Do you also have the full interior?

Yes, I bought the complete add-ons, which are available, incl. the barrel set, the interior and also the box-wood carvings........and I have in stock some timber for necessary scratch-batch-activities

Looks like a nice project Uwe. Did you order the stern and bow sprit section also. ;)

In moment not, due to the fact, that they are not POF-kits, but it would be a nice triple-set the sections together - Remember Karl alias @Jeronimo ´s amazing section models.
Maybe I will order them after or during the construction of this one

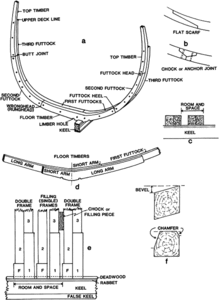
Interesting are the joints between the parts of the frame. Never seen this before. My documentation
of french ships of this epoch shows this detail different. The plan from Jean Boudriot as well.
Its a straight parting line.
However.... I wish you a happy and joyful building, Uwe.

Yes, you are right - here is the detail of the Boudriot drawings, taken from the Planset review I made some time ago

IMG_34901.jpg


BTW: Many Many thanks for all the comments and the Likes I got in response to my first posts of this topic. I will try to show all working steps, so you can get a good impression of this kit
 
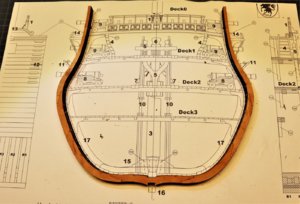
Today I copied the plan several times, so I have the necessary cross-section for the final fixing of the frame elements.

only some smaller adjustments were necessary, in order to prepare the joints
IMG_38411.jpg

Joints glued and fixed
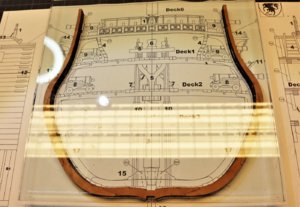
IMG_38421.jpg

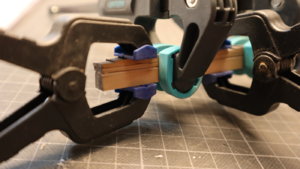
I am using a thick glass in order to press and fix the parts of the double frame -a last control is possible, before .....
IMG_38431.jpg

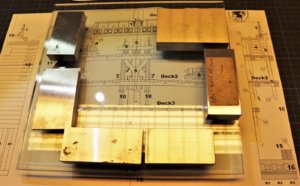
.... I put some weights on top - now the wood glue can dry
IMG_38441.jpg

First frame is finished and the elements of the next frame can be prepared
IMG_38881.jpg

Many Thanks for the interest ..... to be continued .....
 
I want to show you here some photos to show the different of size between a mortar ketch like my french La Salamandre and a frigate like the USS Bonhomme Richard (ex french Duc de Duras, a merchant ship built in France for the French East India Company in 1765)
Both models are in scale 1:48. The Salamandre was a relative small vessel ....

IMG_38481.jpg

IMG_38451.jpg

IMG_38471.jpg
 
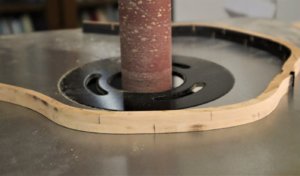
Yesterday evening I decided to check the appearance of the joints of the first frame, before I make the other ones.
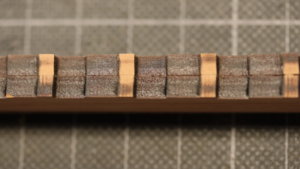
So I started to remove the laser char from the outer side of the first frame with my spindle sander, so I could get a first impression of how the joints will look like.

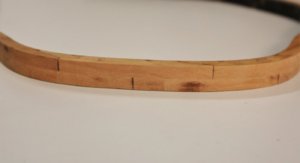
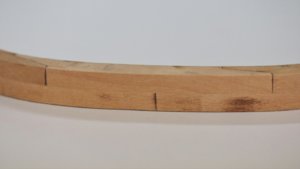
This is the result
IMG_39011.jpg

IMG_39001.jpg

IMG_38991.jpg

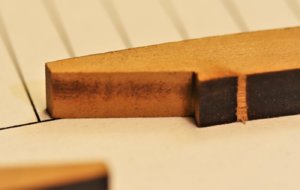
So I realized, that I have be much more careful with removing also the char at the joints - for my taste the dark joint is too dominant.
This is the disadvantage of the flat scarf joints of the parts - with the usual butt joints, like Oliver @Olivers Historic Shipyard mentioned already, the sanding (and removing the char) of butt joints is much easier

oxfordhb-9780199336005-graphic214-full.gif

So therefore I tried to remove the char better with the second frame
IMG_38971.jpg

IMG_38981.jpg

IMG_38961.jpg

- today evening I will sand the second one with the spindle sander and will compare the result

Many Thanks for your interest ..... to be continued .....
 
That is a very meticulous work cleaning those joints.What are you using for that job? manual or a machine? Great stuff !

Many thanks for your comment
Yesterday I tried manually with a fine flat rasp / file - will see the result after sanding the outside of the frame with the spindle-sander
 
Back
Top