TO JOHN AND UWE, BEAUTIFUL BUILDS, QUESTION HOW ARE YOU GOING TO FINISH THE FRAMES WITH SIDES OF THE FRAMES WITH SUCH SMALL SPACING. Don
-

Win a Free Custom Engraved Brass Coin!!!
As a way to introduce our brass coins to the community, we will raffle off a free coin during the month of August. Follow link ABOVE for instructions for entering.
-

PRE-ORDER SHIPS IN SCALE TODAY!
The beloved Ships in Scale Magazine is back and charting a new course for 2026!
Discover new skills, new techniques, and new inspirations in every issue.
NOTE THAT OUR FIRST ISSUE WILL BE JAN/FEB 2026
You are using an out of date browser. It may not display this or other websites correctly.
You should upgrade or use an alternative browser.
You should upgrade or use an alternative browser.
USS BONHOMME RICHARD - POF - Cross Section in Cherry - 1:48 - by neptune,
- Thread starter neptune
- Start date
- Watchers 34
-
- Tags
- bonhomme richard unicorn
John,firstly,great work
I have had a mad thought,is it feasible to turn one section round and join the two together making one extralong section
Some parts would be redundant but it would make for an impressive model
Kind Regards
Nigel
Could Uwek check with his drawings to see if that is doable , at least the basic set without the additional interior or just some of the added items ??
Hallo,
due to the fact, that it is in my opinion a very good idea, I took a closer look at the drawings of the HMS Bonhomme Richard and marked the border lines of a possible double-section. I used my topic not to interrupt John´s building log too much
USS BONHOMME RICHARD - POF - Cross Section in Pear - 1:48 - by Uwe
In Johns alias @neptune topic somebody asked about the possibility of adding a second section in order to prolong the section from 9 to 18 frames. So I took the Boudriot drawings of the HMS Bonhomme Richard and checked it roughly - The border lines would be the metal rulers you can see, that...
shipsofscale.com
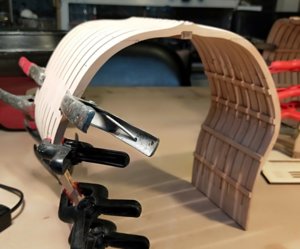
So today I attached the side beams ( I think they are called Ledges ) that support the deck beams,
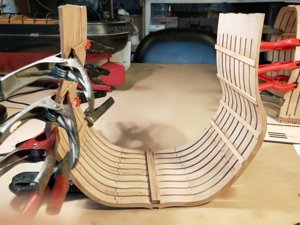
Another view, still got to attach the keel yet,
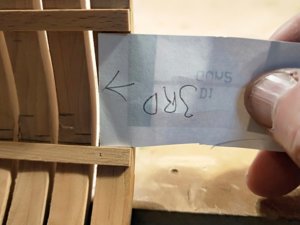
after attaching the beams and before the glue had dried I double checked with a paper spacer gauge just to
make sure they hadn't moved,
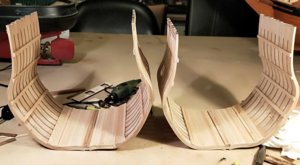
next up was to start planking the floors, first eight planks either side were the thin stuff, 6x2mm, then the next
three are the thick stuff 6x3mm, still have to sand them flush yet,
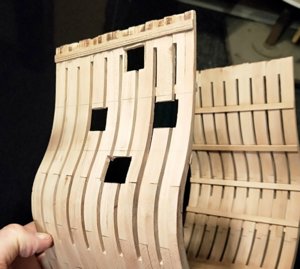
and finally to finish off the day I managed to cut out the four ports on one section, I have left the final trimming
till I add the port surrounds,
.
Last edited:
Very good progress my friend - you are fast, especially compared to mine - and I am working only on one section and not a twin 
And I made a fast photo of the cross section drawing in the monograph of Jean Boudriot of the HMS Bonhomme Richard - it is a good overview to see the different planks of the inside planking. Maybe this is helping a little bit
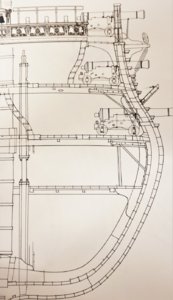
And I made a fast photo of the cross section drawing in the monograph of Jean Boudriot of the HMS Bonhomme Richard - it is a good overview to see the different planks of the inside planking. Maybe this is helping a little bit

Thank you for the photo, its good to check it against the plans in the kit, I was pleasantly surprised, there is not a lot of differences, the cast iron knee supports, the port lids and some of the planking on the exterior, I'm glad to see that the Top rail of the bulwarks is the same in the kit, but over all considering that it is a kit I think they have done really good, you have been a big help, thank you,
best regards John,
best regards John,
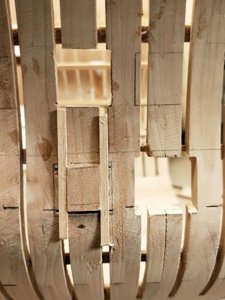
I have finally cut out all the gun port openings , however I nearly made a really big
Blunder I got mixed up with the front and the aft end of the section and marked
the gun ports from the wrong end, luckily I noticed it once I had cut the first port,
and then remarked them the correct way, but that left me a gun port to fill in, that
seems Ironic especially after we have just been talking about the gun ports being
planked up, so i cut a piece of wood to fit and glued a chock either side for strength,
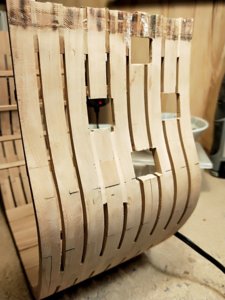
the filed in Gun port after sanding, its lucky that this area is planked over so
everything should be OK,
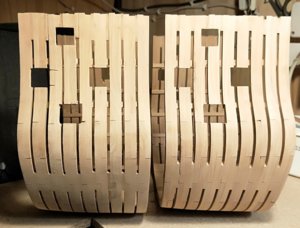
The two starboard sides of the sections,
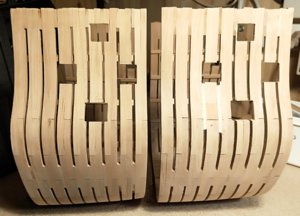
and the two port sides with the filled in port,
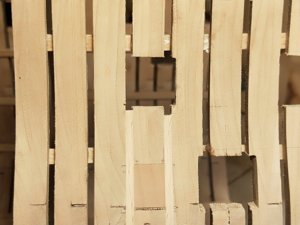
and a close up of the repair, the ports are just a little bit under size so I can adjust when fitting the port frames,
.
TO JOHN AND UWE, BEAUTIFUL BUILDS, QUESTION HOW ARE YOU GOING TO FINISH THE FRAMES WITH SIDES OF THE FRAMES WITH SUCH SMALL SPACING. Don
I'm sorry Don, I just realized that I hadn't replied to your question, I'm not sure at the moment what I'm going to use whether it be varnish or oil,
best regards John.
Maybe this was the time for you, to decide if you want to build one section as Duc de Duras and the other one as Bonhomme Richard ?View attachment 115102
I have finally cut out all the gun port openings , however I nearly made a really big
Blunder I got mixed up with the front and the aft end of the section and marked
the gun ports from the wrong end, luckily I noticed it once I had cut the first port,
and then remarked them the correct way, but that left me a gun port to fill in, that
seems Ironic especially after we have just been talking about the gun ports being
planked up, so i cut a piece of wood to fit and glued a chock either side for strength,
View attachment 115103
the filed in Gun port after sanding, its lucky that this area is planked over so
everything should be OK,
View attachment 115104
The two starboard sides of the sections,
View attachment 115105
and the two port sides with the filled in port,
View attachment 115106
and a close up of the repair, the ports are just a little bit under size so I can adjust when fitting the port frames,
.
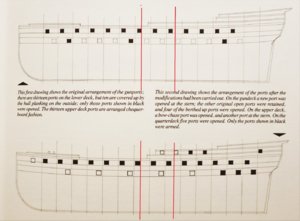
If I would have two, I think I would do this in such a way - to show the same ship, but with and without modifications.....
Guns you have enough in the kit, too much for building the model historical correct, only gunport lids are too less, but this would be not the biggest problem
THANKS JOHN, IF YOU COULD LET ME KNOW IT WOULD BE A BIG HELP. Don
Thanks Uwe but I think I will just stick to how the kits are built for now, but thanks for the Information,
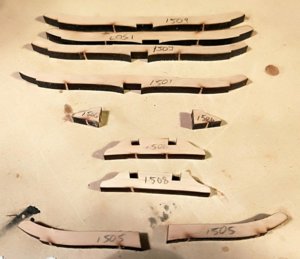
I am now starting on the internal structure, these are the parts that make up into the mast step, I think they
could be called riders, I'm not sure,
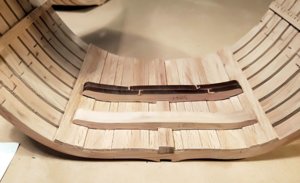
both have been glued together and the front one has had the char removed, I'm just testing them for fit,
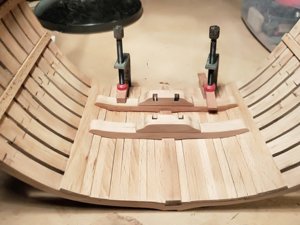
The far one has now been glued and clamped, and the nearest one is also ready for gluing,
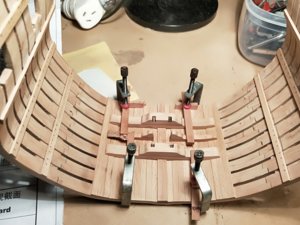
and with the middle ones also glued in place, you can see in this pic where I have also marked on the ledges
where the deck beams will go, they give you four strips of plywood one for each deck, they have marked on
them all the positions of the deck beams,
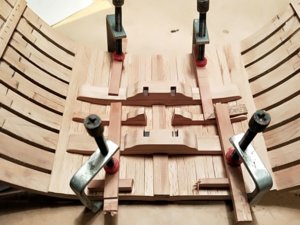
closer view, I also have all these parts for the second section assembled and cleaned of char, but not yet glued
into the hull,
.

I am now starting on the internal structure, these are the parts that make up into the mast step, I think they
could be called riders, I'm not sure,

both have been glued together and the front one has had the char removed, I'm just testing them for fit,

The far one has now been glued and clamped, and the nearest one is also ready for gluing,

and with the middle ones also glued in place, you can see in this pic where I have also marked on the ledges
where the deck beams will go, they give you four strips of plywood one for each deck, they have marked on
them all the positions of the deck beams,

closer view, I also have all these parts for the second section assembled and cleaned of char, but not yet glued
into the hull,
.
Last edited:
John, you are very fast modeler - Very good progress and it is looking very goodThanks Uwe but I think I will just stick to how the kits are built for now, but thanks for the Information,
View attachment 115220
I am now starting on the internal structure, these are the parts that make up into the mast step, I think they
could be called riders, I'm not sure,
View attachment 115221
both have been glued together and the front one has had the char removed, I'm just testing them for fit,
View attachment 115222
The far one has now been glued and clamped, and the nearest one is also ready for gluing,
View attachment 115223
and with the middle ones also glued in place, you can see in this pic where I have also marked on the ledges
where the deck beams will go, they give you four strips of plywood one for each deck, they have marked on
them all the positions of the deck beams,
View attachment 115224
closer view, I also have all these parts for the second section assembled and cleaned of char, but not yet glued
into the hull,
.

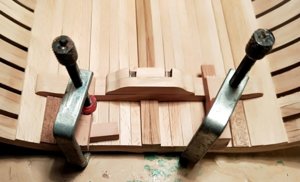
This is the second section now, the two darker pieces of wood to the sides of the clamps are only temporary
spacers just to ensure that each side is the same distance from the edge of the section, there are not glued,
just sitting there,
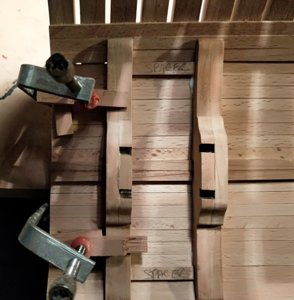
here you can see the same thing again, the spacer at the top and the bottom, they just pull out afterwards,
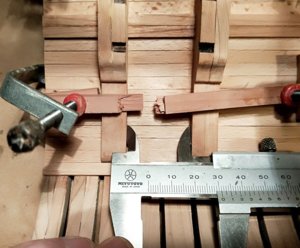
and a double check with the vernier just to make sure nothing has moved, they do not look even but they are,
it is only the camera playing tricks,
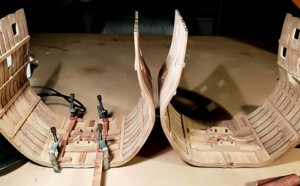
second section glued and clamped up,
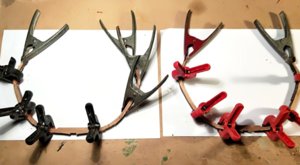
and these are the reinforcing frames that go inside the hulls,
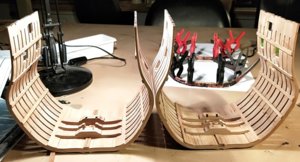
and the two sections as they are at the moment,
I would just like thank every one for the comments and the likes,
best regards john,
.
As Uwe mentioned, you are a fast builder! Great\skilled builds like yours and Uwe's , not just attract to a model itself, but made strong consideration for future purchase!  Very, very good!! looking forward to your next update!!
 Very, very good!! looking forward to your next update!!
As Uwe mentioned, you are a fast builder! Great\skilled builds like yours and Uwe's , not just attract to a model itself, but made strong consideration for future purchase!Very, very good!! looking forward to your next update!!
Thank you Jim for the very kind comments, I am really enjoying these builds and I am glad you are too,
Best regards John,
I agree completely with you - this section model of the Bonhomme Richard is really enjoying - good quality and no monotony.Thank you Jim for the very kind comments, I am really enjoying these builds and I am glad you are too,
Best regards John,
The advantage of such a section is the fact, that you see very fast the progress.
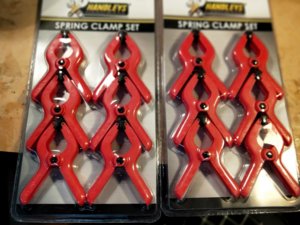
Well first of all I was down the local hardware store today and I saw these clamps for only $3 a packet so
I bought a couple of packs, they will come in handy,
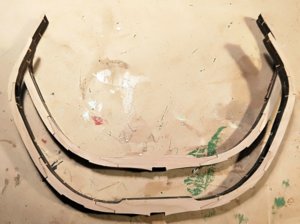
The two reinforcing frames, one for each section, still have to be cleaned up,
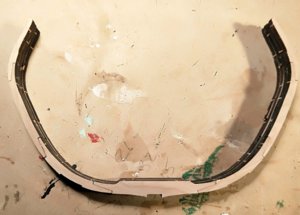
and the two sections laying on top of each other, I'm really impressed with this kits accurate laser cutting,
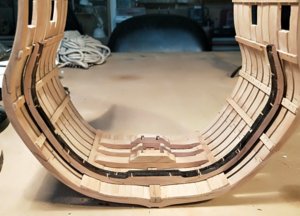
Without any sanding the frame just slipped inside the hull,
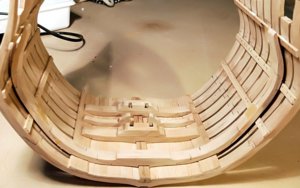
and after cleaning off the char,
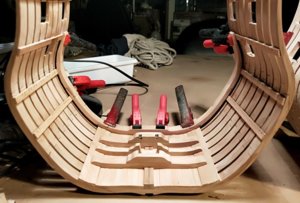
and gluing in place,
.
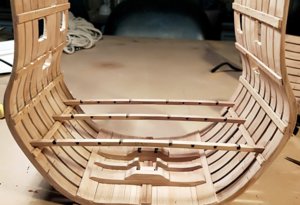
Sorting out where the deck beams go, this was before I glued the frames into the hull,
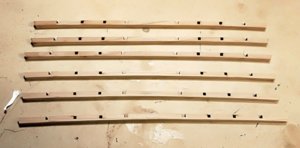
the lower deck beams for the sections,
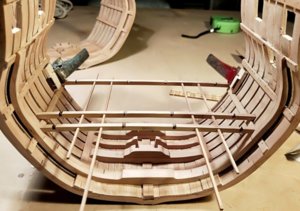
Arranging the beams in the right order, two of them sit on the side beams but the one at the front rests up against
the internal frame and has to be cut to fit, so I put in place the two beams that are sitting on the side beams then
I slipped the front beam up against the frame and marked it for cutting, removed it and cot it to size and with a
little bit of a clean up it fit just right,
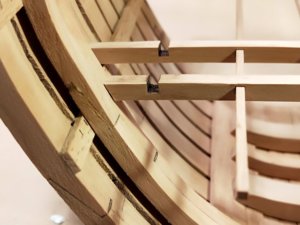
close up view,
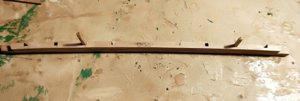
the beam for the other section was exactly the same size, so I laid the cut beam over it and located a couple
of pieces of wood down through the laser cut holes to hold it in place and then cut off the excess,
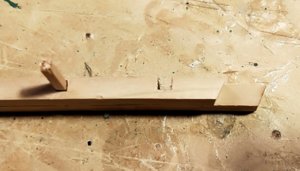
close up before cutting to size,
.
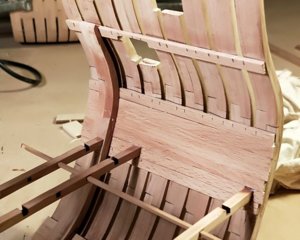
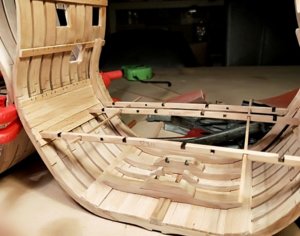
Well that's the main beams for the lower deck glued in place along with the side planking the ends of
the planking still have to be sanded, got to take it easy now as I am at the stage of starting to incorporate
the upgrade package into the section, and I'vegot to work out what goes where and in what order,
.
That is looking very good. I am looking forward until i can restart the work on my section.
G'day Uwe, thanks for the drawings, I had glued the lower deck beams in place before I received the drawings, if I could go back I would have left the beams till after I had built the shot locker, as the beams that go in front and behind it have to be very exactly positioned for the locker to fit, I am going to have to take approx .5mm off one of the beams so the locker will slip down through onto the keel, I cannot move either beam because they are locked in position by the side planking,That is looking very good. I am looking forward until i can restart the work on my section.
Best regards John,


