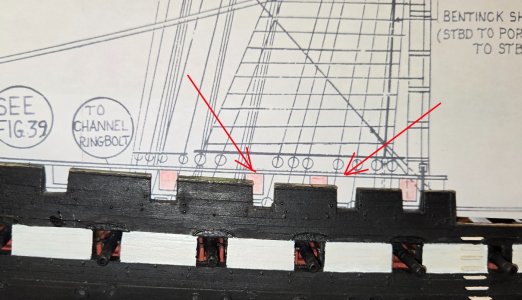
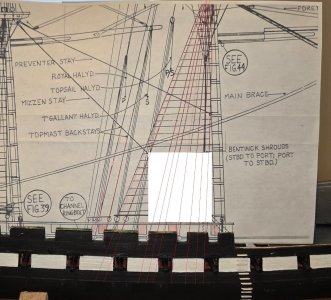
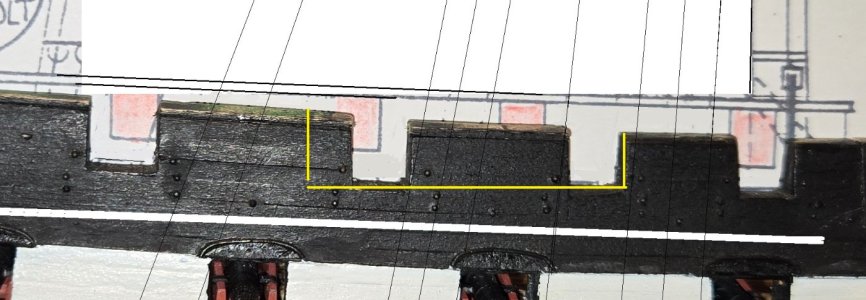
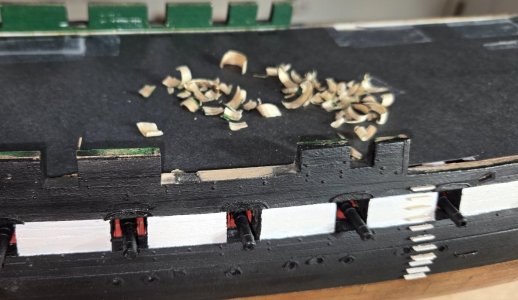
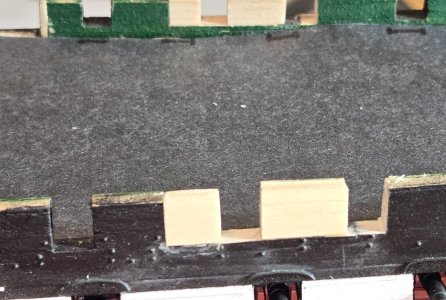
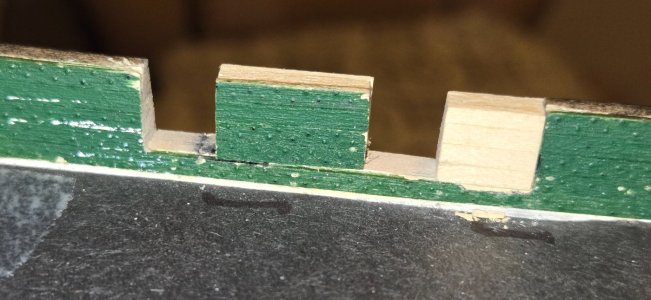
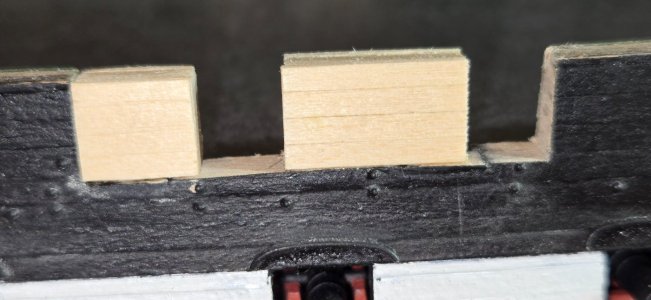
Well, the surgery was a success, at least to me. It went much better than I feared. After cutting out the section of bulwark that needed to be altered, I cut a piece of stock wood to fit the space. I measured the width of the bulwark at the base of the cut and thinned down this stock piece, accounting for the two layers of planking that would be added. Once the piece was thinned down, I first added planking to the inside. This allowed me to position the piece so that it was flush with the inside bulwark and I could fine tune the width. The bulwark is tapered, so it is thinner at the top than at the bottom. To get the proper shape and taper, I used a combination of Xacto blade and sanding stick to get it very close. Then, after adding the outside planking, I did some final sanding to get it to fit perfectly flush with the existing outside hull, This sanding took away a little of the planking detail, but it gave me a nice clean seam, which after a little putty and paint will not be visible. Once the piece was properly shaped, It was cut to the appropriat lengths to allow for the gunports and glued in place. I was able to recover the planking from the removed section on the port side and thus salvage the rivet detail. Was not able to do this on the starboard side
View attachment 613396
View attachment 613397 View attachment 613398
A little putty and paint and I will be ready to move on to the pin rails and other details on the bulwarks






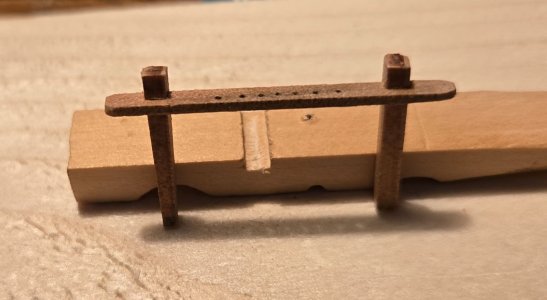


 . I always say, it beats the alternative. Only one way not to get older.