Great job
-

Win a Free Custom Engraved Brass Coin!!!
As a way to introduce our brass coins to the community, we will raffle off a free coin during the month of August. Follow link ABOVE for instructions for entering.
-

PRE-ORDER SHIPS IN SCALE TODAY!
The beloved Ships in Scale Magazine is back and charting a new course for 2026!
Discover new skills, new techniques, and new inspirations in every issue.
NOTE THAT OUR FIRST ISSUE WILL BE JAN/FEB 2026
You are using an out of date browser. It may not display this or other websites correctly.
You should upgrade or use an alternative browser.
You should upgrade or use an alternative browser.
I've started on some of the deck fittings, capstan, skylight binnacles and the ships wheel, these are proving to be very time consuming. Most these are scratch built with few parts provided.
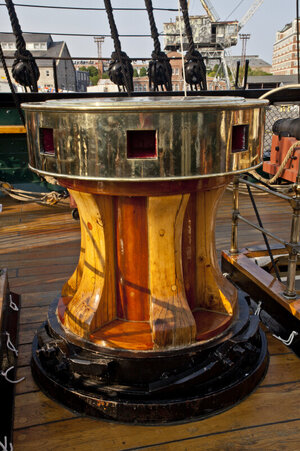
As I completed the capstan today I'll show the process. It comprises of 6 laser cut discs and whelps all mounted on a dowel.
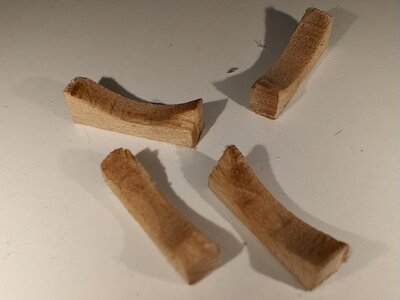
First problem, the laser didn't cut all the way through and when I tried to remove the whelps the corners broke off.
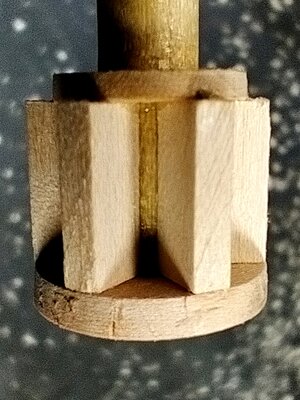
To make new whelps I assembled the parts first then filed the radius.
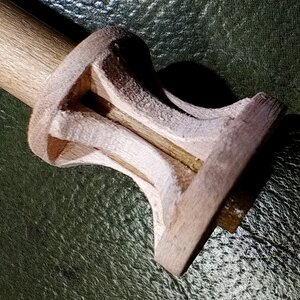
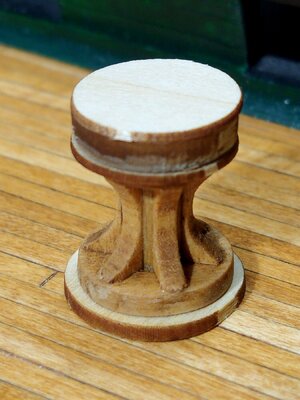
I wasn't happy with the way the wooden discs looked and I was going to have trouble with the square holes.
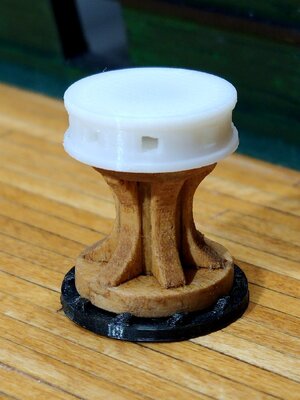
This is what I came up with using my 3D printer a much better alternative I think.
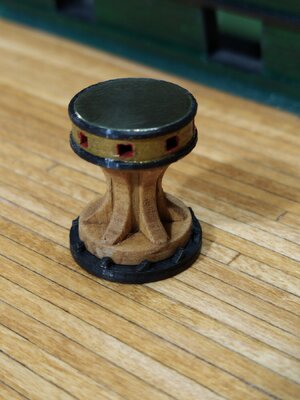
I finished it off with a bit of paint and some brass shim on top.
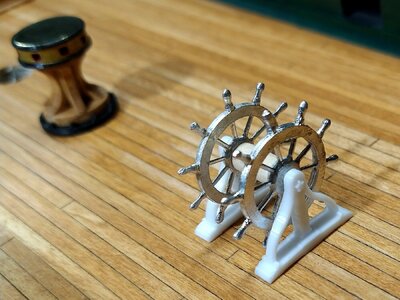
The ships wheel is currently under construction as you can see the printer is getting a workout. In fact I've used it for all the parts I'm currently working on, more photos are on the way as the parts are finished.
Tony.

As I completed the capstan today I'll show the process. It comprises of 6 laser cut discs and whelps all mounted on a dowel.

First problem, the laser didn't cut all the way through and when I tried to remove the whelps the corners broke off.

To make new whelps I assembled the parts first then filed the radius.


I wasn't happy with the way the wooden discs looked and I was going to have trouble with the square holes.

This is what I came up with using my 3D printer a much better alternative I think.

I finished it off with a bit of paint and some brass shim on top.

The ships wheel is currently under construction as you can see the printer is getting a workout. In fact I've used it for all the parts I'm currently working on, more photos are on the way as the parts are finished.
Tony.
- Joined
- Jan 26, 2017
- Messages
- 1,337
- Points
- 493

Capstan looks perfect.I've started on some of the deck fittings, capstan, skylight binnacles and the ships wheel, these are proving to be very time consuming. Most these are scratch built with few parts provided.
View attachment 443979
As I completed the capstan today I'll show the process. It comprises of 6 laser cut discs and whelps all mounted on a dowel.
View attachment 443980
First problem, the laser didn't cut all the way through and when I tried to remove the whelps the corners broke off.
View attachment 443981
To make new whelps I assembled the parts first then filed the radius.
View attachment 443982
View attachment 443983
I wasn't happy with the way the wooden discs looked and I was going to have trouble with the square holes.
View attachment 443984
This is what I came up with using my 3D printer a much better alternative I think.
View attachment 443985
I finished it off with a bit of paint and some brass shim on top.
View attachment 443986
The ships wheel is currently under construction as you can see the printer is getting a workout. In fact I've used it for all the parts I'm currently working on, more photos are on the way as the parts are finished.
Tony.
Capstan looks great. Lots of details on a small piece
Tony, you are incredible !I've started on some of the deck fittings, capstan, skylight binnacles and the ships wheel, these are proving to be very time consuming. Most these are scratch built with few parts provided.
View attachment 443979
As I completed the capstan today I'll show the process. It comprises of 6 laser cut discs and whelps all mounted on a dowel.
View attachment 443980
First problem, the laser didn't cut all the way through and when I tried to remove the whelps the corners broke off.
View attachment 443981
To make new whelps I assembled the parts first then filed the radius.
View attachment 443982
View attachment 443983
I wasn't happy with the way the wooden discs looked and I was going to have trouble with the square holes.
View attachment 443984
This is what I came up with using my 3D printer a much better alternative I think.
View attachment 443985
I finished it off with a bit of paint and some brass shim on top.
View attachment 443986
The ships wheel is currently under construction as you can see the printer is getting a workout. In fact I've used it for all the parts I'm currently working on, more photos are on the way as the parts are finished.
Tony.
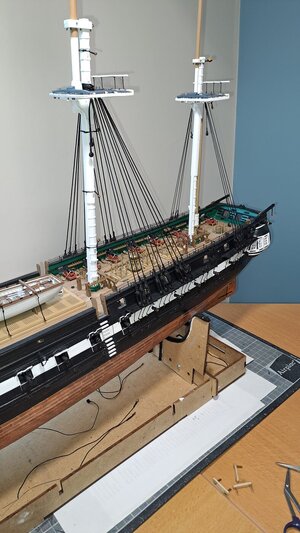
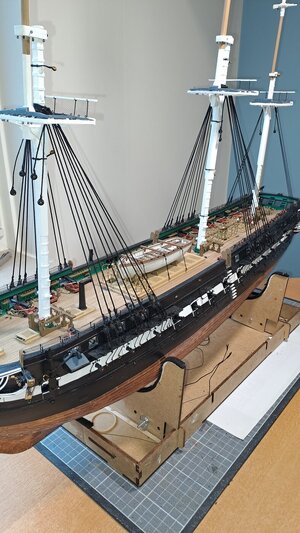
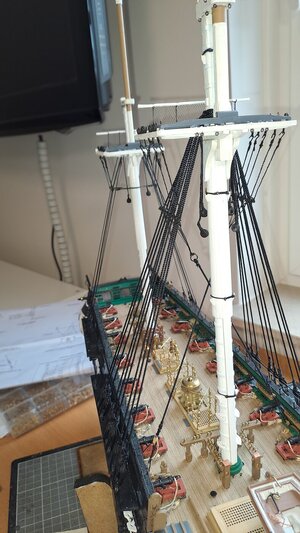
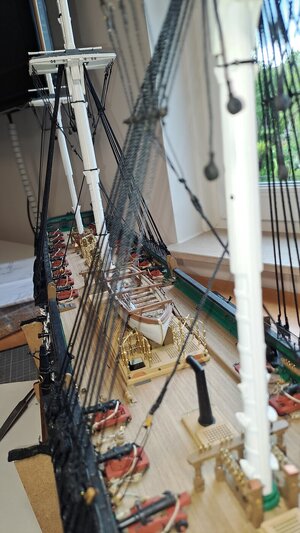
You are doing a great job! However, I have one question. Lately, I have been seeing models of the Constitution with top and bottom divided gunport lids with the guns sticking out of a central hole. Yet, the famous Michael Corne paintings show them removed, leaving no lids at all. Other paintings show single piece almost square doors. Which was it?The Strongbacks installed (36' Pinnace)
Installed of the quarter Davids (preparation, installation after rigging)
Rigging-stern Davids -
Start off rigging - installation of the S-Blocks and Bulleyes
Wood rung ladder of the Mizzen - main and fore still to do
and last but not least the Rudder Chain....


View attachment 442514
View attachment 442515
View attachment 442516
View attachment 442517
View attachment 442518
View attachment 442519
View attachment 442520
Bill
Not my favorite either. I plan to get back at it soon. Looking good my friend
Dear Bill,You are doing a great job! However, I have one question. Lately, I have been seeing models of the Constitution with top and bottom divided gunport lids with the guns sticking out of a central hole. Yet, the famous Michael Corne paintings show them removed, leaving no lids at all. Other paintings show single piece almost square doors. Which was it?
Bill
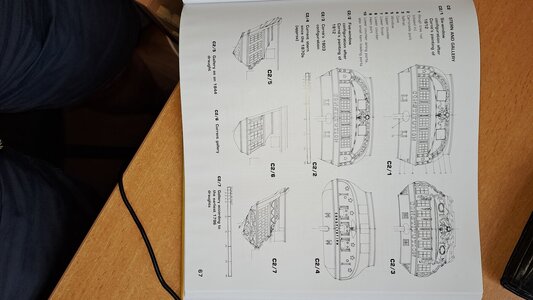
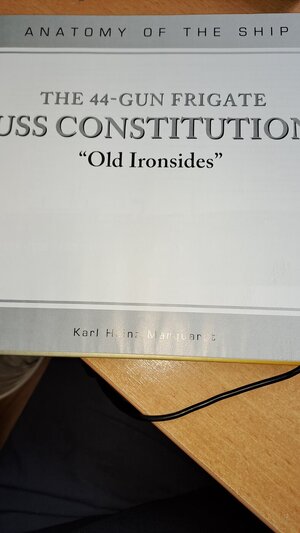
The con as it is docked in Boston today has undergone several transformations over the last 200 years of its existence. Today only 10% of his original material survived. To illustrate, some images from Karl Heinz Marquardt's book...So it's quite possible that the gun ports in the past had a different layout....
Today the gun ports are indeed divided into two parts with a rubber seal where the gun barrels protrude.
As they are also depicted on the Model Shipways plan (The Model Shipways CON is based upon today's version in the Boston harbor).
And I follow the plans in order to avoid a "historical" mismatch...
You can find more on the USS con's museum website: https://ussconstitutionmuseum.org/discover-learn/modeler-resources/
Cheers
Marc
Hi
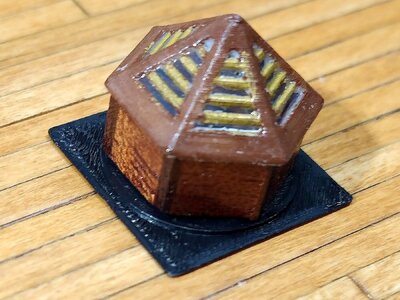
Today I've finished the fittings. The skylight and binnacles where very hard to make, in the end I combined 3d printed parts with wooden parts and I think they look OK.
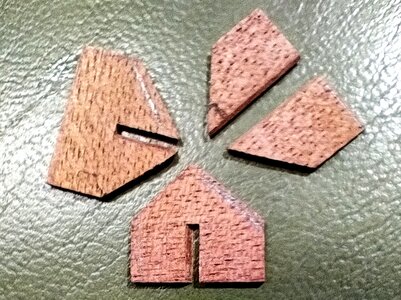
This is how I made the skylight.
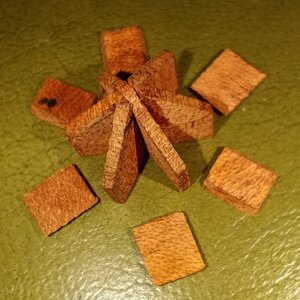
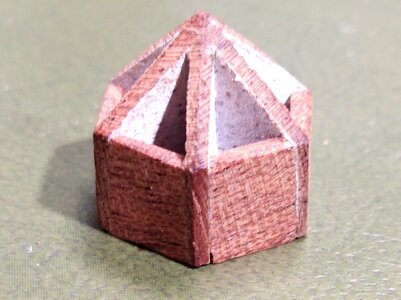
I tried to make the window panes from wood but they're to small to make 6 exactly the same.
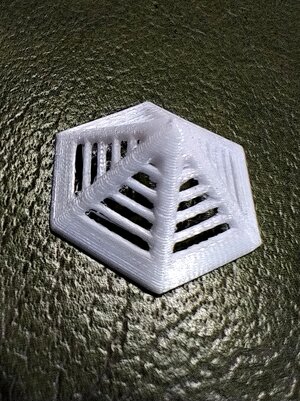
It took a few failed attempts but I'm happy with the end result, the small size was a big problem.
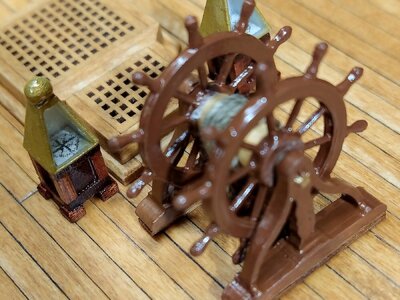
My binnacles where made in much the same way wooden base with a printed top.
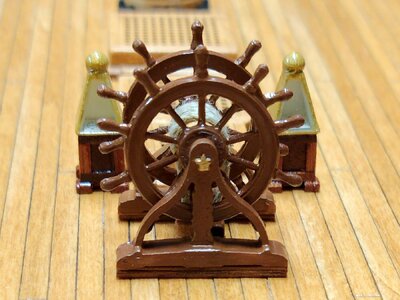
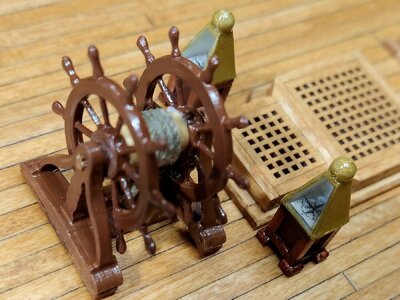
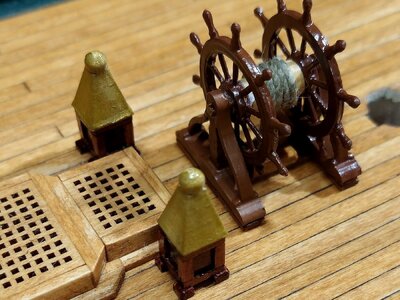
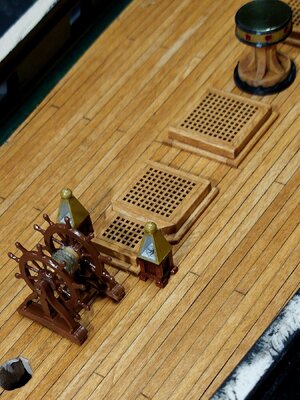
I feel these parts should have been included in the fittings. To make them look half decent it takes a lot of time and without the printer it would have been a lot more difficult.
Next job is to start on the catheads.
Tony
Today I've finished the fittings. The skylight and binnacles where very hard to make, in the end I combined 3d printed parts with wooden parts and I think they look OK.

This is how I made the skylight.


I tried to make the window panes from wood but they're to small to make 6 exactly the same.

It took a few failed attempts but I'm happy with the end result, the small size was a big problem.


My binnacles where made in much the same way wooden base with a printed top.


I feel these parts should have been included in the fittings. To make them look half decent it takes a lot of time and without the printer it would have been a lot more difficult.
Next job is to start on the catheads.
Tony
WOW !!!!!!!!!!!!!!!!!!!!!!!!!!!!!!!!!!!!!!!!!!!!!!!!!!!!!!!!!!!!!!!!!!!!!!!!!!!!
- Joined
- Oct 9, 2020
- Messages
- 2,229
- Points
- 488

love the use of a 3D printer. I have one and I plan on doing the same.
Magnificent detail Tony!
Great job. Looks outstanding
- Joined
- Jun 17, 2021
- Messages
- 3,199
- Points
- 588

I especially love the binnacles, complete with compasses! 

nice details - definitely an improvement
- Joined
- Oct 9, 2020
- Messages
- 2,229
- Points
- 488

Looking great. Congratulations.
I ran into an issue with the canon doors. Some were broken and some broke when I installed them. I wound up using my 3D printer to create these parts. A bit of a steep learning curve, but it's fun. I used Freecad for the design and Cura for the slicing. I am debating if I should make the lifeboats with the 3 d printer...
I ran into an issue with the canon doors. Some were broken and some broke when I installed them. I wound up using my 3D printer to create these parts. A bit of a steep learning curve, but it's fun. I used Freecad for the design and Cura for the slicing. I am debating if I should make the lifeboats with the 3 d printer...
Last edited by a moderator:


