USS Constitution Cross Section - Model Shipways MS20245 - 1:76 - by JeffT [COMPLETED BUILD]

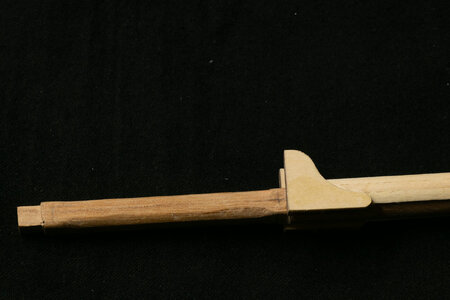
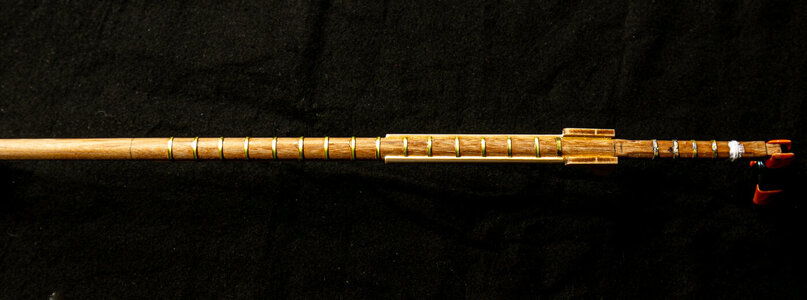
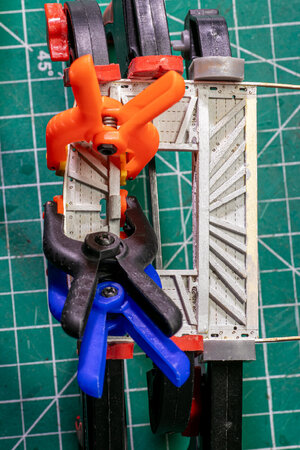
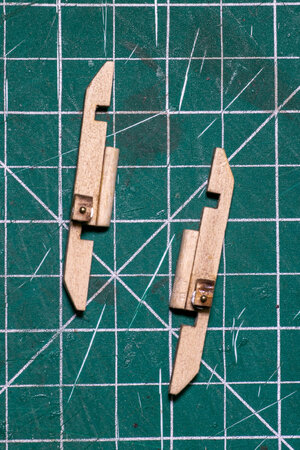
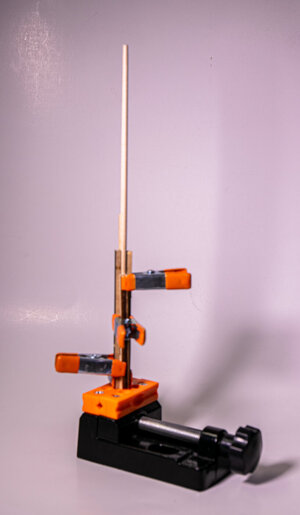
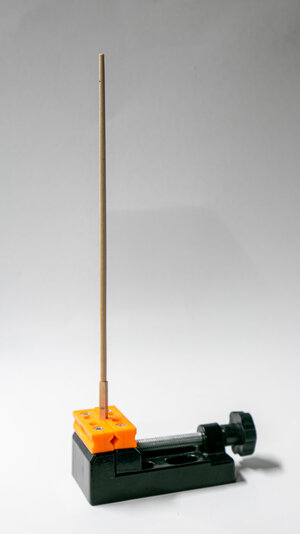
The lower Main Mast - I did not take a lot of photos of the lower mast which is formed from a dowel. The base is formed to fit to the space at the keel built in the early stages of the build. I used the reference mast that I made during the for deck alignment as a model for the actual mast. The mast was squared above the knees using files and a sanding block. The uppermost part was cut down further to fit into the mast cap. A section was flattened for the knees and strips were added to the mast as per the plans. The knees are laser cut and only needed some sanding, sealing and painting.
IMG_7714.jpgIMG_7715-SOS Postings-2.jpg


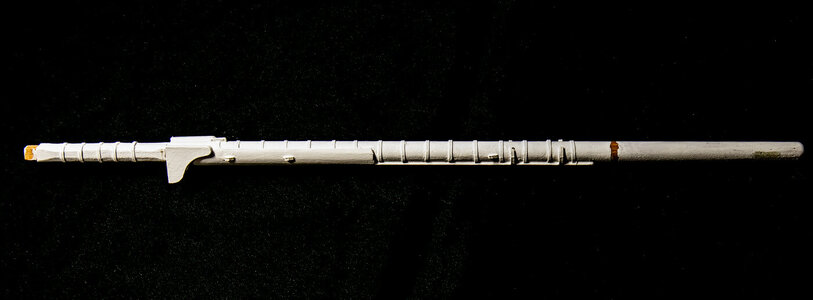
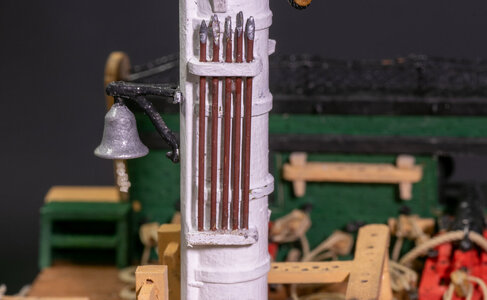
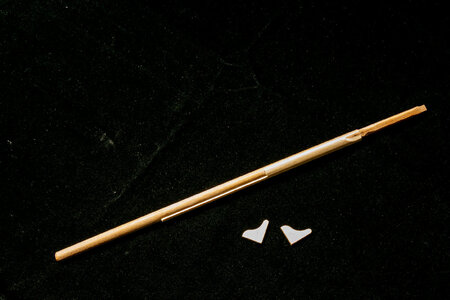
Brass strips were cut, fit and soldered together. After the solder joints were filed, the mast was painted white. Chocks and the boarding pike racks were also added before painting per plans. The area without paint is for the mast ring at the deck.
IMG_7717.jpgIMG_7718.jpg
 
This new build is of the Model Shipways USS Constitution Cross Section (MS2045) at 1:76 (Actually the scale is 1:76.8 or 5/32" = 1'). The finished model is 4"x6"x32". I chose this kit for several reasons: 1) It is a nice kit and I like cross sections; 2) The Constitution cross section is a preliminary to my next build; and 3) I was able to purchase the kit from Model Expo for a very good price during one of their sales.

I was not able to find another example of this kit on SOS so I will present the kit contents in this post. The box is the typical Model Shipways blue box, but significantly shorter than most of their kits. The detailed instruction booklets are quite good with 2 booklets of 96 pages total. Relatively clear instructions with lots of pictures.
View attachment 399620
View attachment 399621

The wood is typical MS quality which is good. There is a bag of pieces of square, rectangular, and round stock.
View attachment 399623

The laser cut wood is of various thickness and the cutting is good for the most part. The parts can easily be cut out and there are a minimal number of hold points to cut.

View attachment 399624
View attachment 399625View attachment 399626View attachment 399627


The metal parts are mainly Britannia metal with some brass strips of the typical MS quality which I rate as acceptable, but not the best quality. There are significant amounts of mold flashing to remove from some of the pieces and they are covered with a dull substance which needs to be removed before painting. The rigging thread is MS' nylon and will not be used. I am accumulating a lot of MS rigging line in a box.
View attachment 399622
The 2 sheets of plans are large and easy to read. There are also 3 sheets of plans that show the individual parts and their locations on the laser cut pieces. View attachment 399628
View attachment 399629


I have already been working on this kit since I finished my last build (Bluenose by MS). As seems typical for me, I get going on a new build taking pictures as I go along, but don't get around to starting a log until I am well into the build. I will be catching up over the next month or so. I am using one particular build log on MSW (USS Constitution cross section by TomCulb - FINISHED - Model Shipways - 1:76.8) as a reference and to see where the problems lie with this kit.

One thing that I have noticed is that having a downloaded version of the instruction manual on a tablet or computer has been very helpful. The printed manual's pictures are small, a bit dark and not very high resolution. On a tablet they are brighter and of higher resolution so you can zoom in to look at details you cannot see in the printed version.

Edit 30Jan2024
Note to future builders of this kit: MS supplies 10 sets of upper and lower chainplates with the kit. The rigging plans and pictures clearly show that there are 5 deadeyes per side so 10 seems correct. However, there is also a eyebolt required on the channel. This eyebolt is connected to the hull using the same upper and lower chainplates. Model Expo is very good about making good on missing or damaged items in their kits, so I placed a (cost free) order for more chainplates. I suggest that you do this early in the build so that you have them when you reach this point in the build.
Hallo @Jeff T
we wish you all the BEST and a HAPPY BIRTHDAY
Birthday-Cake
Enjoy your special day
 
Last edited:
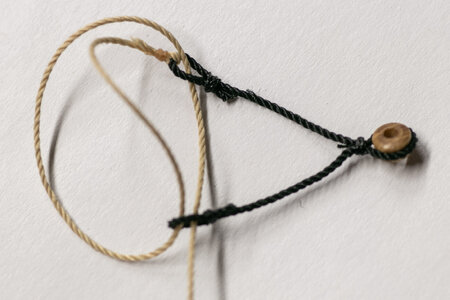
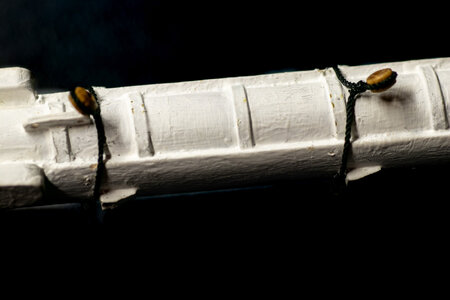
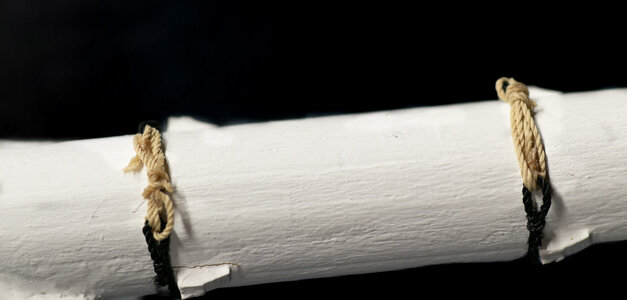
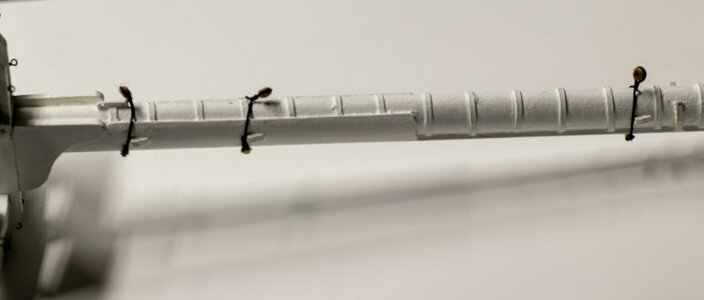
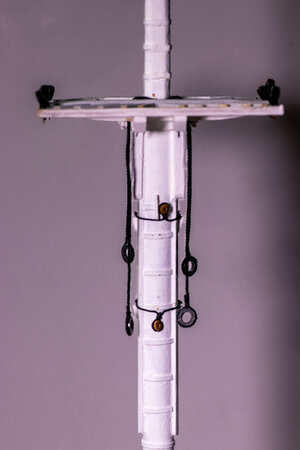
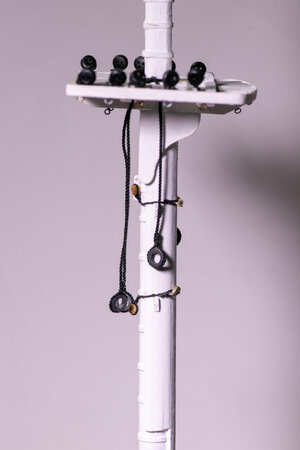
More work on the lower mast. I added the 3 bobstay collars to the mast. The collar was seized to a length of rope and then loops were seized at the ends of the rope. A second piece of rope was seized to one of the loops. The assembly was added to the mast so as to rest on the chocks. I did a bit of touch up painting after looking at the closeup pictures.
IMG_7767.jpgIMG_7770.jpgIMG_7771.jpgIMG_7772.jpg
 
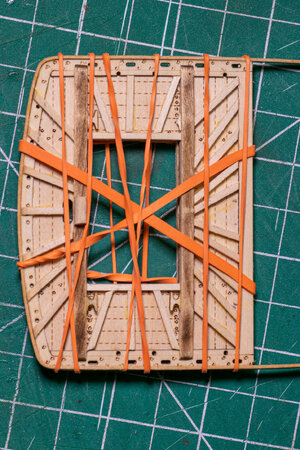
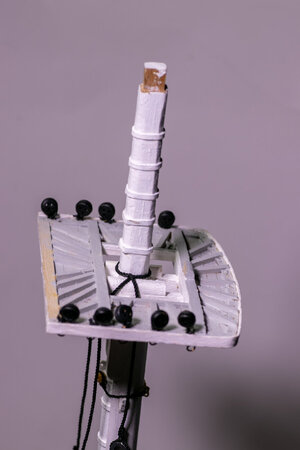
I have constructed the fighting top for the mast. It is made from a couple of laser cut pieces and from various pieces of stock. After the main construction, a thin strip of wood was soaked in water and bent around the front of the platform. I used rubber bands to hold it in place. Once dry it was, I glued it and clamped it until the glue had dried. The extra at the ends was cut off. Trestle trees ware constructed using laser cut pieces. Pulleys are placed in the provided thumb cleats. After assembly, the upper surface was painted grey. The remaining unpainted surfaces will be painted white after attachment to the mast.
IMG_7702.jpgIMG_7709.jpgIMG_7703.jpg
 
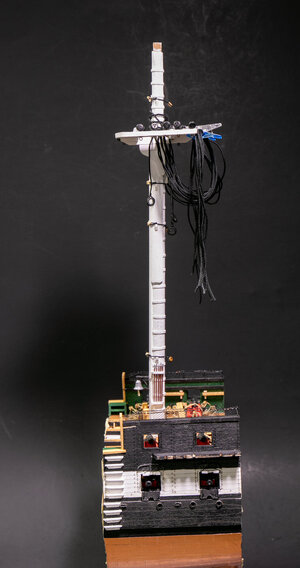
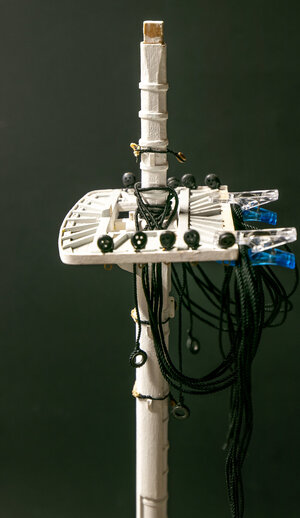
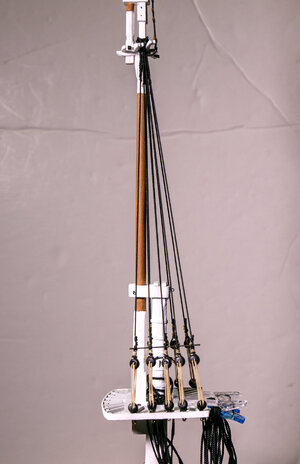
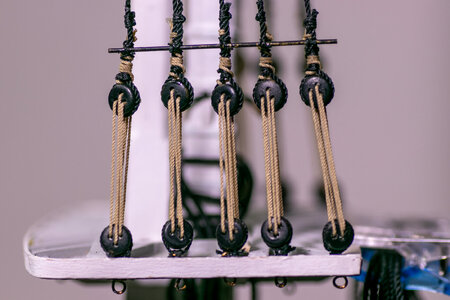
I have assembled all of the parts of the lower mast and fighting top. All surfaces have been painted white (except glueing surfaces). Deadeyes were added to the top. Pendants were hung according to the plans and bobstay collars were tied in place. The ship's bell was assembled and attached as well.
IMG_7775.jpg

IMG_7776.jpg
IMG_7777.jpg

I had some difficulty with the boarding pike rack. The laser cut pieces were not well done with holes that expended to the edge. I ended up making these from stock wood strips instead of using the delicate laser cut ones. The boarding pikes were fashioned from brass wire.
IMG_7780.jpg


The mast was fit to the hull without gluing. Shrouds were made in pairs and fitted around the mast. This needs to be done before the upper parts of the mast are placed. I am using a couple of clamps to hold them out of the way for now.
IMG_7784.jpgIMG_7785.jpg
 
Nice work on the details - details are like the salt in the section soup - these are making them much more interesting
Very good work
 
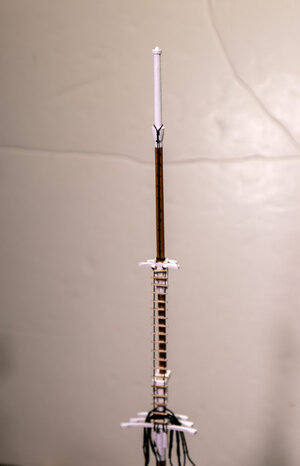
Continuing with the upper mast construction and rigging. The upper mast was shaped according to the plans. It has a squared base with the main part of the mast fitted into a hole in the square stock. It required several tries to get the hole drilled correctly so that the mast was correctly aligned with the base. I used some stock strips to help with the alignment while the glue set.
IMG_7788.jpgIMG_7791.jpg

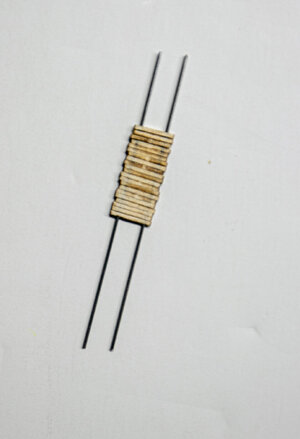
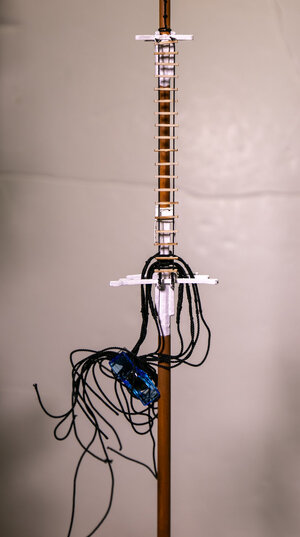
The upper crosstrees and knees were constructed and a rounded section was built around the mast. The truck at the top of the mast was added and the entire mast was painted. The mast has laser cut rungs that form a ladder on the back side of the mast. I painted them between two pieces of wire and then attached them to the ropes on the mast.
IMG_7793.jpg

IMG_7794.jpg
IMG_7795.jpg

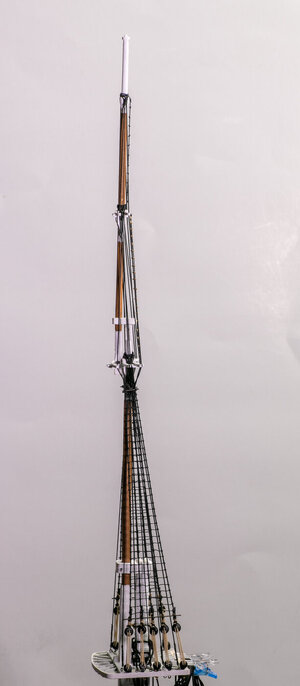
Shrouds were added and the upper mast was glued to the lower mast. Deadeyes were laced with lanyards and tightened.
IMG_7796.jpg
IMG_7799.jpg
 
What you are doing is amazing. I have this kit but I think I need to build a few more beginners kit before I attempt it.
Thanks for the kind words. This is not the easiest model to build, but the instructions are pretty good. Easiest hull planking that you will find. The rigging diagrams don't seem to be great, however.
 
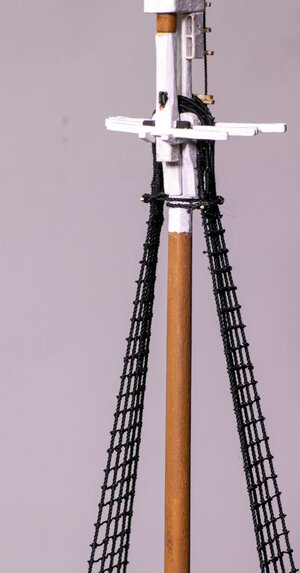
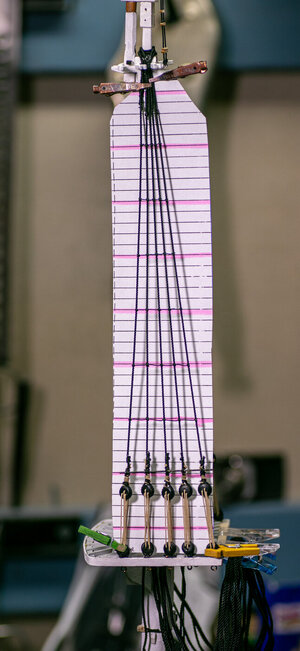
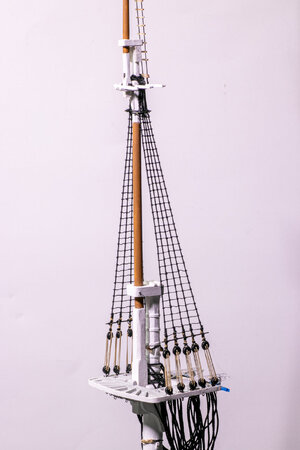
Time to do the upper ratlines. I used the ratline guide provided in the plans. This helped keep the ratlines evenly spaced and parallel. Catharpins were added per the plans/instruction. I little black paint on the ends of the brass wire is in order. One of the ladder rungs slipped but was reglued after completing the ratlines.
IMG_7801.jpgIMG_7803.jpgIMG_7804.jpgIMG_7806.jpg
 
Back
Top