Thanks Jeff. I've used sanding sealer but I still had the grain problem. I'll try Model Expos products next time.
-

Win a Free Custom Engraved Brass Coin!!!
As a way to introduce our brass coins to the community, we will raffle off a free coin during the month of August. Follow link ABOVE for instructions for entering.
-

PRE-ORDER SHIPS IN SCALE TODAY!
The beloved Ships in Scale Magazine is back and charting a new course for 2026!
Discover new skills, new techniques, and new inspirations in every issue.
NOTE THAT OUR FIRST ISSUE WILL BE JAN/FEB 2026
You are using an out of date browser. It may not display this or other websites correctly.
You should upgrade or use an alternative browser.
You should upgrade or use an alternative browser.
USS Constitution Cross Section - Model Shipways MS20245 - 1:76 - by JeffT [COMPLETED BUILD]
Looks great Jeff
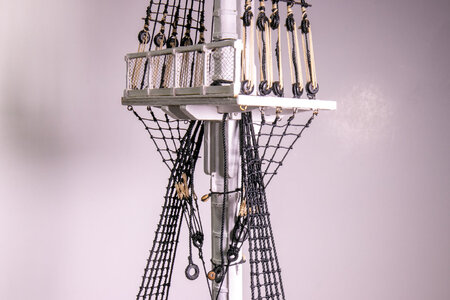
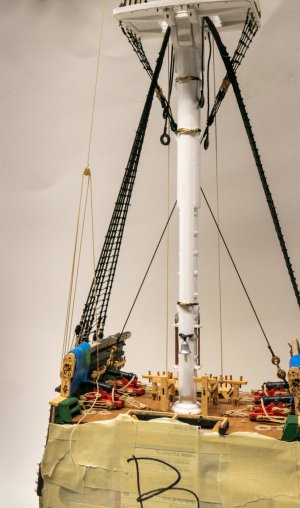
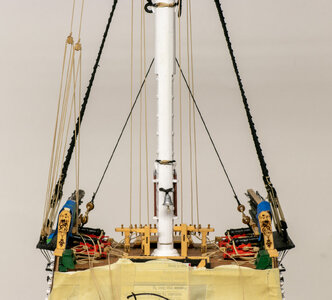
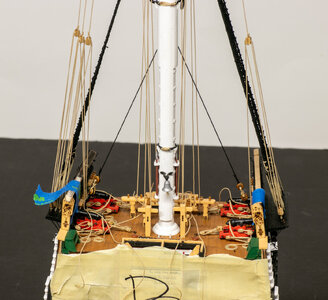
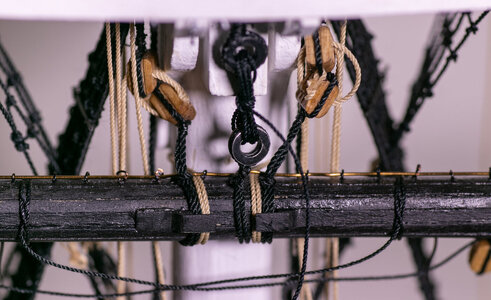
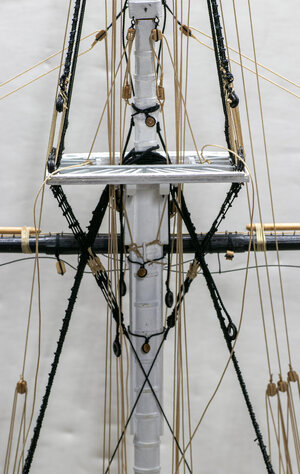
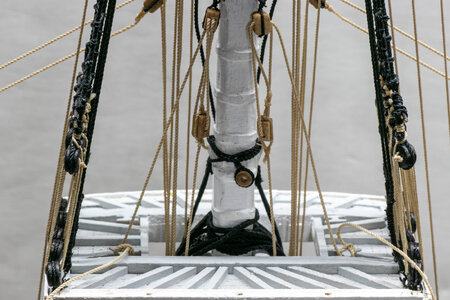
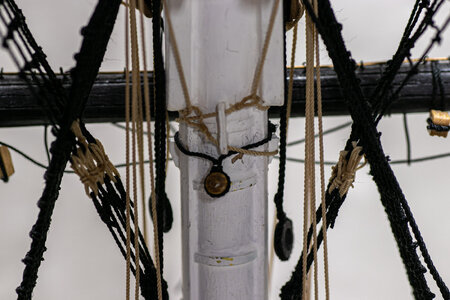
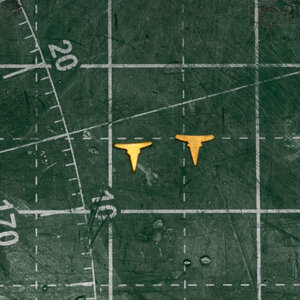
Good morning. Looking good Jeff. Those are really nice hooks. Did they come with the kit? For my next model I need to buy some as my hook making ability is beyond poor. Cheers GrantNext up is the Bentinck shrouds that anchor the topmast shrouds. They are not shown by Marquardt in his Old Ironsides book and may have been added to the Constitution later in life. This model has diagonal (Bentinck) shrouds that pass through the main shrouds and down to the deck/bulwarks. I like the look of the Bentinck shrouds so am adding then per the instructions for the kit. The rings that the instruction used were too oversized for my liking and the ones around the shrouds that attach to the bottom of the platform just don't look like the way the actual ship looks in available pictures. The instructions have the modeler add multiple bullseyes at the point where the shrouds pass through the main shrouds. I simulated these by using CA glue to form a loop and attach five pieces to each ring along with the Bentinck shroud. Hooks were seized to extensions for attachment to the bottom of the platform.
View attachment 432575
View attachment 432576
View attachment 432577
After lashing everything together the parts seemed the be in reasonable scale and not so cumbersome. Bullseyes were use and tightened near the deck.
View attachment 432578
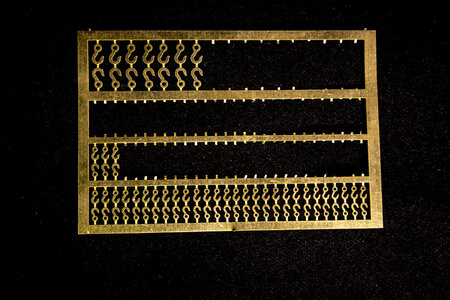
Hi, Grant. The hooks are supplied with the kit. ModelExpo is quite generous with the number of hooks that they supply. This is good since the small ones are easy to drop and loose. The hooks have to be cleaned up a bit after cutting from the group, but that is easily done with a rotary tool or file. I soak the hooks in IPA (helps get rid of handling grease), dry and drop into Brass Black to darken them before use.Good morning. Looking good Jeff. Those are really nice hooks. Did they come with the kit? For my next model I need to buy some as my hook making ability is beyond poor. Cheers Grant
WOW - very good work on the masting and rigging - Bravo
Thank you for the high praise.WOW - very good work on the masting and rigging - Bravo
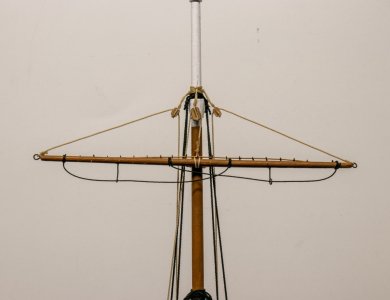
Installation of the main yard.
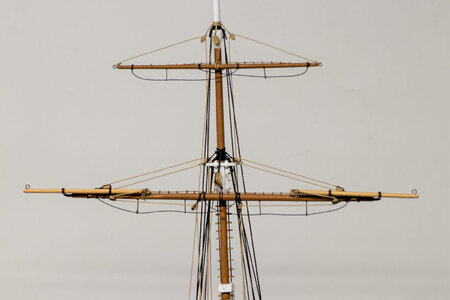
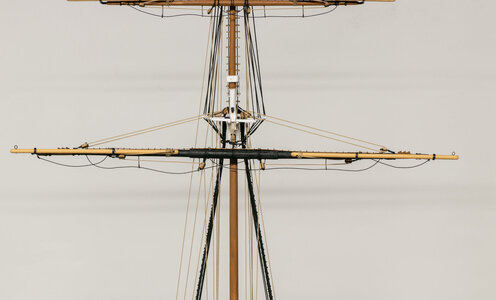
Like the construction of the yard itself, the installation of the main yard can take some time. Getting the triple blocks on the halyards lined up seemed to be beyond my capabilities. HINT to persons doing this step in the future: Add the upper triple blocks and the upper sling ring to the lower mast before you permanently add the upper masts. It will be much easier to do then. (Probably good advice for any model!)
Once I had the fixed parts of the sling and halyards attached, I threaded the running portion of the halyards through the blocks and raised the main yard. A fiddle and a sea shanty may have been heard while hauling up the yard.
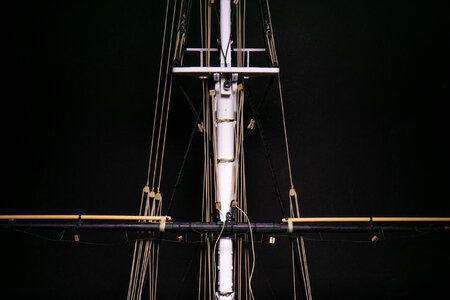
When I got the yard raised to the correct height, I threaded the line through the sling rings to hold it in place but did not fix the end in case some further adjustment was needed. I added the yard lifts and the lift tackle (similar to the other yards).
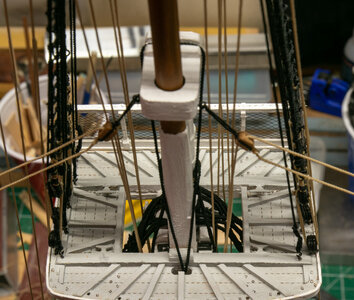
When I looked for the attachment points for the preventer sling tackle, I noticed I had a problem. Both cleats where these rope attach were broken off. The picture shows after I removed the base of the cleat that were still attached. (Red circles in picture show the missing cleats; green circles show what should have been there).
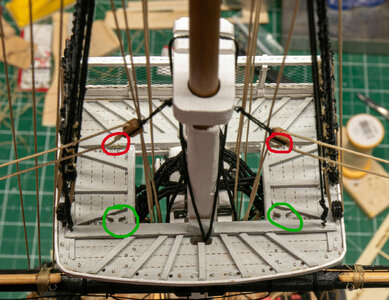
I had two reasonably sized brass cleats in my unused parts from another build, so I pressed them into service by pushing them into the platform structure and painting them grey. Since the cleats will have ropes tied off to them, the difference between the brass and wooden cleats will not really show in the final presentation.
Like the construction of the yard itself, the installation of the main yard can take some time. Getting the triple blocks on the halyards lined up seemed to be beyond my capabilities. HINT to persons doing this step in the future: Add the upper triple blocks and the upper sling ring to the lower mast before you permanently add the upper masts. It will be much easier to do then. (Probably good advice for any model!)
Once I had the fixed parts of the sling and halyards attached, I threaded the running portion of the halyards through the blocks and raised the main yard. A fiddle and a sea shanty may have been heard while hauling up the yard.

When I got the yard raised to the correct height, I threaded the line through the sling rings to hold it in place but did not fix the end in case some further adjustment was needed. I added the yard lifts and the lift tackle (similar to the other yards).
When I looked for the attachment points for the preventer sling tackle, I noticed I had a problem. Both cleats where these rope attach were broken off. The picture shows after I removed the base of the cleat that were still attached. (Red circles in picture show the missing cleats; green circles show what should have been there).

I had two reasonably sized brass cleats in my unused parts from another build, so I pressed them into service by pushing them into the platform structure and painting them grey. Since the cleats will have ropes tied off to them, the difference between the brass and wooden cleats will not really show in the final presentation.


While working on lines around the platform my hand slipped and that was the end of the rail at the back of the platform. I took inspiration from @HMSFly in his post (https://shipsofscale.com/sosforums/...y-model-shipways-1-76-scale.12050/post-362390) and crafted a replacement. First, I made 4 overlength wood strips and glued them together just at the ends. 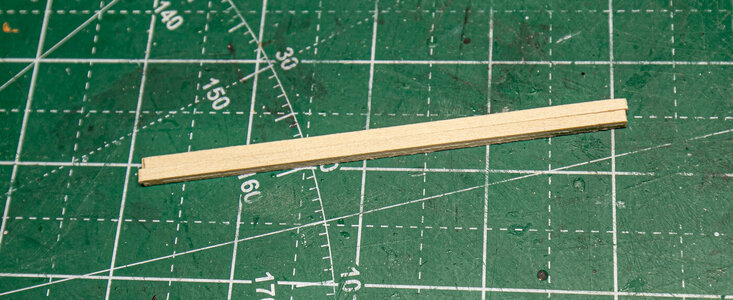
I used some piano wire of a reasonable thickness for the uprights. I drilled through the wood strips so that I fully penetrated one set and only halfway through the other set (these will become the upper part of the rail.
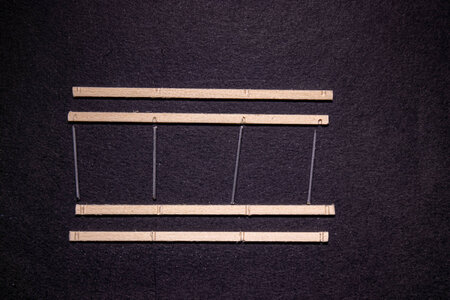
I then glued netting between the upper pieces of the rail and the painted posts and glued and clamped the 2 strips while sandwiching the netting in place. I added the lower strip to keep the post in alignment while the glue set.
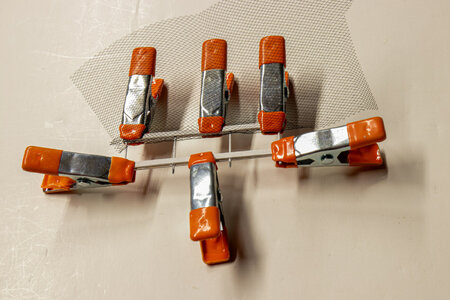
Once the glue was completely dry, I sandwiched the netting between lower strips, pulled it tight and glued these 2 strips.
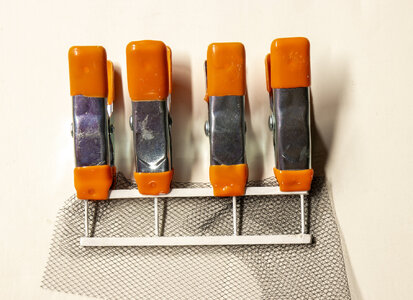
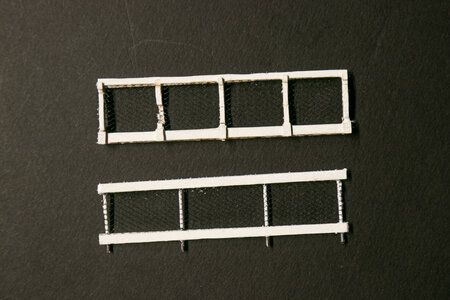
Here's the final result along with the broken original. The original doesn't look so bad here because it is lying flat. You can see multiple breaks in the piece. I went with four posts since the full-sized model and the actual ship use 4 and not 5.
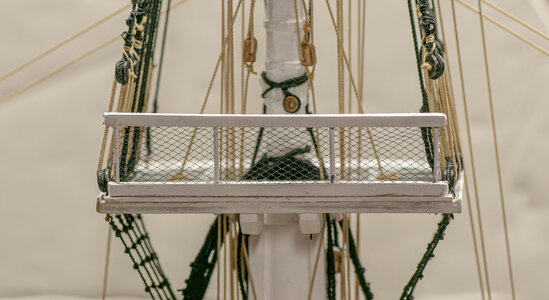
The replacement in place. I recommend that future builders not place the rail until after completing the rigging.

I used some piano wire of a reasonable thickness for the uprights. I drilled through the wood strips so that I fully penetrated one set and only halfway through the other set (these will become the upper part of the rail.

I then glued netting between the upper pieces of the rail and the painted posts and glued and clamped the 2 strips while sandwiching the netting in place. I added the lower strip to keep the post in alignment while the glue set.

Once the glue was completely dry, I sandwiched the netting between lower strips, pulled it tight and glued these 2 strips.

Here's the final result along with the broken original. The original doesn't look so bad here because it is lying flat. You can see multiple breaks in the piece. I went with four posts since the full-sized model and the actual ship use 4 and not 5.

The replacement in place. I recommend that future builders not place the rail until after completing the rigging.

Last edited:
Great recovery. Looks amazing. While doing the Syren the suggest the same thing but the railing on after rigging.
Kurt Konrath
Kurt Konrath
As Clint Eastwood's character "Sgt. Tom 'Gunny' Highway" said in the movie Heartbreak Ridge, You have to improvise, adapt and overcome!When I looked for the attachment points for the preventer sling tackle, I noticed I had a problem. Both cleats where these rope attach were broken off. The picture shows after I removed the base of the cleat that were still attached. (Red circles in picture show the missing cleats; green circles show what should have been there).
View attachment 434783
I had two reasonably sized brass cleats in my unused parts from another build, so I pressed them into service by pushing them into the platform structure and painting them grey. Since the cleats will have ropes tied off to them, the difference between the brass and wooden cleats will not really show in the final presentation.
Good morning Jeff. True story. I did the same thing with my Victory. Very good advice. Lovely work on the rail. Cheers GrantI recommend that future builders not place the rail until after completing the rigging.
Recon!As Clint Eastwood's character "Sgt. Tom 'Gunny' Highway" said in the movie Heartbreak Ridge, You have to improvise, adapt and overcome!
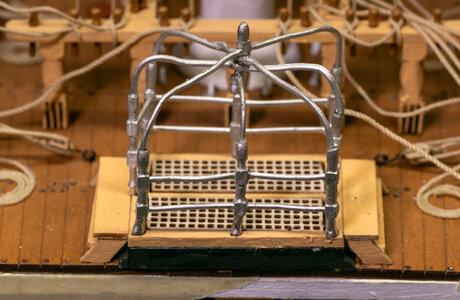
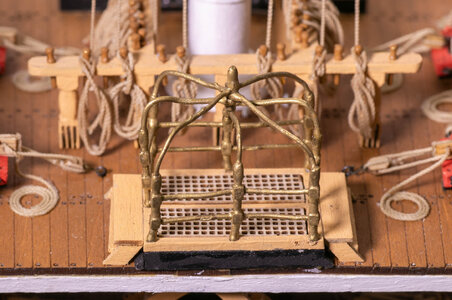
Lot's and lot's of rigging detail. I am sure you are glad you only have one mast to do.
The metal canopy frame is installed. The construction of the frame may have been one of the more challenging parts of the build. The metal was easily bent, but difficult to get smooth curves and keep the feet of the post aligned with the pre-drilled holes in the frame. I am not completely happy with the construction and I probably should have found some paint that was closer to brass, although the instructions call for using gold.