USS Constitution MS2040

Donnie

Administrator
Staff member
Administrator
Forum Moderator
Joined
Aug 21, 2011
Messages
5,229
Points
738

Location
Madison, MS
Well,
I guess I can be added to the list of those that have built the Conny either this Model Expo version or another. I have had this on my list for many years - so, I guess it is time. I also bought Bob Hunts Practicum to go along and it seems exceptionally well written - so thumbs up to Bob !!!

Today officially starts the log and the build. The only thing that has been accomplished is the glue up of the stem, and lower (keelson - false) pieces. Pictures to come later.
 
I am working on the Constitution too and using the practicum. It is very helpful but the ship is still hard to build, in my opinion.
 
Your build will give me something to follow and reference when I get around to building mine.

Can't wait to see the photos and other work, as your work is always high end.
 
So, lets begin !

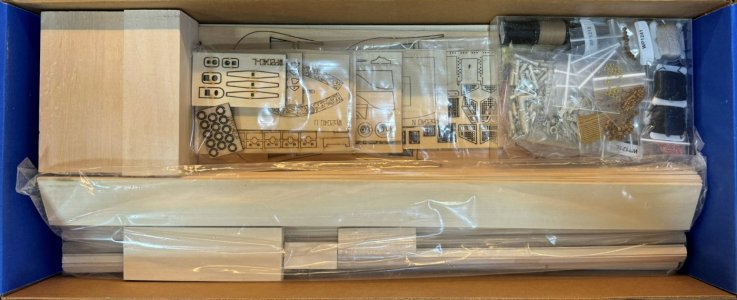
This box will look familiar to those familiar with Model Expos's version. I chose this version because of its size: 48 inches or 1219.20 mm long. The only thing taken out was the keel and parts associated with it.


box01.jpg


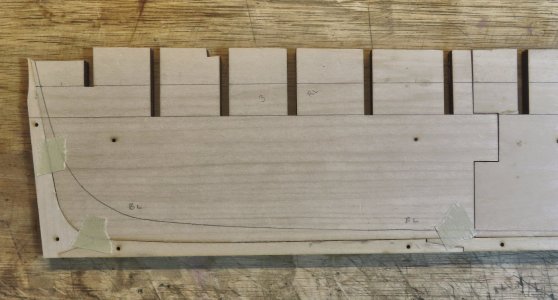
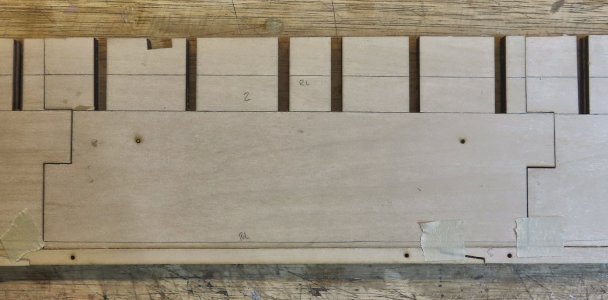
The keel and associated parts come in 3 sections and in pairs that must be glued together to form a 1/4 inch or 6.35 mm thickness. The sections have NOT been glued, but only dry-fitted. We all know about the Lazer cutting that always produces a tiny angle, you should lightly sand or use a Spindle sander to "just" enough to make the sides flat, but do not over do it.

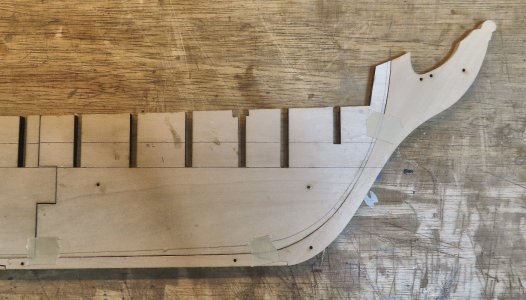
After the glue-up of the Sections, I again dry fitted the 3 sections along with the false Keelson to check for any gaps. Some touch-up sanding on the stem parts were necessary to make the parts mate with no gaps and a tight fit. Again, I have to emphasize at this point not to get carried away with sanding. You want the minimum at this point to make the parts mate well. As we all know, we want a nice snug fit with all parts - but at the same time, being reasonable. This is not a scratch built model and we all know there is just so much you can do.

Lastly, you will see 2 Reference Lines and the Bearding Line laid out (per Bob Hunts Practicum). You will want those lines to line up straight as you can. Which, in my case, the lines matched up well.

I am aware of the one gap in the false keel notch and it will be taken care of later. NO wood filler, but I will fashion a piece to fill the gap.

frame01.jpg


frame02.jpg


frame03.jpg


frame04.jpg


frame05.jpg


In the meantime, I had to order from Amazon some 4 x 4 x 3/4 (102 x 102 20 mm) jeweler Block (heavy) to lay on the sections. Wax paper will be used to sit the sections on as I will be using something like 5 min epoxy or 10 min epoxy to glue JUST the 3 sections. Wood glue for the false Keelson.


Link for Steel Blocks:
 
I would check for broken parts. I had a lot of them, but Model Expo's customer service is really good. Some of the parts are really fragile and I plan on remaking them but more thick.
Also to note is that you will need to order more lumber based on the requirements indicated in Bob Hunt's practicum.
 
Last edited:
So, lets begin !

This box will look familiar to those familiar with Model Expos's version. I chose this version because of its size: 48 inches or 1219.20 mm long. The only thing taken out was the keel and parts associated with it.


The keel and associated parts come in 3 sections and in pairs that must be glued together to form a 1/4 inch or 6.35 mm thickness. The sections have NOT been glued, but only dry-fitted. We all know about the Lazer cutting that always produces a tiny angle, you should lightly sand or use a Spindle sander to "just" enough to make the sides flat, but do not over do it.

After the glue-up of the Sections, I again dry fitted the 3 sections along with the false Keelson to check for any gaps. Some touch-up sanding on the stem parts were necessary to make the parts mate with no gaps and a tight fit. Again, I have to emphasize at this point not to get carried away with sanding. You want the minimum at this point to make the parts mate well. As we all know, we want a nice snug fit with all parts - but at the same time, being reasonable. This is not a scratch built model and we all know there is just so much you can do.

Lastly, you will see 2 Reference Lines and the Bearding Line laid out (per Bob Hunts Practicum). You will want those lines to line up straight as you can. Which, in my case, the lines matched up well.

I am aware of the one gap in the false keel notch and it will be taken care of later. NO wood filler, but I will fashion a piece to fill the gap.

View attachment 477408


View attachment 477409


View attachment 477410


View attachment 477411


View attachment 477412


In the meantime, I had to order from Amazon some 4 x 4 x 3/4 (102 x 102 20 mm) jeweler Block (heavy) to lay on the sections. Wax paper will be used to sit the sections on as I will be using something like 5 min epoxy or 10 min epoxy to glue JUST the 3 sections. Wood glue for the false Keelson.


Link for Steel Blocks:
Hi
I just found your log and look forward to seeing your progress. This is the most challenging kit I've attempted so far but very rewarding as the sections get completed.
Tony
 
Thank you all for following - it is appreciated. I hope that I will make it worth your stay.

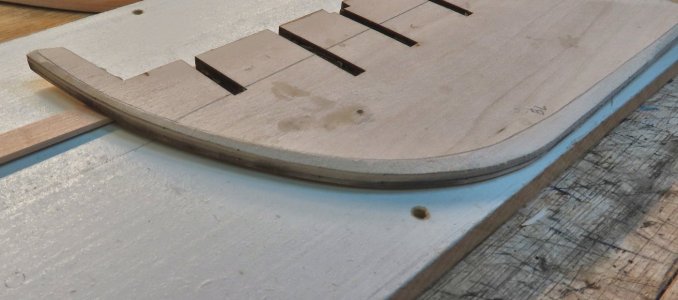
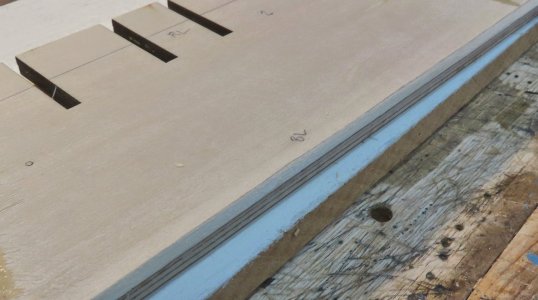
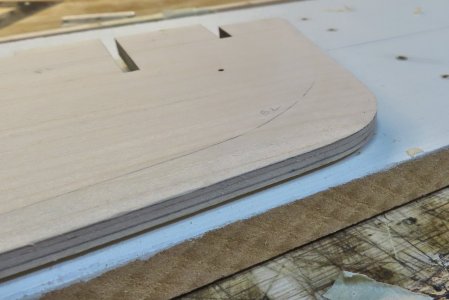
Now, I am tapering the Bearding line. Note: The Bearding line seems to look off in some cases, but that is because the keel is laying on a strip of wood and is distorting the image - also, I only have one side done.

frame06.jpg

frame07.jpg

frame08.jpg
 
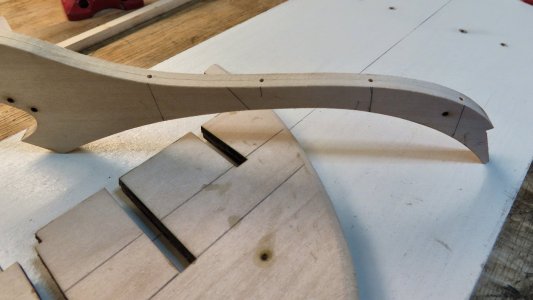
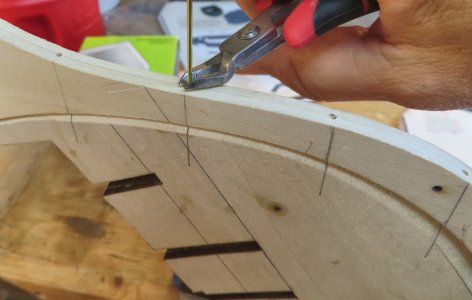
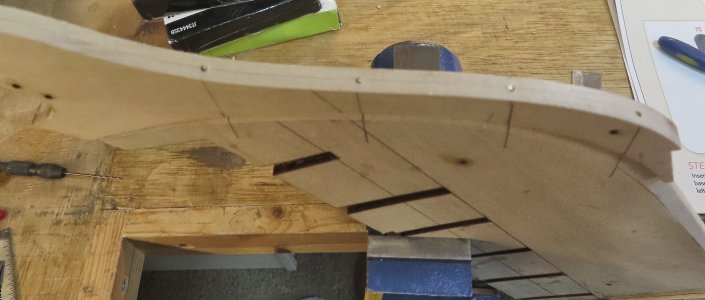
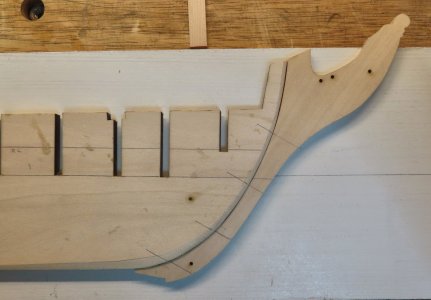
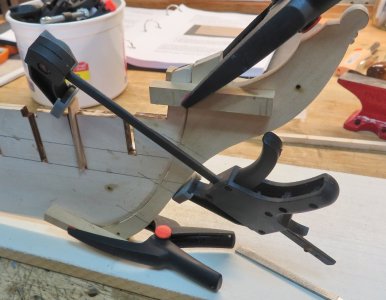
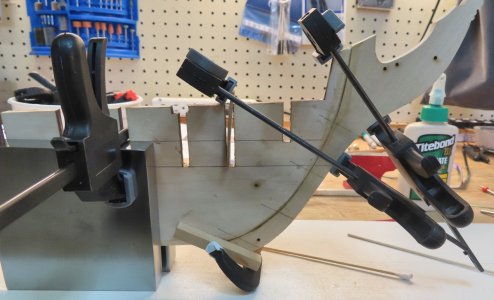
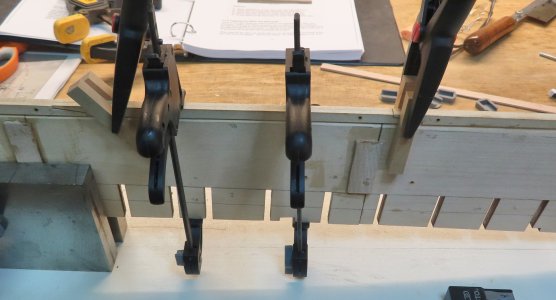
I have finished the Bearding Line and am now starting the Glue-up. For the Sternpost, I am using brass Rods as Pins to secure it down due to its irregular shape, which makes it difficult to get it to stay in place.


View attachment 478807

View attachment 478808

View attachment 478809

View attachment 478810

View attachment 478811

View attachment 478812

View attachment 478813

View attachment 478814
those pins are a good idea. I used epoxy for this purpose, but maybe I should do what you did.
 
but maybe I should do what you did.

I did this mostly because I did not think I could manage the stem to stay aligned while the glue dried. Now that I have read your post, I probably should have used a fast-drying epoxy myself. The pins are only for mechanical reasons, not for show.

I am using Titebond III ultimate, which is kind of watery and not thick as Weldbond.
The 5 minute epoxy seems to be holding well but as I am planking I find the stem is taking a lot of abuse as I move the ship around. I may put one pin just to be sure.
 
Back
Top