USS Constitution MS2040

Latest. Haven’t posted much on this. Feel a little better today.

Yes. I know it’s a mess of steel blocks, levels, clamps, but it is and should be straight (within reason).
CORRECTION:
Measuring from Bulkhead #L to Bulkhead #A - I at least for now measure exactly 409mm from the outside of each.

IMG_0595.jpeg
 
Last edited:
Measurements - nothing really to brag about. Just when gluing up #L , just make adjustments to all bulkheads fore/aft (very slight twist) to make sure you have same measurements granted you have established the same reference point at the BOW or using Bulkhead A. However Bulkhead A should be as perpendicular to ALL aspects to keel !!
If not then alignment errors will “accumulate”.
If you used white glue, titebond, or weld bond, you can still make adjustments by putting water on like a Q-tip and let it soak with repeated applications of water, and in about 5 min, it can be readjusted if need be. I actually installed a bulkhead backwards and I was able to remove like nothing happened. I have to give Mike41 for this tip to me.


IMG_0596.jpeg

IMG_0597.jpeg


The other side:
IMG_0599.jpeg
IMG_0598.jpeg


IMG_0600.jpeg


Lastly,
The green tick mark on the tip of stem should be used as reference, and make sure the Stem is also perpendicular to all sides.

IMG_0602.jpeg

 
Last edited:
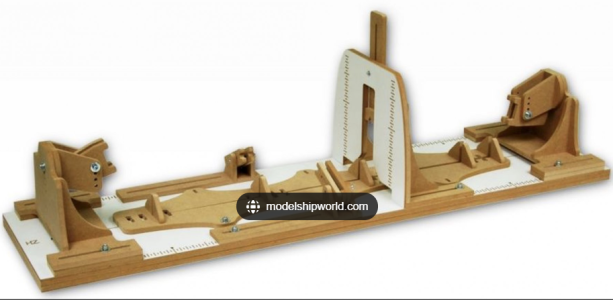
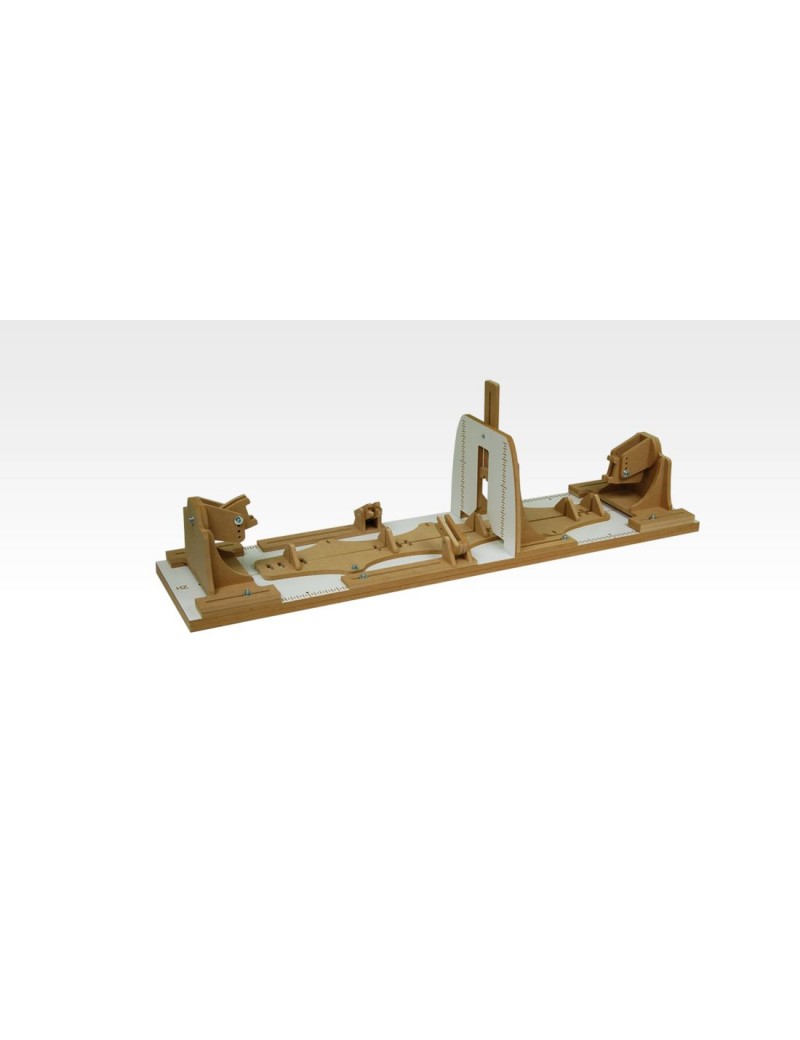
I used a building slip for that purpose of keeping bulkheads perpendicular to the keel. I will say it's a little cumbersome to use but it worked out pretty good for me. I used CA glue because I didn't want the bulkeads to warp as the glue was drying.
I am obsessed with gadgets hence my use of this thing.

1731518383177.png
 
Yep. I should have ordered one of those jigs. I can’t remember where they are sold. I can research it.

Found it.

 
Last edited:
Whatever gets the job done with the maximum of pleasure! :)
I am my own worst enemy. If I can find a gadget that does something I need, I tend to buy it. Sometimes it works out, sometimes I wind up with something that I will never use. I have to be careful with that.
 
The latest. Finished with Bulkheads. I think #R has a very slight offset. It can be corrected with the addition of the stern filler. Other than that all BH’s are spot on level. However my OCD might rear its ugly head and I might have to soften the joint at #R to get that offset out.


[IMG_0610.jpeg

IMG_0608.jpeg
 
Last edited:
If it was me I would fix it because it would bother me greatly. Oh I should also mention that the bulkead extensions are super fragile and I broke some just by breathing on them lol. I did fix them as they broke, but it was annoying.
 
I corrected #R - it really needed attention. Yep, those upper BH tabs do get broke easily. I can understand the cost (less) problem with using plywood, but having a solid natural plank sawn out, would have been better and probably those fragile tabs would have held up better.
 
Now, I am back this build. The Counter (block) in box will need to be shortened to 5 inches and the thickness to 11/32. I decided to use my Mill to do so. The finished product is within tolerance and is about 1/128 (.0078 inches or .2 mm) close enough and I will call it that. I will leave this be.

Here is a video of the process and the final picture of the block. The finish is excellent as far as I am concerned, but much of this is going to get carved away - !!!
I am using a Sherline Mill with a 1/2 inch four fluted End Mill @ 2050 RPM. Three strips of very thin double sided tape to keep the block on aluminum plate.


frame25.jpg
 
Last edited:
That is what I should have done. Great idea. i used a sander and I don't think I got the tolerances that you got.
 
thank you Jack S. and others for following. Well, I often (try) to follow my machinist hobby tricks too. Thanks.

ps. I used another End Mill to make the hole. I was thinking that a drill bit would tear the wood - an End Mill goes in "Flat" as we all know. Or if you had a Foresner bit, that can be used too.


frame28.jpg

frame27.jpg

frame26.jpg

frame29.jpg

 
Last edited:
I’m following your build log as I am working on my MS USS Constitution for about a year now. I like the preciseness of your machining tools. You’ll really reap the benefits of that preciseness when finishing out the hull later.

 
Thank you Kinghahn and others !

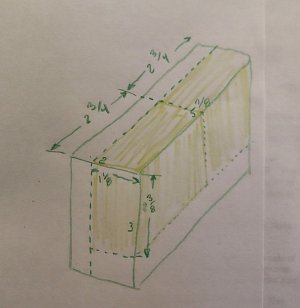
The Stern Filler Block (not looking forward to this), but just taking my time as I do not want to mess this up. According to some documentation, this is the layout of the Block that comes in the Box. It is 2 x 3 x 6 inches. TWO separate Blocks will be fabricated from the one Block in the Box.

This is a rough sketch I made to see how to lay out the lines. The DIAGONAL lines are the ones that are SCRAP. The solid YELLOW will be kept.

frame33.jpg


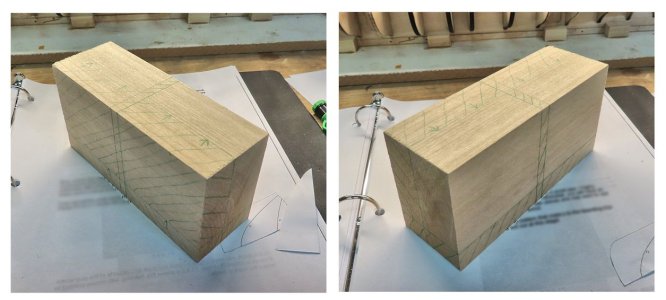
This image is the Block before I head to my big table saw to cut it out. A Bandsaw would be preferable. But, a table saw if you have one, will probably do better. At any rate, it does not matter because there will be A LOT of carving to be done to shape it. Later, I will show the templates and the "station lines" curves that I will use to form the fillers.

frame32.jpg
 
Back
Top