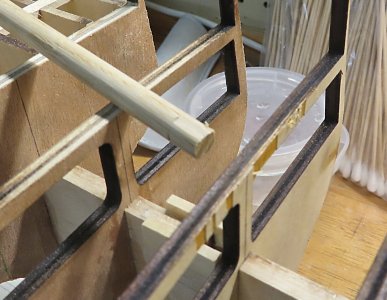
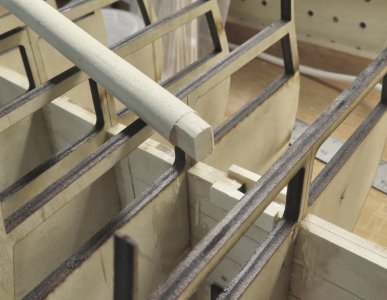
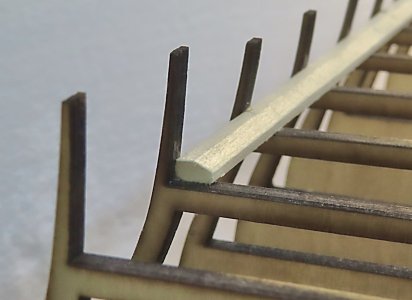
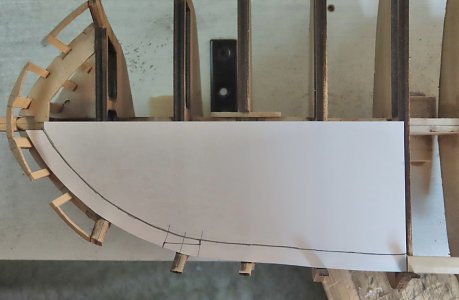
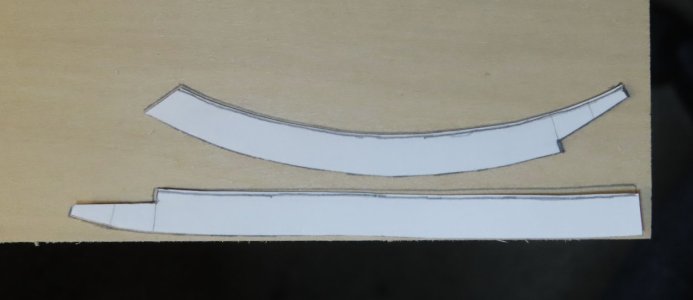
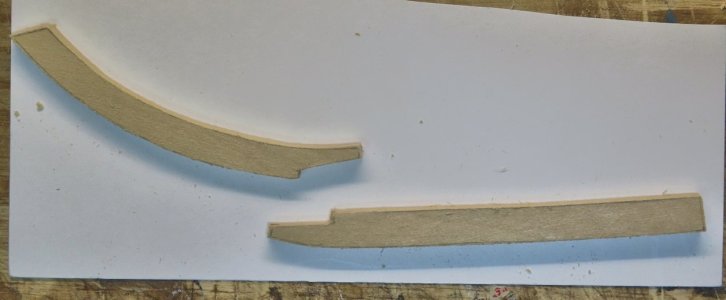
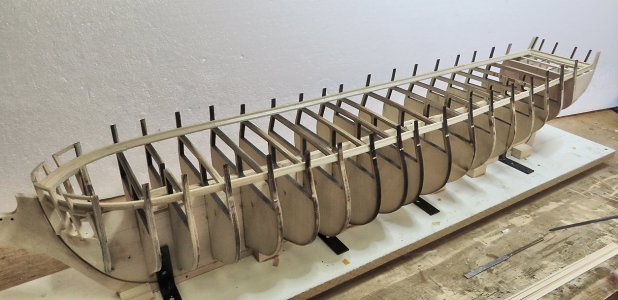
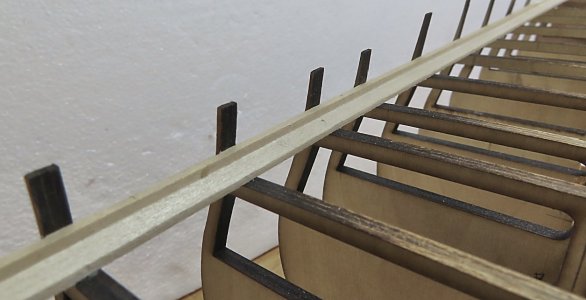
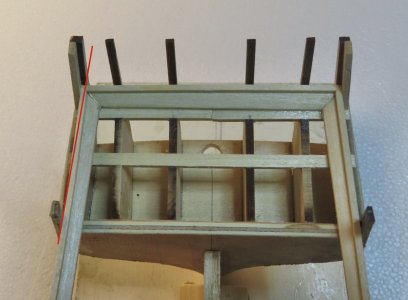
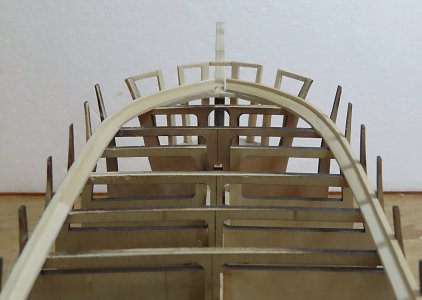
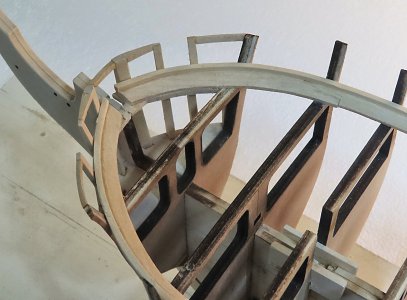
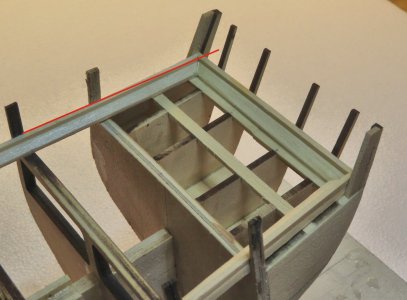
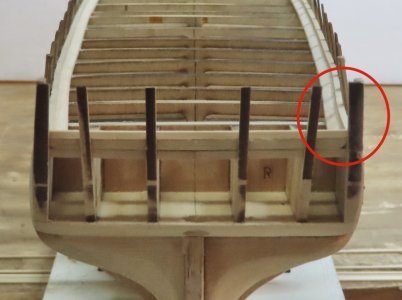
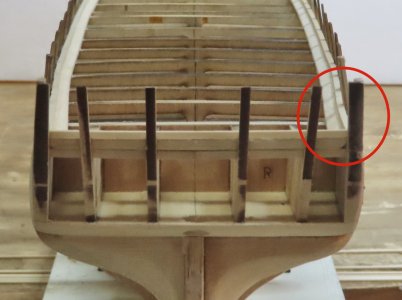
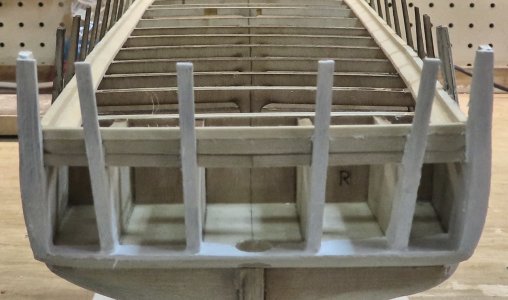
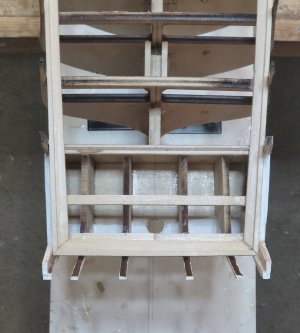
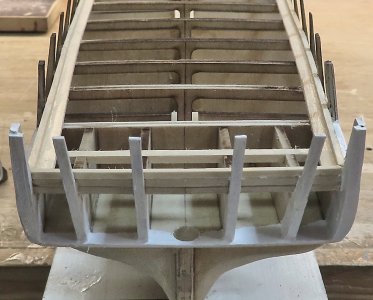
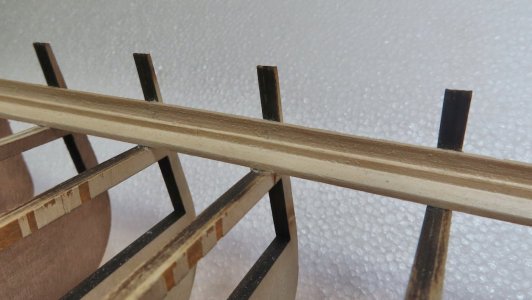
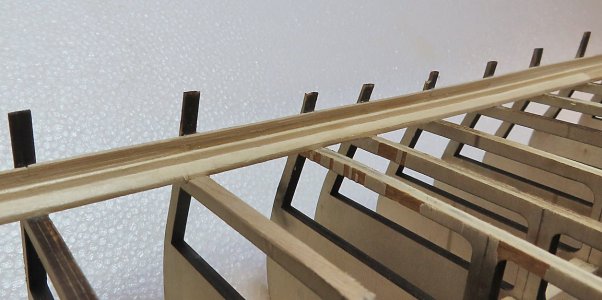
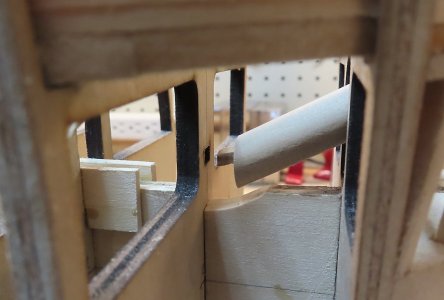
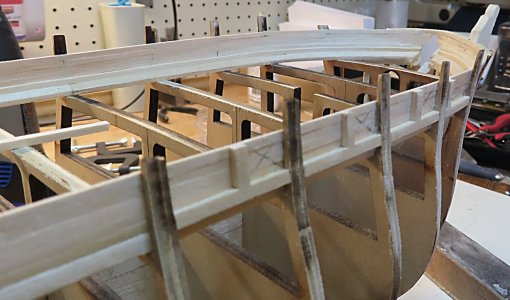
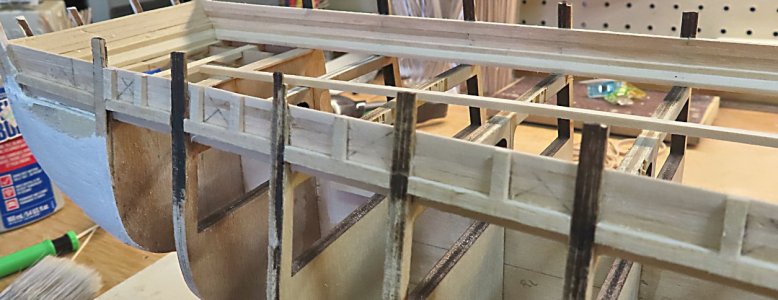
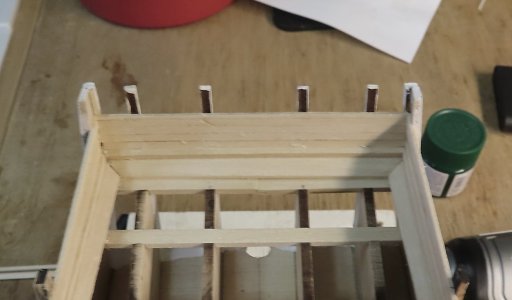
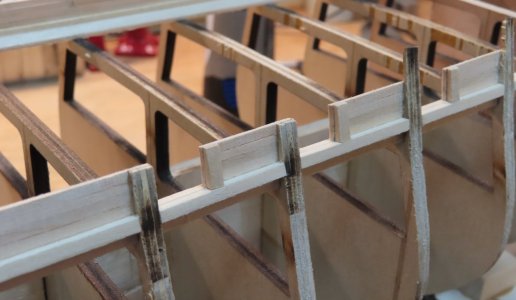
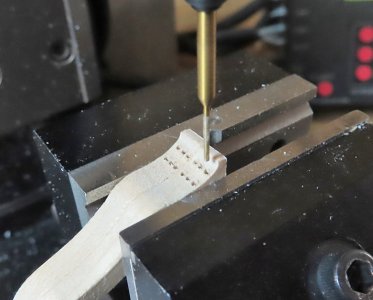
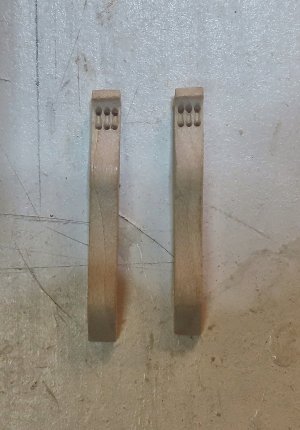
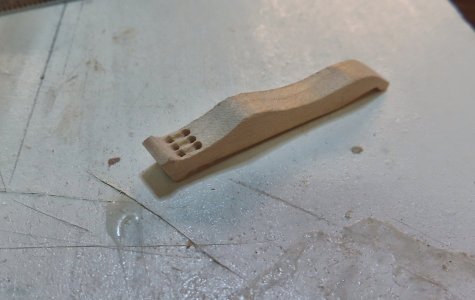
The addition of adding the small 1/8 inch thick braces at each Mast Step produces a Mortise and Tenon - as you can see from photos of each Mizzen Main, and Foremast Steps. Each Mast end will have a Tenon to fit. It is very important to establish this fit before going further. If not, then it will be quite difficult to insert the Mast into the finished hull to "hunt" for the square opening in False Keel. (It would not impossible, but this makes things much easier for the Mast insertion.)
-

Win a Free Custom Engraved Brass Coin!!!
As a way to introduce our brass coins to the community, we will raffle off a free coin during the month of August. Follow link ABOVE for instructions for entering.
-

PRE-ORDER SHIPS IN SCALE TODAY!
The beloved Ships in Scale Magazine is back and charting a new course for 2026!
Discover new skills, new techniques, and new inspirations in every issue.
NOTE THAT OUR FIRST ISSUE WILL BE JAN/FEB 2026
You are using an out of date browser. It may not display this or other websites correctly.
You should upgrade or use an alternative browser.
You should upgrade or use an alternative browser.
Waterways and Planksheer
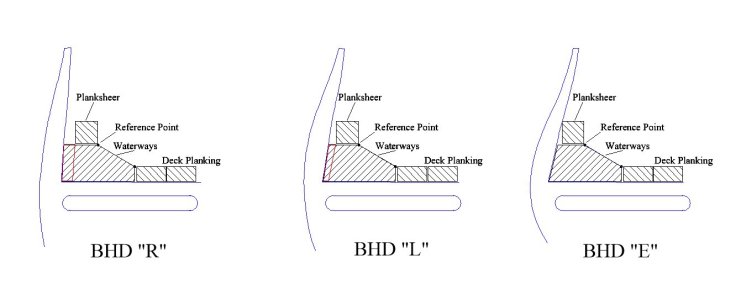
The Waterways involve three separate fashions of beveling, cutting, and shaping to obtain a correct fit. The main element is this: The Front Bottom Edge of the Planksheer should meet with the Front Edge of the Waterways Bevel.
This is seen by this graphic I produced. The most important thing to note is that each Bulkhead (false Bulwark) has an "inward" angle to it. Some greater than others as it approaches the STERN and the BOW. Therefore, the Waterways must compensate by removing more material off the BACKSIDE of the waterway.
It took a while for me to visualize this. This is why I demonstrated with this drawing. The RED AREA shown will have additional material to remove. The main point again: The Planksheer should TOUCH the BHD (false bulwark) all the way up and down the hull. The Planksheer should be in alignment with the BEVEL made on the Waterways.
Now, all of this is due to the fact that the false BHD's bulwarks change angles from stern to bow. At the Bow, it will be even more.
After this graphic I will show you the completed Waterway and Planksheer relationship.
NOTE: BHD "L" is only a REPRESENTATIVE of MIDSHIP !!!!! There is very little if NO reshaping the Waterways at around BHD "E".

Good morning Donnie. I quickly played some catch up with this build. (I will read through in detail later and learn plenty I am sure).I have always admired your builds and this log is a guide for modellers on how to build a model ship. Thanks for sharing. Cheers Grant
My apologies for not showing each step of shaping the Waterways. There was already enough frustration and dealing with taking pictures. I would have had to take many pictures with mistakes.
All I can say is that several angles and bevels must be done, especially the bow.
Pictures also do not lie - especially taken from different angles. At the Stern on the starboard side is a curve (waterways) that needs to be corrected. That would take several hours to accomplish - looking at the stern just casual observing, it is not noticeable until you look from an extreme slant - like the last photo. Do I fix this now, or just move on ?
I think that I need to set aside time to correct this as this could affect the shape of the planking and bulwarks (meaning that little angle will exaggerate the rest of the build at the stern) Yulk !
I truly appreciate your posting the bad parts of your beautiful build. It shows those of us not at your level that issues still occur and need to be taken care of. Before you start changing things, I would very carefully measure from the centerline out to the waterway. Your issue could be at the next to last bulkhead rather than the very stern. Hope that helps!
Believe me, If you don't fix it, your eyes will go right to the area, every time you look at it. If it bothers you now, As Heinrich said....You know the answer.
Thank you all for following and to Corsair, Heinrich, thrasher, and doc, and others, yes, I am fixing it now.
The cause of problem was related to BHD “Q” and the waterway not situated just right. The end of the waterway at BHD “R” was moved inward about 3/32 inches. The Transom piece at that joint all will have to be cleaned (sanded) and dressed up (modified) some.
Which goes to show that no matter how much I did my best to make all BHD’s be aligned - still problems can creep in. Not sure if there are slight symmetrical problems with a few BHD’s or not but it is what it is. That is why we “build” ships - right?

I didn’t even catch the problem until the cam pic showed it. Cameras don’t lie !!!
The cause of problem was related to BHD “Q” and the waterway not situated just right. The end of the waterway at BHD “R” was moved inward about 3/32 inches. The Transom piece at that joint all will have to be cleaned (sanded) and dressed up (modified) some.
Which goes to show that no matter how much I did my best to make all BHD’s be aligned - still problems can creep in. Not sure if there are slight symmetrical problems with a few BHD’s or not but it is what it is. That is why we “build” ships - right?
I didn’t even catch the problem until the cam pic showed it. Cameras don’t lie !!!
A very tidy fix Donnie. Well done!
Kurt Konrath
Kurt Konrath
Great looking repair, something you can live with going down the road.
Great job ! It looks wonderful (of course) !So, here is the latest. It did not take too long to do. I used white matte paint to help visualize any problems. I have used light gray paint before to help outline problems.
I do see there is a big difference.
Before and After:
Thank you all for your kind words. So, this is just a hand drawn sketch of the Bulwarks layout scheme. The top strip will be a little extra long to wrap around at bow, for the Bowsprit to pass underneath.
By the way, I would like to say that this kit is not for beginners (at least from my perspective) unless you have a good understanding of reading nautical plans and the order in which the ship should be built. The reason I say this is that the manual is not a source for how to build in reality. This kit is mostly like Old School, in which you are given many different sizes of raw stock, and it is up to the builder to determine things.
This is not meant to discourage anyone from trying. To assist, I highly suggest purchasing Bob Hunt's practicum. In my opinion, it really doesn't matter how many ships you have built as each one has its own quirks. Then, the China kits - well - most all the work has been done for you with CNC planking on deck and the hull. I have built two china kits and basically, they go together like a puzzle. They are a good learning tool though and do make out to be a very nice model to display.
Ok, so much for the preaching.

- Joined
- Oct 9, 2020
- Messages
- 2,228
- Points
- 488

Looking good.
So, this is a sample image of two layers of strips for the Bulwarks. I have two more to go. Then comes a major decision of thinking of adding Rivets to the inside wall. I have the Rivets and the #77 drill bits.
I had to stop adding Bulwark strips because even though the BHD's (DECK) were all aligned using the reference marks, I found that I had three BHD's that had to be trimmed down (on DECK).
I had to stop adding Bulwark strips because even though the BHD's (DECK) were all aligned using the reference marks, I found that I had three BHD's that had to be trimmed down (on DECK).


