-

Win a Free Custom Engraved Brass Coin!!!
As a way to introduce our brass coins to the community, we will raffle off a free coin during the month of August. Follow link ABOVE for instructions for entering.
-

PRE-ORDER SHIPS IN SCALE TODAY!
The beloved Ships in Scale Magazine is back and charting a new course for 2026!
Discover new skills, new techniques, and new inspirations in every issue.
NOTE THAT OUR FIRST ISSUE WILL BE JAN/FEB 2026
You are using an out of date browser. It may not display this or other websites correctly.
You should upgrade or use an alternative browser.
You should upgrade or use an alternative browser.
Thank you Tony. I will consider. As I have to figure out with the tools I have. I wish I had a good scroll saw that could handle the size of the blocks.. I do have a table top 9” Bandsaw, but it is not working well as the blade keeps jumping off the upper and lower rollers. I also have a bench top scroll saw, but I will have to see if I have enough clearance between the platter and upper saw mechanism.
Hey Donnie, if you can adjust the wheels for the saw, watch this video on band saw setup. It may help you with your bandsaw issues.Thank you Tony. I will consider. As I have to figure out with the tools I have. I wish I had a good scroll saw that could handle the size of the blocks.. I do have a table top 9” Bandsaw, but it is not working well as the blade keeps jumping off the upper and lower rollers. I also have a bench top scroll saw, but I will have to see if I have enough clearance between the platter and upper saw mechanism.
Snodgrass bandsaw clinic
This guy is the king !
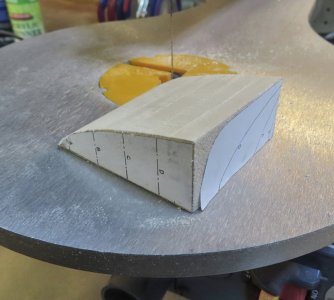
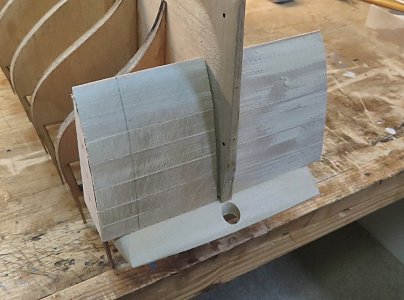
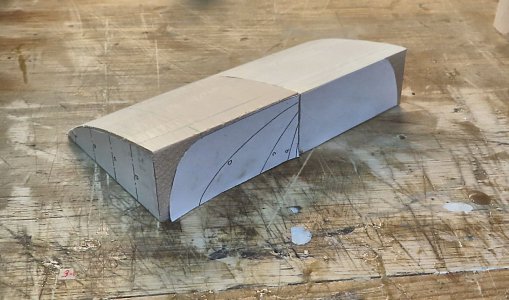
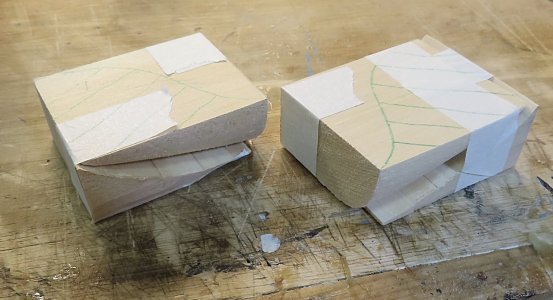
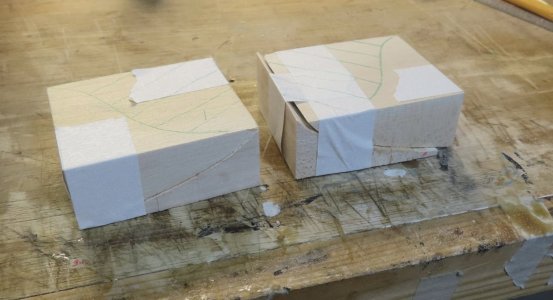
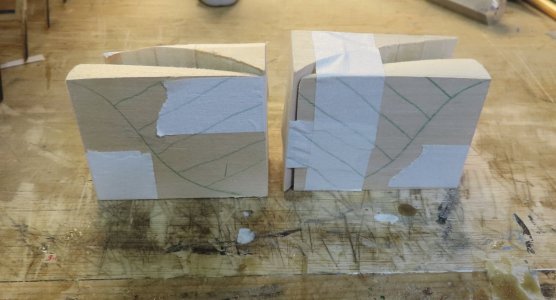
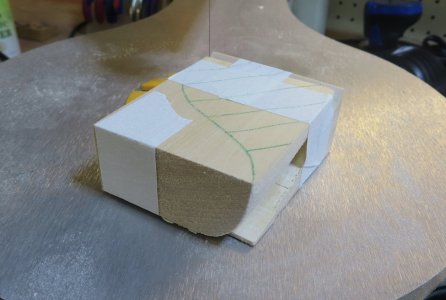
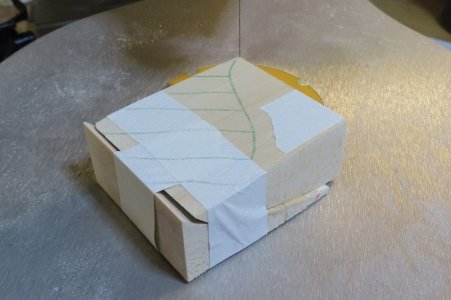
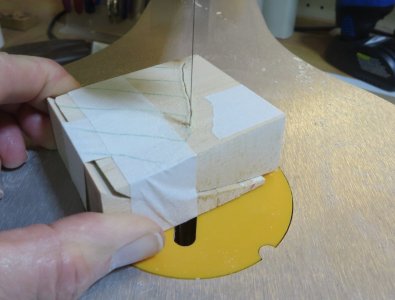
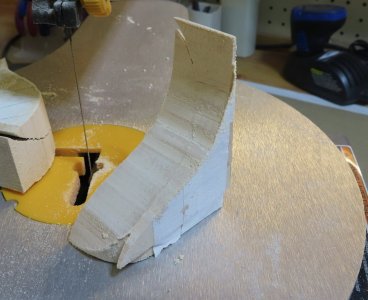
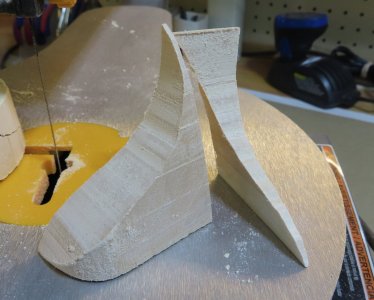
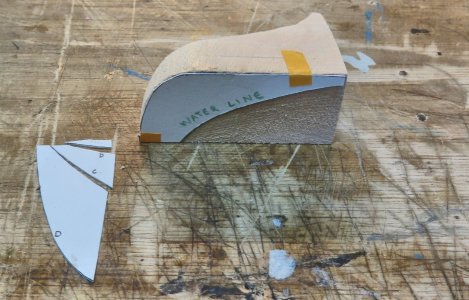
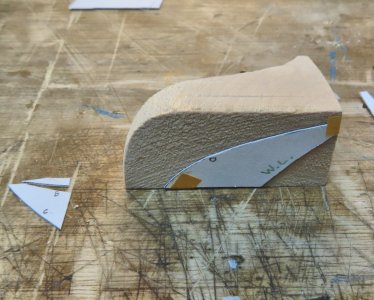
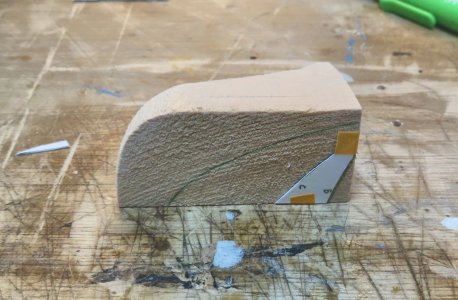
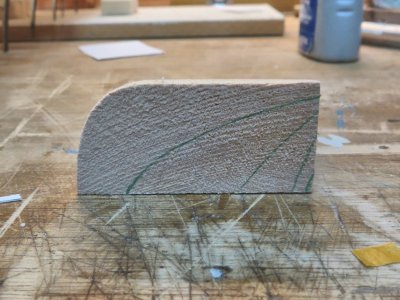
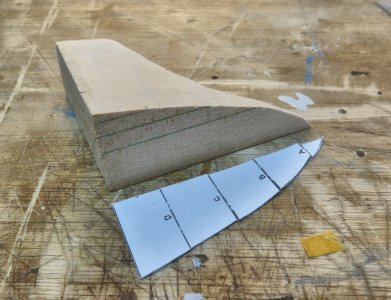
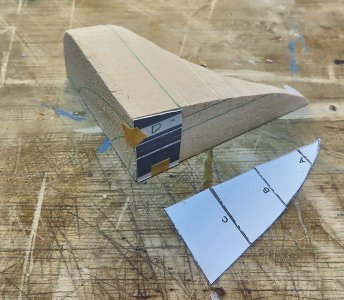
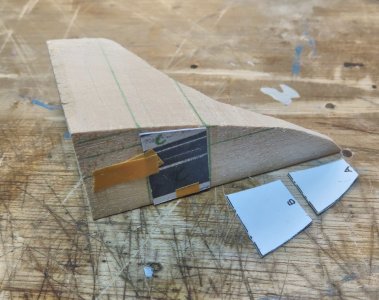
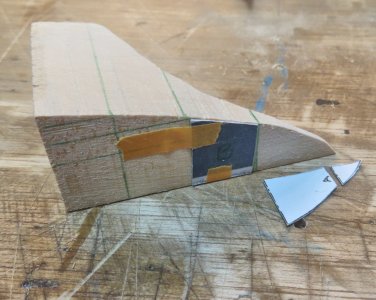
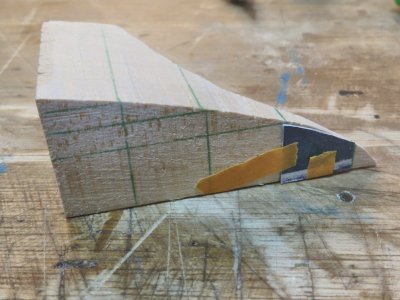
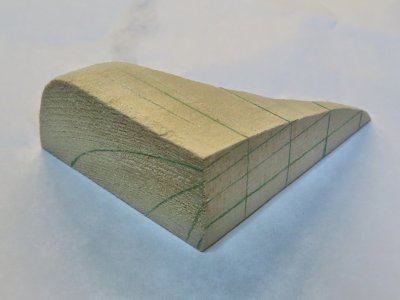
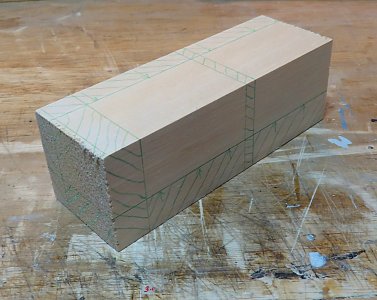
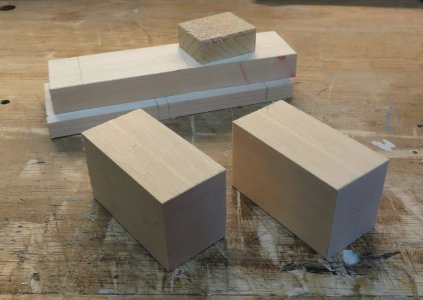
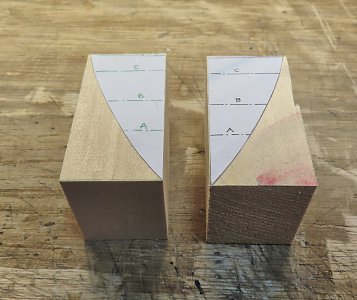
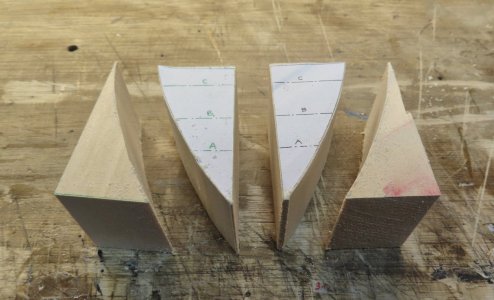
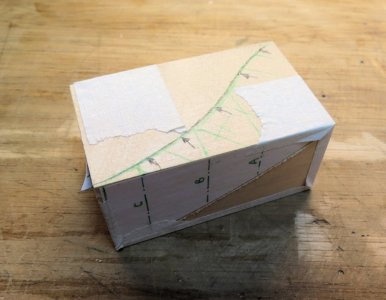
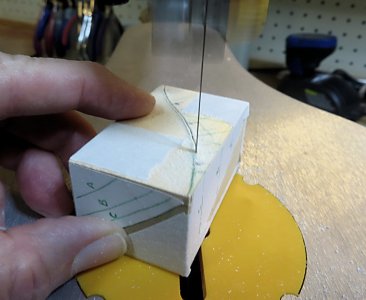
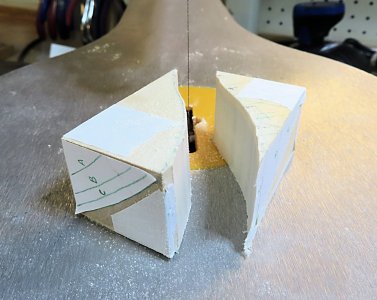
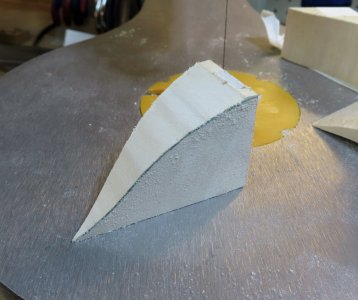
This post shows the complete progression of making the Stern piece after marking the two blocks.
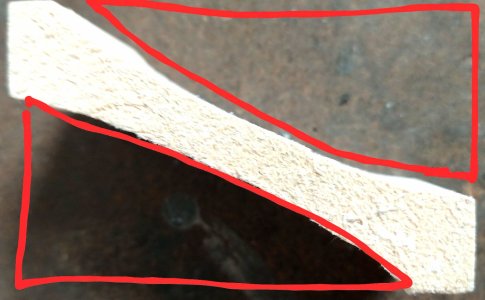
| Save the pieces from the first cut and use them as a "cradle." This will help make the next "complex" cut easier and keep things perpendicular. I used masking tape to keep them bound together until the cut was completed. |
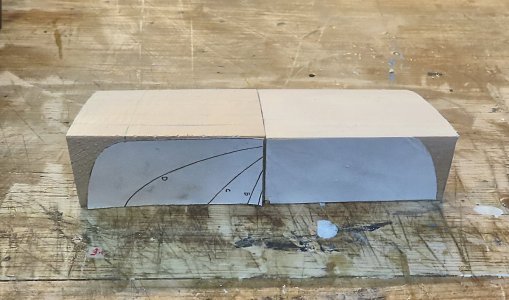
| Water Lines (W.L. can be difficult to visualize and especially taken from the plans and transferring the pencil lines to the Blocks. It is easy to get confused (but after you do this, it starts to make sense - even to me !) I made these templates from the plans [ DETAILS 2-H on page 2] |
| All the Water Lines are now completed. |
Last edited:
A continuation
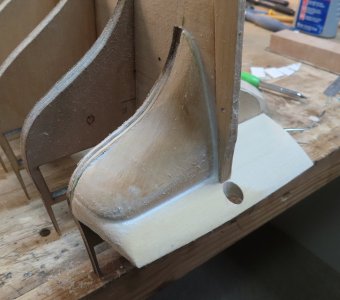
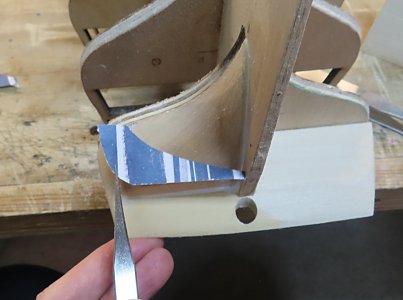
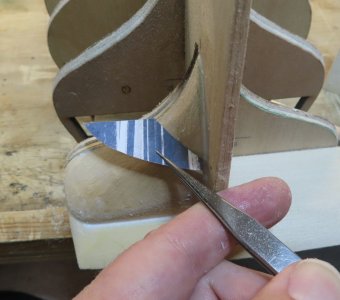
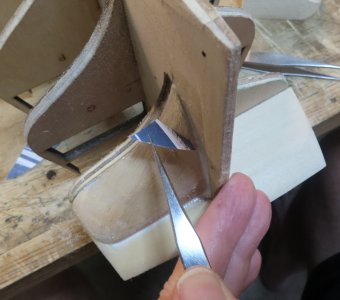
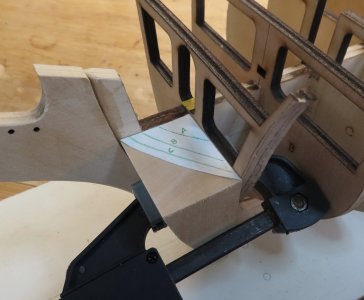
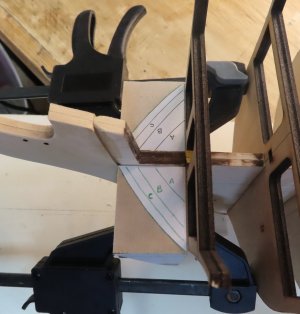
Gluing in the Stern piece and using the templates to check the Water Lines. The Water Line templates were used when sanding down the rough cut. I did not show this process, however, I am showing this now as an example of how to use the templates to get the W.L. established. Close enough is enough !
Gluing in the Stern piece and using the templates to check the Water Lines. The Water Line templates were used when sanding down the rough cut. I did not show this process, however, I am showing this now as an example of how to use the templates to get the W.L. established. Close enough is enough !
Last edited:
Kurt Konrath
Kurt Konrath
Nice work and great instruction on the what and why things were done.
Kurt Konrath
Kurt Konrath
Lots of wasted wood, they could have cut to size and only have customer cut length much easier.
I agree - A LOT of wasted wood. I think M.Ex needs to invest in a 3D printer to make these parts. Maybe the scrap wood might be used elsewhere on the build.
Last edited:
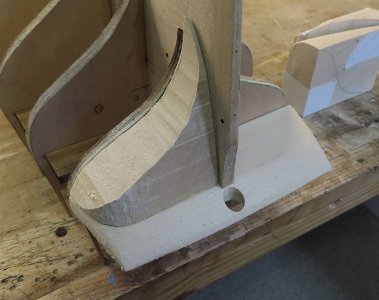
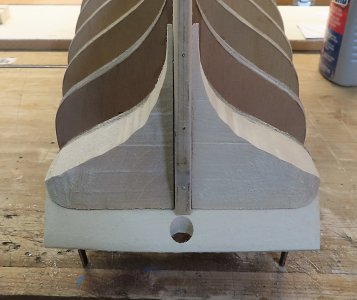
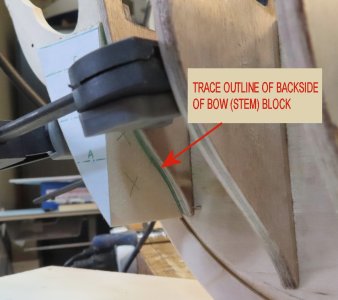
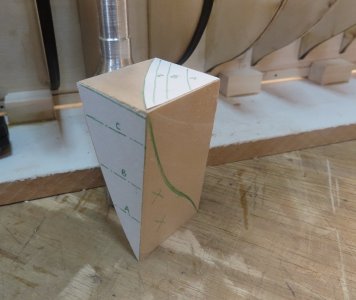
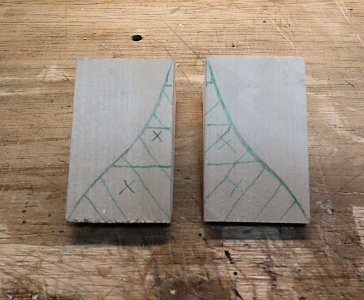
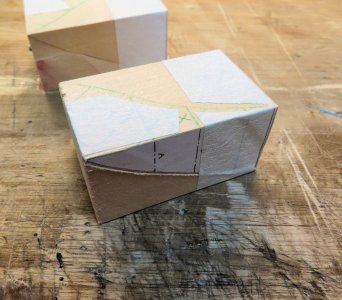
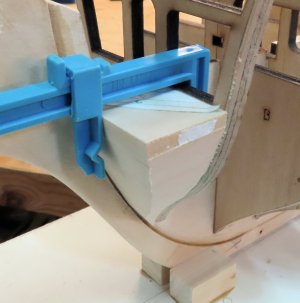
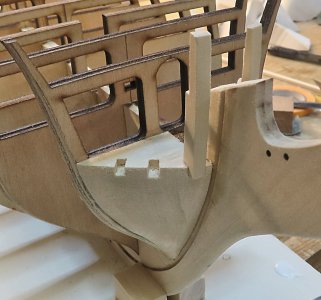
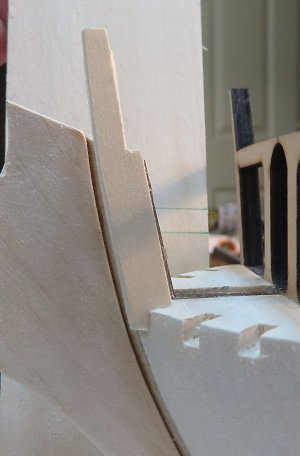
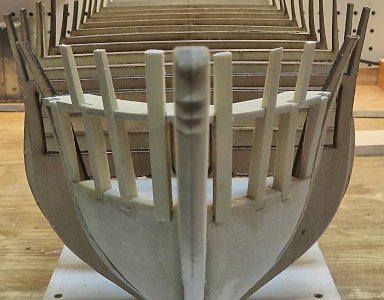
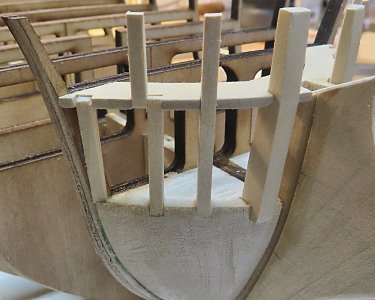
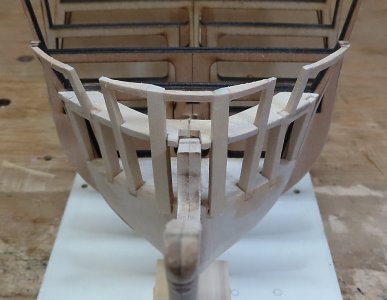
Here is the progression of making the Stem (bow) filler pieces. Again, I am using the same concepts from the Stern.
I am using the scrap from the Jig Saw cut to use as a "cradle" so that I can make the "complex" cut - following the same concept from the Stern. I also used a Dremel with a heavy grit that cut through all the waste with little effort. Also, I did not show, but I cut out the Water Line Templates to make sure the pieces are "faired" correctly (within reason of course).
I am using the scrap from the Jig Saw cut to use as a "cradle" so that I can make the "complex" cut - following the same concept from the Stern. I also used a Dremel with a heavy grit that cut through all the waste with little effort. Also, I did not show, but I cut out the Water Line Templates to make sure the pieces are "faired" correctly (within reason of course).
Last edited:
Kurt Konrath
Kurt Konrath
Once again great details and great looking final piece, too bad they get lost behind the planks....
Looking good
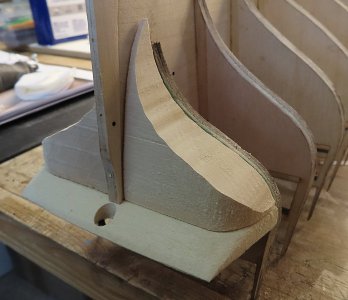
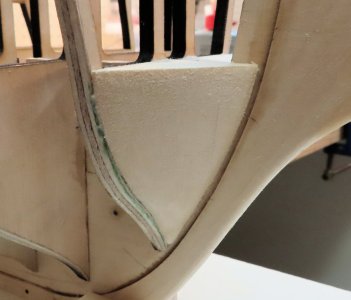
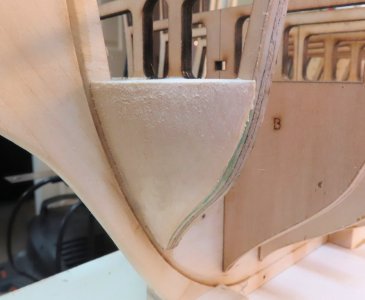
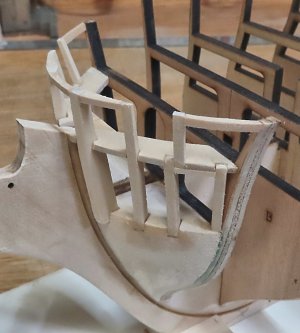
Bow / Stem completed. The darkened area at the joint below beams 2 and 3 are the result of me making my own wood filler (not good at all). I used some sawdust from the actual parts (basswood) and mixed it with Weldbond and a little water) same color when it was applied. But when it dried, became much darker. Oh, the filler worked fine - color - not !!!
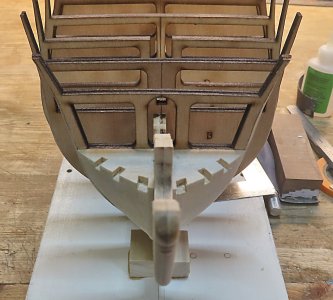
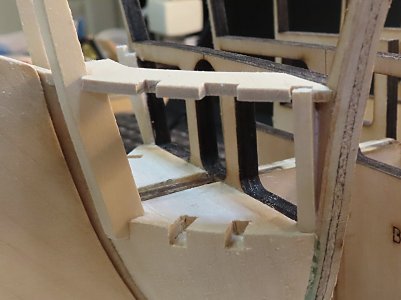
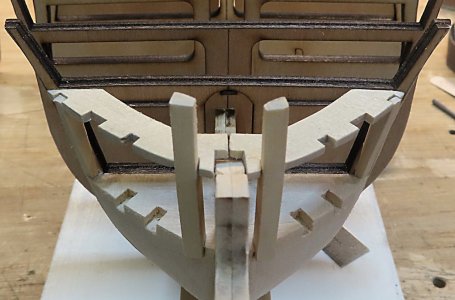
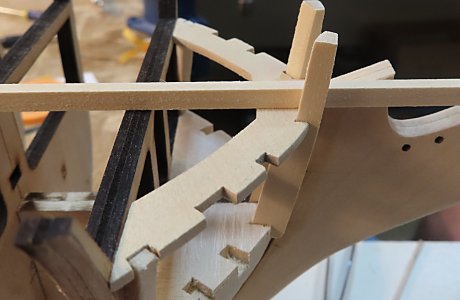
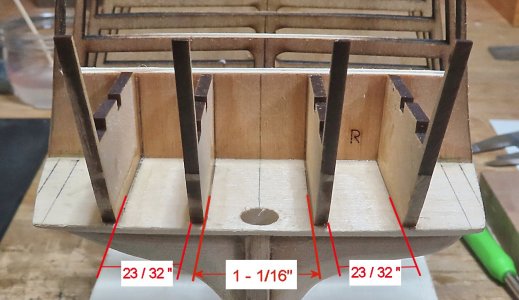
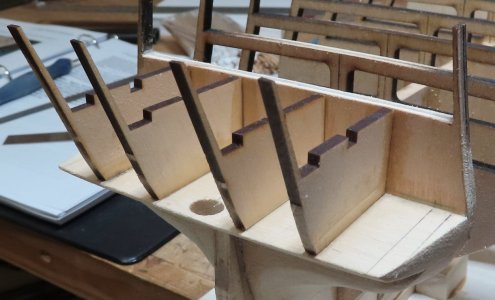
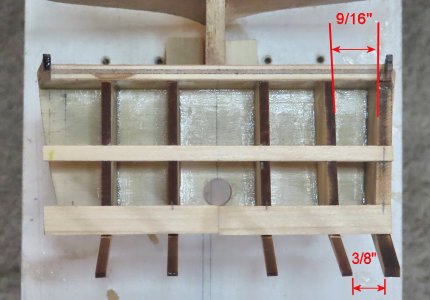
The starboard side of Stern Frame is installed. The INSIDE (BETWEEN) width measurement between Frame #1 (outer) and Frame #2 are correct. The INSIDE (BETWEEN) width at the Bulkhead R is 9/16 inches. The INSIDE (BETWEEN) width at REAR TIPS is 3/8"
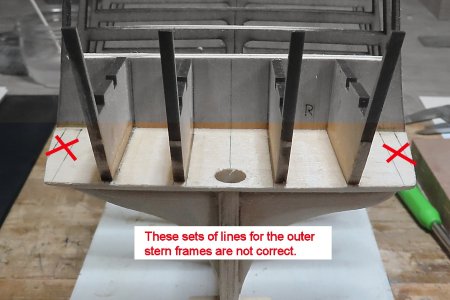
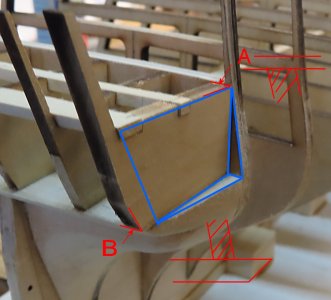
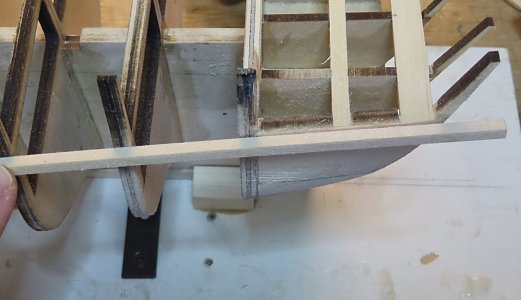
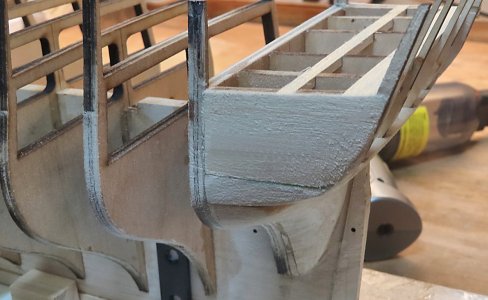
Even though the "PLAN" view of the Stern shows the Starboard Side as being flush with the counter, it will not look correct. Therefore a FILLER Piece will fill the Gap as shown in BLUE outline.
Also, the outer Frame has TWO (2) Bevels that will need shaping.
Even though the "PLAN" view of the Stern shows the Starboard Side as being flush with the counter, it will not look correct. Therefore a FILLER Piece will fill the Gap as shown in BLUE outline.
Also, the outer Frame has TWO (2) Bevels that will need shaping.
Last edited:
Kurt Konrath
Kurt Konrath
I guess the issue of self made filler is a "live and learn" but what you did is what I have heard a lot of folks do to make filler.
Sad the color shifted as it dried.
Sad the color shifted as it dried.
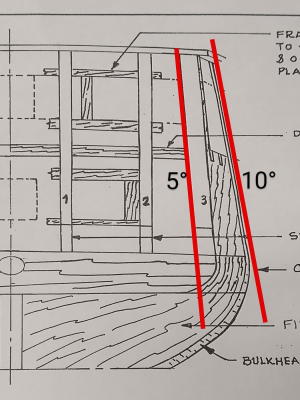
This is a tricky part to do, reading the instructions I didn't realise the angle of the stern frame changes by 5 degrees along its length.The starboard side of Stern Frame is installed. The INSIDE (BETWEEN) width measurement between Frame #1 (outer) and Frame #2 are correct. The INSIDE (BETWEEN) width at the Bulkhead R is 9/16 inches. The INSIDE (BETWEEN) width at REAR TIPS is 3/8"
Even though the "PLAN" view of the Stern shows the Starboard Side as being flush with the counter, it will not look correct. Therefore a FILLER Piece will fill the Gap as shown in BLUE outline.
Also, the outer Frame has TWO (2) Bevels that will need shaping.
Tony


