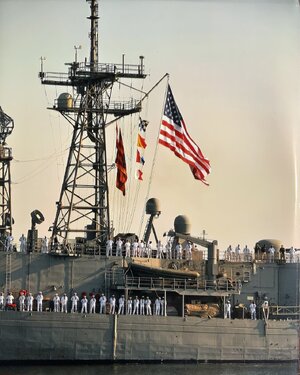
USS Oliver Hazard Perry FFG 7 by Academy with Pontos 1:350

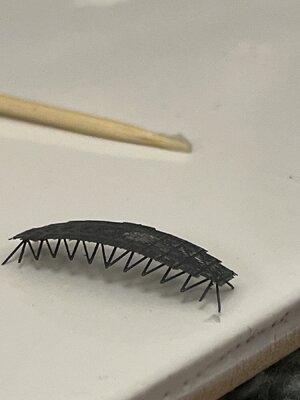
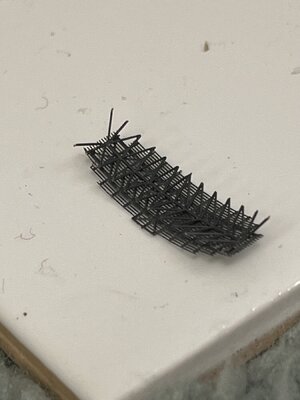
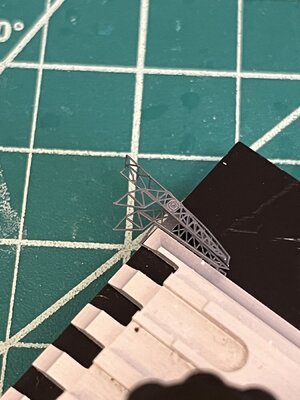
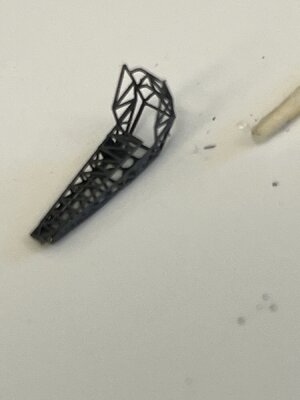
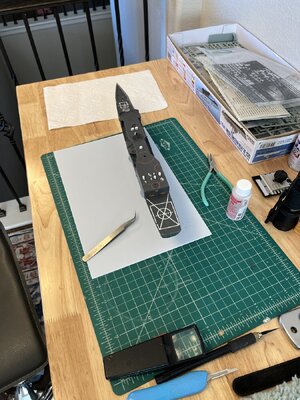
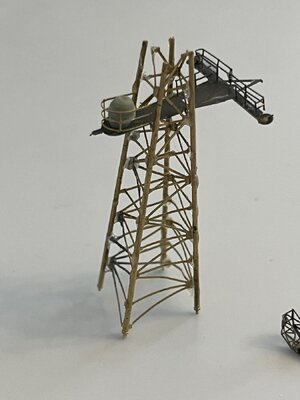
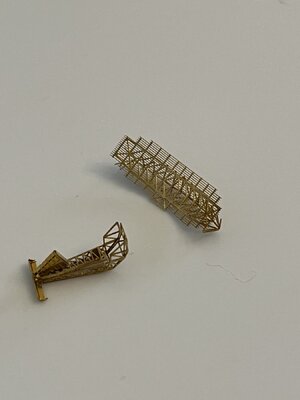
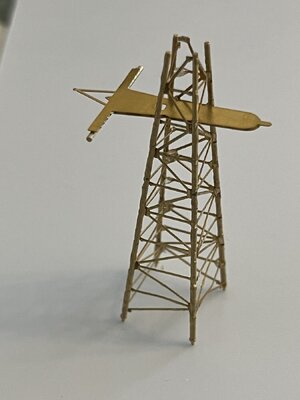
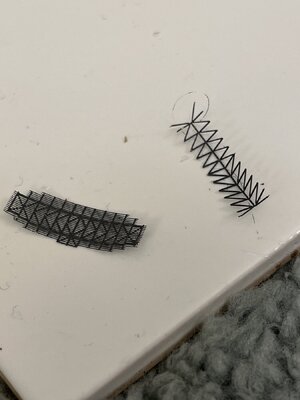
With bridge and associated structures completed now it time to start with masts with radar antennas. I started with the horizontal antenna by shaping the base with a rolling action of a cutting mat. The inside piece was formed by bending the wires out from the center frame and then carefully bending to the shape of the base.
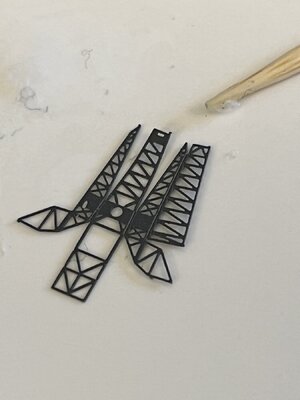
These are the individual pieces as taken from the fret formed and ready to assemble
IMG_1535.jpeg
Completed antenna ready for mast
IMG_1537.jpegIMG_1536.jpeg
Well I'm done for today
 
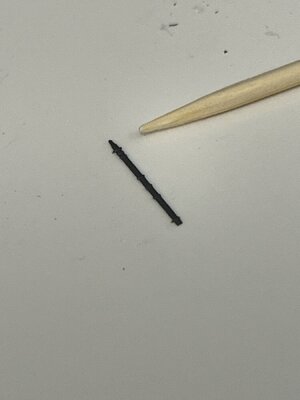
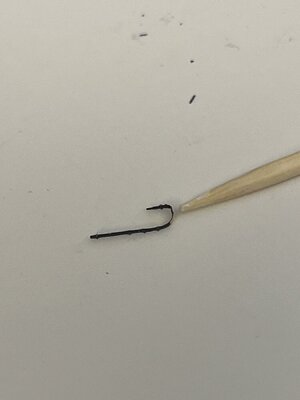
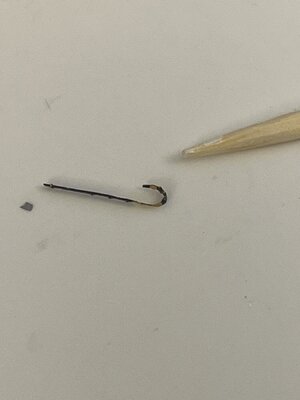
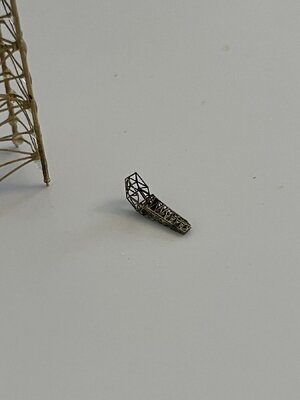
This part is simple except it required a 180 degree bend. There wasn't size for the bend so looking at the picture and measuring the width of the part I decided to use a 1mm drill bit as the mandrel. Taping the part down and holding the drill bit the bend was formed by lifting the end.
With this PE care must be taken looking for which end should be bent. In this case one end had a pointed termination.
IMG_1541.jpeg

The taped piece being bent
IMG_1544.jpeg
The finished part but the bend was too large
IMG_1545.jpeg
The modified part using a .6mm drill bit
IMG_1547.jpeg
 
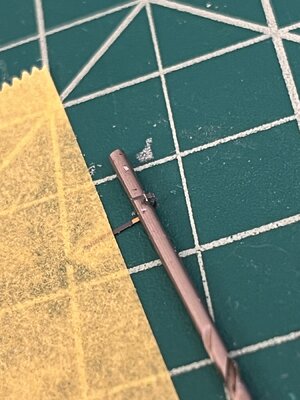
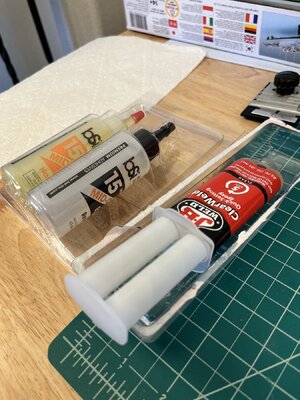
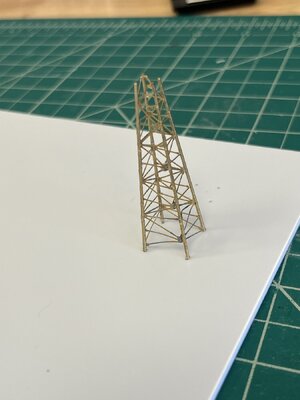
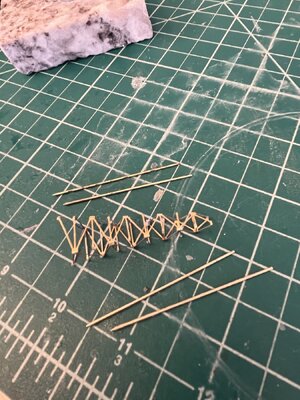
Finally got the after mast completely shaped and glued together. There are nine joints that needed to be aligned and glued while maintaining the square shape at each junction. When the glue sets I need to attach a rod on each corner aligning the flat spots on the rod to the PE junctions. Plan suggests using glue to keep the rods in place and once set place a dab of epoxy to maintain the holds during masts assembly. I haven't decided which epoxy to use either JB Weld of Bob Smith. I'm going to set a little of each to test usability and strength.
Picture of the formed PE with the rods alongside showing flat spots
IMG_1559.jpeg

Epoxies to test
IMG_1560.jpeg
 
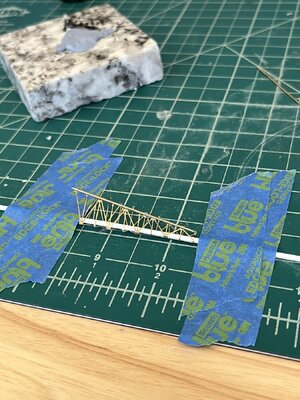
The biggest problem is how to hold the squiggle frame in place without squishing it out of square while glueing the rods in place. I tried using the blue sticky putty but when the frame was touched it moved so then I thought of how hold it down. I came up with using a styrene .080 dia rod inside of the frame adjacent to where I would be glueing the rod. Using blue painters tape to hold the rod in place I put a dab of glue on each place where the rod intersects. So far this has worked and once the glue sets the frame is rotated 90 degrees and try again.

frame and rod glued
IMG_1561.jpeg
 
The biggest problem is how to hold the squiggle frame in place without squishing it out of square while glueing the rods in place. I tried using the blue sticky putty but when the frame was touched it moved so then I thought of how hold it down. I came up with using a styrene .080 dia rod inside of the frame adjacent to where I would be glueing the rod. Using blue painters tape to hold the rod in place I put a dab of glue on each place where the rod intersects. So far this has worked and once the glue sets the frame is rotated 90 degrees and try again.

frame and rod glued
View attachment 434870
I used this when building , gives you an idea

IMG_2563.jpeg
 
Completed adding the four rods and placed it on plastic form, great idea from the beginning of the book. It was suggested to use a thick styrene sheet and using the PE of the top deck as a template drill holes for the mast assemblies. The picture shows the mast sitting on the template.
IMG_1568.jpeg
With the mast securely in place it is time to touch each joint with a dab of clear epoxy. I'm going to use the JB Weld as I know it cures clear.
Thank you for all the likes and wonderful comments.
 
The flight deck decal came with Many Thanks to Davidp for sending his unused decal. This is what the club is a helping hand to anyone needing help. While placing the decal I tore the section seen a missing and the decal is very hard to get aligned and placed correctly. I'm happy Davidp it looks great and now I can move forward. I had skipped over this section too continue building now I'll go back completing everything in order.
IMG_1577.jpeg
 
Thanks for the thread, Will. I'm planning on building FFG50. My father was a plank owner. I'm excited to see your model come together, and it'll be a big help to me when I'm ready to start.
 
Good to hear from you and especially about your Dad being a plank owner. I'd love to hear from him if he is still with us.
It's been too long since my last post and I have no excuse. I started to work in my shop on a model that was put into dry dock when we moved. So that is my excuse and when I went back looking at the mast and radar pieces this week I realized from working on wood if its not right make it over.
Soooo, take the offending parts and soak in an acetone bath unbending the CA. Acetone breaks the CA bond but does not dissolve. Once dry I take a small butane torch and but the gummy residue. This leaves a shiny clean part that can be shaped correctly. With the pe you cannot re-bend parts but you can reshape them giving a better appearance. Once shaped it can be glued with very small amounts of CA.
These are some of the parts that required rework showing globs of glue and poor railings
IMG_1605.jpegIMG_1606.jpeg
Both glue removed and carefully placed parts ready for reassembly
IMG_1607.jpeg
Ready for reassembly. Fortunately I found new unused railings from another kit.
IMG_1608.jpeg
I'll try to stay up to date with my progress via posts.
 
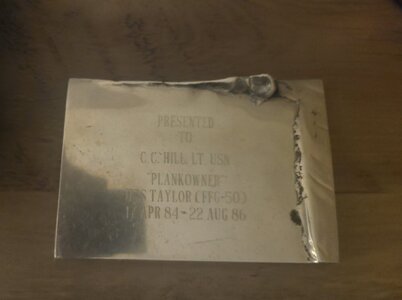
Unfortunately, we lost him several years ago. I have a bunch of his pictures from back then, but they weren't well organized and it's hard to tell whether they were from the Taylor or the Santa Barbara AE-28. I do have his plank though!

Thanks for the link, David!

20240502_230645.jpg
 
Back
Top