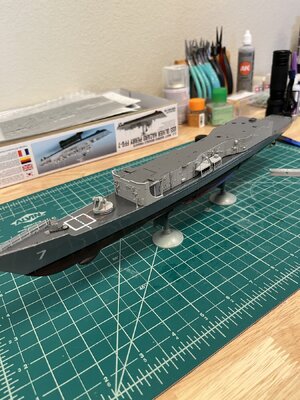
USS Oliver Hazard Perry FFG 7 by Academy with Pontos 1:350

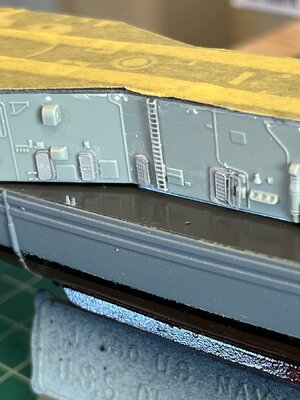
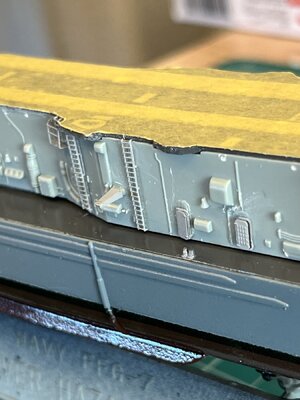
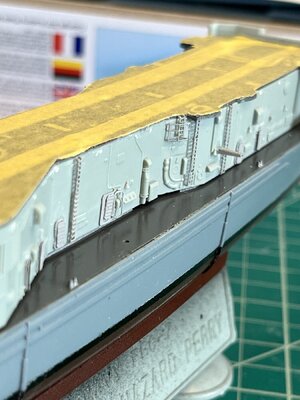
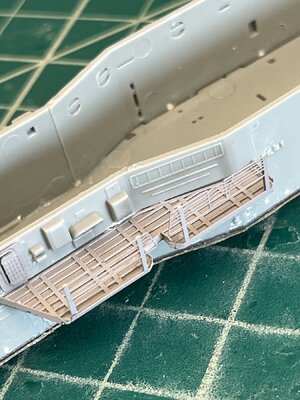
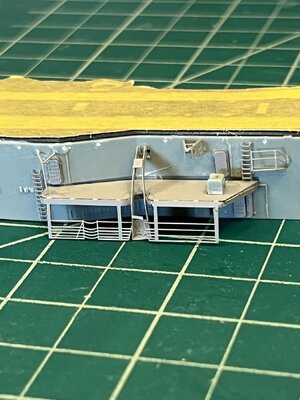
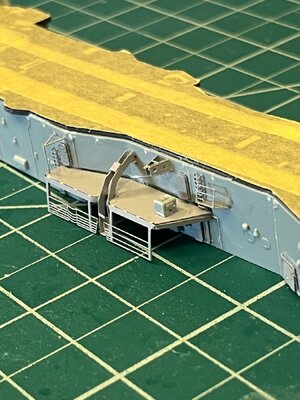
Well I got the foredeck completed with the winch, missile launcher, and some cranes. Spent too much time trying to get a new decal for the helipad. When I said too much time I should've said 4 days. When all said and done Davidp has this kit and he's building the long deck as I'm building the original deck version. In the long deck they don't use the short deck decal so Davidp is mailing his unused decal. What a great group of modelers all of you are. While waiting for the decal I'm going ahead with the superstructure.
So here are a few photos of the fordeck
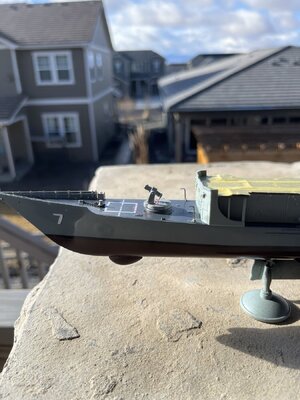
IMG_1480.jpegIMG_1481.jpegIMG_1482.jpeg

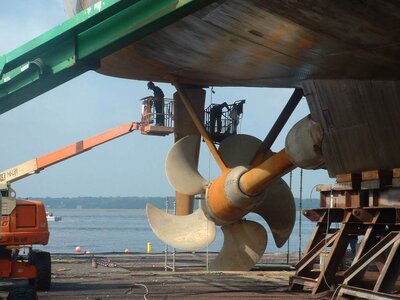
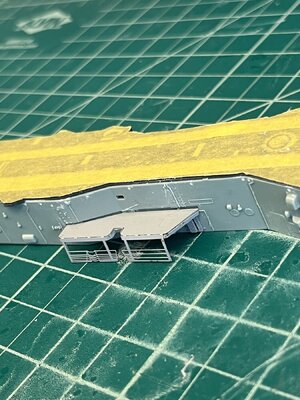
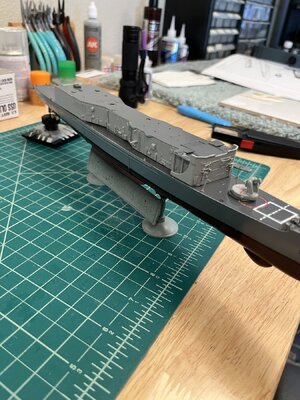
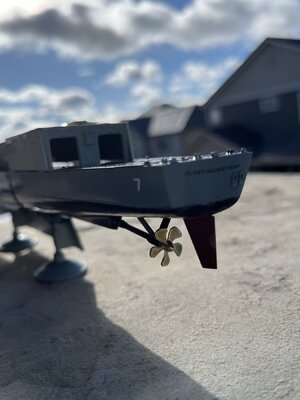
And yes I did complete the propulsion system
IMG_1484.jpeg
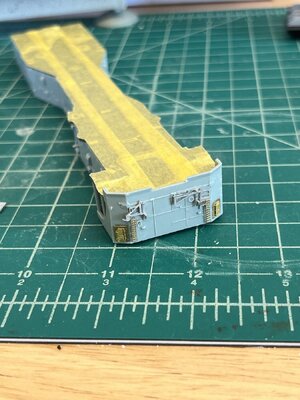
The superstructure is just sitting on the deck to give some reference after I set the sides and taped the top deck ready for paint.
 
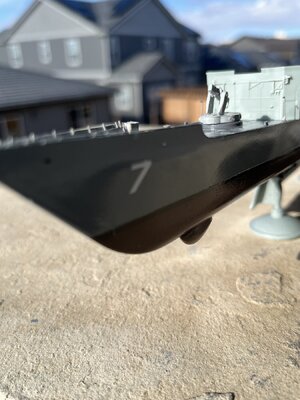
Well I got the foredeck completed with the winch, missile launcher, and some cranes. Spent too much time trying to get a new decal for the helipad. When I said too much time I should've said 4 days. When all said and done Davidp has this kit and he's building the long deck as I'm building the original deck version. In the long deck they don't use the short deck decal so Davidp is mailing his unused decal. What a great group of modelers all of you are. While waiting for the decal I'm going ahead with the superstructure.
So here are a few photos of the fordeck
View attachment 429927View attachment 429924View attachment 429926

And yes I did complete the propulsion system
View attachment 429925
The superstructure is just sitting on the deck to give some reference after I set the sides and taped the top deck ready for paint.
Some more nice work Will. :)
 
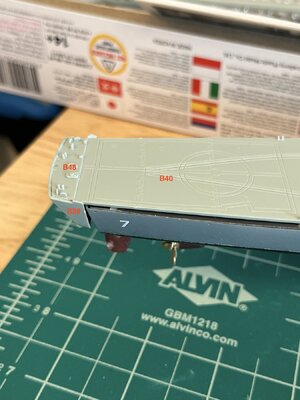
Will, i never said i was doing a long hull version as i'm doing the lead ship named after my ancestor Commodore Oliver Hazard Perry. the heli-pad pattern is already there if you look closely at that deck.
 
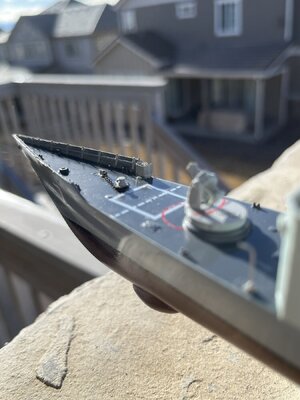
Well I got the foredeck completed with the winch, missile launcher, and some cranes. Spent too much time trying to get a new decal for the helipad. When I said too much time I should've said 4 days. When all said and done Davidp has this kit and he's building the long deck as I'm building the original deck version. In the long deck they don't use the short deck decal so Davidp is mailing his unused decal. What a great group of modelers all of you are. While waiting for the decal I'm going ahead with the superstructure.
So here are a few photos of the fordeck
View attachment 429927View attachment 429924View attachment 429926

And yes I did complete the propulsion system
View attachment 429925
The superstructure is just sitting on the deck to give some reference after I set the sides and taped the top deck ready for paint.
Coming on great Will. I love your photography. JJ..
 
Reply to Davidp
I apologize for miss quoting about which Oliver Hazard Perry you are going to build. After rereading your original post about Perry being a family member I remember the quote. In my defense I looked at the two helipad decks one (B40) with landing indicators and the other (B2) without. B40 is for the long deck version so I jumped to the wrong conclusion.
 
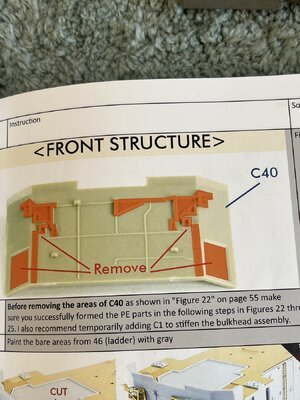
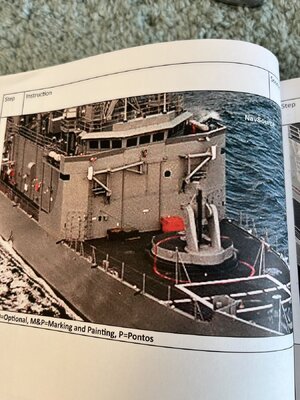
OK I got lost on the helipad deck discussion, but now on the the forward face of the superstructure. The instructions call for removing much of the moulded detail making ready for the PE.
A photo from the book showing detail needing removal.
IMG_1493.jpeg
now with the PE
IMG_1488.jpeg

Some of the PE was painted per the books instructions. The book suggests to clean each PE sprue, prime the sprue with VMS Metal Prep 4K, and then paint to color.
This is an actual Perry class frigate from NavSource
IMG_1494.jpeg
Now on the after side of the superstructure.
 
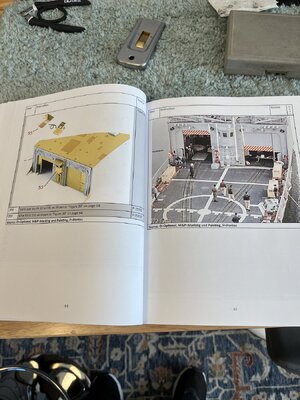
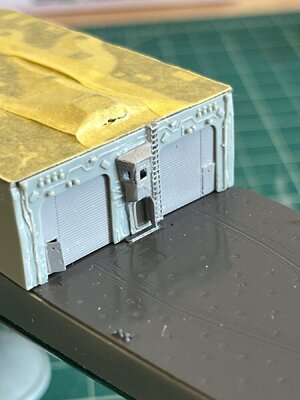
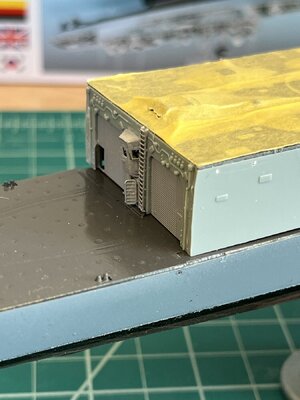
Aft end of superstructure was difficult because of the hanger doors. The hanger doors were part of the PE kit and the plans call for optional cutting showing a door open. I have never cut an existing PE piece and was not sure with what to make the cuts. In the PE kit for the long hull there is the aft deck. I used this piece to make practice cuts and finally used #11 blades making repeated passes. This left the edges slightly bent more than a clean cut. After repeated attempts I decided to now show the doors open. The balance PE went on with no trauma.
This picture shows how the door should be removed. Notice the fine piece alongside the passage door. Opposite side show a photo of an actual ship.
IMG_1490.jpeg
Just of couple photos showing my final doors.
IMG_1497.jpegIMG_1496.jpeg
I hope I don't look at this and 'kick myself' overtime
 
After removing as the moulded ladders, doors, etc I added the PE on the starboard superstructure side. The hardest part was the removal of the moulded features without damaging adjacent features. There is really nothing to show but I'll post a few photos.
IMG_1500.jpegIMG_1499.jpegIMG_1498.jpeg

Next is the port side with more of the same with the exception of the boat deck with its very interesting (challenging) PE
 
Just a in progress review of PE on the superstructure port side. Folding and gluing this boat deck was extremely difficult as you had to make the PE folds square enabling the folds to lay in alignment. Next the folds had to be bent square to the deck surface.
Photo showing the deck topside
IMG_1501.jpeg
This the bottom surface of the deck
IMG_1502.jpeg
Once you got the folds and bends completed there is a rail that had to be bent around the circumference. What a job.
 
Back
Top