Happy birthday Paul, although a day late.
Hope you finished your Pinot Noir.
Hope you finished your Pinot Noir.
 |
As a way to introduce our brass coins to the community, we will raffle off a free coin during the month of August. Follow link ABOVE for instructions for entering. |
 |
 |
The beloved Ships in Scale Magazine is back and charting a new course for 2026! Discover new skills, new techniques, and new inspirations in every issue. NOTE THAT OUR FIRST ISSUE WILL BE JAN/FEB 2026 |
 |
I think it looks great Paul! You did it the best way in the end, which is pre-rigging the small tackle to be glued in place with the cannon. I glued the eyes to the end of all cannon rigging and pre drilled holes for the eyes in the ship. So you just place the cannon and glue the eyes for rigging. Trying to rig them in place is an exercise in frustration!Finally, I glued the gun carriages in place and added my pre-rigged components...
View attachment 254065
View attachment 254066
The gun carriages on the Vasa are known to have been black. I'm not entirely sure I'm a fan but it is what it is.
As a point of interest I chose to present two of the guns "pulled back". On the Vasa the out-haul tackle was used as the in-haul tackle. The hook was simple taken from the bulwark and moved to a location inboard of the cannon. Here is my interpretation of that transaction:
View attachment 254064
Here are several views of the deck as it stands today:
View attachment 254068
View attachment 254069
View attachment 254070
View attachment 254072
I see that one of the long guns is not as perky as the others - will need to address that...
As always I am humbled that you would stop by.
Yes Daniel. I actually made all the ropes on this installation. The tackle lines are experimental discards that never got discarded. The wrap is a bit loose but the line is only 0.19 mm so it’s hard to discern it’s shortcomings. I was happier with the recoil rope which has also seen my experimental bitumen treatment. I can’t even begin to tell you how much time I waste trying to figure out how to do stuff.Happy belated birthday Paul! I've had to play catch up with your build from Aug 21 to now. Your canon rigging looks awesome to me. I've just ordered 2.5mm (sooo small) single blocks to start my canon rigging as well.
It looks like you made some right laid rope on your main recoil canon rope.
Thanks Roger. I was forced into this rigging solution by the mountains of failure that preceded this solution.The way you've done those cannons is a great lesson in rigging. I also like the placement of two of them "pulled back".
As an aside, did the little hooks you used for the blocks come with the kit?
Ok thanks. I think I’ll go the same route.….. to answer your question: no, the hooks are aftermarket. They might be from Crafty Sailor. The package says they were made by Falkonet and I have several sizes. The blocks are also aftermarket and these are from DryDock.
.Hi PaulThanks, everyone, for the kind birthday wishes.
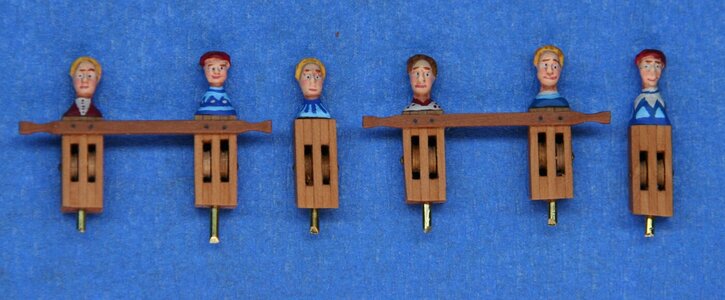
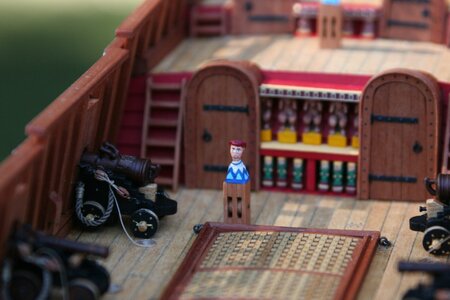
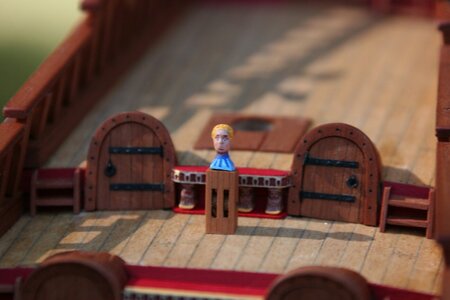
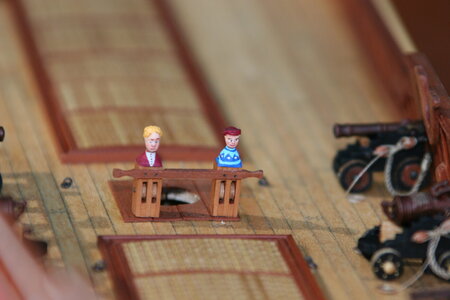
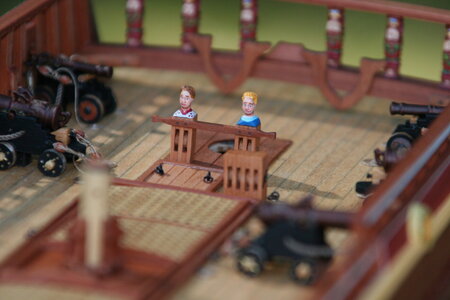
I did a little painting this weekend so I could wrap up the 'knechts' (thanks, @Heinrich). Here is what I ended up with (it would seem that a few of these 'servants' have found the captain's store of brännvin):
View attachment 254575
I ordinarily paint multiple pieces when I get my painting gear out but I am trying to wrap up some loose ends so this was all I painted this time around. Specifically I'm trying to install some of the bits and baubles that show up on the deck. At some point I need to build the upper railings and once I do that it will become difficult to access portions of the deck without damaging the upper railings (I did note that @PeterG cleverly built his railings and then took them off to be reinstalled later in the build). Indeed, with the addition of the guns the model has now entered an increasingly fragile state that will never go away.
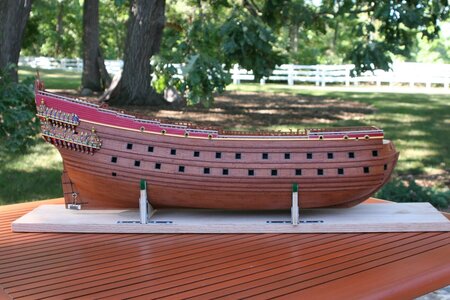
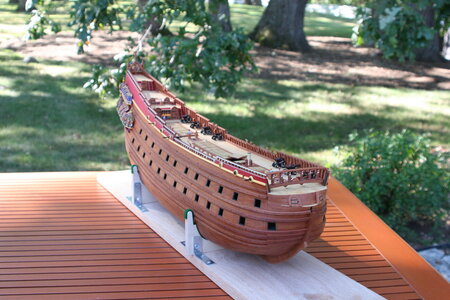
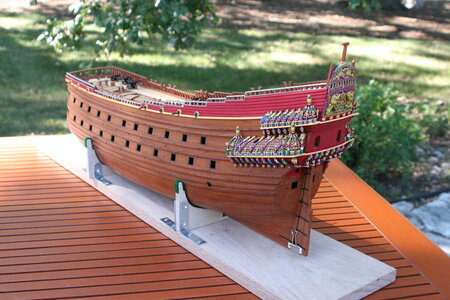
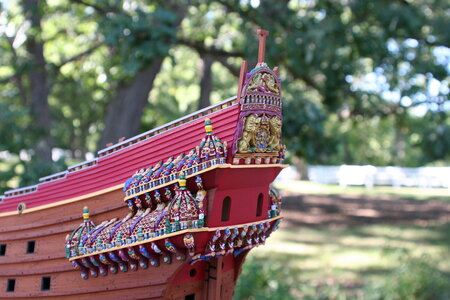
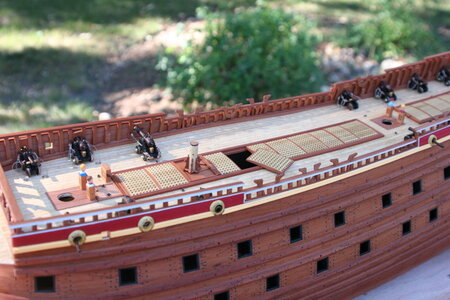
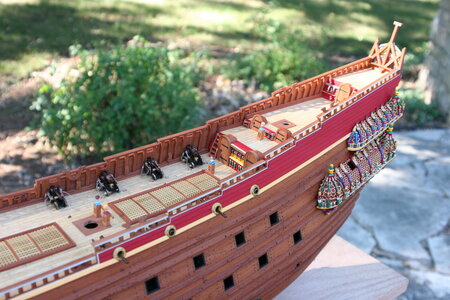
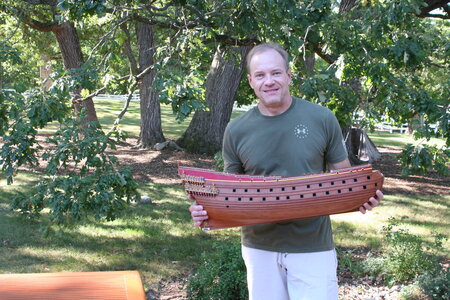
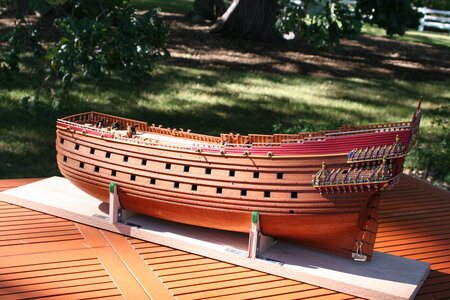
To mark the one year anniversary of this build I took my ship outdoors for a bit of fresh air. In these photos you will find the following completed steps: installation of the ladders, two kevels at the forward rail, the knechts, simulated deck reinforcements at the mast locations, a hatch cover aft of the foremast, the gratings, and the capstan sans the push bars:
View attachment 254581
View attachment 254582
View attachment 254583
View attachment 254584
View attachment 254585
View attachment 254586
View attachment 254587
View attachment 254588
View attachment 254589
View attachment 254590
As she turns ONE I wanted to take a moment to thank all of you who have offered likes, words of encouragement, suggestions, corrections, or just the occasional visit to see what I have been up to. I am humbled by your interest.
View attachment 254592
View attachment 254591
Onward!
Thanks Roger. Not an easy decision to take her outdoors but it was an exceptionally pleasant afternoon so I took the chance. Plus, I learned how to use the timer on my camera!Happy 1st Anniversary.
You have a lot of guts carrying your model outdoors! But the artwork, which is what it is, looks even more beautiful in the natural light. Just wonderful.
Thanks Dean. I have been supported by many (including you, of course) so I really do like to think of this as a group build of sorts. And the photos of your ship on the sea of carpet are just fine!You have accomplished a lot in your first year Paul! All of which is commendable! There is a reason you have so many followers. I really like what you have done with this kit, and I think you have set the bar high for those who chose to follow. I myself would not look forward to trying to do as good, or better, than what you have achieved.
Ps - great yard and love the outdoor pics. Always nice to see the builder holding their ship. And finally I think I am going to have to start taking pictures of my ship with something other than my cell phone…lol.
