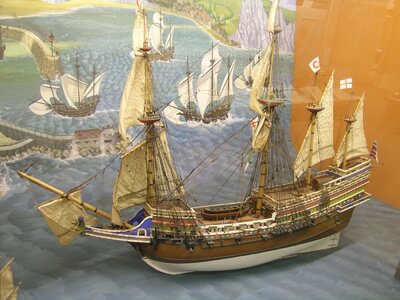
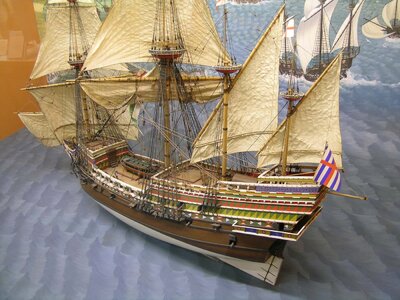
Victory Models Kit Revenge 1577 Race Built Galleon scale 1/64

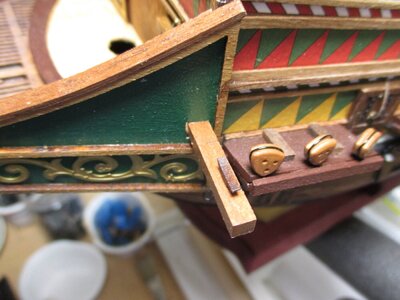
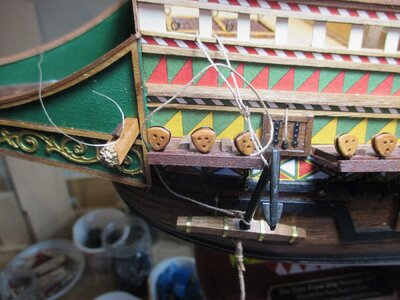
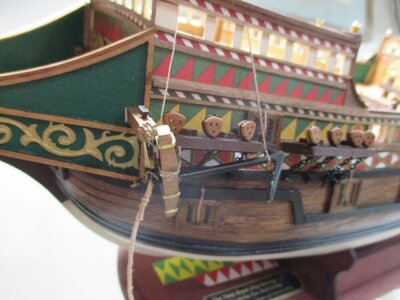
Just to show what I am doing on the lower deadeyes here are two photos of the work in progress. What makes these so tedious is that each deadeye needs to be assembled with wire wrapped around the deadeye and the chain attached to the wire. Then mounted to the chain plate and then pinned to the hull. Not hard...just detailed. The first photo shows one chain plate nearly complete with just pinning the chains to the hull to remain. The second photo shows another set in the finished state.

View attachment 264339View attachment 264340
it's looks beautiful, well done Thumbsup
 
Just to show what I am doing on the lower deadeyes here are two photos of the work in progress. What makes these so tedious is that each deadeye needs to be assembled with wire wrapped around the deadeye and the chain attached to the wire. Then mounted to the chain plate and then pinned to the hull. Not hard...just detailed. The first photo shows one chain plate nearly complete with just pinning the chains to the hull to remain. The second photo shows another set in the finished state.

View attachment 264339View attachment 264340
You are producing a very nice and precisely detailed model. Rich (PT-2)
 
I like the way your chain plates actually use chain, most of the ones I've seen so far use flat bars. I really like the stern lantern detail, better protect it though you still have a ways to go!
 
Good day,
Nice job, nice model!!!:)
I very doubt that stern lantern could be installed in this case, when there will be bonaventure mizzen rigged...both will not live together :)))
 
Last edited:
Good day,
Nice job, nice model!!!:)
I very doubt that stern lantern could be installed in this case, when there will be bonaventure mizzen rigged...both will not live together :)))
I agree, which will prove to be a challenge when I get to the rigging. I will need to change something…or as I say…make an unscrupulous change to the dominant plan set! :)
 
As an option, lantern could be built / incorporated in aft railings...than it will be less in height and less interfire bonaventure sheet...?
Or it need to be lowered much more than its position now, and supporting console need to be shortened as well...but than still outriger for bonaventure mizzen sheet and lantern itself will interfire each other :(
In my model case, I later reject idea to show stern lanterns as I planned before,and removed them...due to can't solve this issue...
Compare with contemporary pictures... at least there is no outrigger for bonaventure,and no bonaventure or location of bonaventure far to forward/ no need outriggerScreenshot_20211024-095420_Gallery.jpgScreenshot_20211024-095545_Gallery.jpgScreenshot_20211024-095642_Gallery.jpgScreenshot_20211024-095810_Gallery.jpg and its sheets doesn't cross aft lantern...and position of lantern quite lower...compare to taffrails...
 
The lantern is going to be a conundrum for sure…something will need to be changed…just not sure which direction to go yet…thanks all for the various ideas! Stand by…
 
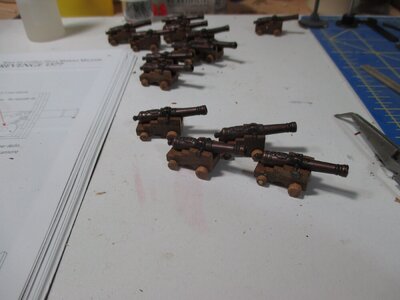
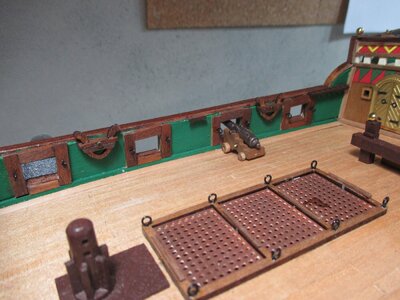
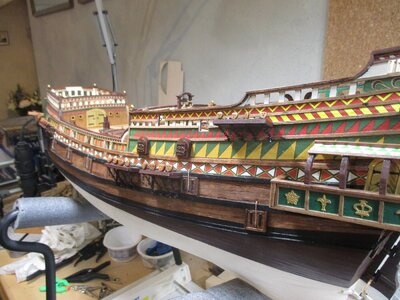
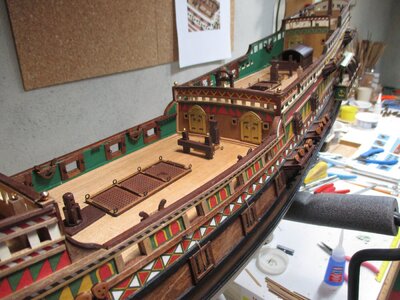
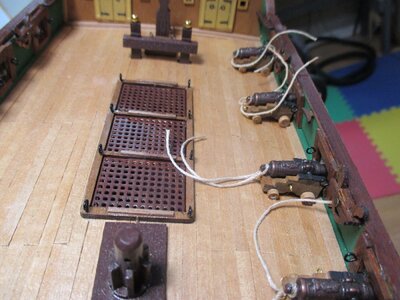
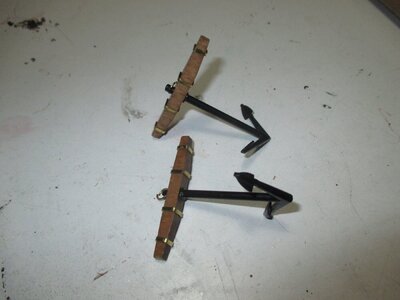
The lower deadeyes and the chain plates are in place. Next are some remaining hull details before I get to the masting and rigging. The first two photos show the progress on the main deck cannons. The second photo shows a cannon sitting in place just to see what it will look like and what rigging choices I will need to make. They are small at this scale, which calls for some delicate rigging choices. One choice is to omit the block and tackle rigging as the blocks are extremely small to work with. It will be difficult to get the rope to scale as even sewing thread is really a bit large for scale. But we will see what happens. The last two photos are simply an update as to the state of the hull at this point. Not much discernible differences from previous photos. After the deck cannons I need to add the anchors and then build the ship's boat and mount it on the deck.
IMG_1720.jpegIMG_1721.jpegIMG_1718.jpegIMG_1719.jpeg
 
Looking great Jim, I’m working on this one also, you are a lot further along than I am! The rigging on this one looks like it’s going to be challenging- lots of opportunities for my ham hocks to break stuff I just finished! :)
 
Looking great Jim, I’m working on this one also, you are a lot further along than I am! The rigging on this one looks like it’s going to be challenging- lots of opportunities for my ham hocks to break stuff I just finished! :)
I have looked ahead at the rigging and it will be a challenge for sure. Race built galleon rigging of the mid 1500s was complex and will not be easy or straightforward to model fully. We can face the challenge together!
 
I have looked ahead at the rigging and it will be a challenge for sure. Race built galleon rigging of the mid 1500s was complex and will not be easy or straightforward to model fully. We can face the challenge together!
I would like to watch as well, my Occre version I think has a simplified version of the rigging so would be interested to see the differences.
 
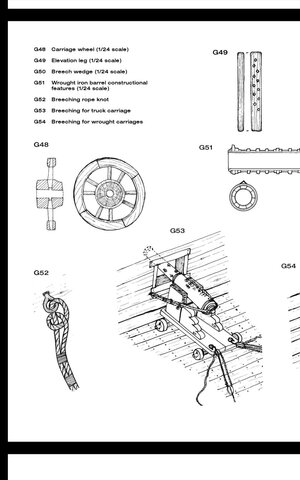
Just a quick post to show that I have moved on from the lower deadeyes and chain plates. I am beginning to place and rig the deck kaboomers. An interesting development on the cannon rigging. As I look closely the restraining ropes are tied onto the bulwark rings with what looks like a double overhand knot. The ropes are not looped through the rings and seized nor are they attached to hooks. I believe this was typical of the mid 1500s rigging of cannons...maybe... :) Obviously the rigging is in-progress...

IMG_1733.jpeg
 
In addition to the deck cannons I have started mounting the main bowers. The one big mistake was I did not pre drill the holes in the cathead to simulate the Reeves. Always try to do this before mounting the catheads. It called for very careful drill freehand with the Dremel tool. I managed. From the photos you can follow the rigging process of the port bower.

IMG_1723.jpegIMG_1727.jpegIMG_1728.jpegIMG_1731.jpeg
 
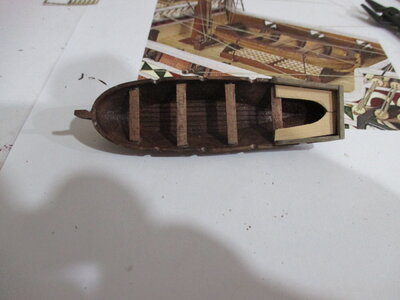
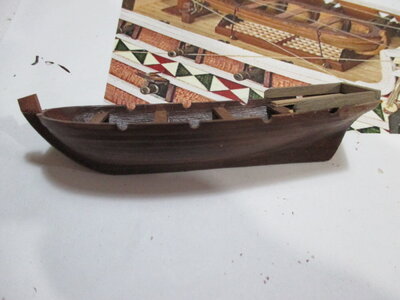
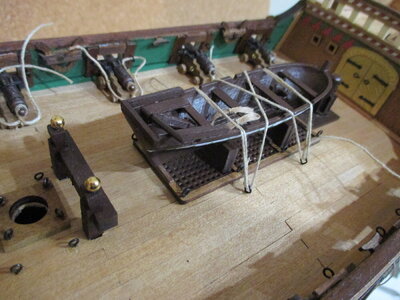
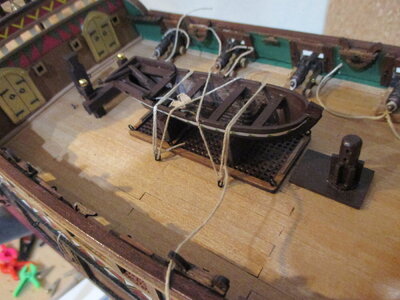
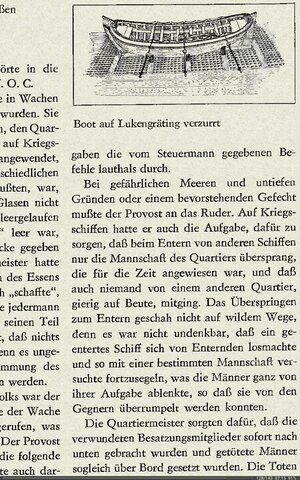
I took a side trip from assembling deck cannons. The kit did not include a ship's boat so I searched through my collection of extra stuff and found a ship's boat kit I could adapt. Not quite 1577 shape but it blends in nicely. I added bulwarks and seats...rudder, rope, and a bucket...painted it the deep brown typical of the era, added side deco, and rigged it into place. I still need to trim the rigging lines. Came out OK. Also in the photos you see some of the progress mounting the upper deck cannons. These are ready for finishing up the rigging.

IMG_1739.JPGIMG_1740.JPGIMG_1743.JPGIMG_1744.JPG
 
Just a quick post to show that I have moved on from the lower deadeyes and chain plates. I am beginning to place and rig the deck kaboomers. An interesting development on the cannon rigging. As I look closely the restraining ropes are tied onto the bulwark rings with what looks like a double overhand knot. The ropes are not looped through the rings and seized nor are they attached to hooks. I believe this was typical of the mid 1500s rigging of cannons...maybe... :) Obviously the rigging is in-progress...

View attachment 300005
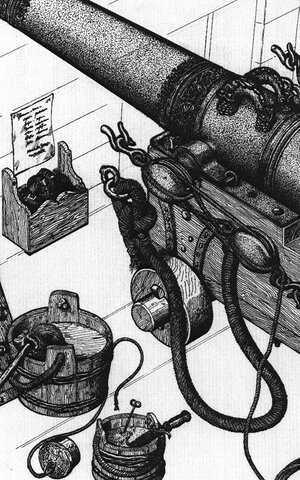
There areva couple of modern reconstructions , how they tie breeching rope...
Example of Dutch, "7 Provincies" and " Mary Rose "recovery findings...
In both cases , used tie looks the same...

Screenshot_20220627-064532_Gallery.jpg

Screenshot_20220627-064645_Drive.jpg
 
Good day Jim,
I have some doubts that You shown correct way how to secure boat on deck...
Why did You choose this way of lashing securing ropes, using one continues rope?
There is exist more conventional way for securing ships boat - they used to use two separate ropes, for forward and aft parts of the boat .
Each rope secured separately -
as follow- one ,standing end secured to the eye ring on deck , than to pass over boat to the other side,than to end the rope with deadeye and secure them /tight with anoter answering deadeye which is secured on deck...
This way securing boat which You shown now, would bevdangeroes in ship reality, it can't be tight good, and when ship starts rolling(but it allways rolling,more or less) boat could loosing securing at place, will start moving on watered deck and could make a lot of damages...

Screenshot_20220627-071603_FBReader Premium.jpg
 
Last edited:
Kirilli4. You are right…using one continuous rope tie down is not the way of such things…I sometimes get off track! Or better put…lazy. Thanks for your corrections…I will redo. I will also look more closely at how deadeyes are used in rigging down a ship’s boat. Easy to clip off the rope and redo! I will update the changes with more photos!
The method you posted for anchoring the cannon breeching rope is exactly my intention...it is not clear in the kit instructions but I found the method for the era in further research similar to your posting above. Again, thanks for reinforcing what I found! And the photo you posted was much better than what I was working with!
Thanks for the posts and your help is most welcome!
Edit: You will be surprised at the number of photos of models that rig the ship’s boat the way I did…my approach was not done in a vacuum…I still like the method Kirilli4 put forth and will do a redo…. :)
 
Last edited:
Back
Top