• LUCZORAMA SHIPWRECK SCAVENGER HUNT GIVEAWAY. 4 Weeks of Fun • 1 Legendary Prize ((OcCre’s Fram Ship)) • Global Crew Welcome!
    **VIEW THREAD HERE**

VOC ship The Prins Willem (scale 1:75) Year 1651

My last update is 2,5 weeks ago. I did not work on the sail till today. One picture because nothing changed till now. But I did work on my modelling tools. I'm making a rope walk on my 3D printer. Designing it in AutoCAD and printing it on my old updated machine. Yes I got a good design now and after a few failed prints I started today, printing the final result and when the DC motor and a few other parts, I need, arrive from China I can say I got a compact nice rope walk. Not for me, I already got one. But if someone is interested in making ropes and want a machine. Just for the price of the parts and prints, no profit.
And if there are more people interested, no problem.

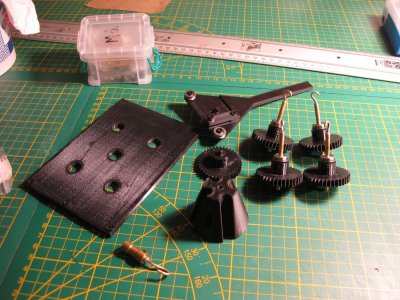
some already printed parts
IMG_5276.JPG

Printing the body of the ropewalk (takes 2 days with Petg filament)

IMG_5277.JPG

I am making the parts out of Petg filament, because mechanical parts need to be strong. ABS is difficult to print on an older Ender 3, it's expensive and that's why I choose for Petg. It is as strong as ABS, cheaper and easier to print.
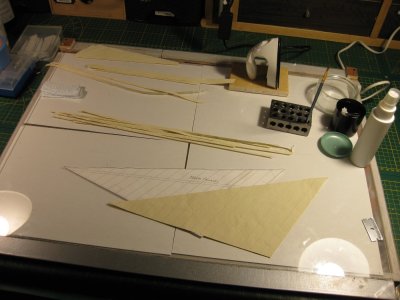
In a few days I can show you my design and til that time I work on my sails again.
IMG_5279.JPG
 
My last update is 2,5 weeks ago. I did not work on the sail till today. One picture because nothing changed till now. But I did work on my modelling tools. I'm making a rope walk on my 3D printer. Designing it in AutoCAD and printing it on my old updated machine. Yes I got a good design now and after a few failed prints I started today, printing the final result and when the DC motor and a few other parts, I need, arrive from China I can say I got a compact nice rope walk. Not for me, I already got one. But if someone is interested in making ropes and want a machine. Just for the price of the parts and prints, no profit.
And if there are more people interested, no problem.

some already printed parts

View attachment 517556

Printing the body of the ropewalk (takes 2 days with Petg filament)

View attachment 517557

I am making the parts out of Petg filament, because mechanical parts need to be strong. ABS is difficult to print on an older Ender 3, it's expensive and that's why I choose for Petg. It is as strong as ABS, cheaper and easier to print.
In a few days I can show you my design and til that time I work on my sails again.

View attachment 517558
Another rope walk ?
 
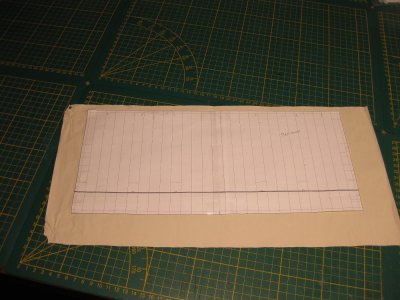
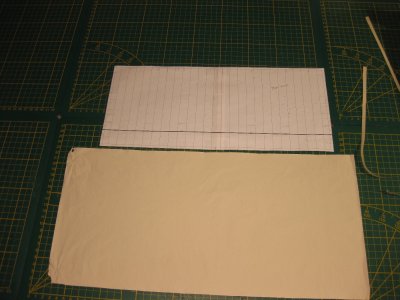
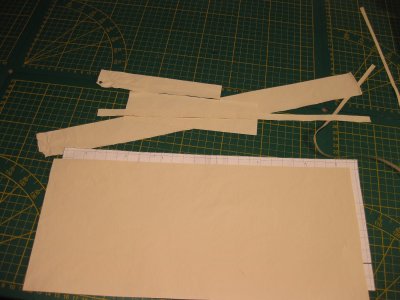
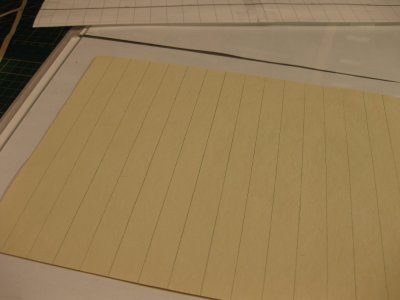
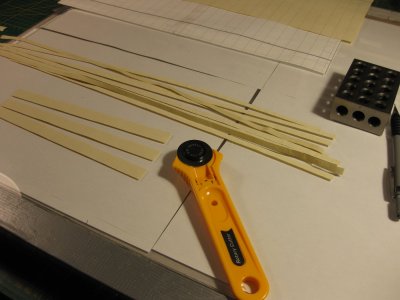
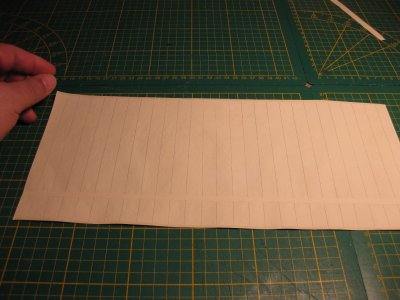
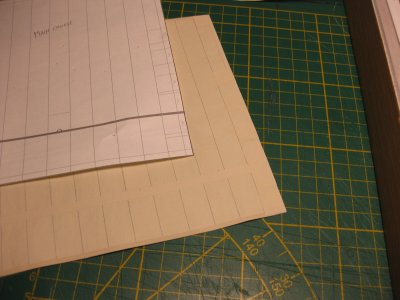
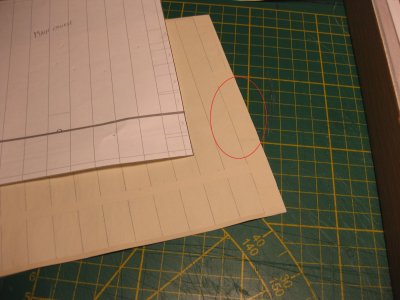
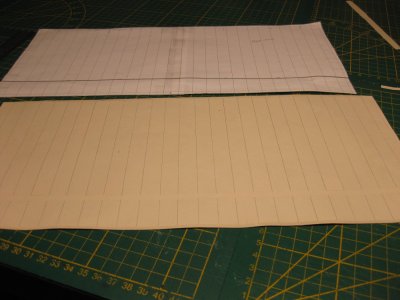
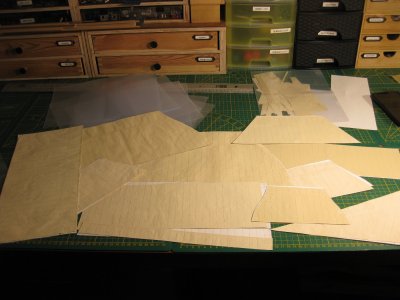
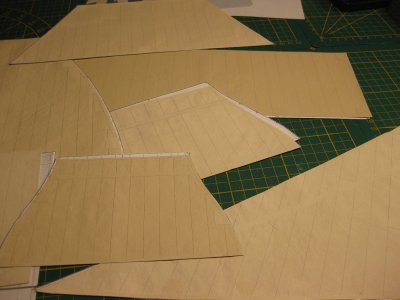
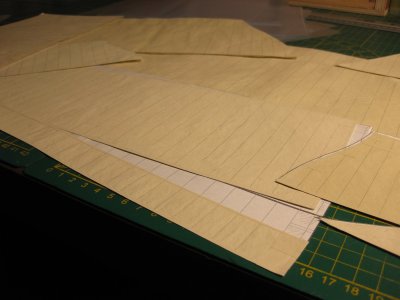
Thanks all for the visit, likes and comments. Where are a month further ahead and I glued and cut all the sails.
The rope walk is also ready and for sell if someone is interested.

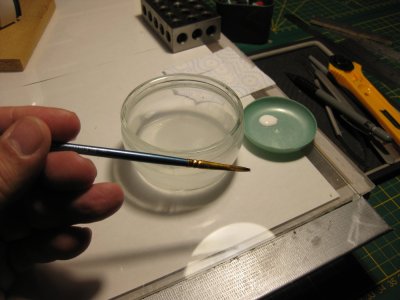
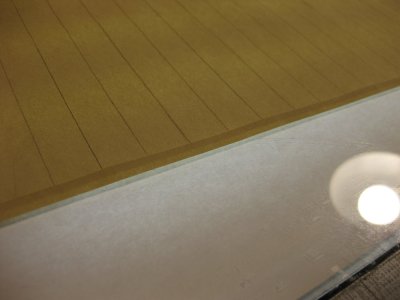
Just enjoy the step by step pictures.

IMG_5302.JPGIMG_5303.JPGIMG_5304.JPGIMG_5306.JPGIMG_5307.JPGIMG_5308.JPGIMG_5311.JPGIMG_5312.JPGIMG_5313.JPGIMG_5314.JPGIMG_5315.JPGIMG_5316.JPG

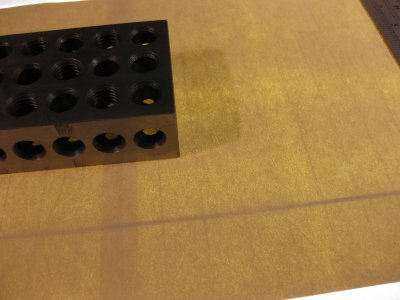
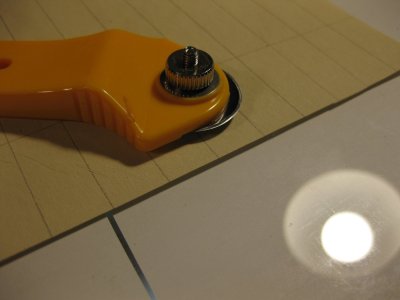
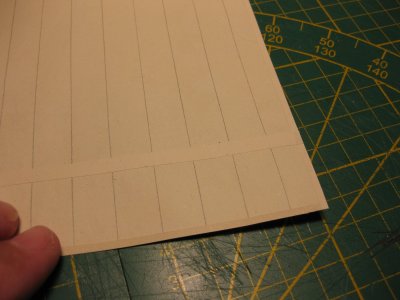
Bit hard to recognise, but here you can see the reinforcements for the loops and attachment bowlines.

IMG_5316a.jpgIMG_5317.JPG

And then all sails.

IMG_5318.JPGIMG_5319.JPGIMG_5320.JPG

Now I'm gonna attach the bolt ropes and other stuff to the sails.
Thanks for passing by.
 
Thanks all for the visit, likes and comments. Where are a month further ahead and I glued and cut all the sails.
The rope walk is also ready and for sell if someone is interested.

Just enjoy the step by step pictures.

View attachment 524710View attachment 524711View attachment 524712View attachment 524713View attachment 524714View attachment 524715View attachment 524716View attachment 524717View attachment 524718View attachment 524719View attachment 524720View attachment 524721

Bit hard to recognise, but here you can see the reinforcements for the loops and attachment bowlines.

View attachment 524722View attachment 524723

And then all sails.

View attachment 524724View attachment 524725View attachment 524726

Now I'm gonna attach the bolt ropes and other stuff to the sails.
Thanks for passing by.
That is looking very nice, Stephan. A lot of work, and still to come.
Regards, Peter
 
Thanks all for the visit, likes and comments. Where are a month further ahead and I glued and cut all the sails.
The rope walk is also ready and for sell if someone is interested.

Just enjoy the step by step pictures.

View attachment 524710View attachment 524711View attachment 524712View attachment 524713View attachment 524714View attachment 524715View attachment 524716View attachment 524717View attachment 524718View attachment 524719View attachment 524720View attachment 524721

Bit hard to recognise, but here you can see the reinforcements for the loops and attachment bowlines.

View attachment 524722View attachment 524723

And then all sails.

View attachment 524724View attachment 524725View attachment 524726

Now I'm gonna attach the bolt ropes and other stuff to the sails.
Thanks for passing by.
So very good!
 
Thanks all for the visit, likes and comments. Where are a month further ahead and I glued and cut all the sails.
The rope walk is also ready and for sell if someone is interested.

Just enjoy the step by step pictures.

View attachment 524710View attachment 524711View attachment 524712View attachment 524713View attachment 524714View attachment 524715View attachment 524716View attachment 524717View attachment 524718View attachment 524719View attachment 524720View attachment 524721

Bit hard to recognise, but here you can see the reinforcements for the loops and attachment bowlines.

View attachment 524722View attachment 524723

And then all sails.

View attachment 524724View attachment 524725View attachment 524726

Now I'm gonna attach the bolt ropes and other stuff to the sails.
Thanks for passing by.
Excellent again, so much to learn and try. I did some experiments about a year ago. After painting while hanging out to dry it all fell into a plushy mess on the floor..
 
So very good!
True story..... ROTFROTF

Excellent again, so much to learn and try. I did some experiments about a year ago. After painting while hanging out to dry it all fell into a plushy mess on the floor..
Thanks my friend, you have to work quick and carefull. Don't let the paper stick too the surface you use. I used a glass plate and the thinnist Japanese paper I could find. Adjust the paint with care and make sure the paper drenched complete. If you use 2 layers of paper like the video says and don't let the paint stick to the surface (keep the paint wet) it will not fall apart. Also watch out when hanging it, if you use a wrong force it will tear off. It is very delicate till the paint is dried out. After that it is very strong. There is if necessary a second layer of paint possible at that stage.
 
Last edited:
True story..... ROTFROTF


Thanks my friend, you have to work quick and carefull. Don't let the paper stick too the surface you use. I used a glass plate and the thinnist Japanese paper I could find. Adjust the paint with care and make sure the paper drenched complete. If you use 2 layers of paper like the video says and don't let the paint stick to the surface (keep the paint wet) it will not fall apart. Also watch out when hanging it, if you use a wrong force it will tear off. It is very delicate till the paint is dried out. After that it is very strong. There is if necessary a second layer of paint possible at that stage.
Hi Steef. Good reply you pointed out all the mistakes I recall making. The paper was Silkspan (Modelspan) it was laid out on a sheet of glass 600mm x 600mm. Because it was std window glass I taped one side with black Duct Tape in case of breakage. Here is where I may have gone wrong - using a good quality form roller I applied a full coating of paint BUT! I may have wetted the Silkspan too much and perhaps wasn't quick enough in lifting it off the glass to hang and dry. It did tear in the areas I handled plus where the steel pegs were placed to hold it onto a drying line. To complicate things a tiny bit more the wind blew and caused the silkspan to furl up and stick to itself, big mess. No problem, several attempts later with similar results I managed to end up with enough coloured Silkspan to play around making sails for my (still to be Sail'd) Santa Maria. I cut 5mm strips and glued these together with favourable initial results but didn't proceed because I ran out of Silkspan. Your absolutely correct, once dry it becomes extremely strong but is pliable when wetted. There will be other later attempts at sail making but after I finish the SJN hull (another 'ooops! bit off more than I can chew) Thoroughly enjoying your posts, Many thanks for the reply.
 
Hi Steef. Good reply you pointed out all the mistakes I recall making. The paper was Silkspan (Modelspan) it was laid out on a sheet of glass 600mm x 600mm. Because it was std window glass I taped one side with black Duct Tape in case of breakage. Here is where I may have gone wrong - using a good quality form roller I applied a full coating of paint BUT! I may have wetted the Silkspan too much and perhaps wasn't quick enough in lifting it off the glass to hang and dry. It did tear in the areas I handled plus where the steel pegs were placed to hold it onto a drying line. To complicate things a tiny bit more the wind blew and caused the silkspan to furl up and stick to itself, big mess. No problem, several attempts later with similar results I managed to end up with enough coloured Silkspan to play around making sails for my (still to be Sail'd) Santa Maria. I cut 5mm strips and glued these together with favourable initial results but didn't proceed because I ran out of Silkspan. Your absolutely correct, once dry it becomes extremely strong but is pliable when wetted. There will be other later attempts at sail making but after I finish the SJN hull (another 'ooops! bit off more than I can chew) Thoroughly enjoying your posts, Many thanks for the reply.
Yes you must be carefull handling the just painted paper. (Silkspan or Japanese paper). It is in that stage fragile.
I use a plant sprayer to wet the paper a little bit and let it stick to the glass plate before adding the paint. In that way I can avoid airbubbles under the paper. It’s a little practise you need to find the correct way to do it. Thanks that you enjoy these post of me. I'm happy to help other people building.
 
Back
Top