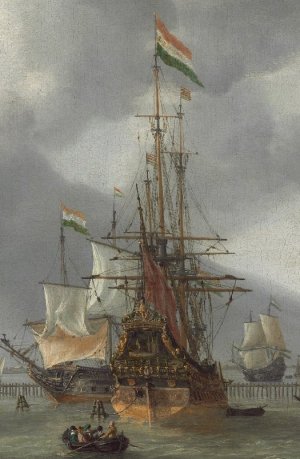
VOC ship The Prins Willem (scale 1:75) Year 1651

Welcome back here.
My ast update on this ship is a year ago
I'll hope you enjoyed that post/tutorial about how I made the tacks of a 17th century Dutch ship.
I did work on the ship a few times without placing updates. I was trying to make sails and I tell you that most of them ended in the bin. I tried cloth of different fabrics, I tried paper sails a few times. The method of Peter Voogt and his Bluenose (difficult because that is fragile to handle)

Back in 2020 I watched a video of Tom Lauria and in that time I saved it in my YouTube account for later and that times comes now after I watched it back a few times.


My first attempt was with Filmoplast@R and very thin cotton cloth

View attachment 511491

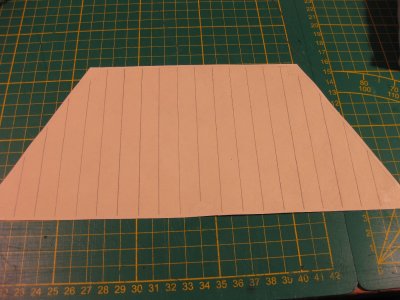
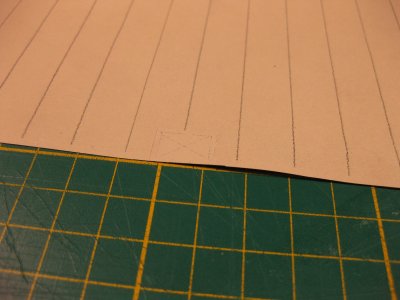
I made strokes of the Filmoplast@R (this is Japanese paper (8gmm2) with a layer of heat reaction glue.

View attachment 511492

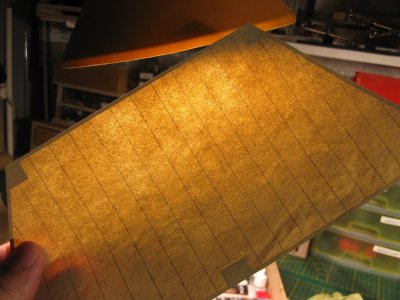
These strokes I glued on the cotton.

View attachment 511493

I don't like the result.

The second attempt was with silk cloth
This one is for my Newport. I rigged a dark thread into the cloth and sealed the edges with Filmoplast@R

View attachment 511494

View attachment 511495

Time is wasted, not what I want.

Third attempt, Peters method combined with Filmoplast@R
Kashmir Japanese paper 11 grams per m2

View attachment 511497View attachment 511498

It looks better but.......
You have the need of Peter's fingers, patience and skills to handled that. That sail takes way to much time to make and is to fragile to handle.

So I go on with the video of Tom Lauria.

The silkspan I already have. In the Netherlands it is sold as modelspan or just Japanese paper Kashmir 11gm2 or Tengujo 18gm2 what is the same. For the Dutchies look in the online shop "De Kwast" they sell all you need.
I bought the paint Tom is also using, 2 colours Liquitex Titanium white and Unbleached titanium basic acrylic paint. I got mine from Bol.com
So Everything is complete and tomorrow I will start my first attempt making this kind of sails. What I have seen so far on Tom website, they are looking good.
First I make a few test pieces for the colour and see what the outcome is.

View attachment 511496
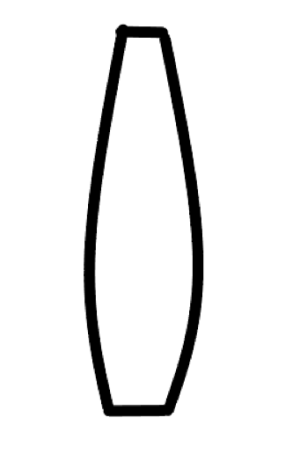
My question is, can a silkspan sail be stretched into a billowed shape? I doubt it. A billowed sail would have to be made with strips of silkspan much like a real sail, with strips shaped in the center of the sail similar to this:
1743800730996.png
 
My question is, can a silkspan sail be stretched into a billowed shape? I doubt it. A billowed sail would have to be made with strips of silkspan much like a real sail, with strips shaped in the center of the sail similar to this:
View attachment 511536
I don't know, and if it's a problem? I don't think so. My problem is the look of a sail and the look when furled.
 
European sails were made from flax, not cotton as were American ones. You might want to add some light brown and perhaps grey to your color scheme.

Silkspan does stretch when wet. I recall that people have tried to add shape to sails by stretching wet Silkspan over an inflated balloon.

Roger
 
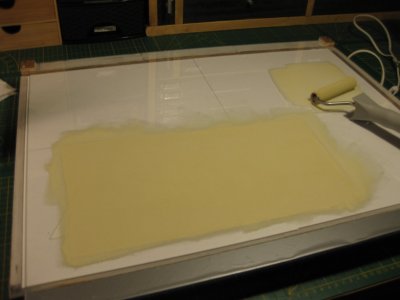
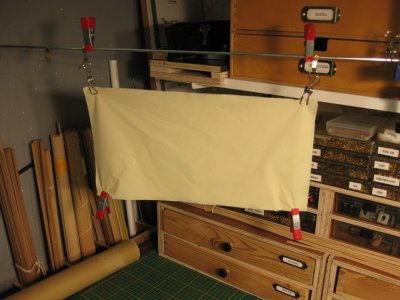
The first attempt is hanging to dry.
This will take some time.

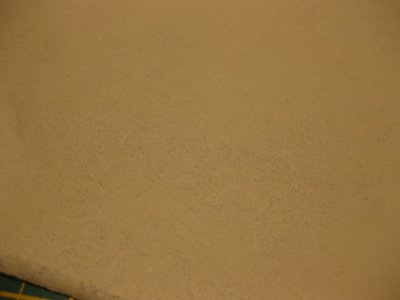
I took a few pictures of it, the last 2 ones are from the side that was against the glass plate. I think the paint or the paper must be more wet to go deeper in the paper. But we will see how it comes out of this one. The first impression I can say it looks like a SoS (Sails of Scale).
Yes I like this sail already. The colour is perfect, and I can always ad here and there paint to make it old.

IMG_5169.JPGIMG_5170.JPGIMG_5171.JPG
 
Hi Stephan,

Looking forward to the results.
Still have to start mine for the Royal Caroline.
Then stay tuned. :)

After drying I see the problems of the first time painting. The paint needs a little more water or the roller was not wet enough. And I need to roll longer to let the paint suck in the paper.

IMG_5174.JPGIMG_5176.JPG

I'm gonna give this a second paint job to see what happen, otherwise I make a new one. But I can tell that this is still very thin but a lot stronger to handle.
 
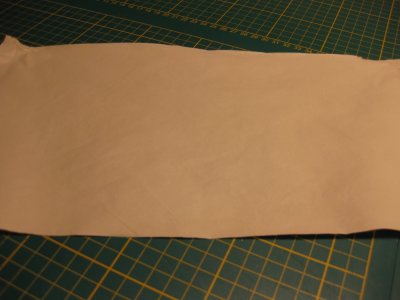
Difficult to take pictures of such a white thing. Somehow my camera don't want to focus. But I can tell you, after drying a second paint job is no problem to do. And the result is phenomenal. It's looking real good now. An smooth surface( no tiny gaps), thin, very strong and matt not shiny. I let it stile dry a while before I go further.

IMG_5177.JPGIMG_5178.JPG
 
That is looking very promising, Stephan. Exploring new boundaries, Captain ……
Regards, Peter
Thanks Peter,
captain Kirk?

Last update today.

I need to do 2 sides, one is done.

IMG_5182.JPGIMG_5183.JPGIMG_5184.JPGIMG_5185.JPG

What do I learned with this test sail.
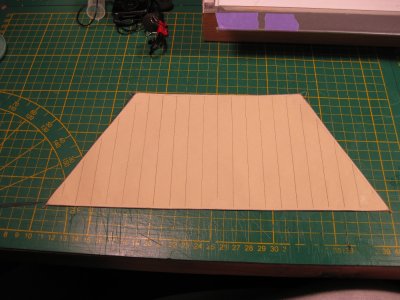
Pencil was 2B, next time with 2H, the pencil strokes are way to fat. For the rest I'm satisfied. I used ordinary baking paper (not Wax paper) between the iron and the glued parts. It didn't stick. Maybe because I'm using a glass plate below.
The last picture is to show you the transparency in light.
 
Thanks all for the likes and following my adventure.

The sail is ready, on both sides and I started an experiment with the bolt rope.

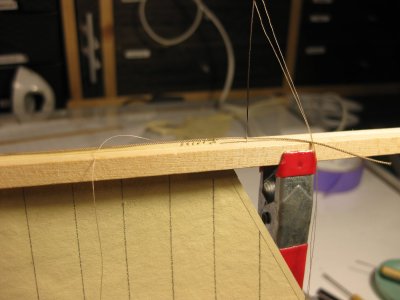
First sewing....

The setup

IMG_5187.JPG

Starting with needle and thread and through the bolt rope.

IMG_5186.JPG

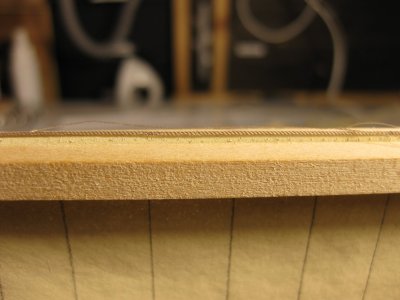
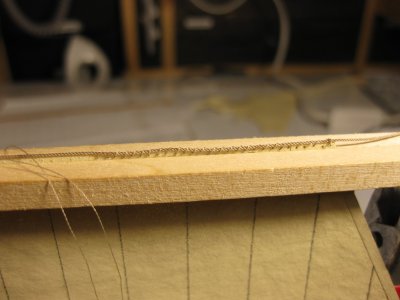
I use the smallest sewing needle you can buy, but gong through a rope of 0,35 mm. is not job you are do with pleasure. Also stitching through the paper is not the right way. So I drilled holes in the paper. I have small drill bits of 0,2 mm. that do the job. And I harden the tip of the sewing thread with ca to go through the hole I drilled an over the rope.

IMG_5189.JPG

IMG_5188.JPG

Hmmm... the wrong direction of the thread. Start from the other side.

IMG_5190.JPG

I hate this job and the look. The stitches and holes are way out of proportion. This is not the result I want.

I will cut this part of the sail glue new seams and start glueing the bolt rope with white PVA glue.

@DARIVS ARCHITECTVS When you make the sail wet when forming it, it stretches, read that on MSW.
 
Good idea, it's a test sail so the hole don't bother me. And I can go over them with pain. Thanks.
Would applying diluted whir PVA glue the a paint brush, and tamping the excess with a sponge, strengthen the edge of the sail, which was weakened a bit from all the holes? Perhaps the glue and sponge tamping will help close the holes a bit.
 
Last edited:
Would applying diluted whir PVA glue the a paint brush, and tamping the excess with a sponge, strengthen the edge of the sail, which was weakened a bit from all the holes? Perhaps the glue and tamping will help close the holes a bit.
It's a testsail. And some of the holes I need for the robands. The holes are no problem afterall.
It is pretty strong, the double layer of silkspan with paint is a strong an flexible combi.
 
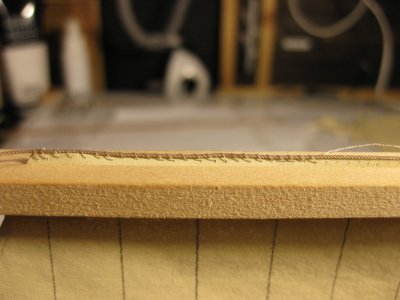
Another approach for the bolt rope. Gluing and at some points sewing.
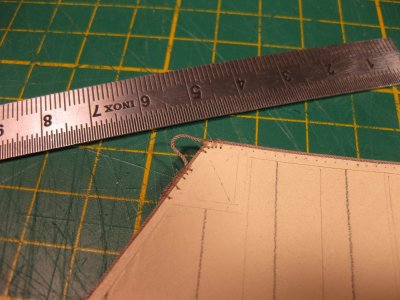
I used 50% diluted white PVA glue. A small brush and the iron to heat and fix the glue like I did in the beginning.
That worked fine well let's say i worked. Fine is a great understanding. Before it totally harden out I scraped the excess glue away. I used a very fine tweezer and a scalpel.
The result.
IMG_5197.JPGIMG_5198.JPGIMG_5199.JPGIMG_5200.JPG

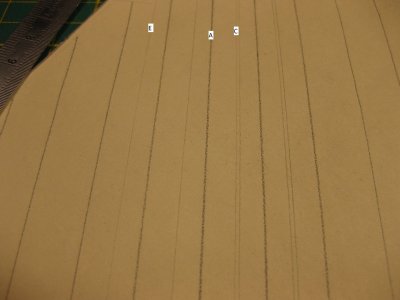
Then I did a experience with two types of 2H pencils. C an E are high quality pencils It makes a difference. And A is 2B 0,5 mm

IMG_5201.JPGIMG_5202.JPGIMG_5203.JPG

I think I want to go for C but with a smaller distance and maybe with a harder pencil 3H or 4H.

The next test is to hang the sail and see how I can arrange things to let it look like a half furled sail

IMG_5204.JPG

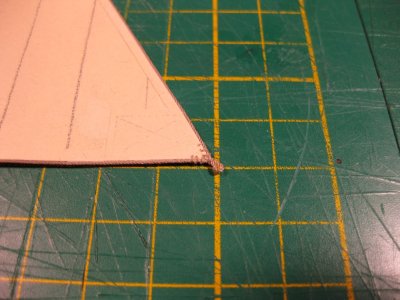
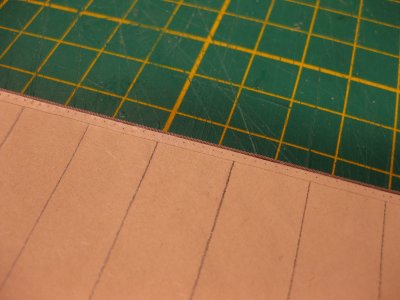
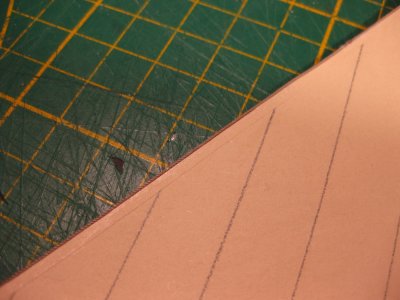
It is important that the edge of the sail be cut straight before gluing the bolt rope. A tenth of a millimeter of unevenness already causes problems with gluing.
 
Last edited:
Another approach for the bolt rope. Gluing and at some points sewing.
I used 50% diluted white PVA glue. A small brush and the iron to heat and fix the glue like I did in the beginning.
That worked fine well let's say i worked. Fine is a great understanding. Before it totally harden out I scraped the excess glue away. I used a very fine tweezer and a scalpel.
The result.
View attachment 512437View attachment 512438View attachment 512439View attachment 512440

Then I did a experience with two types of 2H pencils. C an E are high quality pencils It makes a difference. And A is 2B 0,5 mm

View attachment 512441View attachment 512442View attachment 512443

I think I want to go for C but with a smaller distance and maybe with a harder pencil 3H or 4H.

The next test is to hang the sail and see how I can arrange things to let it look like a half furled sail

View attachment 512444

It is important that the edge of the sail be cut straight before gluing the bolt rope. A tenth of a millimeter of unevenness already causes problems with gluing.
Good afternoon Stephan. A question about glueing the bolt rope ; when the glue is dry is the sail still “ply” enough to be furled if you want to? I am taking close interest in how you are making these as I plan to do sails (some furled) for my Bounty. Thanks for all this detail. Cheers Grant
 
Good afternoon Stephan. A question about glueing the bolt rope ; when the glue is dry is the sail still “ply” enough to be furled if you want to? I am taking close interest in how you are making these as I plan to do sails (some furled) for my Bounty. Thanks for all this detail. Cheers Grant
I know you're asking Stephan, but FYI I used a fabric glue (Liquid Stitch though there are others) to glue my bolt rope on and it stays perfectly flexible.
 
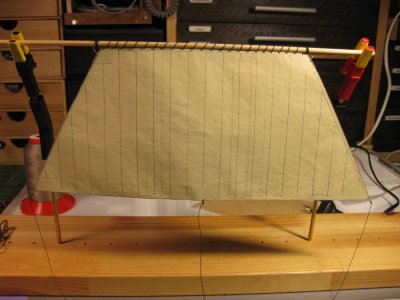
First, at an earlier stage I made a little tool to hang the yard with sail (Idea copied from Johann @archjofo). And I quickly attached the sail to a piece of round timber for testing. some ropes to the sail to shape it.

IMG_5205.JPG

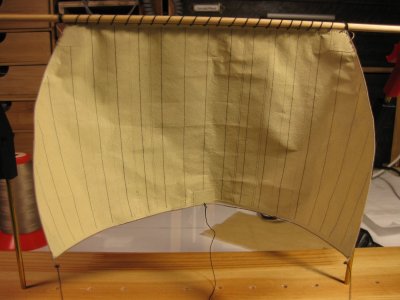
And as Tom Lauria also mentioned in his video, simply mist the sail with water to make it flexible and mold it to your heart's content.
I must say that this makes me completely happy. The water does not weaken the sail at all, you can make all kinds of shapes so that it hangs naturally. And if you don't like it, you can straighten it again and try another shape. In between sometimes wetting it again. Or wet down pieces, it's all possible. The sail remains very firm to the touch when wet. Even a little stretchy.
I did have small problems with the white glue on 2 spots where the bolt rope came off at 1 to 1.5 cm. But I think this is because of the brand I use. This week I will buy a bottle of Bison 3D, which is a better brand than Pattex.

IMG_5206.JPGIMG_5208.JPGIMG_5209.JPGIMG_5210.JPG

Conclusions:
Make sure that when you lay the silkspan on top of each other and paint, that the paint penetrates well.
Painting a 2nd time is not a problem after drying.
Use a good quality white pva glue diluted to 50%, do as in the video water and glue separately and mix with brush.
Make sure the sails are cut straight, with no serrations or bulges when you put the bolt rope on.
At crucial points secure the bolt rope with very thin yarn. I drill tiny holes to feed the yarn through where the tip is hardened with CA glue.
After the whole thing dries properly, you can do whatever you want with the sail by simply wetting it with water. After drying it retains its shape. Sails that need to bulge, wet with very highly diluted white glue.

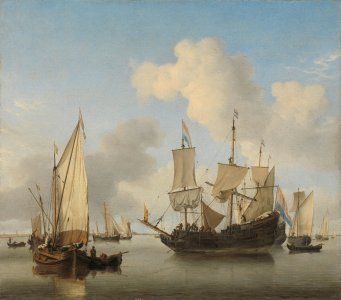
I will now start making all the sails for the Prins Willem. I will also make sure that not every sail is in the same color, I saw in the old paintings that there are variations in this on a ship. Actually also logical. One sail may have already been replaced or has been in the lower deck for a longer time. Or it comes from another ship that was older. Who knows?

Naamloos-1.jpgSK-C-245.jpg
 
Back
Top