I think it would save a lot fitting, sanding and bad words.@Pathfinder65 Hello Jan. That is an interesting possibility that I have not thought of. It is certainly an idea worth investigating.
Jan
 |
As a way to introduce our brass coins to the community, we will raffle off a free coin during the month of August. Follow link ABOVE for instructions for entering. |
 |
 |
The beloved Ships in Scale Magazine is back and charting a new course for 2026! Discover new skills, new techniques, and new inspirations in every issue. NOTE THAT OUR FIRST ISSUE WILL BE JAN/FEB 2026 |
 |
I think it would save a lot fitting, sanding and bad words.@Pathfinder65 Hello Jan. That is an interesting possibility that I have not thought of. It is certainly an idea worth investigating.
Great progress Heinrich! You’re busier than a one armed paper hanger!Hello everyone. Further progress on the Haarlem.
View attachment 210771
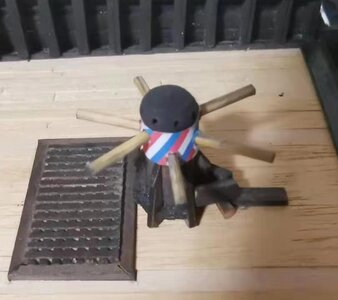
Toilets (gemakken in Dutch) for the galleon made and installed. When I sent my mother - she is 84 and following along - the picture, she wanted to know if it was done just like this - "so out in the open!). The rope that was used as toilet paper, still needs to be added.
View attachment 210772
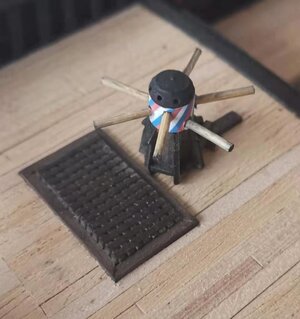
Belaying racks and pins for the galleon installed. On the rack in front, the really initiated will spot a deviation from the plans. I was supposed to use only 9 belaying pins, but symmetrically, that did not appeal to me - thus I used 10.
View attachment 210776
Bending the walnut for the top railing of the galleon was not an easy exercise - even with a plank bender. As each builder's curvature on the bow will vary to some extent, you can't possibly know if you have done it right, until the ornaments are fitted. Only then will you see if your curvature was correct. You will also notice that I cut away too much of my hull planking at the luizenplecht area leaving me now with an unsightly gap. Here, I still need to figure out a plan.
View attachment 210777
Luckily grumpy old man #1 fitted perfectly. At this stage of the build they have just received their primary colour - wash will be added later.
View attachment 210778
And now the Grumpy Old Men picture is completed! The two catheads have had the slots for their sheaves cut, but are just lying loose on the foredeck at this stage. Onwards with the belaying racks and pins.
View attachment 210779
From the plans, I cut the drawing in question and then glue that to the piece of the wood is that is to become the rack. Photo copying plans have given me one or two nasty surprises in the past. So, apologies for your plans @Kolderstok Hans - after I'm done building, they don't like that good anymore.
View attachment 210780
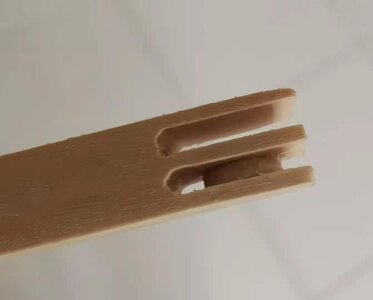
I first drilled a pilot hole with a hand drill before enlarging the holes in a further two stages. Even then - the walnut was susceptible to cracking down the middle.
And here are the results:
View attachment 210781
On the half-deck starboard side.
View attachment 210782
Forecastle Port Side
View attachment 210783
Forecastle starboard side.
View attachment 210784
Forecastle - starboard side viewed from the side.
And lastly, a few pictures of the overall view:
View attachment 210785
View attachment 210786
View attachment 210787
View attachment 210788
And that my dear friends, conclude my news for today. Thank you all for watching, following, commenting, advising, or just being here - it is all apprecaited and valued.
Take care out there and stay safe.
Kind regards -Heinrich

Rope is better then the Poison Ivy I have seen unwitting young scouts pick when stuck in woods and taking care of nature!Great progress Heinrich! You’re busier than a one armed paper hanger!
Rope for TP? Ouch!
She’s really coming alive now!
I’m excited about the possibilities! You have my interest!@Dean62 Thank you for the kind words Dean. My "real" busy has been behind the scenes lately. All you guys are doing so well and are going such great guns in your respective Bluenose builds that the time has come to start to the development of the next model. Unbeknown to most, that process has already started and I can tell you that the world of plans, copyrights and permission is a dark and ominous place. I have told @Pathfinder65 Jan last night, I have in my possession four sets of plans - all beautifully detailed of unmodeled (as kits) ships. Three of these plan sets were bought and one was a precious gift (thank you @Maarten !).
However, mention the words "permission for KIT PRODUCTION" and all of a sudden - out of nowhere - every Tom, Dick and Harry has a claim of copyright on those plans.


Incredible, what a process to go through. once all that is completed and a kit results, who then holds the patents//licenses?I will give you guys a practical example. I have a Planset (let's call it Planset A) which was created by XXX. Seeing that XXX passed away, I contacted his son to find out whether the family holds any copyright or licence on the plans. He is the biggest gentleman imaginable and assures me that there is no such claim from the family's side - they are all very excited to see the legacy of his father continued.
No the creator of these plans (XXX) was in the employ of a VERY reputable organization while he drafted those plans. We will call them Organization B. Just to be safe, I contacted Organization B who had no objections to the plans being used by individual modellers for scratch building. As soon as I mentioned kit production, the whole issue was referred to their legal department.
To their credit, Organization B comes back and say that "actually they don't hold any rights". Investigating the matter, they discovered that the legal claim to those plans lie with the PUBLISHER of the plans!
Now I am awaiting their response.
@Kkonrath Hi Kurt. The rope was called a "zwabber" (I think) in Dutch and consisted of a very frayed end which was used for the wiping purposes!Once used, the rope would simply be lowered back into the water where the sea would do the necessary cleaning.
View attachment 211009
Note the rope in question.
It is a black pool with no bottom. Hope the publisher will grant his OK.I will give you guys a practical example. I have a Planset (let's call it Planset A) which was created by XXX. Seeing that XXX passed away, I contacted his son to find out whether the family holds any copyright or licence on the plans. He is the biggest gentleman imaginable and assures me that there is no such claim from the family's side - they are all very excited to see the legacy of his father continued.
No the creator of these plans (XXX) was in the employ of a VERY reputable organization while he drafted those plans. We will call them Organization B. Just to be safe, I contacted Organization B who had no objections to the plans being used by individual modellers for scratch building. As soon as I mentioned kit production, the whole issue was referred to their legal department.
To their credit, Organization B comes back and say that "actually they don't hold any rights". Investigating the matter, they discovered that the legal claim to those plans lie with the PUBLISHER of the plans!
Now I am awaiting their response.

Love the scrollwork in the beakhead, the golden colour just sets it apart. Cheers.Hello everyone. Further progress on the Haarlem.
View attachment 210771
Toilets (gemakken in Dutch) for the galleon made and installed. When I sent my mother - she is 84 and following along - the picture, she wanted to know if it was done just like this - "so out in the open!). The rope that was used as toilet paper, still needs to be added.
View attachment 210772
Belaying racks and pins for the galleon installed. On the rack in front, the really initiated will spot a deviation from the plans. I was supposed to use only 9 belaying pins, but symmetrically, that did not appeal to me - thus I used 10.
View attachment 210776
Bending the walnut for the top railing of the galleon was not an easy exercise - even with a plank bender. As each builder's curvature on the bow will vary to some extent, you can't possibly know if you have done it right, until the ornaments are fitted. Only then will you see if your curvature was correct. You will also notice that I cut away too much of my hull planking at the luizenplecht area leaving me now with an unsightly gap. Here, I still need to figure out a plan.
View attachment 210777
Luckily grumpy old man #1 fitted perfectly. At this stage of the build they have just received their primary colour - wash will be added later.
View attachment 210778
And now the Grumpy Old Men picture is completed! The two catheads have had the slots for their sheaves cut, but are just lying loose on the foredeck at this stage. Onwards with the belaying racks and pins.
View attachment 210779
From the plans, I cut the drawing in question and then glue that to the piece of the wood is that is to become the rack. Photo copying plans have given me one or two nasty surprises in the past. So, apologies for your plans @Kolderstok Hans - after I'm done building, they don't like that good anymore.
View attachment 210780
I first drilled a pilot hole with a hand drill before enlarging the holes in a further two stages. Even then - the walnut was susceptible to cracking down the middle.
And here are the results:
View attachment 210781
On the half-deck starboard side.
View attachment 210782
Forecastle Port Side
View attachment 210783
Forecastle starboard side.
View attachment 210784
Forecastle - starboard side viewed from the side.
And lastly, a few pictures of the overall view:
View attachment 210785
View attachment 210786
View attachment 210787
View attachment 210788
And that my dear friends, conclude my news for today. Thank you all for watching, following, commenting, advising, or just being here - it is all apprecaited and valued.
Take care out there and stay safe.
Kind regards -Heinrich

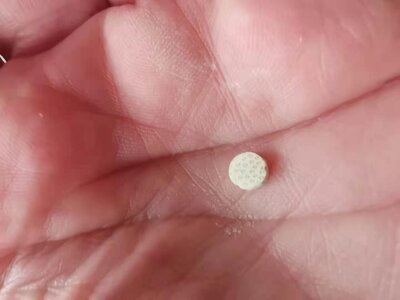
 There were sawed into as thin discs as I could without breaking them and sanded smooth on a flat piece of sandpaper.
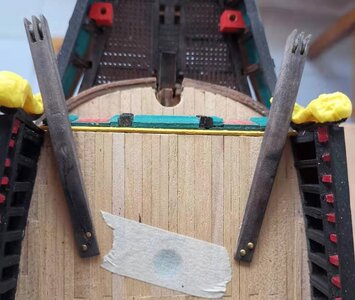
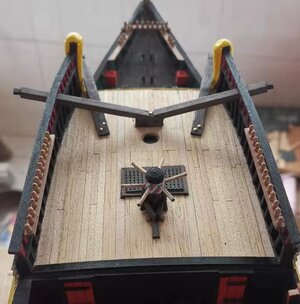
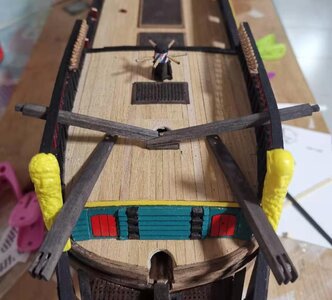
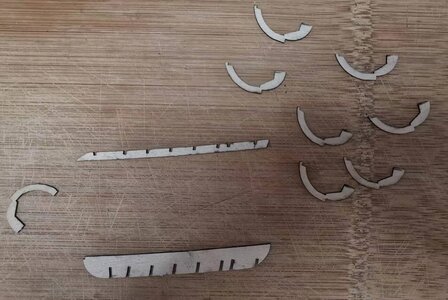
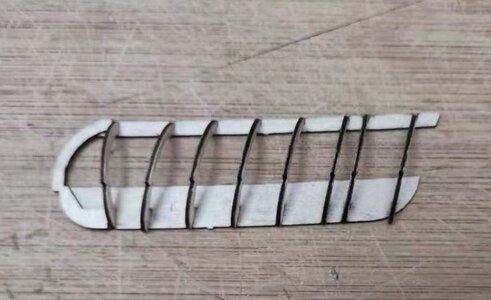
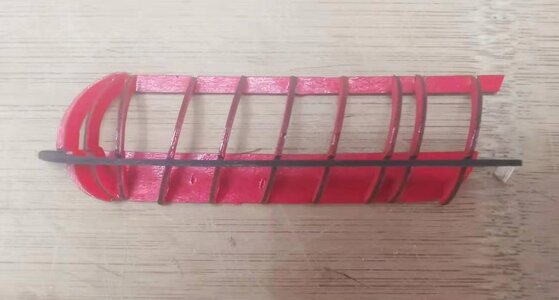
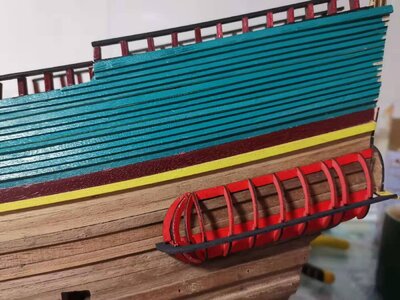
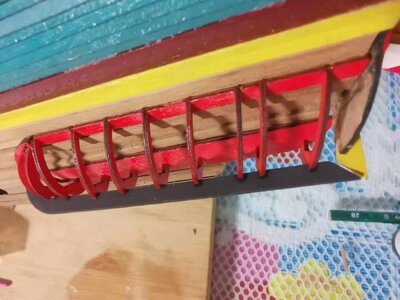
 This gents is a dry-fit without any sanding, removing of wales or any attempt to get it to fit into place. It is simply hung from the top wale. That is how accurately this ship was built and how symmetrical the planking and wale heights are. Kudos @Kolderstok Hans! If the builder delivers, the kit delivers.
