- Joined
- Jan 9, 2020
- Messages
- 10,566
- Points
- 938

Hello Everyone
With a few days of vacation during Spring Festival , it allowed me some time to work on the Haarlem.
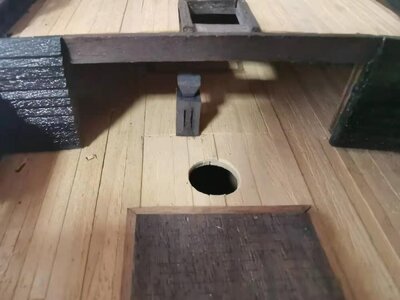
The first on the agenda was the two-disc stand underneath the quarterdeckdek. This stand is supposed to house one of the decorative heads, but I am not going to paint something that can't be seen, I just cut a diamond-shaped top and that was that. I drilled a hole into the bottom of the stand into which I inserted a brass pin and then glued the assembly with PVA glue by lowering it through the opening in the quarterdeck into position.
Next was the three-sheaved belaying rack assembly at the main mast. The first attempt ended up in the garbage bin and the second one was mounted with the help of some brass wire and secondenlijm.
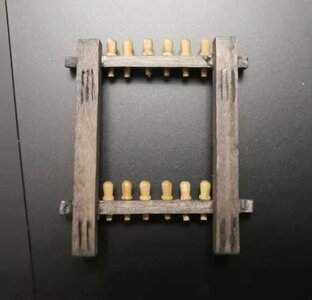
This attempt ended up in the garbage can.
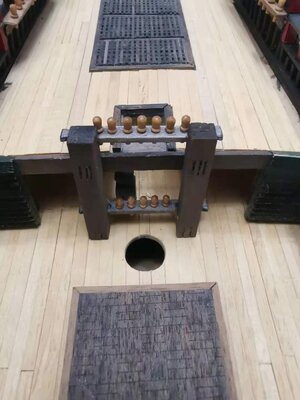
Whilst this one got to stay!
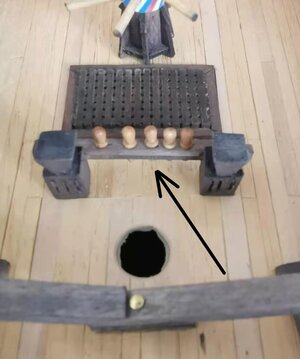
The same exercise was repeated for the belaying-pin rack on the forecastle, but luckily the first attempt sufficed.
Before the across railings could be mounted on the forecastle and quarterdeck, I first checked to see if everything was level and if there were any adjustments that had to be made.
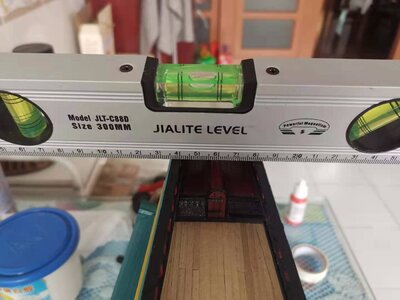
I was good at the stern ...
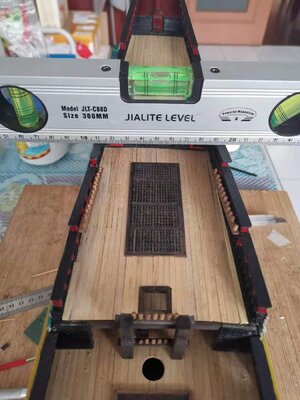
Midships was good as well ...
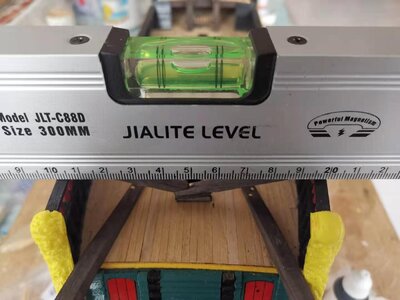
And we were all systems go on the forecastle!
This means that @dockattner Paul's favourite pastime activity could be started. Out with the paint brushes - but luckily mine was one-colour only!
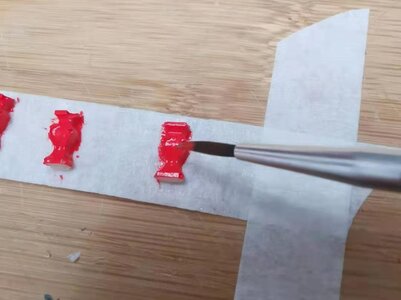
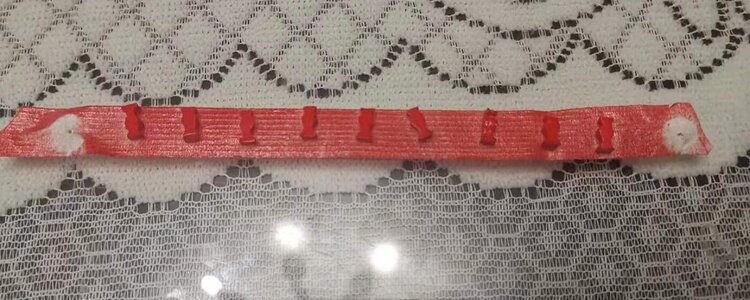
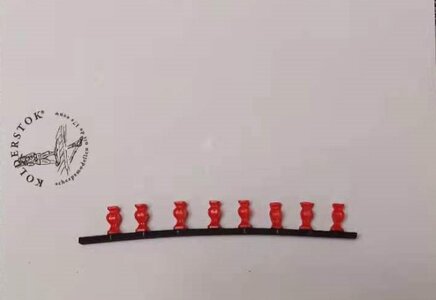
The completed first railing ready for installation. The 4mm walnut base plank was first soaked in water for about 15 minutes and then carefully shaped by hand and eye only. After a quick drying with the Admiral's hairdryer, it was test fitted and painted.
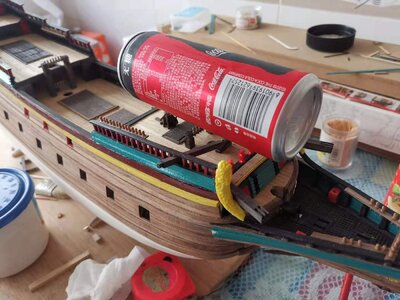
The first railing is placed on the forecastle ... and weighed down by some Chinese-manufactured Coke Zero. (No, I don't drink Coke Zero because I think it is healthier than regular Coke - I just prefer the taste.
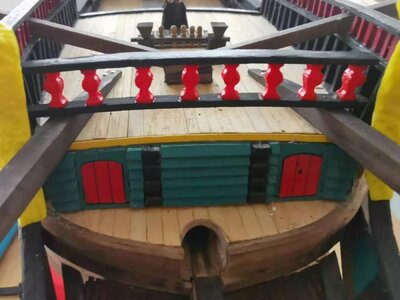
And then the first one is done. Now it is just a case of carefully applying some black paint to the areas which are now "shiny" because of the CA gel.
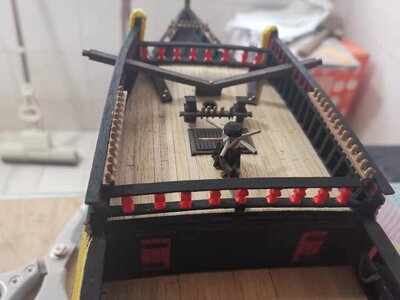
And then the railings on the forecastle are finished!
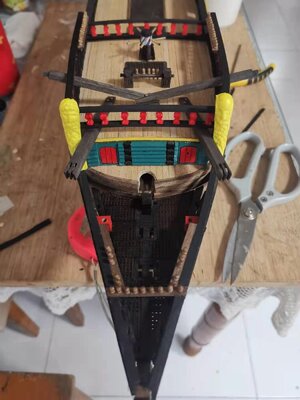
From this angle, the Haarlem almost has a Xebec-look about it!
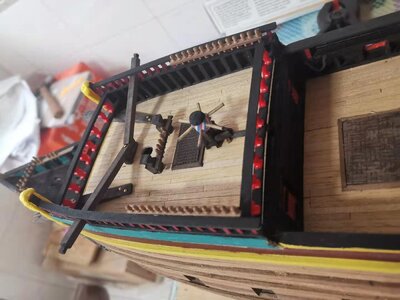
Combined side and top view.
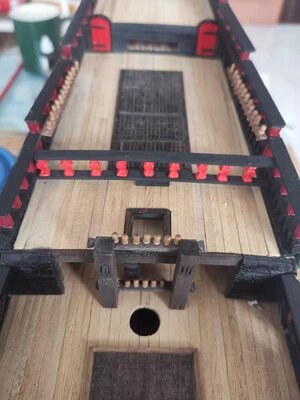
Railing placed on the quarterdeck as well.
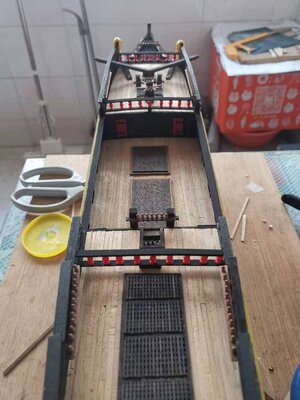
Overall view from the stern.
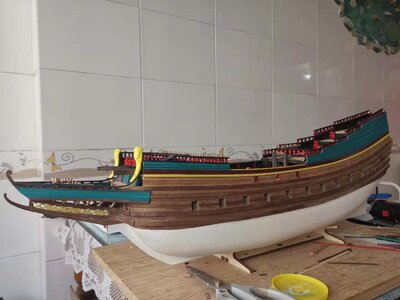
Complete overview - just for good luck!
And that my dear friends concludes this update. On a ship like this you can only work so fast as many little things have to be scratch-built and improvised as you go along. But that is what it makes it so special for me. She has really and still is putting me through a steep learning curve.
To all of you - enjoy your model building and cherish the time that you have doing so. Let us all appreciate this beautiful hobby that we are all a part of. Thank you all for following, reading, commenting, criticizing and giving advice.
Warmest greetings - Heinrich
With a few days of vacation during Spring Festival , it allowed me some time to work on the Haarlem.
The first on the agenda was the two-disc stand underneath the quarterdeckdek. This stand is supposed to house one of the decorative heads, but I am not going to paint something that can't be seen, I just cut a diamond-shaped top and that was that. I drilled a hole into the bottom of the stand into which I inserted a brass pin and then glued the assembly with PVA glue by lowering it through the opening in the quarterdeck into position.

Next was the three-sheaved belaying rack assembly at the main mast. The first attempt ended up in the garbage bin and the second one was mounted with the help of some brass wire and secondenlijm.

This attempt ended up in the garbage can.


Whilst this one got to stay!


The same exercise was repeated for the belaying-pin rack on the forecastle, but luckily the first attempt sufficed.
Before the across railings could be mounted on the forecastle and quarterdeck, I first checked to see if everything was level and if there were any adjustments that had to be made.

I was good at the stern ...

Midships was good as well ...

And we were all systems go on the forecastle!
This means that @dockattner Paul's favourite pastime activity could be started. Out with the paint brushes - but luckily mine was one-colour only!


The completed first railing ready for installation. The 4mm walnut base plank was first soaked in water for about 15 minutes and then carefully shaped by hand and eye only. After a quick drying with the Admiral's hairdryer, it was test fitted and painted.

The first railing is placed on the forecastle ... and weighed down by some Chinese-manufactured Coke Zero. (No, I don't drink Coke Zero because I think it is healthier than regular Coke - I just prefer the taste.

And then the first one is done. Now it is just a case of carefully applying some black paint to the areas which are now "shiny" because of the CA gel.

And then the railings on the forecastle are finished!

From this angle, the Haarlem almost has a Xebec-look about it!

Combined side and top view.

Railing placed on the quarterdeck as well.

Overall view from the stern.

Complete overview - just for good luck!

And that my dear friends concludes this update. On a ship like this you can only work so fast as many little things have to be scratch-built and improvised as you go along. But that is what it makes it so special for me. She has really and still is putting me through a steep learning curve.
To all of you - enjoy your model building and cherish the time that you have doing so. Let us all appreciate this beautiful hobby that we are all a part of. Thank you all for following, reading, commenting, criticizing and giving advice.
Warmest greetings - Heinrich


 )
)