Working Steam powered wooden Drifter trawler, Formidable LT100, 1:24th scale

Hi John,

I am happy to hear that your plans have arrived. Don't rush your decision.

Cheers,
Stephen.

Hi Steve, I'm just wondering what scale, Iv'e got the plans at 1/33, they are the ones by J A Pottinger,

If I enlarge to 1/24 I end up with a hull length and breadth of approx 48inches X 10inches, thats enlarged by 137.5%,


If I enlarge to 1/20 I end up with 56"X 11.5" thats enlarged by165%


If I enlarge to 1/18 I end up with 61"X 14" thats enlarged by 185%,


I'm leaning towards the 1/20 Scale but will have to think about some more, Decisions decisions,

best regards John.
 
Last edited:
Hi John,

As you know I am using the same plans, if you went for a static or electric or conventional steam powered model 1/33rd would be big enough, possibly a bit small for the steam but doable I think.

Personally I wouldn't go bigger than 1/24th at that scale she weighs in at around 13 kg if you are going to build a working model, while that is not very heavy it is heavy enough when placing it into the water.

You have much more experience with models than I do, however the hull is quite large even at 1/24th once built.

Then again at 1/20th it would be very impressive on the water. In my opinion storing and transporting a model of that size creates problems.

Yes decisions there are plenty of them to come, that is both the joy and challenge of scratch building!!

Cheers,
Stephen.
 
Part 14.

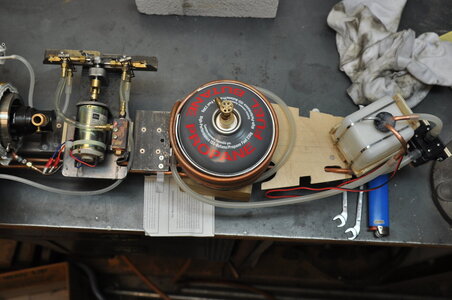
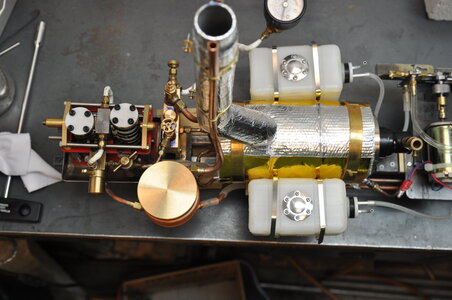
I decided to build two feed pumps from a Peter Arnot design featured in Model Boats magazine mounting them horizontally this was in an effort to smooth out the feeding of water, my theory being that If you feed a pulse of water into the system it can pulse at the other end. Funnily I have only just recently found an article in an old Model Engineer that said a 3 cylinder pump was preferable for feeding flash steam systems. My pumps are driven by a small motor through a speed control. The more steam I want the more water I feed.

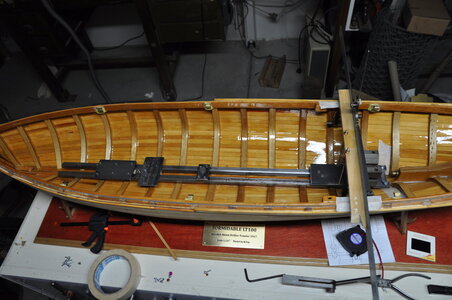
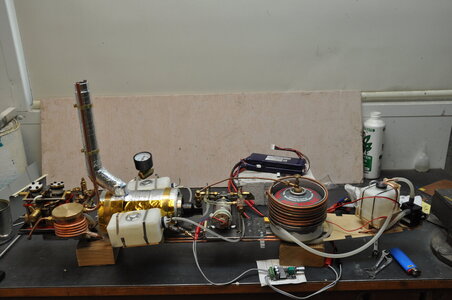
I decided to make a rail to mount as much equipment as possible onto. Using 2 lengths of ½” SHS (square hollow section) with separating pieces screwed on. Mounts were made and epoxied onto the keel, using a temporary setup to hold the rail perpendicular to the centre line. The rail is held down by 3 screws for quick removal.

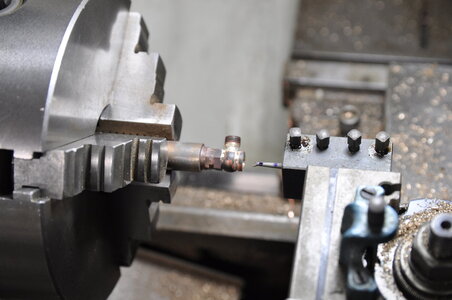
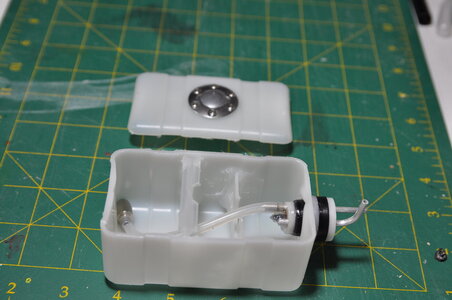
After the rail was made but not painted yet I positioned all the equipment. Because the flue/exhaust for my Steam generator is not positioned directly under the funnel I made up an offset flue out of steel pipe. I made my own stop valve, pressure relief valve, manifold and separator. Modified model aircraft fuel tanks are used for feed water and recirculating water tanks, a small pond pump is used for circulating water.

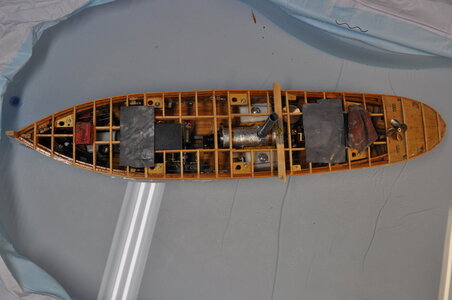
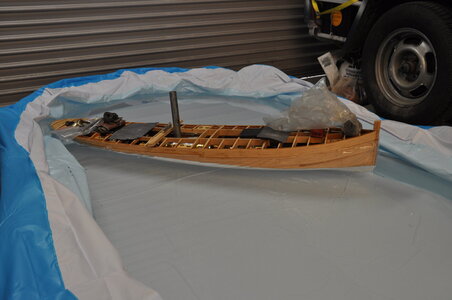
I was starting to get worried whether my drifter had put on too much weight. So I wrapped the lower hull in plastic film and did a practical test in a wading pool, this showed no problems to my delight. Requiring some ballast and sitting at the preferred waterline, with no need to go on a diet.

DSC_1632.JPGDSC_1639.JPGDSC_1641.JPGDSC_1683.JPGDSC_1695.JPGDSC_0003.JPGDSC_0008.JPGDSC_0009.JPG

Thanks for having a look.

Cheers,
Stephen.
 
Last edited:
Wow wow and wow, that is absolutely amazing Steve, I've machined a Stuart Turner from castings but I wouldn't even try a boiler, they are amazing skills you have, looking forward to more of the same,
.best regards John,
Thanks for your lovely words John I really appreciate them,
If you can silver solder to a reasonable level of competency a boiler similar to the first one I made is probably not beyond your ability, the main thing is to have a heat source capable of getting the thing up to temperature in a reasonable amount of time.

Cheers,
Stephen.
 
Thanks Virtakuono,

I hope you like the Underhill books, I think they are great.

Cheers,
Stephen.
Holy smokes!!! If I see the load and flotation test I am wondering how much freeboard that you have afterwards. My eyes may deceive me but it looks like an inch or so with the fore-section well up. Help me relieve my mind so that I don't have the bos'n pipe all hands to man the pumps. Rich (PT-2) :)
 
Holy smokes!!! If I see the load and flotation test I am wondering how much freeboard that you have afterwards. My eyes may deceive me but it looks like an inch or so with the fore-section well up. Help me relieve my mind so that I don't have the bos'n pipe all hands to man the pumps. Rich (PT-2) :)
Hi Rich,
Yeah, there is not a lot of freeboard aft in that photo, this will improve once the bulwarks are done.
Also if everything goes to plan my removable section should be water tight.
What was that about best laid plans!!! :)

Cheers,
Stephen.
 
Hi Rich,
Yeah, there is not a lot of freeboard aft in that photo, this will improve once the bulwarks are done.
Also if everything goes to plan my removable section should be water tight.
What was that about best laid plans!!! :)

Cheers,
Stephen.
Is that "Best laid PLANS or is it PLANKS? Rich ;-)
 
Holy smokes!!! If I see the load and flotation test I am wondering how much freeboard that you have afterwards. My eyes may deceive me but it looks like an inch or so with the fore-section well up. Help me relieve my mind so that I don't have the bos'n pipe all hands to man the pumps. Rich (PT-2) :)

Don't worry PT, as a last measure when Steve takes it to the pond he can jack one end of the pond up and sail Formidable into the rise then all should be level, member's may laugh at this but remember we are sailing our boats upside down down here, ,
 
Don't worry PT, as a last measure when Steve takes it to the pond he can jack one end of the pond up and sail Formidable into the rise then all should be level, member's may laugh at this but remember we are sailing our boats upside down down here, ,
Being upside down. . . why don't you fall off of the bottom of this sphere? Rich ;-)
 
Back
Top