Hello Henk, I'm so glad you found my build. Welcome aboard. This project is a nice change of pace but still has sewing and line rigging involved which fortunately I have experience in.Hey Daniel
I just discovered your blog!
Great piece of craftsmanship that you show
I can imagine that you wanted to do something different for a few ships
Regards
Henk
-

Win a Free Custom Engraved Brass Coin!!!
As a way to introduce our brass coins to the community, we will raffle off a free coin during the month of August. Follow link ABOVE for instructions for entering.
-

PRE-ORDER SHIPS IN SCALE TODAY!
The beloved Ships in Scale Magazine is back and charting a new course for 2026!
Discover new skills, new techniques, and new inspirations in every issue.
NOTE THAT OUR FIRST ISSUE WILL BE JAN/FEB 2026
- Home
- Forums
- Ships of Scale Build Logs
- Super Detailing Static Models / Other Genres
- Historical Trailways, Guns, Aircraft, and Cars
You are using an out of date browser. It may not display this or other websites correctly.
You should upgrade or use an alternative browser.
You should upgrade or use an alternative browser.
Good Friday evening everyone. I have assembled the rudder for this Flyer which was just more stick work and fabric wrapping. Only the exterior gets the covering.
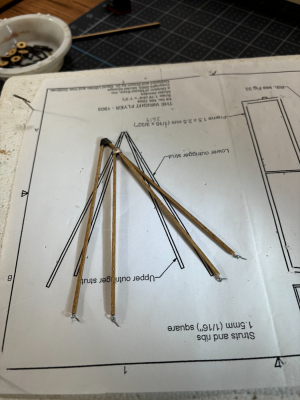
Here is the build process. The upper and lower exterior strut supports the ferrule's that the rudder hinges off of.
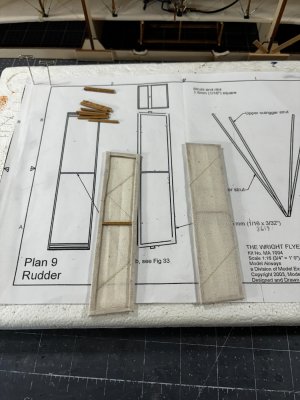
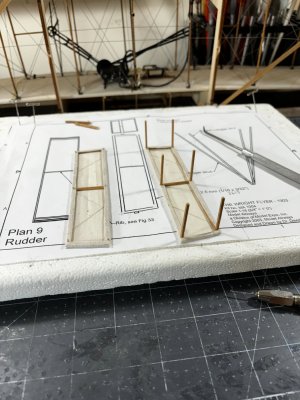
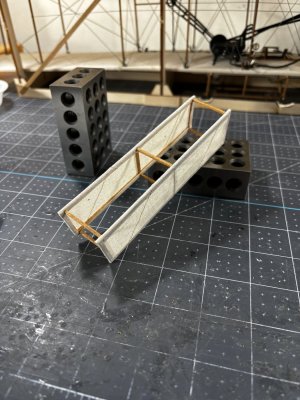
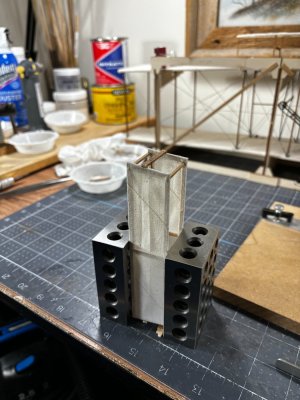
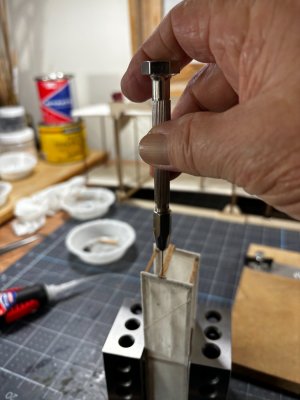
No more sewing, halleluiah!!
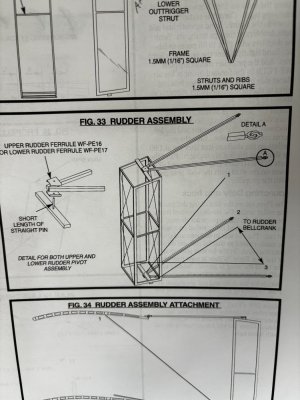
Here is the plan I was working off.
Till next time have a great weekend.
Here is the build process. The upper and lower exterior strut supports the ferrule's that the rudder hinges off of.


No more sewing, halleluiah!!
Here is the plan I was working off.

Till next time have a great weekend.
Looks great! This thing was like a flying kite! 
Yes, the rudder reminds me of a box kite I once had some trouble flying.Looks great! This thing was like a flying kite!
- Joined
- Jun 17, 2021
- Messages
- 3,198
- Points
- 588

This a very instructive, fun build to follow!
Lots of useful techniques with applications for us shipbuilders to profit from.
Lots of useful techniques with applications for us shipbuilders to profit from.
Completing the rudder assembly parts with the struts that attach it to the wing frame. Then placing the wire x-bracing which was very straight forward after viewing the actual plane's rudder bracing. Take a look.
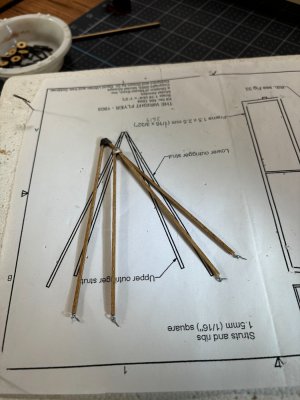
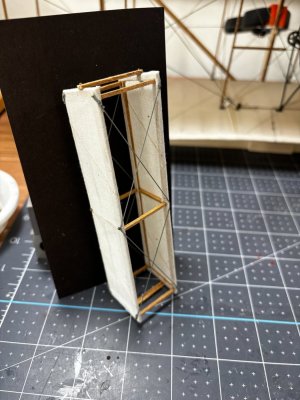
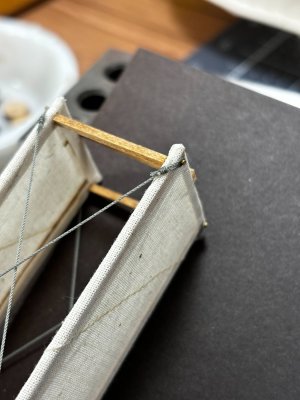
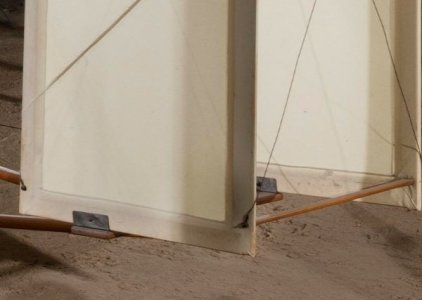
What the real plane's rudder bracing looks like.
Next I built out the elevator frame and added its wings to it. This was very awkward to do, I needed extra hands but only had patients and 1-2-3 blocks to help.
I did add a pinned hinge at each cross point which really helped.
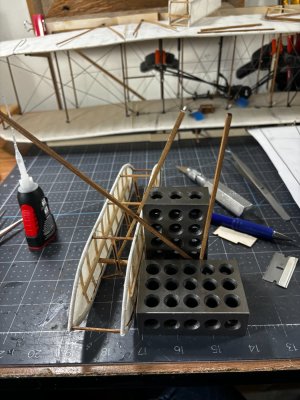
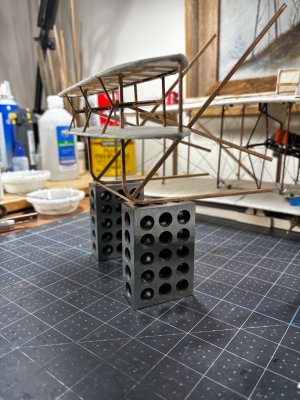
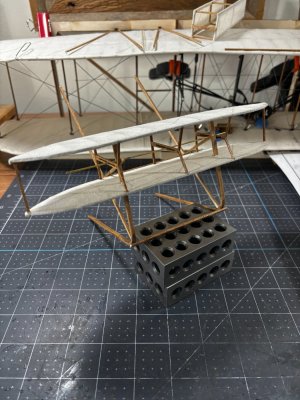
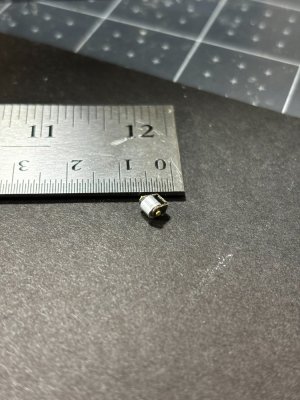
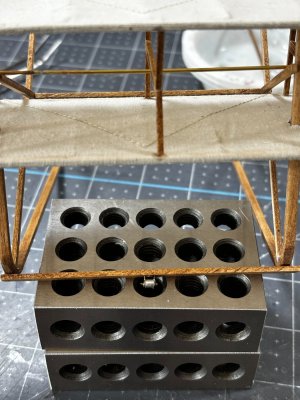
I'm getting close to having to do away with the multi jig, just trying to get all I can done ahead of this step.
Thanks for looking in.


What the real plane's rudder bracing looks like.

Next I built out the elevator frame and added its wings to it. This was very awkward to do, I needed extra hands but only had patients and 1-2-3 blocks to help.
I did add a pinned hinge at each cross point which really helped.


I'm getting close to having to do away with the multi jig, just trying to get all I can done ahead of this step.
Thanks for looking in.
This is turning out really nice Daniel. You’re going to have a museum quality model. 
I love how much fun you are having with this build! Great stuff!
- Joined
- Jun 17, 2021
- Messages
- 3,198
- Points
- 588

This is a really fun build to follow! Very instructive at so many levels.
Beautiful work!
Beautiful work!
Thank you, Dean! A compliment like that coming from an expert modeler like you is very uplifting.This is turning out really nice Daniel. You’re going to have a museum quality model.
Welcome, not sure about the expert part!Thank you, Dean! A compliment like that coming from an expert modeler like you is very uplifting.

Thanks Paul, this is a fun build, so much so I am not sure what direction to head for my next project.I love how much fun you are having with this build! Great stuff!
Thank you Peter, I'm so glad you find this build instructive, it lets me know that I can actually help others on this forum.This is a really fun build to follow! Very instructive at so many levels.
Beautiful work!
Well, you set a certain standard of craftsmanship that I respect.Welcome, not sure about the expert part!
Were the microscopic eye-bolts pre-fabricated, or did you make those yourself?
Still going strong with the build, Daniel. You can see the ‘lightweightness’ of the build.Completing the rudder assembly parts with the struts that attach it to the wing frame. Then placing the wire x-bracing which was very straight forward after viewing the actual plane's rudder bracing. Take a look.
View attachment 479368View attachment 479369View attachment 479370
What the real plane's rudder bracing looks like.
View attachment 479371
Next I built out the elevator frame and added its wings to it. This was very awkward to do, I needed extra hands but only had patients and 1-2-3 blocks to help.
I did add a pinned hinge at each cross point which really helped.
View attachment 479373View attachment 479374View attachment 479375View attachment 479376View attachment 479377
I'm getting close to having to do away with the multi jig, just trying to get all I can done ahead of this step.
Thanks for looking in.
Regards, Peter
Hello Namabiiru, the eyebolts are actually the head of Dry-Docks 0.60mm brass nails. I cut the nails in half; hand drill a shallow hole through the cloth into the wood to place the nail into.Were the microscopic eye-bolts pre-fabricated, or did you make those yourself?
Last edited:
Thats an interesting observation Peter. The actual aircraft weighed 625 pounds including pilot.Still going strong with the build, Daniel. You can see the ‘lightweightness’ of the build.
Regards, Peter
I was referring to the eyebolts on the ends of the outrigger struts. They look like bent wire.Hello Namabiiru, the eyebolts are actually the head of Dry-Docks 0.60mm brass nails. I cut the nails in half; hand drill a shallow hole through the cloth into the wood to place the nail into.


