Good morning. Wonderful detail in that tiny engine. Kudos. Cheers Grant
-

Win a Free Custom Engraved Brass Coin!!!
As a way to introduce our brass coins to the community, we will raffle off a free coin during the month of August. Follow link ABOVE for instructions for entering.
-

PRE-ORDER SHIPS IN SCALE TODAY!
The beloved Ships in Scale Magazine is back and charting a new course for 2026!
Discover new skills, new techniques, and new inspirations in every issue.
NOTE THAT OUR FIRST ISSUE WILL BE JAN/FEB 2026
- Home
- Forums
- Ships of Scale Build Logs
- Super Detailing Static Models / Other Genres
- Historical Trailways, Guns, Aircraft, and Cars
You are using an out of date browser. It may not display this or other websites correctly.
You should upgrade or use an alternative browser.
You should upgrade or use an alternative browser.
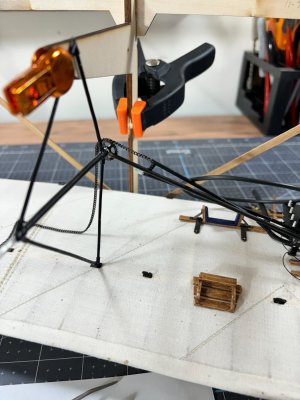
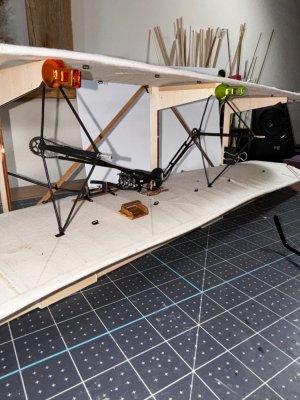
I have now set the chain drive assembly which took me all day yesterday. The toughest part was setting the chains themselves onto the gears, man unbelievable how difficult it was. In hindsight I would have done a better job of preparing a receiving depression on the ends of the chain supports. Here is the assembly. In subsequent photos you will see where I tightened the chain up some.
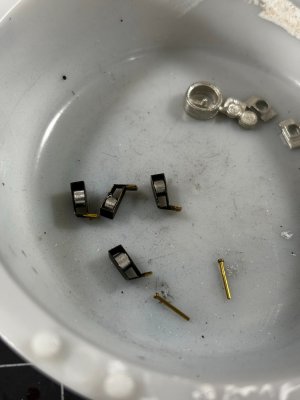
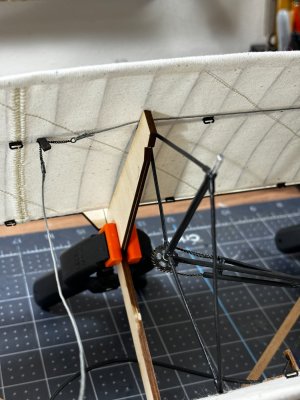
Next, I began installation of the Wing Warping Pulleys and wire. The gray rope is supposed to represent steel wire, and at every pulley they used chain to ride over the rollers in the pullys.
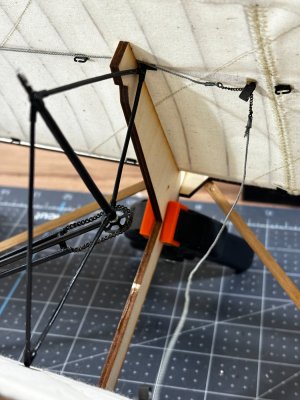
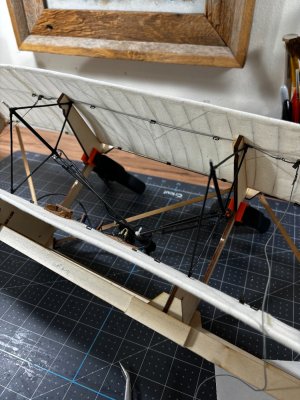
Quite often I get caught up in the macro shots and neglect the overall shots.
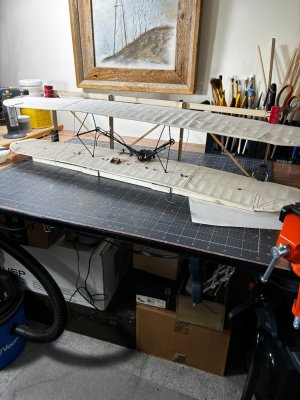
Hope you enjoy and thanks for checking in.


Next, I began installation of the Wing Warping Pulleys and wire. The gray rope is supposed to represent steel wire, and at every pulley they used chain to ride over the rollers in the pullys.


Quite often I get caught up in the macro shots and neglect the overall shots.

Hope you enjoy and thanks for checking in.
Fiddly work Daniel...and so nicely accomplished!
Its amazing what an odd aircraft this was, with an offset motor and no ailerons on the wings. But it was a prototype and a big learning curve. 
Good morning Daniel. Lovely detail. Patience personified. Cheers GrantI have now set the chain drive assembly which took me all day yesterday. The toughest part was setting the chains themselves onto the gears, man unbelievable how difficult it was. In hindsight I would have done a better job of preparing a receiving depression on the ends of the chain supports. Here is the assembly. In subsequent photos you will see where I tightened the chain up some.
View attachment 474421View attachment 474423
Next, I began installation of the Wing Warping Pulleys and wire. The gray rope is supposed to represent steel wire, and at every pulley they used chain to ride over the rollers in the pullys.
View attachment 474424View attachment 474425View attachment 474426View attachment 474427
Quite often I get caught up in the macro shots and neglect the overall shots.
View attachment 474428
Hope you enjoy and thanks for checking in.
Brave men those brothers.It’s amazing what an odd aircraft this was, with an offset motor and no ailerons on the wings. But it was a prototype and a big learning curve.
Thanks Paul, it should be interesting navigating the bracing wires and seeing how many times I bump them, yanking the wings all around the hangar while doing the installation Ha.Fiddly work Daniel...and so nicely accomplished!
Can you imagine the noise that thing makes with those chains moving quite rapidly through the tubing guides.Its amazing what an odd aircraft this was, with an offset motor and no ailerons on the wings. But it was a prototype and a big learning curve.
Indeed! Let me just lay down on the wing of this thrashing machine and see if it will fly!Brave men those brothers.
I've moved into the next phase of my build, the rigging cross bracing of the wings. I set all the vertical struts which went well. Set the wing warping leads (just loose for now) which is 0.6mm line and began work on the 0.43mm cross brace lines.

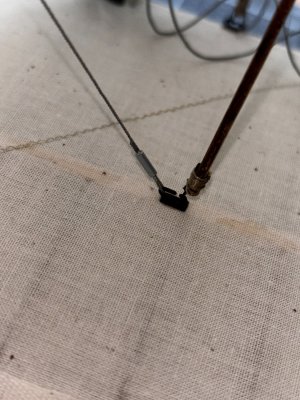
This is the look I am after.
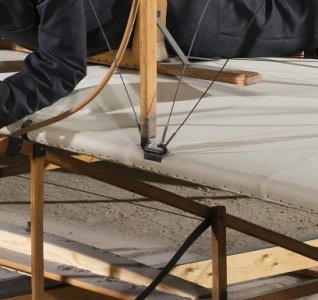
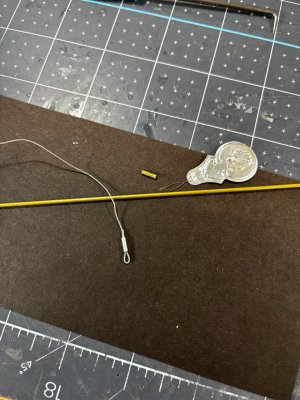
This is what I've come up with. 1.50mm OD brass tubing x 6mm long painted silver with 0.43mm line looped into it. I'm relieved I don't have to try and hand seize 36 plus of these connections.
Till next time have a great time!

This is the look I am after.

This is what I've come up with. 1.50mm OD brass tubing x 6mm long painted silver with 0.43mm line looped into it. I'm relieved I don't have to try and hand seize 36 plus of these connections.


Till next time have a great time!
Very clever solution, Daniel!
- Joined
- Apr 20, 2020
- Messages
- 6,228
- Points
- 738

Dear DanielI've moved into the next phase of my build, the rigging cross bracing of the wings. I set all the vertical struts which went well. Set the wing warping leads (just loose for now) which is 0.6mm line and began work on the 0.43mm cross brace lines.
View attachment 474605
This is the look I am after.
View attachment 474606
This is what I've come up with. 1.50mm OD brass tubing x 6mm long painted silver with 0.43mm line looped into it. I'm relieved I don't have to try and hand seize 36 plus of these connections.
View attachment 474607View attachment 474608
Till next time have a great time!
Thanks to your beautiful work, I get to travel in time
Thank you Paul.Very clever solution, Daniel!
Thank you, Shota! I pray you stay safe my friend.Dear Daniel
Thanks to your beautiful work, I get to travel in time
Looking great Daniel. Airplane rigging! 
Beautiful work Daniel.
Bill
Bill
Thanks Dean!Looking great Daniel. Airplane rigging!
Thank you, Bill.Beautiful work Daniel.
Bill
Great craftsmanship. I look forward to your progress photos.
Jan
Jan
Thank you, Jan!Great craftsmanship. I look forward to your progress photos.
Jan


