- Joined
- Sep 3, 2021
- Messages
- 5,198
- Points
- 738

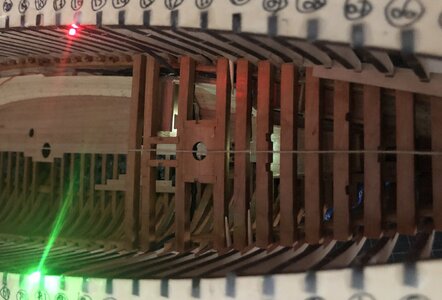
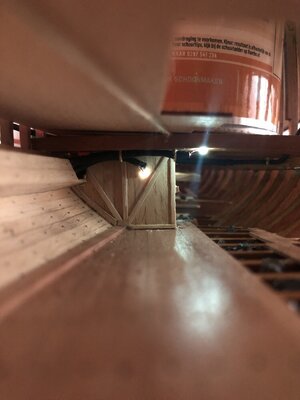
I am glad I can use the daylight or external light to show the interior
 I don't know what's worse, trying to get those tiny lights to work, or tossing the idea around of sawing my Bluenose in two...
 |
As a way to introduce our brass coins to the community, we will raffle off a free coin during the month of August. Follow link ABOVE for instructions for entering. |
 |
 |
The beloved Ships in Scale Magazine is back and charting a new course for 2026! Discover new skills, new techniques, and new inspirations in every issue. NOTE THAT OUR FIRST ISSUE WILL BE JAN/FEB 2026 |
 |

I am glad I can use the daylight or external light to show the interior
 I don't know what's worse, trying to get those tiny lights to work, or tossing the idea around of sawing my Bluenose in two...
Actually, in retrospect, I can't even believe I have "liked" that postI don't know what's worse, trying to get those tiny lights to work, or tossing the idea around of sawing my Bluenose in two...
 ! You are not seriously contemplating taking a saw to your Bluenose - are you?
Sit back and relax, Heinrich, although the Admiral is pushing the idea every chance she gets, I'm not inclined to go there, at least not with the current build...Actually, in retrospect, I can't even believe I have "liked" that post! You are not seriously contemplating taking a saw to your Bluenose - are you?
Me and Johan's Admiral aren't either ........Hmmm ... why am I not entirely convinced?

Me and Johan's Admiral aren't either ........
I'm desperately trying to convince myself as well...Hmmm ... why am I not entirely convinced?


You got that right, unfortunately...Now I am absolutely sure that I am not convinced. Like Shakespeare said: "Methinks the lady protests too much!"

It was quite for some days, but this is why!
Fork is out of scale. You can do better Johan...

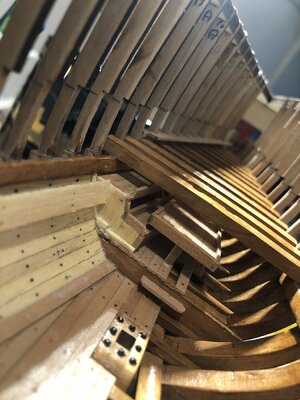
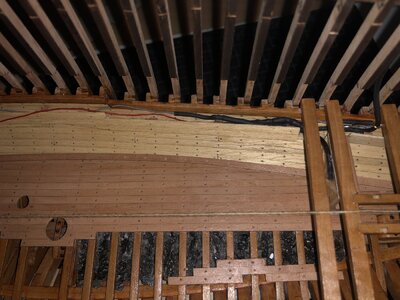
The last few days saw some more work on interior parts. I wanted to start installation of the first deckbeams with internal- and external lighting, but I started contemplating that, since I made a galley for the focsle, I might also need something more, to make the focsle a little more "alive". Since there are many examples from the more gifted builders, adding all kind of detail to their models, it's easy to find inspiration. Especially since I lowered the fwd lower deck level to be more in line with the focsle arrangement of the original Bluenose, giving me a slightly more realistic configuration to work with , it appeared to be a very legitimate reason to add a little more detail.

Thanks Peter! Adding those details, I find, is rather time consuming. It requires planning, designing, scratch building, refining, adjusting... It's also a lot of fun.It was quite for some days, but this is why!
That looks very nice, Johan.
I am sure your crew loved to sleep and eat on that.
Regards, Peter

Couldn't find a fork in the appropriate scale in the Admiral's cupboard, the Admiral who, o so innocently, mentioned the table lacked dishes and utensils...Fork is out of scale. You can do better Johan...
I think that must have been my Bluenose Johan. I was always convinced that if I took her to water she would simply keel over"While crossing the Atlantic on her return voyage from England in 1935, Bluenose encountered the most powerful storm she had ever faced. She actually keeled over and stayed down for five minutes, masts and all. But she somehow managed to right herself, and Bluenose and her crew eventually arrived back in Lunenburg safely."

Certainly not a drawback Johan, rather creative and innovating. It is with bated breath that we wait to see what you produce in the end. And I'm sure it'll be worth the waitThe main drawback I'm experiencing is that I started this build without a clear plan of what I wanted to achieve. I set out with the goal to finish my first POF build ever and that was that. Then I was drawn into the world of customizing one's build and now I find myself adding details on the fly. At least I'm gaining an awful lot of experience...

Thanks Heinrich!Very nicely constructed Johan. I really like your bunks and table. And you said it: you are having lots of fun! That is priceless!

