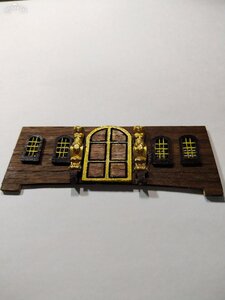
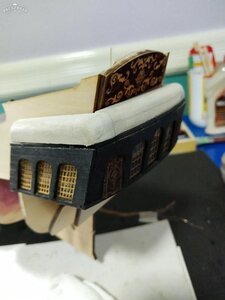
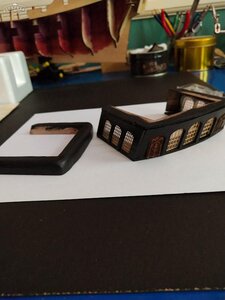
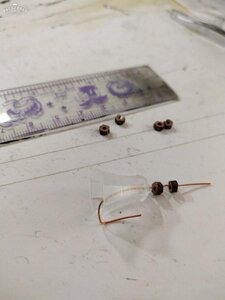
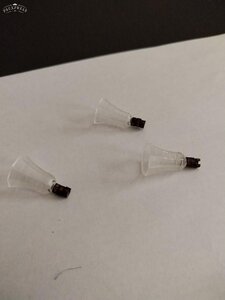
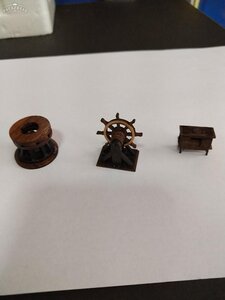
Hello friends. My LED lights finally arrived from China. It took about a month to get my hands on them. I ordered a bunch of 3mm yellow and orange LED lights and a bunch of resistors of various ohm ratings for real cheap. Something like US$5 for 100pcs yellow and 100pcs orange lights and $4 for 600pcs resistors. I would have preferred smaller pico sized LEDs but I couldn't find a source here where I am in the Philippines. Once I install the wiring and the lights, I can finally commence building again.
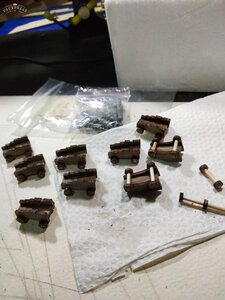
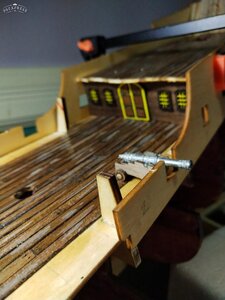
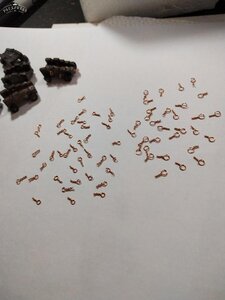
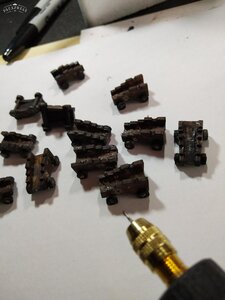
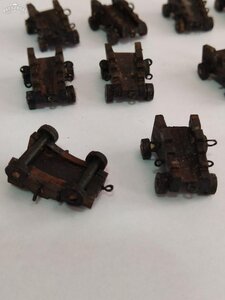
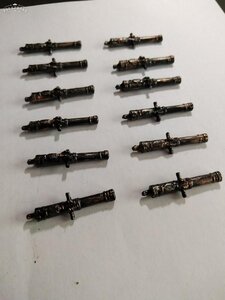
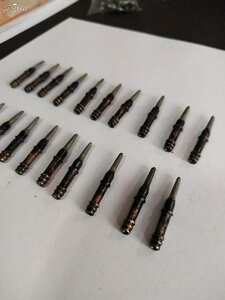
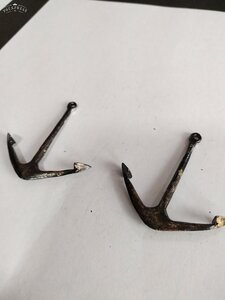
But first, I just wanted to show you a bit of the work I did on the cannons and the anchors. I decided to paint them gunmetal black. I also found some burnished copper powder that I dabbed on the cannons to simulate weathering.
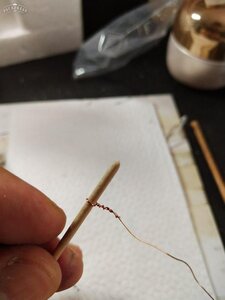
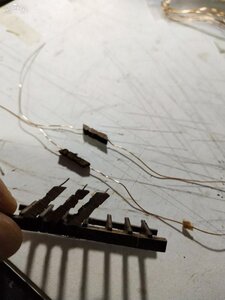
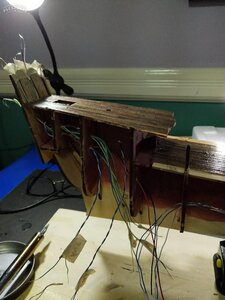
Now, on to the LEDs. Just full disclosure, I am coming from a completely zero knowledge base in electronics so please bear with me if I don't do it 100% right. I had to do quite a bit of reading on wiring, resistors, forward voltage, ohms etc. And I decided that with my 3mm lights, I wanted to wire them in parallel (i.e. positives to positives, negatives to negative all the way to the power source. I purchased a 9v battery holder/switch, and with my 3mm yellow LEDs, I figured 330ohm resistors will do the job. I have a total of 12 LEDs, which I know will pull a lot of juice from the 9volt battery (I haven't tried to run out my battery, but I figured it will at least give me an hour to 2 hours of power). The kit came with some enamel copper wire but I wasn't quite sure if this meant that the wire was insulated. I didn't want to risk wires touching and causing a short. So I decided to strip down a bunch of old ethernet cables which gave me plenty of insulated wires to work with. I ran the wires from the LEDs, soldered the 330ohm resistor to the positive lead of each light. After soldering the positive wire to the other end of the resistor and the negative wire to the LED, I ran all the wires toward the starboard side of the ship where I gathered up all the negative wires together, the positive wires together and soldered them with the battery source wires.
Here are some pictures.... I know it wasn't the prettiest job of wiring and soldering, but I am just so glad that I made the LEDs light up, ha ha ha.
A bit sloppy on the soldering of the resistor. The resistors are all connected to the positive wires of the LEDs. Each LED gets its own resistor. Am not sure if there's a way to just use one resistor for all the lights given that they are wired in parallel. I did it this way so I don't lose all my lights in case one of them malfunctions.
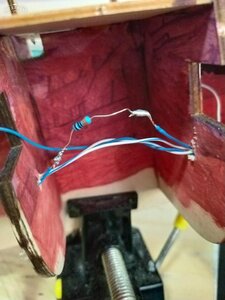
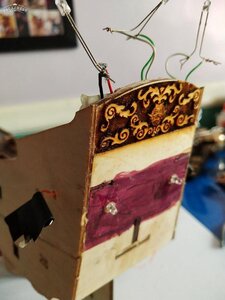
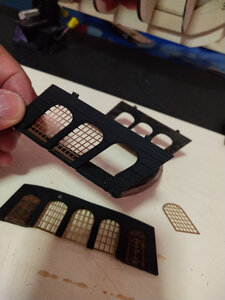
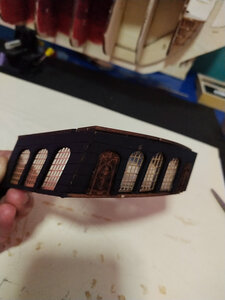
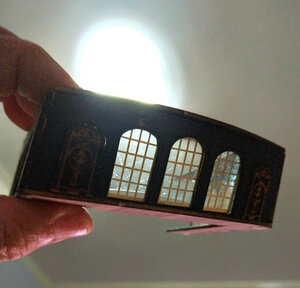
I already installed the LEDs to the back window of the captain's quarters because I won't be able to gain access to the wire leads inside once I assemble the bulwarks which will cover this whole area of the ship. I left the wiring for the 3 lanterns on top of the transom for later soldering and installation of the lanterns.
By the way, it's important that after soldering the resistor, that you temporarily hook up the wires to an LED to make sure it lights up.
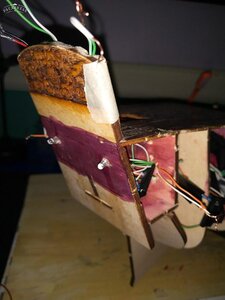
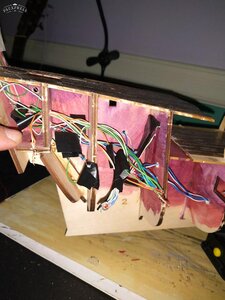
Here's all the wires all running towards one spot. I just had to make sure none of the exposed wires touch each other which might cause a short. I lost a light because of a small short in one of my connections
By the way, I made provisions for wiring of the LEDs on the side of the captain's quarters (where my finger is pointing to). Can't solder the light yet because this will be covered by the bulwark piece later on.
And now for the moment of truth.... ta daaaa!!! All the lights go on.
The lights look too bright in the photos, but they will be dimmer once they get covered up with the windows.
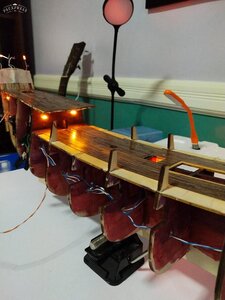
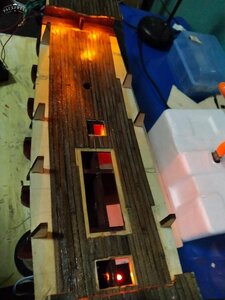
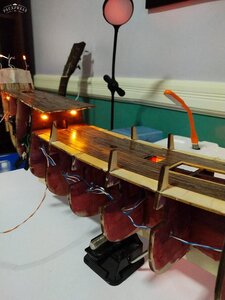
Wheew, I am glad my first attempt at LED work was a success. I welcome comments if there's a better way to do this.
Now, on to the next step of my build.... the installation of the bulwark pieces. As I said before, I had to finish all the LED wiring before doing this because these pieces will cover up the area where the wires will run through.
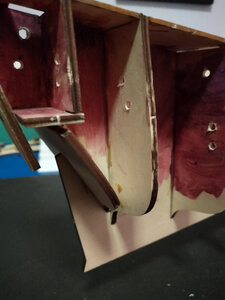
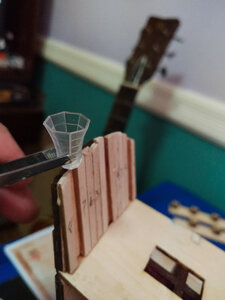
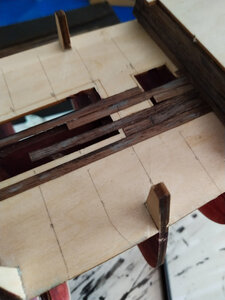
Before installing the bulwarks, I put some electric tape on the top portion of the bulkhead uprights so the glue will not stick to them (they will need to be trimmed later on). Also, you might be tempted to trim the uprights in advance (which I was tempted to do). But don't do it because you will need these uprights later on when you install the bulwarks (to establish the angle of the bulwark, and also to provide clamping areas for the bulwark when you glue them.)
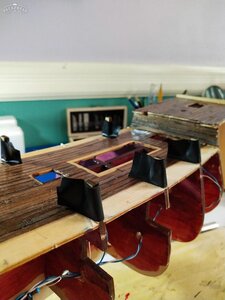
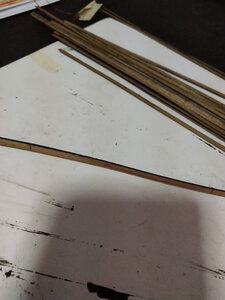
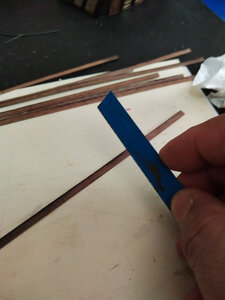
First step is to dry fit the bulwarks. This will show if you need to trim some of the bulkheads, which I had to do to a few of them in order to get a more comfortable fit.
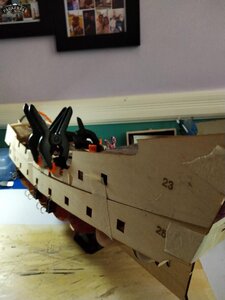
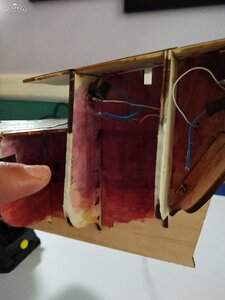
I also had to slightly move one of the half cannon holders because it was bumping up against one of the bulkheads.
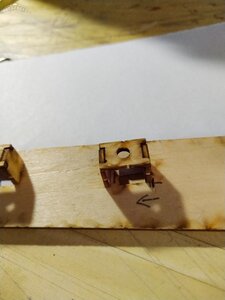
I also noted where I will need to drill a hole for the LED lights on both sides of the captain's quarters.
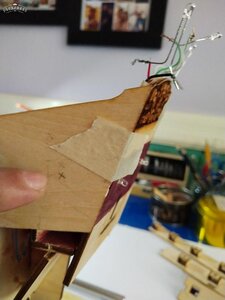
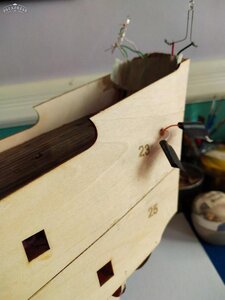
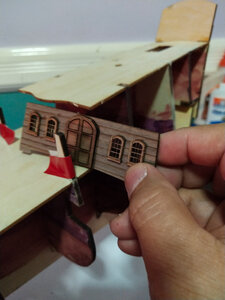
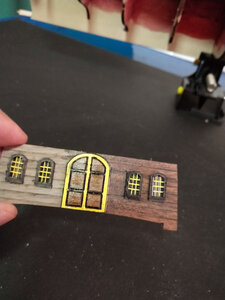
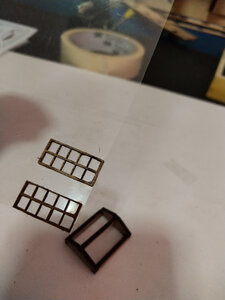
Oh, also don't forget to install the door/window piece below the poop deck because this will be covered by the bulwark.
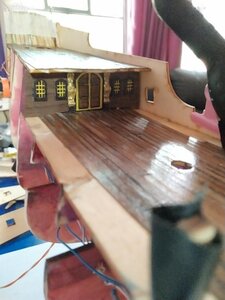
So, on to gluing the pieces together. I don't have clamps big enough to go across the deck so I decided to use rubber bands and pins to hold the pieces in place as I waited for the glue to dry (I used wood glue because it's a bit more forgiving than CA glue). I didn't have to worry about the pin holes because this will be covered up later on by the second planking. Note also that the bulwarks are clamped against the uprights in order to give it the proper slant angle.
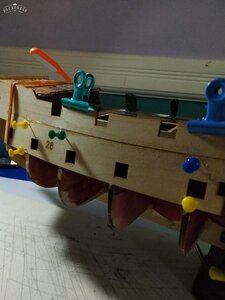
Oh, and don't forget to leave space (about half the width) on the second bulkhead from the bow. You will need this space later on when you glue on the first layer of planking towards the bow.
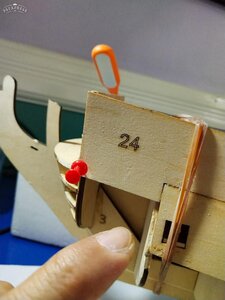
Bulwarks glued on finally. Please note also the spots where the LEDs are either pre-soldered or pre-wired, as well as the wire coming out towards the bottom of the starboard side which will then be hooked up to the battery holder/switch.
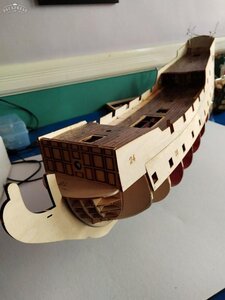
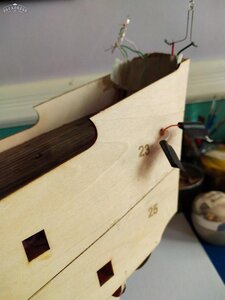
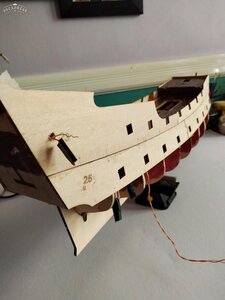
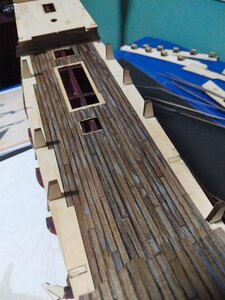
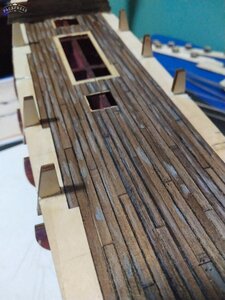
Now I am ready to continue planking the deck. If you recall, I had done partial planking beforehand, but had to leave the sides undone because the bulkhead uprights were in the way. Now that the bulwarks are set, I can now trim the uprights and finish the deck planking.
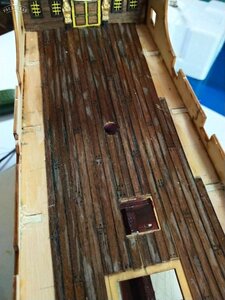
Until next time. Thanks friends for dropping in. All that I have done to this point is the result of much reading, research and building up my knowledge base. Being truly a newbie, I appreciate the insights that I get from reading the posts from our more experienced members. And as always, comments, constructive criticism and suggestions are most welcome.



 -type guy. My last job before I retired in 2015 was heading a national tv and media organization in the Philippines.
 s
s