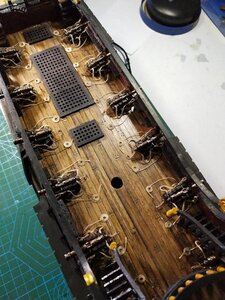
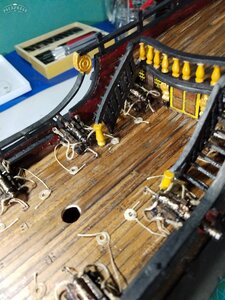
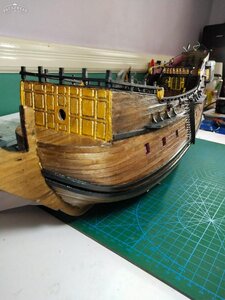
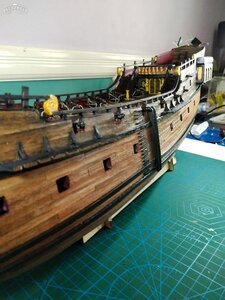
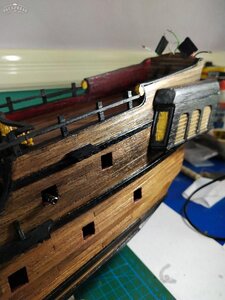
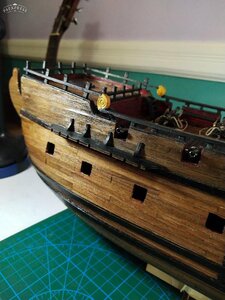
Next up on my build is installing the deck cannons. I had actually assembled the gun carriages a while back and previously posted some pictures. But in order to provide a fuller picture of my work on the guns, I will repost some of the older pictures here.
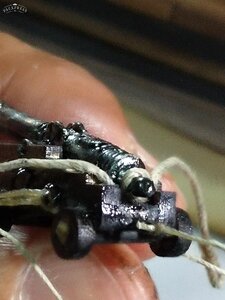
The guns were painted using gunmetal black acrylic and then brushed lightly with a burnished copper powder.
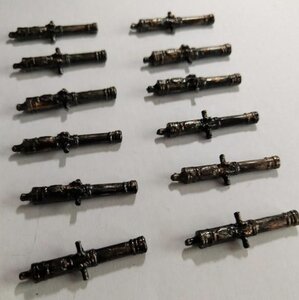
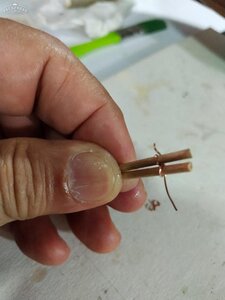
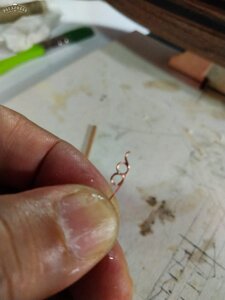
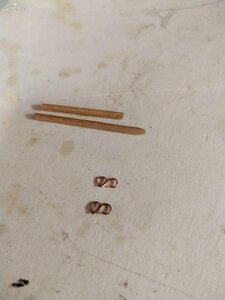
Assembling the carriages was fairly straightforward. The kit comes with a small wooden dowel that is used to make axles for the carriage. I planned to rig the carriages with breeching ropes and tackles, so I drilled tiny holes on the side and rear, which will receive the little copper rings that I made by twisting a piece of wire around a small dowel (actually a big ring for the breeching rope and a smaller one for the tackles). The rings are glued on the carriage.
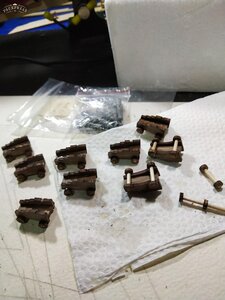
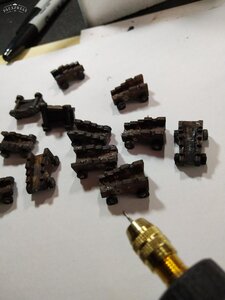
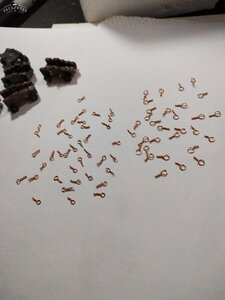
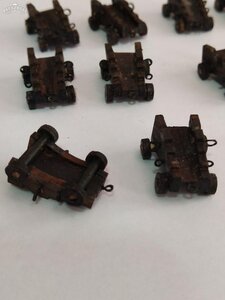
I spent the last week working on installing and rigging the cannons. This was clearly a much more challenging task than I expected. With my level of experience, every single step had to be thought out, tried out, retried, did, undid. I must admit, in the end, I didn't do it 100% technically correct, but I tried to incorporate as many elements as I could.
Please bear with me as I try to walk through it step by step. I wanted to share how a newbie would tackle a task, the thought process that goes into it, the frustration of certain methods not working out, the joy of learning from mistakes and the eventual sigh of relief once the task is completed.
This part of the build might seem very basic and second nature to the more experienced modelers. But to the newbie, it requires breaking up the job into many smaller tasks.
The first question is will I rig the guns with ropes? ....Yes
What color ropes?.... Light colored ropes
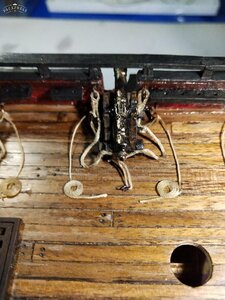
How do I attach the breeching rope?...I decided I will prepare the rope with both ends rounded and seized. These will hook up to small copper wire hooks on the bulwark. The breeching rope will be glued to the back of the cannon.
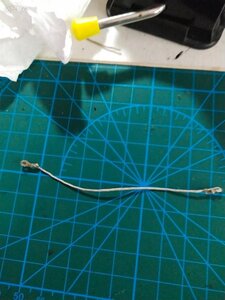
Here's how I prepared the ropes.
I took the rope and wrapped it around a small dowel, then clipped the end with a locking forcep(I think they call it a hemostat). The forcep is clamped on a mini vise, then a thin piece of thread is tied around it to form a nice circle. Then the ends are seized using a thin thread.
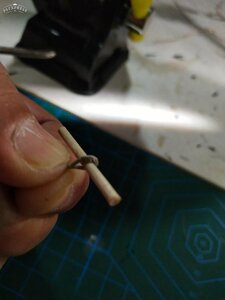
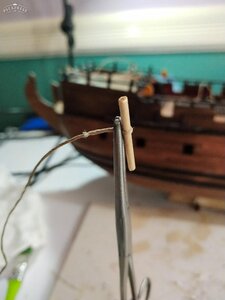
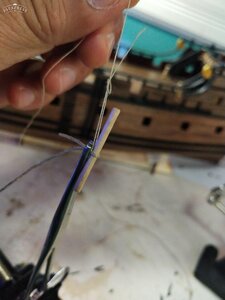
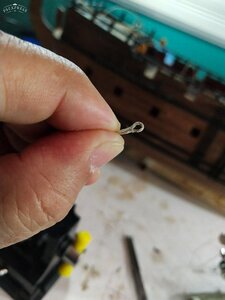
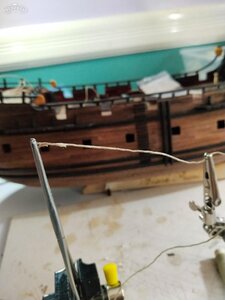
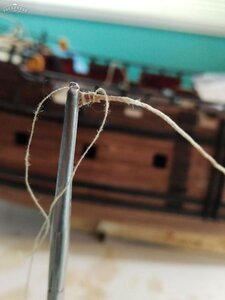
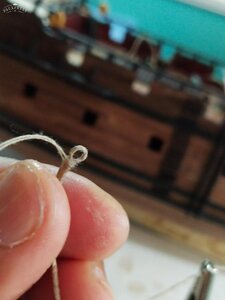
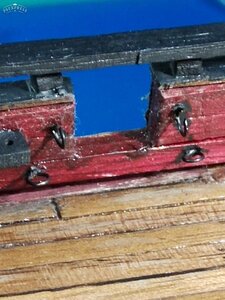
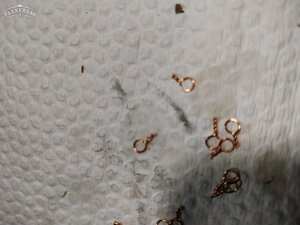
Next question... how do I attach the breeching rope to the bulwark. I thought I will make some round rings pinned and glued on the bulwark...the rounded ends of the breeching rope will attach to these. But the rings will need to be nipped to allow the rope to slide in(this can be done later).
The rings were made by twisting copper wire around a small dowel.
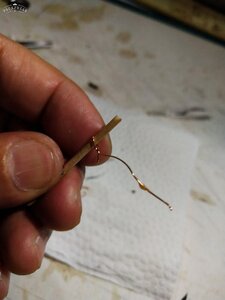
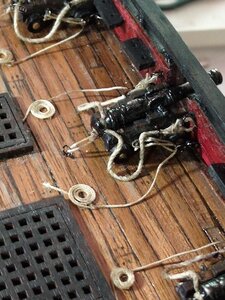
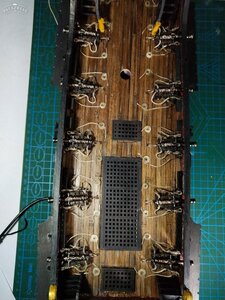
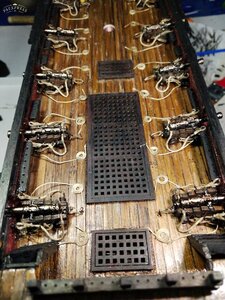
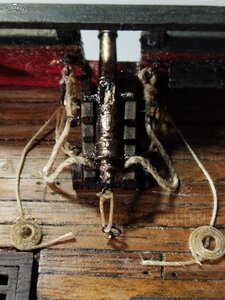
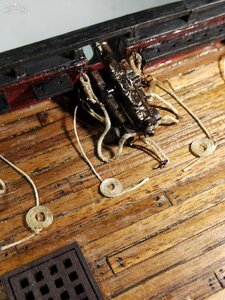
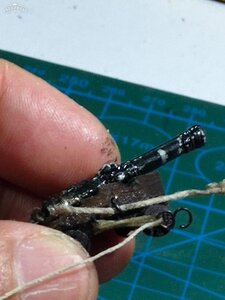
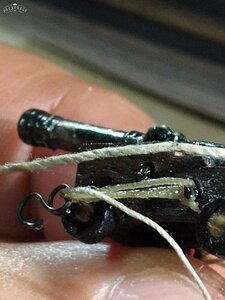
Next question... How to do the tackle ropes?.... First off, I need smaller rope. Then I need to decide how to attach the blocks to the rope. After much thought, I decided to skip the blocks since I don't have blocks small enough so they look proportional. I wasn't a fan of oversized blocks and I thought that the casual observer will notice the oversized blocks more than they will notice that they are not there. So, in the end I faked the tackle ropes as you can see in the following pictures.
I also needed to figure out how I will attach the tackle ropes to the bulwark. For this, I decided on an S-shaped hook that will attach to a ring on the bulwark. (By the way, I am unable to buy metal blackener where I am, so I just painted the copper wires... not very good because the paint tends to flake off).
Next up... how do I make the rope coils? I tried several different ways to do this, all to no avail. In the end, this is how I did this. I drilled a small hole on a piece of 4mm wood...big enough to hold a small dowel. I taped a piece of masking tape on the wood then stuck the dowel through the tape and into the drilled hole. I slowly wound the rope around the dowel, making sure I only did it in very small increments so the rope stayed in place. After a few circles, I slowly remove the dowel and put a few drops of white glue.
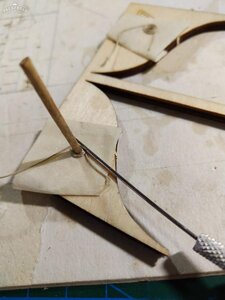
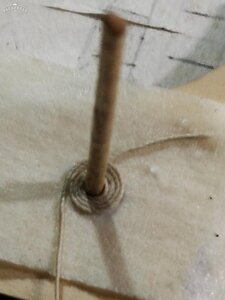
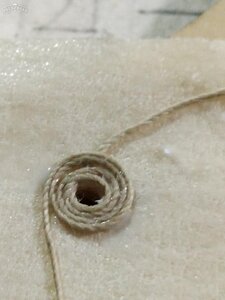
Next step... finish rigging the ropes onto the carriage. To secure the ropes, I applied a little CA glue to certain points of the rope. But, with my inexperience, the glue ran into the rope threads and smeared it into an ugly mess. Perhaps my CA glue was too thin? Maybe I should have used CA gel or PVA glue? Some members in the group suggested using acetone to clean up the smear, but in the end, I just decided to redo the ones that looked really bad.
In the following pictures, you can also see the missing blocks on the tackle lines.
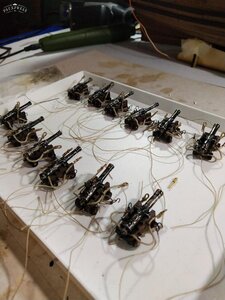
Will continue to the next post with the actual installation of the guns on the deck.


