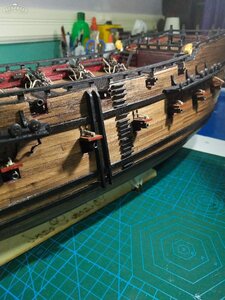
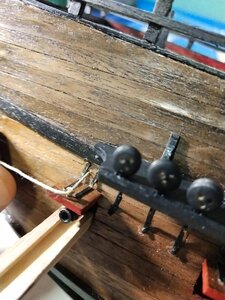
Onwards with the Pearl. I have a couple more things to work on before I tackle the masts and rigging. First are some deck furniture.
I previously glued together the parts for the wheel and now just to put on some rope around it.
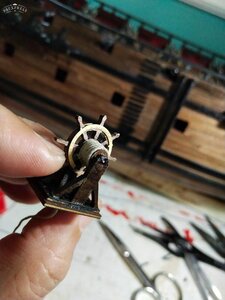
I installed the wheel on the deck but I was unsure if the rope was supposed to face forward or toward the stern (I have seen pictures of it going both ways). In the end, I had the ropes forward and the wheel behind it, as shown below.
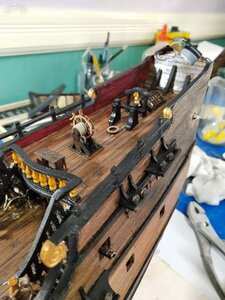
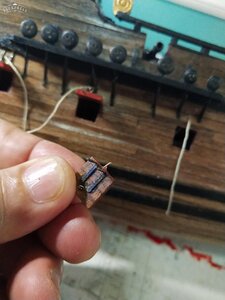
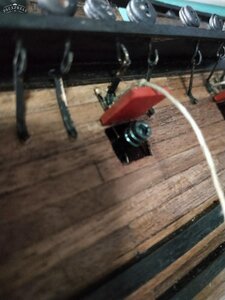
I also glued on the bell, the rack for the belay pins and a curious little cabinet with tiny tiny feet.
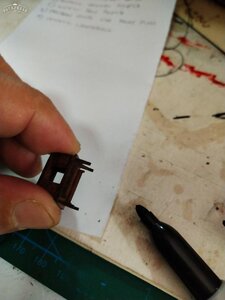
I decided to chop off the little feet because I was certain these will just break off anyhow. With the small scale, it was hardly noticeable.
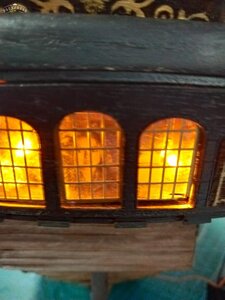
Next I finally got around to gluing the captain's gallery. I tried to print out color photographs of typical captain's quarters to attach to the inside, but because of the small scale, I couldn't get the effect that I was looking for. So instead, I used a picture of a pretty lass whose identity will be my own little secret. I thought this was a much nicer alternative. I reckon it will put a smile on my face every time I turn on the lights in the gallery.
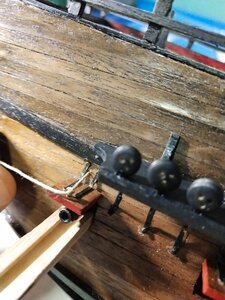
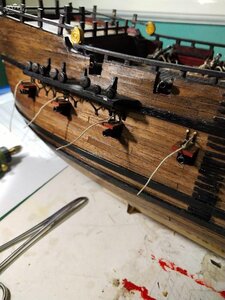
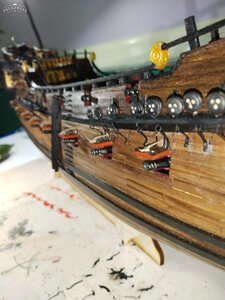
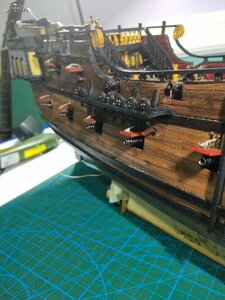
Next up was the deadeyes and channels.
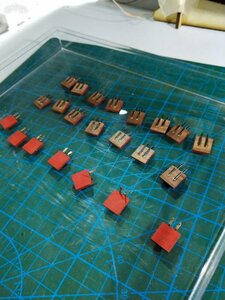
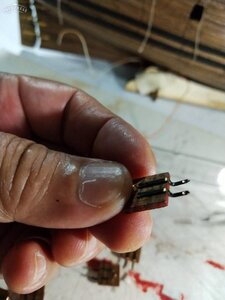
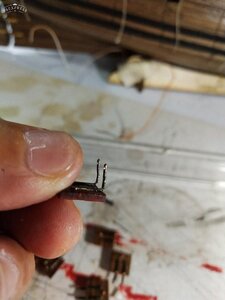
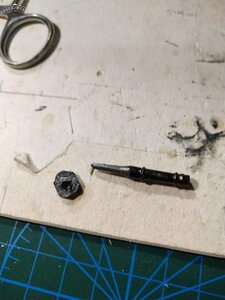
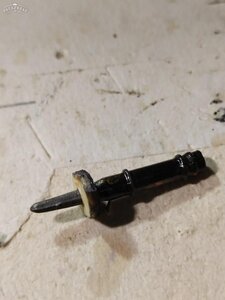
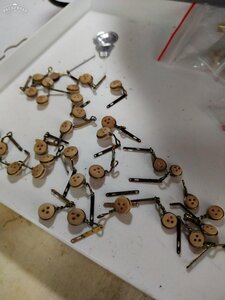
Assembling the deadeyes was fairly straightforward, requiring just a few twists of the pins that are provided in the kit.
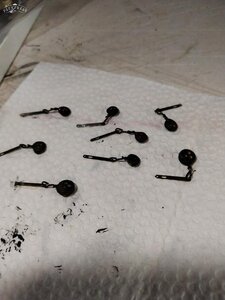
I painted the deadeyes black. I wish I had blackener for the pins, but I had to settle for painting the pins as well.
Rookie mistake..... notice the orientation of the holes in the deadeyes. I realized much much later on that the two holes should be on top and the single hole facing downwards. More on that later. Painful mistake.
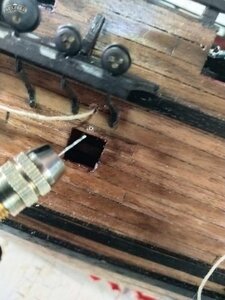
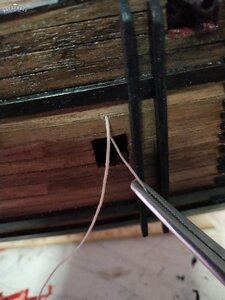
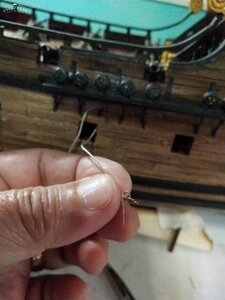
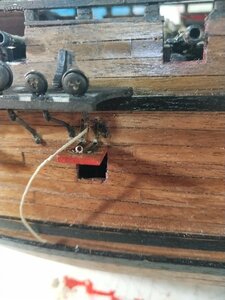
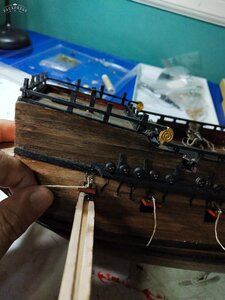
The channels were attached using CA glue and pinned to the hull using small copper wire inserted thru a drilled hole. This gives the channels a bit more strength.
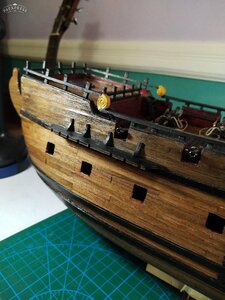
I read somewhere that the chain plates under the channels should be oriented so as to run at the same angle as the shrouds.
In order to achieve this, I temporarily inserted the three masts and simulated where the shrouds are positioned and ran a line towards the deadeyes to obtain the correct angle.
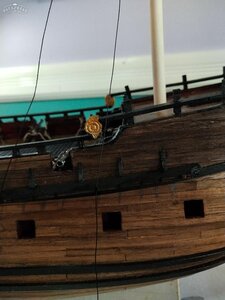
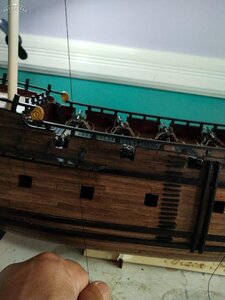
The deadeyes are then positioned on the channel in the pre-cut grooves and the channel is sealed using a strip that is glued to the outside edge of the channel.
Note that the instructions for one of the channels requires that you put 2 smaller 3mm deadeyes and 6 larger 5mm. Am not sure at this point the reason for this.
The chain plates are nailed to the hull. By the way, the kit provides 2 types of nails... One kind are really long and didn't seem suitable for this job. The other shorter kind had blunt ends which I had to file to a sharp point, and these are the ones I used for the chain plates.
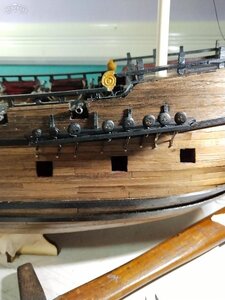
Now, to my rookie mistake. Notice how the deadeye triangle is positioned so the pointy side is facing up. After looking at pictures of how most people did this, they usually have the two holes facing up.
I decided to dismantle them and reorient the holes. This was not an easy task at all.
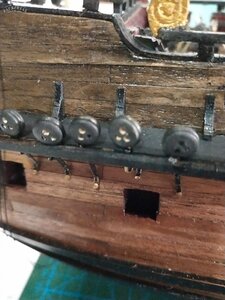
After fixing my mess-up, the deadeyes are in place.
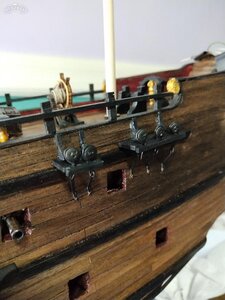
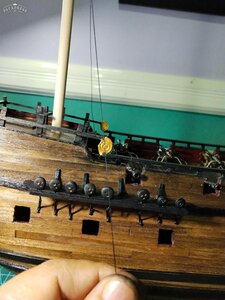
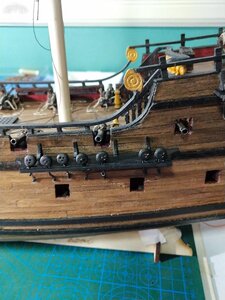
Next up is work on the rudder.
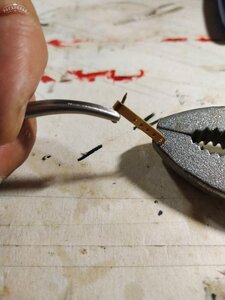
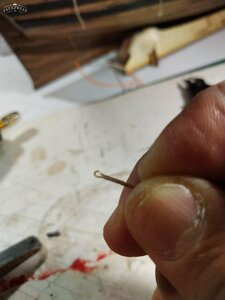
The strips that are to be used to attach the rudder have to be shaped to form a hinge. I used a small brass nail for the rod.
Using a pair of pliers, I squeeze the metal plate around the rod to form a nice circle.
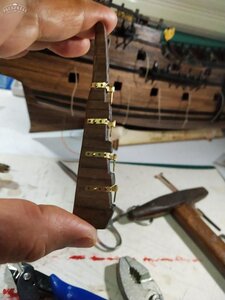
The metal plate had to be bent in shape to follow the contour of the rudder. I must say that my work here was a bit sloppy since I didn't have the proper tool to bend the plate properly... I needed pliers with really thin pointed tips to be able to make the tight bends, especially when I had to butterfly the plates.
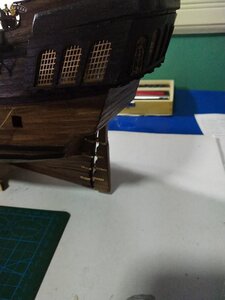
The plates are nailed to the rudder and the keel. I trimmed the point off of the nails that I used as a rod, and dabbed a small amount of CA glue at the bottom to prevent the nail from slipping out.
I wish I had blackener for the plates but decided to leave them unpainted.

Thanks for dropping in. As always, I would appreciate comments and suggestions if I am doing certain things incorrectly. These are invaluable as I build up my knowledge and skill sets.
Till next time.


