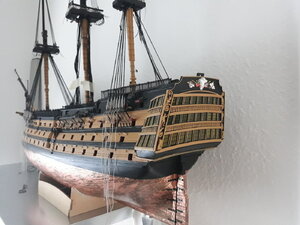
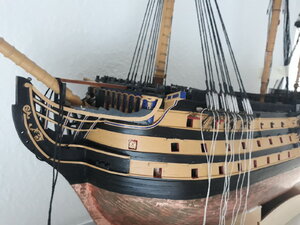
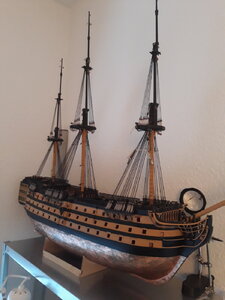
ZHL Black Pearl 2019 Golden Edition-Newbie build [COMPLETED BUILD]

Joined
Apr 20, 2020
Messages
305
Points
278

Hi everyone. My name is Reggie and I am a true, honest to goodness newbie. The only ship I ever built was a cheapie 1:130 sailboat model that I purchased from Lazada (the Far East equivalent of Amazon). It took me a while to build, only because I was really coming from a zero knowledge base, and every step was like groping in the dark. I was never very handy with my hands, for I’ve always been an office-type guy. My last job before I retired in 2015 was heading a national tv and media organization in the Philippines.

I stumbled across this forum and was so mesmerized (and not just a little bit jealous) of all the beautiful builds and I was immediately hooked. I read through the builds of @Donnie and @DariusArchitectus and was fascinated by their techniques, artistry and creativity. (I am sure there are lots of others in the group just as equally talented, so apologies if I fail to mention your names.) It was like bingeing on Netflix – I just couldn’t stop reading. Then I came across the build logs of @Hoffy, @Jay and @epicdoom for the ZHL Black Pearl Golden Edition, and I knew right away what my next project was going to be.

I placed my order through ZHL’s website on April 19 and it was fairly straightforward, including payment using Paypal. With the Covid quarantine restrictions, I didn’t expect to receive the package quite as fast. But, lo and behold, on April 23 I received an email which said my package has shipped via DHL, complete with a tracking number. It took a few more days for it to get to Manila and clear Customs, but I finally received the package on May 4. Not bad. And no customs duties! Shout-out to Max at ZHL... well done.

So, that brings me to today. I thought that I could start a build log, but focus more on the newbie perspective – including how to get started, what basic tools you need, basic concepts, how to navigate through the various choke points in the build, etc.

I hope the group will be forgiving for any mistakes in technique that I may commit, and I will welcome any constructive criticism or suggestions so I can further develop my skills. I look to our more experienced members for guidance and thank you all in advance. And please be patient with me... it may take longer for me to do this since I will need to do a lot of reading and research every step of the way.

So here it goes. I will start with the unboxing of the kit. Admin, this is my first post, so please let me know if I can do things better


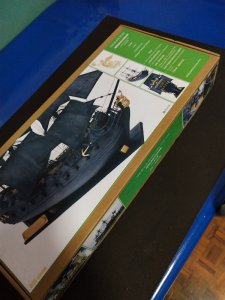
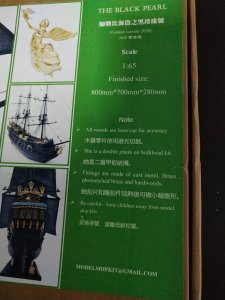
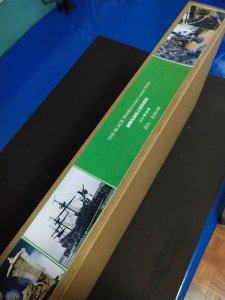
The box arrived fairly well secured. I thoroughly disinfected the box before bringing it inside the house, as a precaution against Covid-19.
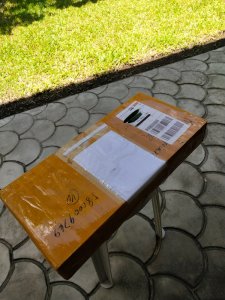
PSX_20200504_162646.jpgPSX_20200504_162800.jpgPSX_20200504_162823.jpgPSX_20200504_162910.jpg

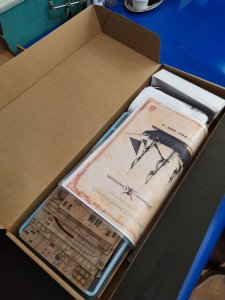
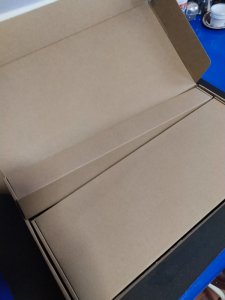
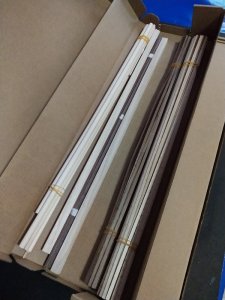
Inside were two boxes, the smaller one containing the masts and planking strips. The other box had all the other components. Planks are Black walnut and Paulownia.
PSX_20200504_162942.jpgPSX_20200504_162959.jpg
PSX_20200504_163015.jpg

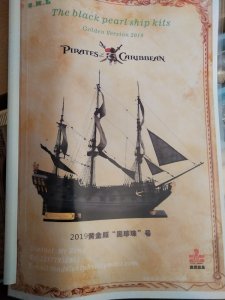
There is a 32 page color instruction booklet. Probably not as detailed as I've wanted, but will have to do for now.
PSX_20200504_163336.jpg

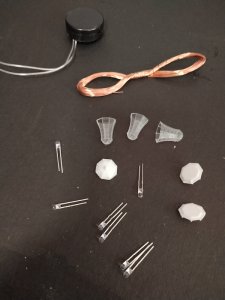
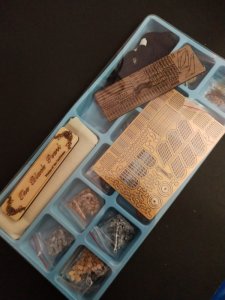
The following pictures show the rest of the contents of the box. It even includes a few LEDs, wire and switch box. Also shown are the 3 lanterns for the stern.
PSX_20200504_163355.jpgPSX_20200504_163445.jpg

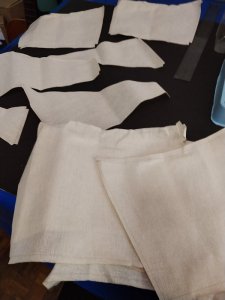
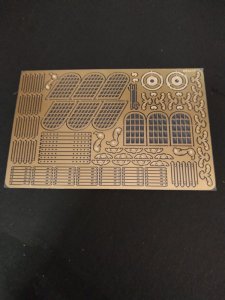
A sheet of copper photo etched parts. And, a pleasant surprise, pre-cut cloth for the sail with nice clean edges.
PSX_20200504_163504.jpgPSX_20200504_163535.jpg

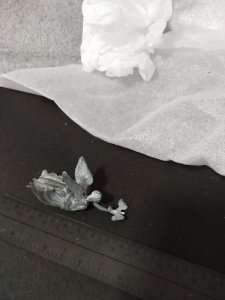
Carvings and other ornaments.
PSX_20200504_163626.jpgPSX_20200504_164502.jpg

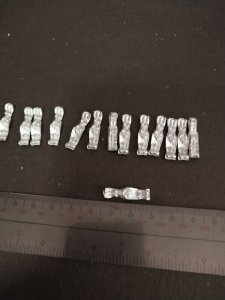
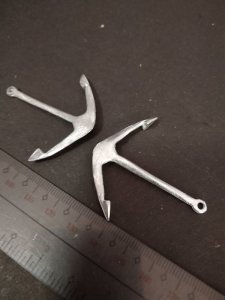
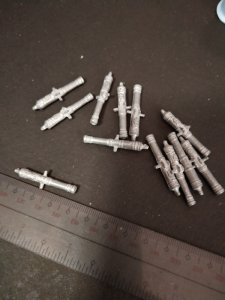
Cannons, half cannons and Anchors
PSX_20200504_163936.jpg
PSX_20200504_163740.jpgPSX_20200504_163803.jpg

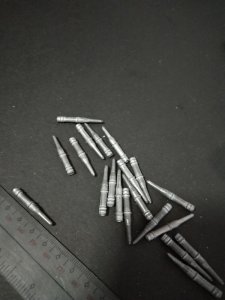
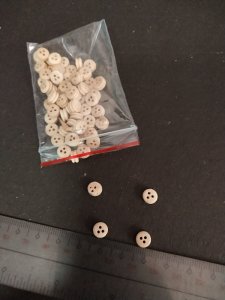
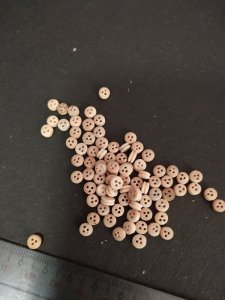
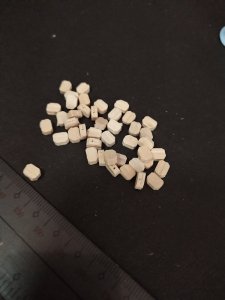
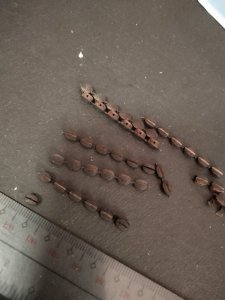
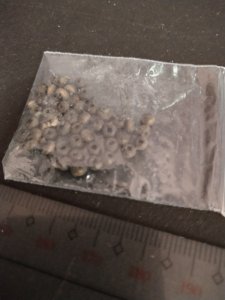
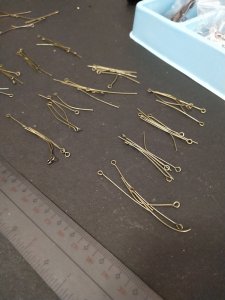
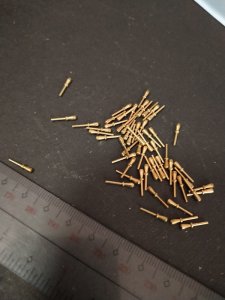
Deadeyes, blocks, beads, etc
PSX_20200504_163645.jpgPSX_20200504_163717.jpgPSX_20200504_163844.jpgPSX_20200504_163904.jpgPSX_20200504_164304.jpg
PSX_20200504_164358.jpgPSX_20200504_164412.jpg

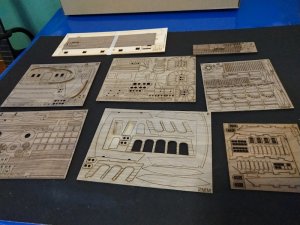
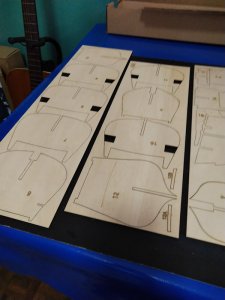
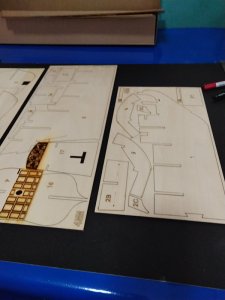
Laser cut wooden parts
PSX_20200504_164558.jpg

Ooops... looks like I've reached the maximum 25 picture attachments. Will post more in the next one.

Thanks everyone. Hope I didn't do too badly.
 
Hello Reggie. A warm welcome from my side in China. This is a great forum - and about being a newbie - so am I. We all learn together and there is always someone to help out when you have a problem. This is a wonderful "hobby" - frustrating at times - but very rewarding. You made an excellent choice by choosing a ZHL kit, so your basics are perfect. Be patient, don't rush anything and ASK. I trust that your build will be a most enjoyable and pleasurable one.

PS: You did not do badly at all. :)
 
Picking up where I left off yesterday on the unboxing of my BP kit.

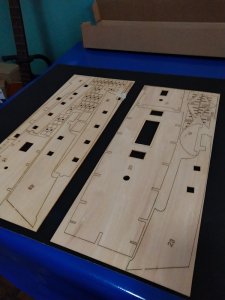
The first batch of laser cut pieces above were black walnut. The ones below I think are basswood plywood(4mm and 2mm).
PSX_20200504_164746.jpgPSX_20200504_164801.jpgPSX_20200504_164836.jpg

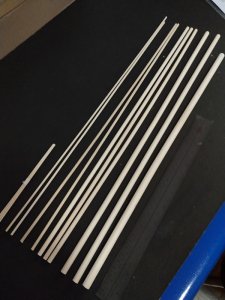
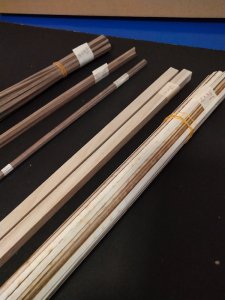
Mast and planking materials. The strips are 2.0x4.5mm paulownia and 0.5x4.5mm black walnut.

PSX_20200504_164901.jpg
PSX_20200504_164927.jpg

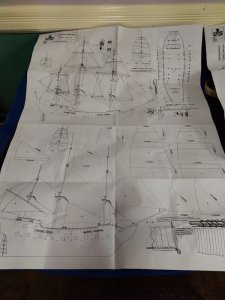
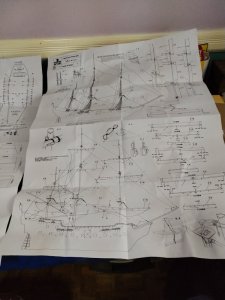
The kit also came with a fairly detailed rigging and sail instructions (2 sheets of 32inches x 24inches).

PSX_20200504_165302.jpgPSX_20200505_091634.jpg

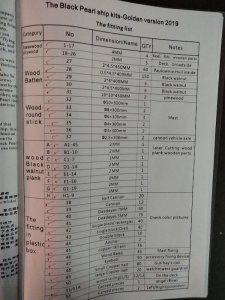
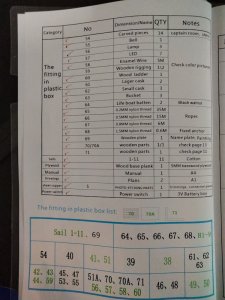
Finally, just about ready to get started. But, first things first.... need to check to make sure that the kit is complete as per the parts list. Looks good. In fact, ZHL even put in some extra parts for some components.

PSX_20200504_165214.jpgPSX_20200504_165152.jpg

Ready to dive in. Thanks everyone.
 
Might I suggest before you start to search the build logs for the kit.

I have seen a few other who are dong the Pearl, and seeing what and how the did things might help you on this first major build.

Remember, this is a hobby that is supposed to be fun. If you get stuck on one area, post a note, asking for help, its not far away.

I learned I can look ahead in kit instructions to start other sub section work while waiting on answers for questions.

Will be watching this with interest.
Thanks @Kkonrath. Seeing how others did their builds gives me a great safety net to be able to embark on taking on this challenge.
 
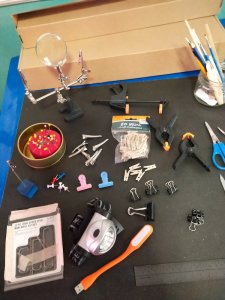
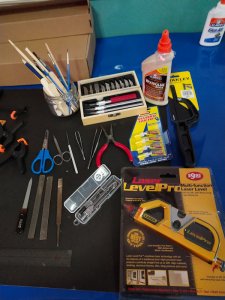
Onward with my build log. Before I start, please allow me to show you my very (very) basic newbie tool inventory. I am sure I am going to need more as I go along, but I will try to wing it with what I have right now. This forces me to improvise (yet more opportunity to learn). Being in the Philippines limits the kinds of tools and materials that I can purchase. In the meantime, I am making mental notes of other necessary tools and materials, and other nice to have ones, so I can go on a buying spree the next time I go to Los Angeles.

PSX_20200504_165402.jpgPSX_20200504_165500.jpg

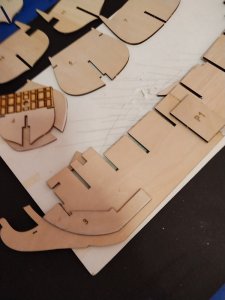
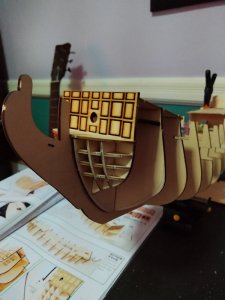
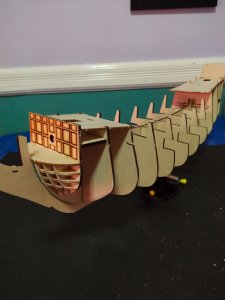
Started by assembling the keel and bulkheads. I glued the two pieces for the keel and put a weight on it while it dried.

PSX_20200506_162130.jpg

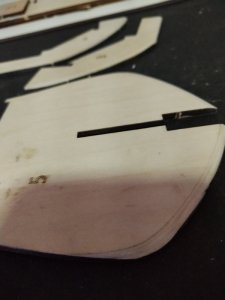
Just a minor note.... some pieces will need to be beveled to give them a better angle in preparation for planking later on.
PSX_20200506_162052.jpgPSX_20200506_162107.jpg

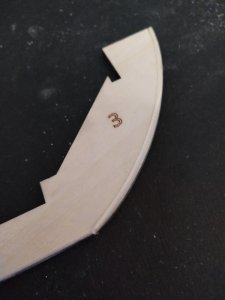
Then I committed my first rookie mistake... failing to look ahead a few steps. I glued part #3 where I thought it should go, without dry fitting bulkhead 4, 5 and 6. I should have realised that the bulkheads have a very tight notch that fit over part #3. Strike one.

PSX_20200506_162151.jpgPSX_20200506_162210.jpgPSX_20200506_162243.jpg

Back in the stern, as I was dry fitting, I noted that I needed to bevel part #17, #21 and part #15 because part #17 comes at an angle.

PSX_20200506_162428.jpg

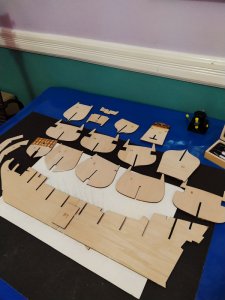
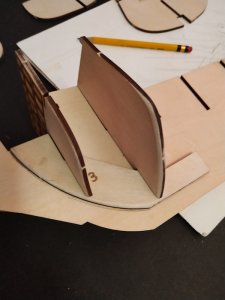
I then dry fitted the bulkheads and decks. Notice that I barely needed any clamps. The pieces fit very nicely.
PSX_20200506_162609.jpg

I marked my bulkheads vertically with a pencil to make sure they stayed in the same place when I glued them later on. I also drew a horizontal line from the bulkhead to the keel to indicate that the bulkhead is flush in its notch when I glued later on.

PSX_20200506_162530.jpg

PSX_20200506_162547.jpg

So then I started gluing and assembling. I needed to make sure the bulkheads are square against the keel. My square tool was too big, so I improvised and used this little guy to make sure the bulkheads are at right angle.

PSX_20200506_162631.jpgPSX_20200506_162643.jpg

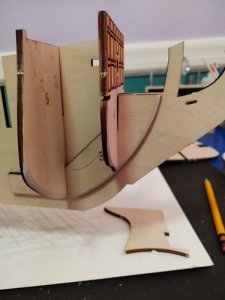
One note about this ZHL model. Apparently the designers have been listening (or watching) to feedback from users, so in this edition of the Black Pearl, they added a new piece that goes in the bow of the ship in order to improve planking installation. Other modellers before me had to improvise and install a DYI piece of balsa wood.

PSX_20200506_162700.jpgPSX_20200506_162710.jpgPSX_20200506_162737.jpg

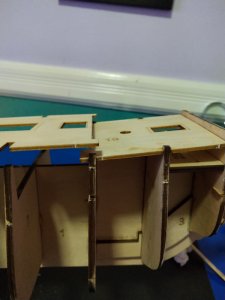
I proceeded to install the two upper level decks (I am not sure what the right terminology is). But, I made my second rookie mistake. Again, failing to look ahead at future steps. You will see it later on.
PSX_20200506_162833.jpg

When I tried to install the main deck, I realised that I cannot push the main deck down to where it belongs because there is an overhang of a few millimetres. In the picture, you can see that the main deck has protruding notches that go into the notch in the bulkhead below. There is no more "give" in the bulkheads because everything is glued down already. So what did I do? I did what every rookie would do.... I tried to bend it and force it to slip underneath (all the while praying that it doesn't break). The modelling gods must have favoured me, because I was able to bend and slide it in, with a minor damage to the protruding notch. Strike two.

PSX_20200506_162854.jpg

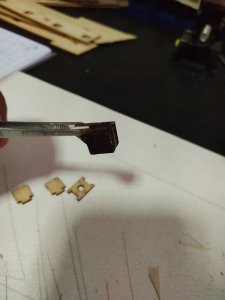
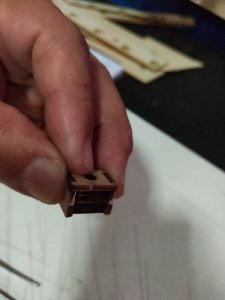
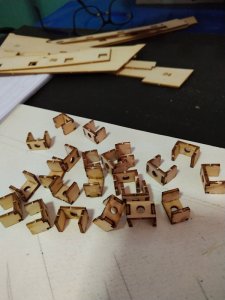
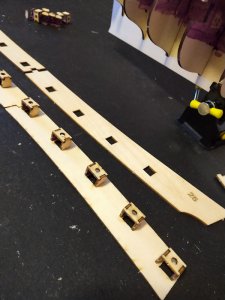
I finished gluing down the deck. Next step is the bulwarks. But first I have to assemble the holders for the half-cannon. There are 20 of them and the first time I tried to glue them, they kept collapsing on me because they are so small. So I made a simple jig that is the same size as the holder. This helped me keep the shape of the cannon holder while I waited for the glue to set. It went fairly quick after that.

PSX_20200506_162949.jpgPSX_20200506_163016.jpgPSX_20200506_163041.jpg

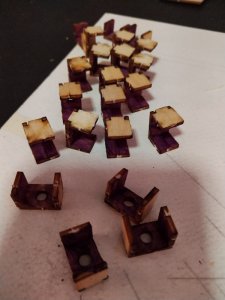
I painted the inside of the holders, just in case people try to get a really close look at them and I didn't want them to see bare wood.

PSX_20200506_163209.jpg

Then it was just a matter of gluing them behind the bulwarks. (Please forgive/correct me if I am using the wrong terminology).

PSX_20200506_163227.jpg

That's it for today. Next time I will start putting in the bulwarks and maybe start planking the deck.
Thanks everyone.
 
Great start and some good photos & commentary. I have often thought if the chinese kits came with good manuals they would be a force to be reckoned with.
 
Don't worry about sanding outside chamber in bulkheads till you test with a plank strip to use as guide.

You don't want to take too much off before you know angle from bulkheads on either side.

Hold a wide plank strip that will cross 3-5 frames and look behind to see how and what part of bulkhead to sand or file.

Work up and down the bulkheads to you get a good angle on all bulkheads in front and rear of boat, center ones need little sanding as they stay mostly flat.
 
Great start! Just remember we all started out as rookies! And made our fair share of mistakes. I still make mistakes! So ask questions, try to look ahead a few steps in the instructions to see how things will fit, it is only wood and parts can be fixed or even remade, and progress is marked one part at a time! You are doing great!
 
Good to see another Pearl in Dry docks being built, you seem to have a good grasp on the procedures so far, always look ahead I found the plans a little puzzling at times but having built a ship before I was able to nut out what they meant if you get stuck and you will reach out and ask will always be help here, good luck on the build cheers.
 
Good to see another Pearl in Dry docks being built, you seem to have a good grasp on the procedures so far, always look ahead I found the plans a little puzzling at times but having built a ship before I was able to nut out what they meant if you get stuck and you will reach out and ask will always be help here, good luck on the build cheers.

Thanks @Hoffy.... it's comforting to know that I can always go back to your build (also Jay and epicdoom) when and if I get in trouble.
 
Great start! Just remember we all started out as rookies! And made our fair share of mistakes. I still make mistakes! So ask questions, try to look ahead a few steps in the instructions to see how things will fit, it is only wood and parts can be fixed or even remade, and progress is marked one part at a time! You are doing great!

Thanks @danielsje for the words of encouragement.
 
Back
Top