ZHL Black Pearl Golden 2021 - 1:64 - JeffT [COMPLETED BUILD]

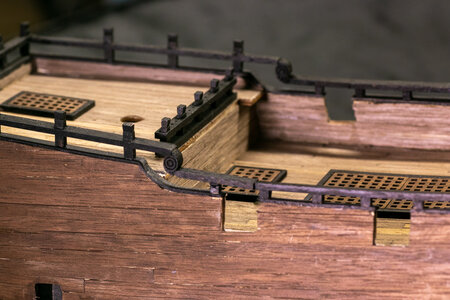
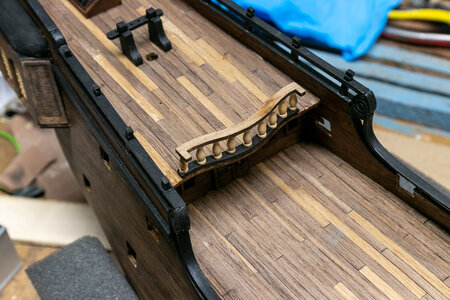
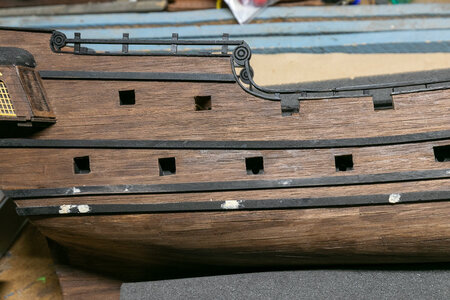
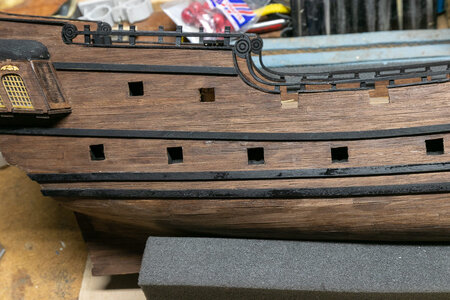
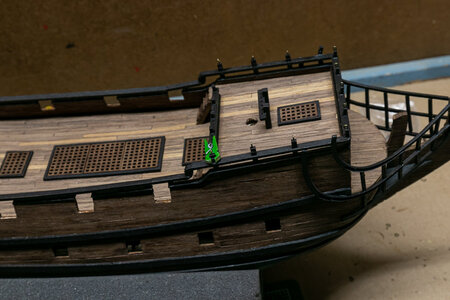
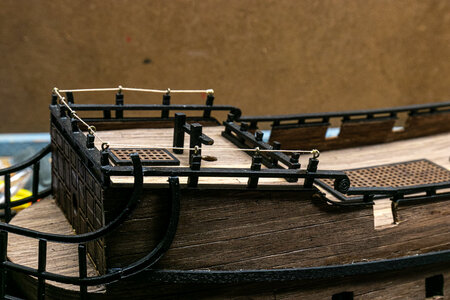
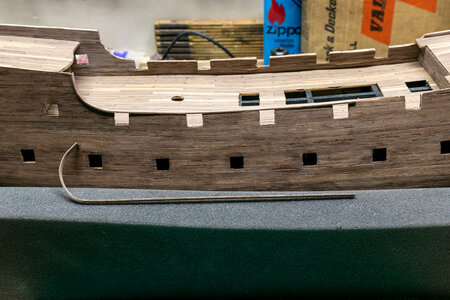
Continuing with the side rails and the rails at the bow. I first bent and glued on the lower part of the rail on the bulwarks. This went fairly easily. The upper rail curve was a bit more challenging, but it turned out OK.
IMG_6414.jpg

The decorative scroll pieces were attached without too much difficulty. I did have to make a "design change" on the rearmost pieces as I couldn't find an alignment where the rails lined up with the scrolls. I doubt anyone will noticed once the ship is completed.
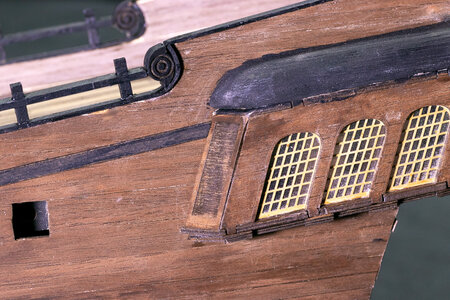
IMG_6422.jpgIMG_6423.jpgIMG_6424.jpgIMG_6427.jpg

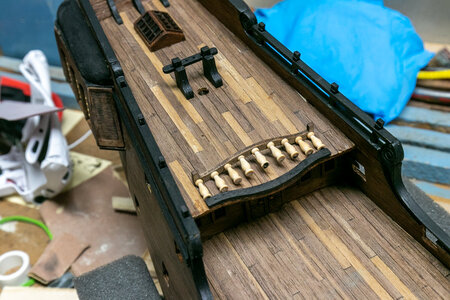
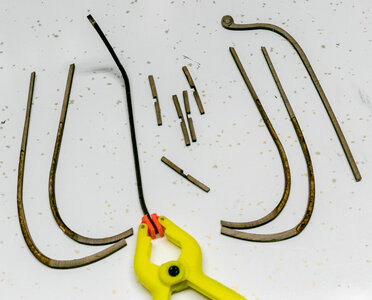
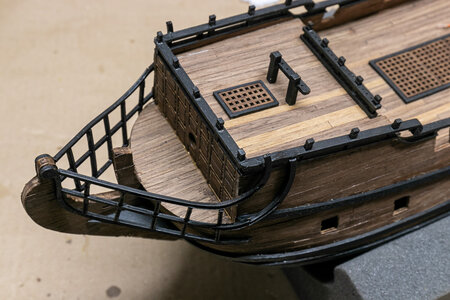
The rails in the bow area were constructed off the ship and pins were added to the base of about every other stanchion. Matching holes were drilled in the deck and the rails were glued in place.

IMG_6421.jpgIMG_6428.jpgIMG_6425.jpg
 
Continuing with the side rails and the rails at the bow. I first bent and glued on the lower part of the rail on the bulwarks. This went fairly easily. The upper rail curve was a bit more challenging, but it turned out OK.
View attachment 234781

The decorative scroll pieces were attached without too much difficulty. I did have to make a "design change" on the rearmost pieces as I couldn't find an alignment where the rails lined up with the scrolls. I doubt anyone will noticed once the ship is completed.
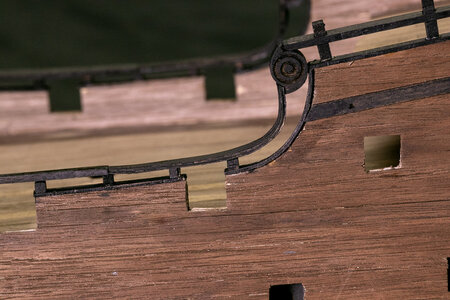
View attachment 234783View attachment 234784View attachment 234785View attachment 234787

The rails in the bow area were constructed off the ship and pins were added to the base of about every other stanchion. Matching holes were drilled in the deck and the rails were glued in place.
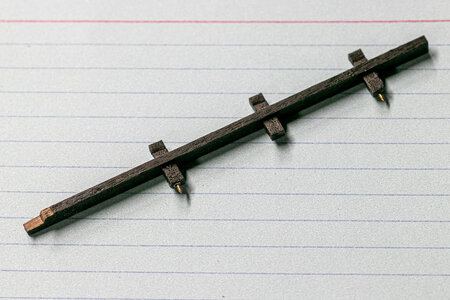
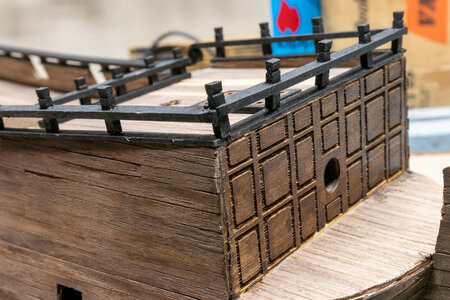
View attachment 234782View attachment 234788View attachment 234786You’re making good progress
 
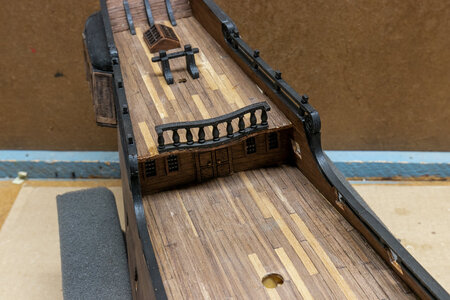
The quarterdeck rail was completed. I glued the stanchions to the upper rail after sanding the ends flat. When dry, I stained the base plate black then glued the plate to the edge of the quarterdeck. When dry I glued the full rail assembly to the plate and stained the rest of the rail. Due to the number of contact points I did not think I needed any pins in the stanchions on this piece. IMG_6429.jpgIMG_6430.jpgIMG_6433.jpg

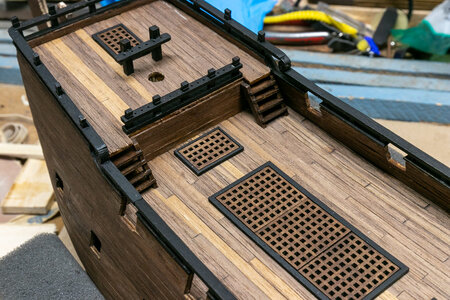
I hate doing stairs. That being said, I completed both of the stairs to the forecastle. Did I mention that I don't like making stairs? I also stained the insides of the bulwarks and stairs with Antique Walnut which is a bit lighter than the walnut/black mixture I used for the outer hull. IMG_6432.jpg

I was about to work on the quarterdeck stairs when I realized I should mount the cannons in the stern most gun ports before I build and attach the stairs. Then I realized I should get the gun port covers on before I mount the guns. Then I realized I should get the rubbing strakes done before I do the gun port covers. Looks like the stern stairs will wait for a while.
 
Why do you need to install the gun port covers first? If I had it to do over, I think I’d put them on toward the end. It’s easy to mess them up while rigging, etc.
 
I am thinking I will need to roll the ship on it's side somewhat to install the covers and I don't want to have the guns sticking out when I do that. Of course in thinking a bit more about it, in my scenario one side would have the covers open when I rolled the ship over on it's side anyway. I don't have a keel clamp to keep the covers off any surface. I also think that having the guns sticking out may make it more difficult to work on attaching the covers. I'll have to think about it it more.
 
I am thinking I will need to roll the ship on it's side somewhat to install the covers and I don't want to have the guns sticking out when I do that. Of course in thinking a bit more about it, in my scenario one side would have the covers open when I rolled the ship over on it's side anyway. I don't have a keel clamp to keep the covers off any surface. I also think that having the guns sticking out may make it more difficult to work on attaching the covers. I'll have to think about it it more.
How are you attaching the guns? They won't move if they are secured well enough.
 
The quarterdeck rail was completed. I glued the stanchions to the upper rail after sanding the ends flat. When dry, I stained the base plate black then glued the plate to the edge of the quarterdeck. When dry I glued the full rail assembly to the plate and stained the rest of the rail. Due to the number of contact points I did not think I needed any pins in the stanchions on this piece. View attachment 235454View attachment 235455View attachment 235457

I hate doing stairs. That being said, I completed both of the stairs to the forecastle. Did I mention that I don't like making stairs? I also stained the insides of the bulwarks and stairs with Antique Walnut which is a bit lighter than the walnut/black mixture I used for the outer hull. View attachment 235456

I was about to work on the quarterdeck stairs when I realized I should mount the cannons in the stern most gun ports before I build and attach the stairs. Then I realized I should get the gun port covers on before I mount the guns. Then I realized I should get the rubbing strakes done before I do the gun port covers. Looks like the stern stairs will wait for a while.
Good looking build Jeff. I struggle with critical path building from time to time. It's always what I didn't see that bites me in the stern. Then it becomes experience! Keep up the good work.
 
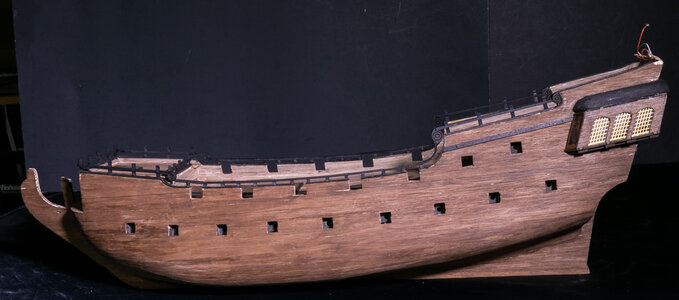
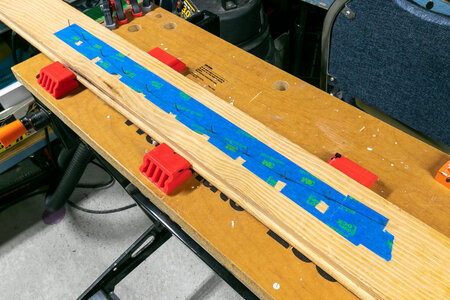
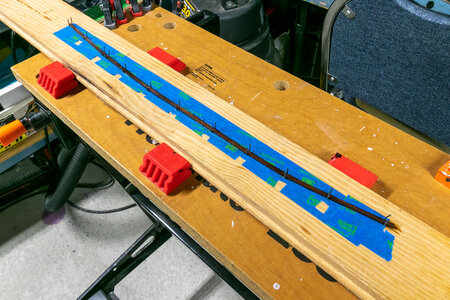
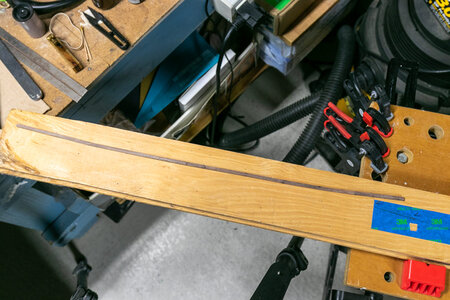
Strakes are installed. I made these by bending the strakes to follow the hull curve using nails in a board. The strips were soaked in warm water for an hour, placed between the nails and heated further with an travel iron to help bend the wood. This worked fairly well with the strips holding their shape after drying.

IMG_6434.jpgIMG_6435.jpgIMG_6436.jpg

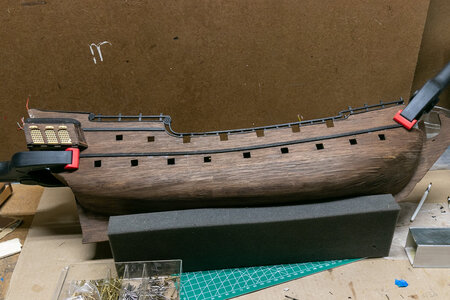
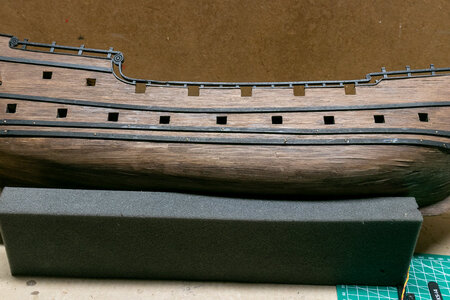
I stained the strips black first so as not to have to do the staining on the ship. I glued the strips onto the hull using Titebond II and a few small nails through the strip into the hull. After the glue dried, I pulled the nails and patched the holes with some filler. When it dried, I sanded and touched up the filled spots with black stain. IMG_6437.jpgIMG_6438.jpgIMG_6439.jpg

IMG_6440.jpg
 
I hope to have a couple of new updates over the next week because I am in a new situation. I officially retired from full time working for someone else today. Great feeling. I will continue doing work for myself (as a performance and portrait photographer) and will start doing some consulting in the pharmaceutical industry (if all goes well on that front moving forward). I am looking forward to spending more time on the BP and to try to keep up with this build log. I am a number of steps further than the last pictures, but I have not had time to put together consistent posts over the couple of months. I am hoping that will change.
 
I placed the bow parts on the ship. A couple of pieces required multiple bends to fit correctly. Following gluing in palace the pieces were stained black.
IMG_6442.jpgIMG_6445.jpg

The next step completed was to add the eyebolts for the bow rope rail. I learned the valuable lesson that supporting these pieces with a clamp kept them from splitting while drilling was necessary. Of course this lesson only came after splitting two of the posts. I used tan rope instead of the black supplied by the kit. I see these as replaceable lines that would not necessarily have been tarred on a ship of the time. I am going to replace all supplied black running rigging with tan rigging. Even though the ship is supposed to be primarily dark theme, I don't think running rigging can be tarred and I doubt that running line would be darkened on the ship.
IMG_6447.jpgIMG_6454.jpg

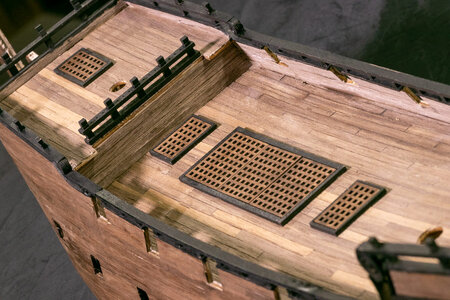
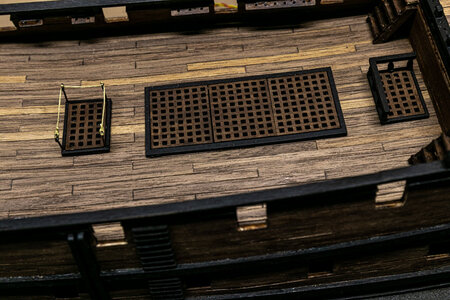
The posts and railings for the hatches were added as well.
IMG_6459.jpg
 
I placed the bow parts on the ship. A couple of pieces required multiple bends to fit correctly. Following gluing in palace the pieces were stained black.
View attachment 239022View attachment 239023

The next step completed was to add the eyebolts for the bow rope rail. I learned the valuable lesson that supporting these pieces with a clamp kept them from splitting while drilling was necessary. Of course this lesson only came after splitting two of the posts. I used tan rope instead of the black supplied by the kit. I see these as replaceable lines that would not necessarily have been tarred on a ship of the time. I am going to replace all supplied black running rigging with tan rigging. Even though the ship is supposed to be primarily dark theme, I don't think running rigging can be tarred and I doubt that running line would be darkened on the ship.
View attachment 239024View attachment 239025

The posts and railings for the hatches were added as well.
View attachment 239026
My lines were supernaturally dyed black. :cool:
 
I placed the bow parts on the ship. A couple of pieces required multiple bends to fit correctly. Following gluing in palace the pieces were stained black.
View attachment 239022View attachment 239023

The next step completed was to add the eyebolts for the bow rope rail. I learned the valuable lesson that supporting these pieces with a clamp kept them from splitting while drilling was necessary. Of course this lesson only came after splitting two of the posts. I used tan rope instead of the black supplied by the kit. I see these as replaceable lines that would not necessarily have been tarred on a ship of the time. I am going to replace all supplied black running rigging with tan rigging. Even though the ship is supposed to be primarily dark theme, I don't think running rigging can be tarred and I doubt that running line would be darkened on the ship.
View attachment 239024View attachment 239025

The posts and railings for the hatches were added as well.
View attachment 239026
Nice job on the bow I found this was hard to do and the parts being ply could break easily.
 
Back
Top