ZHL Misticque

G'day John
Here are some more translations:
20181018_081122.jpg
20181018_081639.jpg
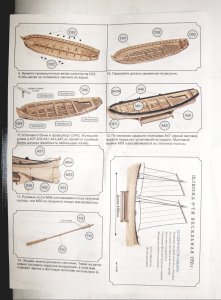
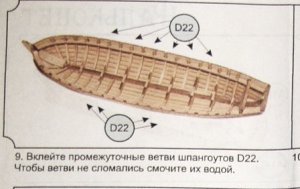
9. Paste the intermediate branches of the D22 frames. So that the branches do not break, moisten them with water.
20181018_081822.jpg
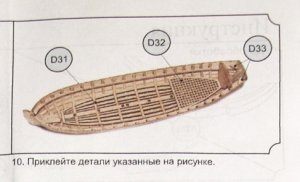
D32 D33 D31 10. Glue the parts shown in the figure.
20181018_082043.jpg
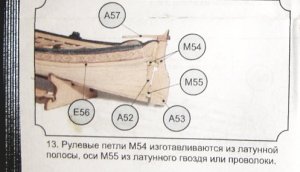
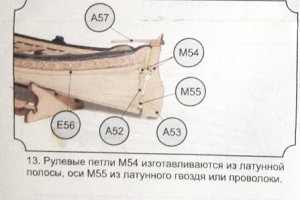
A57 M54 M55 E56 A52 A53 13. M54 steering hinges are made from brass strip, M55 axis from brass nail or wire.
20181018_082417.jpg
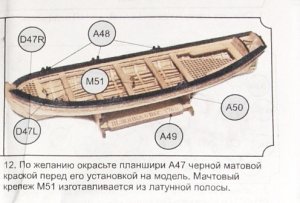
A48 D47 M51 A50 D47L A49 12. If desired, paint A47 plates with a black matte mask before installing them on the model. Mast repetition M51 is made of brass strip.
20181018_082652.jpg
A57 M54 M55 E56 A52 A53 13. M54 steering hinges are made from brass strip, M55 axis from brass nail or wire.
20181018_083753.jpg
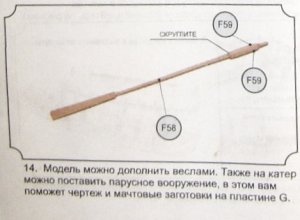
F59 SCROLL F59 F58 14. Model can be supplemented with oars. Also on the boat you can put sailing equipment, this will help you drawing and mast blanks on the plate G.
20181018_084041.jpg
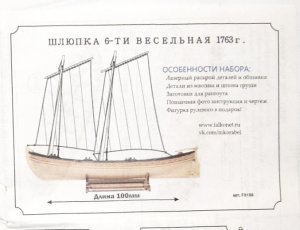
BOAT 6 - TI FUN 1763g. FEATURES OF THE KIT Laser nesting: flys and plating Details from solid wood and veneer rpy sheaths For patroyra r lotu aro8th photo tool quiet and drawing Fig. Rouoro. present www.falkonet.ru Length 100mm apt, F01s4

More to come
Happymodeling
Greg
 
Hi all

Re keel clamp update.
This is for anyone that may be thinking of purchasing one.

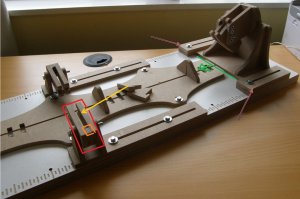
The end keel holder has to have two parts glued on the bottom ( not to the top like I have done see RED arrows ) this is to make that part slide over the top of the keel support holder see GREEN arrow and line.

The part with the RED oblong round it, this comes in three parts two long ones out side one small one inside see ORANGE part.
You have to glue the two outside ones to the orange part that goes on the inside at one end, make sure you put a 9mm part or a scrap of wood at the other end to act as a spacer, glue the three parts together when dry take the spacer out ( I used one of the keel supports see YELLOW arrow ).
I did not use a spacer for the one above it you can see the difference when you look at it ( what is that saying dry fit then glue, what an idiot I am haha).

KEEL CLAMP.JPG

John.
 
Hi all

Re new keel clamp.
I am starting my Misticque build again.
So I thought I would try the clamp out.

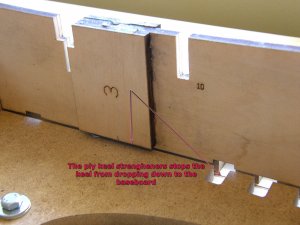
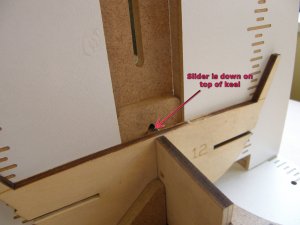
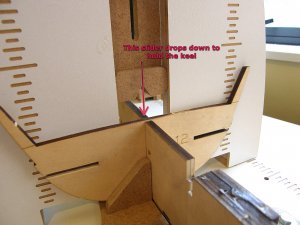
I found out that the two bottom clamps (one each side) that hold the keel inline did not allow the keel to drop down to the baseboard, this is not the fault of the keel clamp but the way the ships keel is held together.

The ships keel has to be glued together with two bits of ply each side they stop the keel from dropping down to the baseboard, if I had the keel clamp before I started the the build I would have cut 10mm off the ply wood so this would allow the keel to drop down to the baseboard.

Saying that I am very happy with the keel clamp.

MISTICQUE 7_0002.jpgMISTICQUE 7_0010.jpgMISTICQUE 7_0011.jpg

Sorry the last two photos are in the wrong order.

John.MISTICQUE 7_0004.jpg
This should be at the top.
 
Hi guys

More sanding.
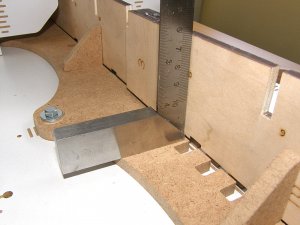
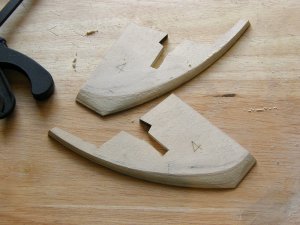
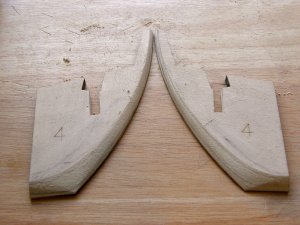
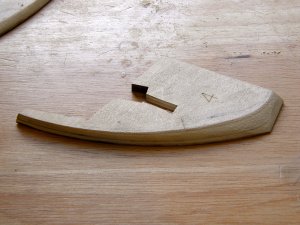
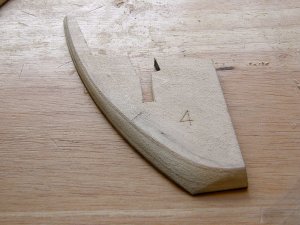
After dry fitting some of the bulkhead frames at the bow end I could see the planks are not going to lay on parts 4 even though I had sanded them back to the line that was on parts 4 that they advised you to sand back to.

After looking in the book one photo you can see that part 4 had been sanded past the line starting about half way down and going to the bottom of part 4.

I have also started sanding parts 5 and 6 but will finish them off when fitted to the keel.

MISTICQUE 8_0002.jpgMISTICQUE 8_0005.jpgMISTICQUE 8_0007.jpgMISTICQUE 8_0008.jpg
 
starting to take shape. I love the Build Jig I think I am gonna order one. I like Jigs this is one of the nicer ones I have seen. I'm waiting now on parts to build a gantry the wife is gonna flip her lid lol I'm sure it will go something like this "You really need another Jig Really ?? Really ??"
 
Hi all

Sorry for not posting but things got in the way, but I hope that is in the past now.

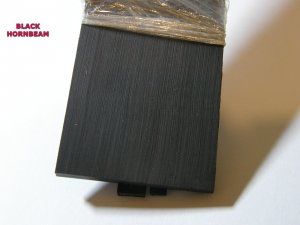
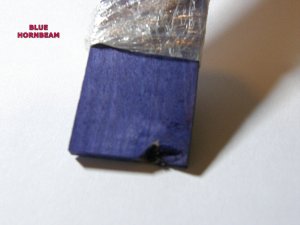
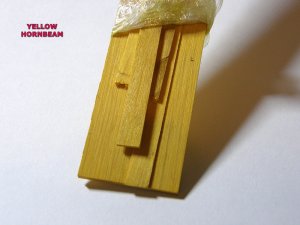
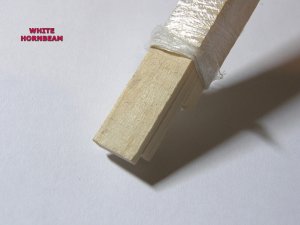
I have been talking to my good friend Jim about some wood he has used on his build.
He put me onto a man that can colour Hornbeam.
He sent me some samples.

MISTICQUE 10_0002.jpgMISTICQUE 10_0003.jpgMISTICQUE 10_0004.jpgMISTICQUE 10_0005.jpg

He also sent me some samples of other wood but I did not take any photos of them.

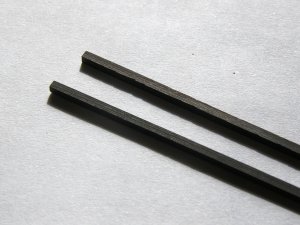
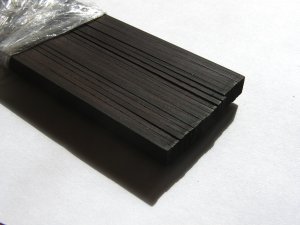
I have ordered some White Hornbeam for the deck, some Black Hornbeam for the wales.

John.
 
Last edited:
Hi John, I am really glad to hear that you like the samples of hornbeam! Precisely, because I don't know how to paint (Dah...) I use the wood with its natural color. for black I use Ebony but this wood is stiff to bent, hard to file and a the same time - brittle. So I found a perfect substitution - dyed hornbeam!! Cannot wait to see wales on your Misticgue!!! Please continue to build!
 
Last edited:
Hi all

Just had a look at the ZHL Misticque.

Instructions are mostly pictures.
Timber is of very good quality, laser cut parts are some of the best I have ever seen.
What surprised me was it has got pre cut planks.

The only thing is the decorations are wood and have to be painted gold.
But hey it was not that expensive.

All in all very good value for money, 10 out of 10.

Now I will see if all the parts are in the box.


John.

Hi John.
I look forward to following your build.
This is one of the models I have on my next build watch list.
There are a few on that list. Just can't decide which one I should go for.
But, need to concentrate on the Victory cross section for now.
Looking forward to seeing how you find the Misticque.
Any problems, just ask. The guys on this site are really helpful and supportive.
Happy modelling.
Oops!, Just realized this has been going since 2017. Lol.
 
Last edited:
Hi Galley Slave

Thank you for them kind words, yes I will be asking for some help along the way.
Yes this log has been going on since 2017 but things got in the way if you know what I mean.

You have a nice building log going on there, very nice workmanship.

John.
 
Hi all

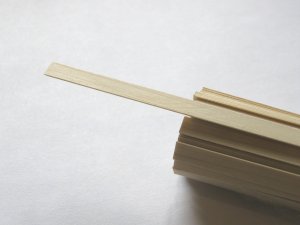
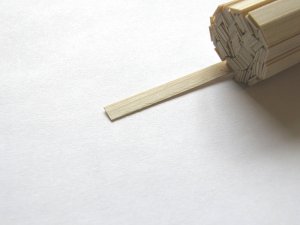
Yesterday I received my wood from Russia.
I have to say that the wood quality is as far as I am concerned is outstanding, very pleased with it.

As I have said the kit supplied decking timber is way too dark, so the white hornbeam will be the deck planking, it will look good with some oil on it.

The black hornbeam will be the strips of wood that go on the top and middle of the hull.

WOOD 4_0003.jpgWOOD 4_0004.jpgWOOD 4_0009.jpgWOOD 4_0012.jpgWOOD 4_0014.jpg

Happy days are here again.

John
 
Last edited:
Back
Top