ZHL Royal Caroline Kit, scale 1/30

A little bit of info on how I shaped the oars.


479.jpg
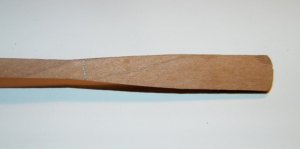
First off I decided where to finish the curve of the oar blade on the back of the blade, and marked the spot.


480.jpg
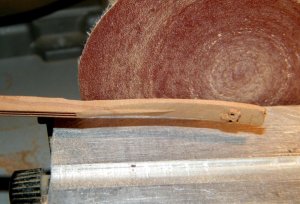
Then I thinned the blade on the sanding disc, being careful as to where the curve finished.


481.jpg
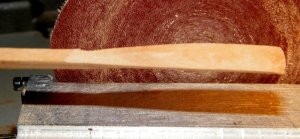
Shows the back of the oar blade after thinning


482.jpg
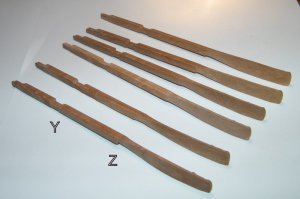
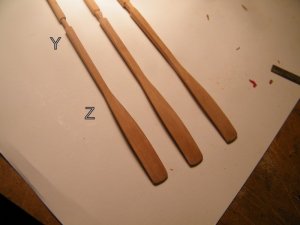
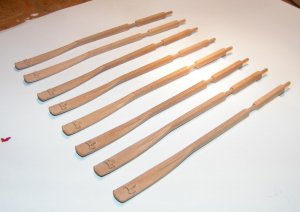
This is the last six oars after the blades have been thinned down, between Y and Z will be tapered.


483.jpg
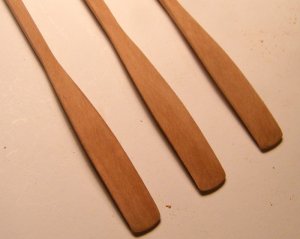
This is how they looked after been tapered down


484.jpg
Close up view


485.jpg
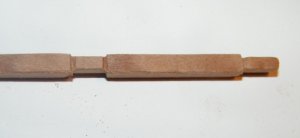
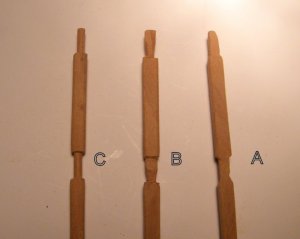
Then I had to round off the upper part which goes in the top rail and also the handle itself, I used a small file to
mark the areas that had to be rounded and then used a craft knife to whittle down the areas before rounding off,
see pic below marked B.

This pic shows both the areas marked with a file, this is only to show you how I marked them, on all the rest of them I shaped the top handle first so there would be less presure on the lower one.


486.jpg
This pic shows A as it came out of the box, B where I am trimming it down before rounding off, and C the finished part.


488.jpg
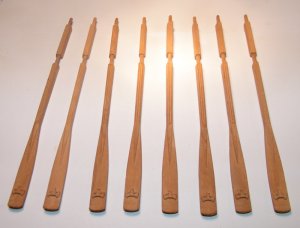
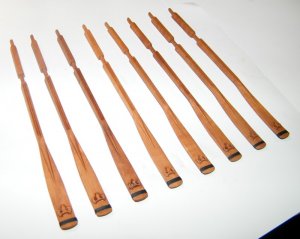
The eight finished oars


489.jpg
Front view


490.jpg
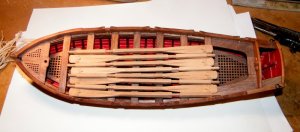
And in the boat,

thank you for looking,

best regards John.
 
Last edited:
G'day John
Thanks for that educational lesson and you answered my question of how you did it, but do you know how long each oar took you to do?
I would assume that the prototype last night took you longer than the mass production ones.
We are so fortunate to have a member like you in this forum to share is knowledge.
:)

Great work and as I said before, with the first oar entry....
Brilliant!
Is a word I can subscribe it.
Well done memattie.
Havagooday
Greg
 
G'day John
Thanks for that educational lesson and you answered my question of how you did it, but do you know how long each oar took you to do?
I would assume that the prototype last night took you longer than the mass production ones.
We are so fortunate to have a member like you in this forum to share is knowledge.
:)

Great work and as I said before, with the first oar entry....
Brilliant!

Is a word I can subscribe it.

Well done memattie.
Havagooday
Greg


All in all appox two hours to do the eight of them, and I didn't rush, just took it easy as there are no extra's if you stuff up,

best regards John.
 
Hi John,
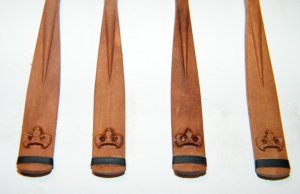
Beautiful work. The carvings on the blade face. Did you do those first and add them or are they carved into the face of the oar?
 
All in all appox two hours to do the eight of them, and I didn't rush, just took it easy as there are no extra's if you stuff up,

best regards John.

Thanks John.
If you ask me, two hours would be time I'll would spend on the prototype. Then you could say, about six more to do the others.
I always told you that you are very fast, compare to me anyway.
;)
Havagooday mate
Greg
 
Like I mentioned already once when I said: a small project in its own.... thanks for sharing this with us.....every day a little bit more to learn
 
Great work with the oars, John. I probably would have gone even thinner with the decoration on them (originally they were only painted) but this is just me.
Janos
 
Hi John,
Beautiful work. The carvings on the blade face. Did you do those first and add them or are they carved into the face of the oar?


Thank you Mike, the carving is already on the blade, being milled at the same time as the rest of the oar,
Best regards John.
 
Great work with the oars, John. I probably would have gone even thinner with the decoration on them (originally they were only painted) but this is just me.
Janos


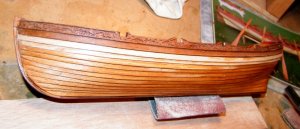
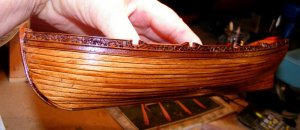
Thank you Janos, I haven't touched the carvings on the blades yet, I'm still wondering whether to just leave them as they are, I'm frightened that if I try to reduce them I might stuff them up altogether, I will have to have a think about it,

best regards John.
 
491.jpg
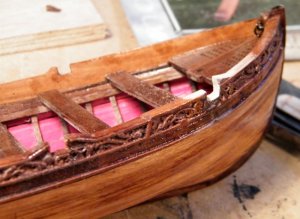
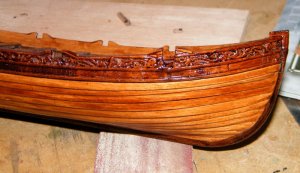
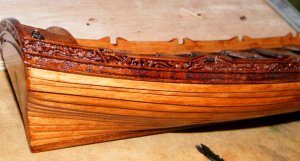
I have been doing a little bit of tinkering with the boat, I didn't like the way the top plank looked so deep,


493.jpg
So I cut another plank from some of the scrap left over from the planking wood, thinned it down, and attached it,


492.jpg
The new plank attached,


494.jpg
And after varnishing,


thanks for looking,


best regards john.
 
You did right....with the additional plank it is realy looking better, means looks technically more correct.
The boat looks great in the way you varnished it....
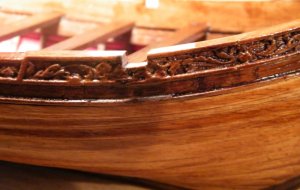
 
You did right....with the additional plank it is realy looking better, means looks technically more correct.
The boat looks great in the way you varnished it....

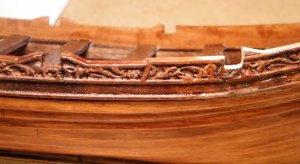
G'day John
Uwek took the words from my mouth. It's was great before, but now it's perfect!
Havagoodone mate.
Greg
 
While fixing the top plank, I thought I would have a go at cutting the new forward rowlock position and filling in the rear one,

495.jpg
The front cut out


496.jpg
adding the raised parts, these were cut from some scrap wood left over from the boat parts.


497.jpg
Another view


498.jpg
Front position finished, It just needs another coat of varnish to blend it in


499.jpg

I cut the rear position down


500.jpg
Then filled it in and trimmed it to match the angle on the port side


501.jpg
After one coat of varnish, still needs some more to blend it in a bit better.


502.jpg
Another view after another coat of varnish


503.jpg
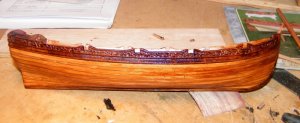
A view of the complete side, I think the flash is playing tricks again, those dark patches are not on the boat,
I will check in the morning, I might have to do some cleaning up, along the side with a fine wire brush.

thanks for looking,

best regards John.
 
Last edited:
The wee boat looks so much better with the extra work you have done. There is so much detail on a "rowing" boat,
Cheers Andy
Thank you Andy, yes it seems to be going on forever, when my good friend ( Greg the Peg Leg :p:p:p ) talked me into starting the boat I thought it would be a quick build, still have aways to go yet, but I'm enjoying it, and also enjoying pulling Gregs leg, have to be careful I don't pull the wrong one it might come off, :):):),

best regards John.
 
I have now finished the oars,

504.jpg
I used paper strips painted black for the reinforcement on the end of the oar blades, instead of the copper strip
that comes in the kit, the paper in my opinion looks a lot smoother than what the copper would and also sticks a lot easier as well.


505.jpg
A closer view.


506.jpg
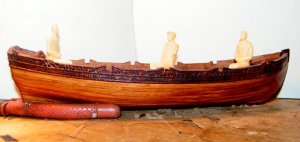
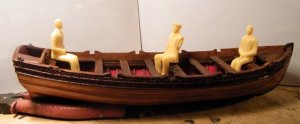
I had some 1/30 scale figures that I use on some of my Tug Boats and I have sat three of them in the boat just
to see what they look like scale wise.


507.jpg
Another view.

thanks for looking,

best regards John.
 
Back
Top