-

Win a Free Custom Engraved Brass Coin!!!
As a way to introduce our brass coins to the community, we will raffle off a free coin during the month of August. Follow link ABOVE for instructions for entering.
-

PRE-ORDER SHIPS IN SCALE TODAY!
The beloved Ships in Scale Magazine is back and charting a new course for 2026!
Discover new skills, new techniques, and new inspirations in every issue.
NOTE THAT OUR FIRST ISSUE WILL BE JAN/FEB 2026
You are using an out of date browser. It may not display this or other websites correctly.
You should upgrade or use an alternative browser.
You should upgrade or use an alternative browser.
ZHL Royal Caroline Kit, scale 1/30
- Thread starter neptune
- Start date
- Watchers 57
-
- Tags
- royal caroline
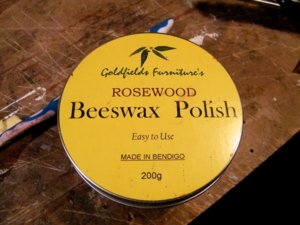
Many thanks! Go shopping...G'day Jim, its Beeswax Polish, this one is Rose Wood, but you can get them from a Neutral through a whole range of wood colours,
not available in the USMany thanks! Go shopping...
I just remembered something that I had to do on the rudder and its best to do it now so I don't
have to turn the ship over again, its the waterproof boot that stops water getting in through the
rudder opening,
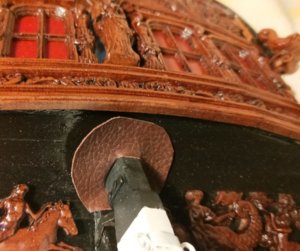
This is the piece that I mean, awkward little sucker to get at,
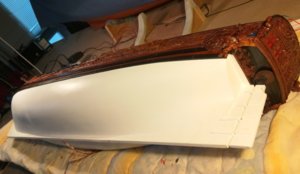
view of the under water body,
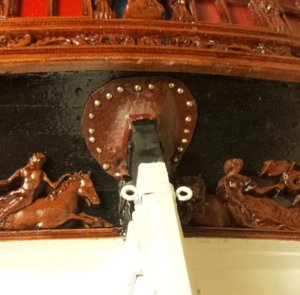
and the boot after nailing in place,
.
have to turn the ship over again, its the waterproof boot that stops water getting in through the
rudder opening,

This is the piece that I mean, awkward little sucker to get at,

view of the under water body,

and the boot after nailing in place,
.
Last edited:
Beautiful work Neptune, just beautiful. How did you manage to get the lower hull eggshell smooth? I'm still struggling with mine.I just remembered something that I had to do on the rudder and its best to do it now so I don't
have to turn the ship over again, its the waterproof boot that stops water getting in through the
rudder opening,
View attachment 130443
This is the piece that I mean, awkward little sucker to get at,
View attachment 130444
view of the under water body,
View attachment 130445
and the boot after nailing in place,
.
Beautiful work Neptune, just beautiful. How did you manage to get the lower hull eggshell smooth? I'm still struggling with mine.
G'day Gennaro, I cannot take all the credit for the hull, the bulkheads when trimmed back to the beveling laser mark that was on the bulkheads that had to be beveled was so exact that when they were glued to the keel, and the planking was added, the planking just flowed through, it was a real pleasure to plank,
best regards john,
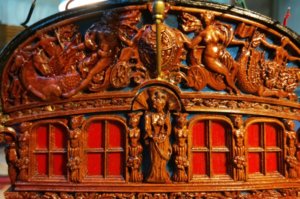
So I made a start on attaching the Lanthorns, here you can see the holes drilled to take the
support arms, and the middle arm sitting in place, not yet glued,
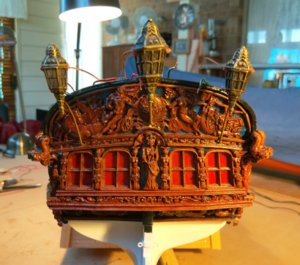
The three Lanthorns just sitting in place,
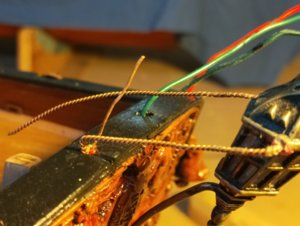
the connecting wires,
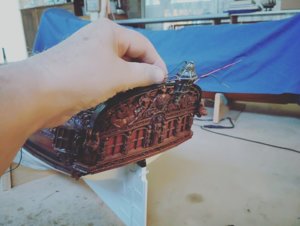
just testing the middle one,
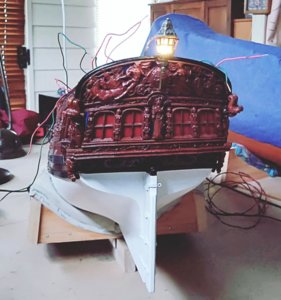
and lit up,
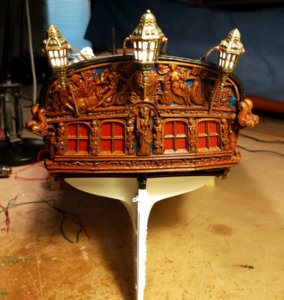
the three of them lit up, nothing is glued yet,
.
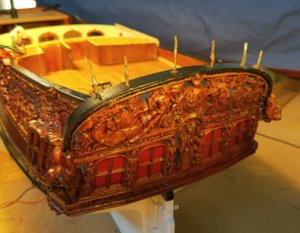
And then everything just blacked out, I tested everything, the Lanthorns would light up off the model, but not
when I put them back on, this pic shows the wires where I cut the Lanthorns off,
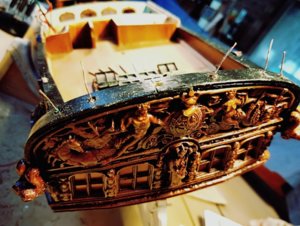
I was going to pull the wires through and try again when two of the wires coming out from the top of the transom
snapped off, that was it then, earlier in the build I had blown all the lights when i connected the wrong battery by
mistake, on that occasion I cut out the after deck and rewired, but I'm not brave enough to try that again, so I will
just mount the Lanthorns as they are without the LEDs, so take warning and make sure all is OK before enclosing
the deck,
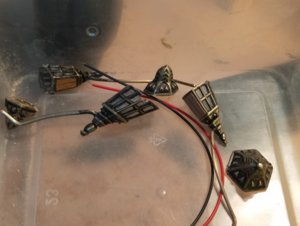
so I took all the Lanthorns apart and removed the LED,s and cleaned them up for gluing back to-gether,
.
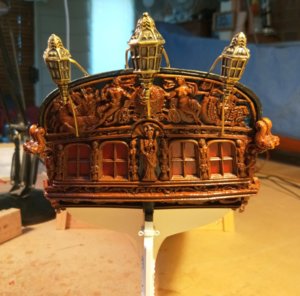
So this is the Lanthorns all glued in place now, I will paint the support arms black, they still have to be bent and
twisted to the best position,
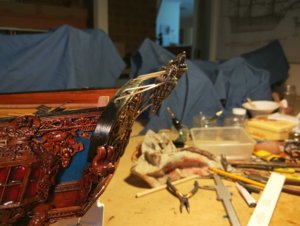
Side view
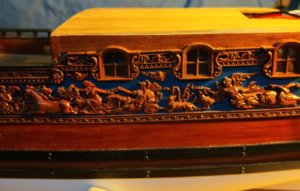
This is a view of the side of the cabin with the lights off,
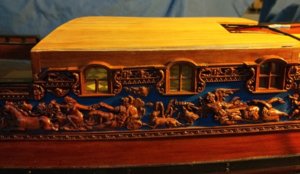
and with the lights on, might be a bit luckier with these ones, I told you I wasn't much of an electrician, I'm feeling
a little bit down, havn't had a good month so far,
thanks for looking in,
best regards John,
.
I am sorry for your bad luck with the LEDs, but this model has so many highlights, it sure doesn't need lamps in the laterns to shine!
best regards markus
best regards markus
I am sorry for your bad luck with the LEDs, but this model has so many highlights, it sure doesn't need lamps in the laterns to shine!
best regards markus
Thank you for the nice comments, they are much appreciated Markus,
Best regards John,
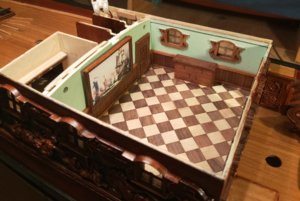
The start of adding the furnishings to the cabin, I have attached the picture, ( thank you to Maarten for the idea ) and
also the small sideboard,
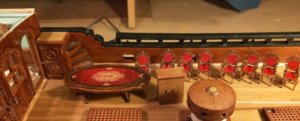
The rest of the furniture sitting on deck waiting to be fitted,
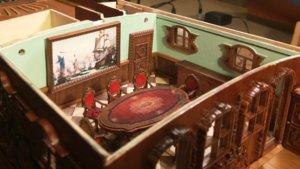
I had originally intended to fit the lights to the rear bulkhead of the cabin, but changed my mind and I have now
attached them to the cabin roof, so I have two holes to cover over,
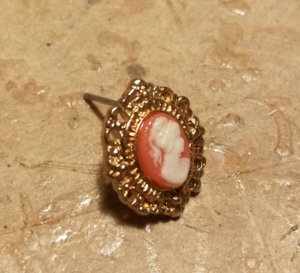
My Admiral had two of these little earrings that she didn't use a lot, so after asking nicely I used them to
cover the holes,
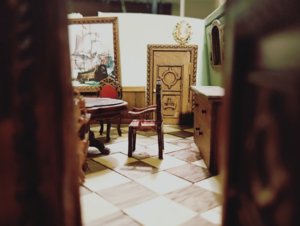
looking in through the port side cabin doorway,
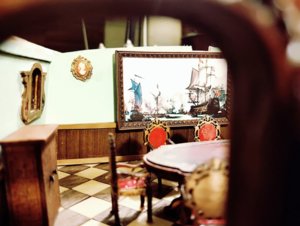
and a another view through the starboard side doorway,
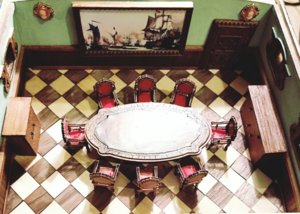
and an overall view looking down into the cabin, the floor has to have a couple of coats of varnish yet,
.
Thank you Knut for the nice comment, and yes it will only be seen through the side windows or through the deck windows or doors,Very nice interior, will this only show through the windows when the model is finished.
best regards John,
This is an absolutely beautiful build. The attention to detail is simply mind-boggling. It looks to me like the Royal Caroline brings out the absolute best in her builders!
thank you Heinrich for your very generous comment, this kit is a delight to build, but I must say that you have to put a lot of thought into it, I have made a couple of mistakes, but problem solving is a part of model building,
best regards john,
John just beautiful work amazing. Don
John just beautiful work amazing. Don
Thank you so much Don,
best regards john,
Hi John,
Good to see you back on the rc.
Love the use of the ear rings, hope your wife does also .
.
Good to see you back on the rc.
Love the use of the ear rings, hope your wife does also
Hi John,
Good to see you back on the rc.
Love the use of the ear rings, hope your wife does also.
Thank you Maarten its nice to see you still following,
best regards John,


