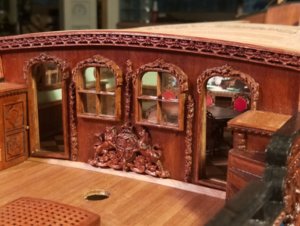
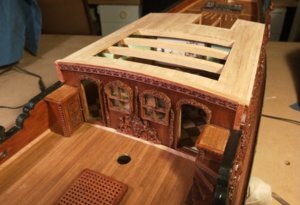
Hi John, can we order them? I love pies but was born in the wrong country for that.View attachment 131599
Well first things first, to-day was Pie making day, I made a dozen egg and bacon pies, these are what I call my
square round pies,
View attachment 131601
and then i made two dozen Butter Curry Chicken pies, so they should last for awhile, now on to boat building,
best regards John,
.
-

Win a Free Custom Engraved Brass Coin!!!
As a way to introduce our brass coins to the community, we will raffle off a free coin during the month of August. Follow link ABOVE for instructions for entering.
-

PRE-ORDER SHIPS IN SCALE TODAY!
The beloved Ships in Scale Magazine is back and charting a new course for 2026!
Discover new skills, new techniques, and new inspirations in every issue.
NOTE THAT OUR FIRST ISSUE WILL BE JAN/FEB 2026
You are using an out of date browser. It may not display this or other websites correctly.
You should upgrade or use an alternative browser.
You should upgrade or use an alternative browser.
ZHL Royal Caroline Kit, scale 1/30
- Thread starter neptune
- Start date
- Watchers 57
-
- Tags
- royal caroline
John, you are not only a Shipwright - you a chef as well! I keep saying that talented people - are talented in everything...They looks yummy!!
Thank you Jim, my kids ( twins 45 and a boy 48 )bought me a pie maker awhile ago and I use it all the time, my Admiral likes my Potatoe Bake the best, ,
Best regards John,
Hi John, can we order them? I love pies but was born in the wrong country for that.
G'day Maarten, drop by any time and you can have a couple on the house, when I was in the merchant navy we used to dock at Rotterdam for a few days and the people were so friendly, we used to go to the seamen mission for lunch and I just loved, what we call hot dogs, but the best part was this green sauce they were served with, I think it's called Relish, anyways don't forget to drop in for your pies,
Best regards John,
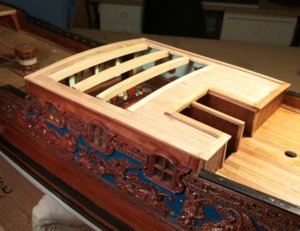
I have quite a few beams left over from my Friedrich Wilhelm Zu Perde model and as it turned out they had
almost the same camber as I needed for the Royal Caroline, I only needed four for the RC,
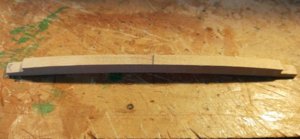
I rebated the ends of the beams so they would sit under the roof but with the top of the beam level with
existing planking,
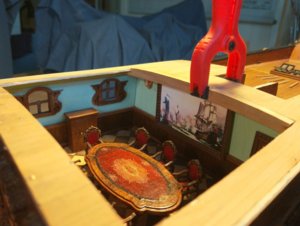
The beam at the rear of the cabin being glued in place,
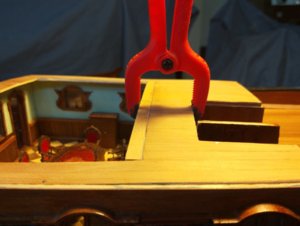
another view,
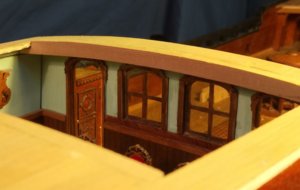
and this is the front beam in place, when the glue had dried I sanded the beams level with the roof of the cabin,
I have also cut another two beams to go in the space between these two,
.
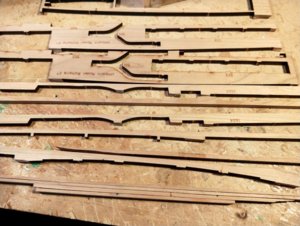
Now I needed some wood to plank and trim the cabins top, and the only wood that I had that would match
what was in the kit was the scrap pieces from one of my BonneHomme Richard sections, so I ended up cutting
the planking from it,
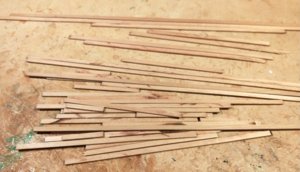
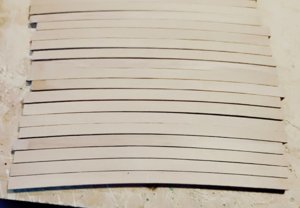
I managed to cut enough 2mm thick planks for what I needed, the seven piece at the top of the pic are a little
bit wider than the bottom planks so I will use them around the out side edges and fill in with the slightly
narrower pieces,
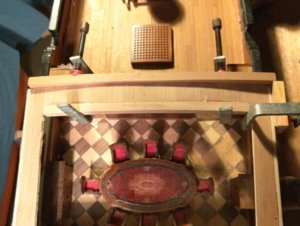
I clamped a beam across the cabin front to act as a stop for the first plank that will go across the cabin top, and
I also clamped another piece of scrap wood on the side, this way I could handle the first plank better, and once
it had been glued I would remove the beam and the scrap piece,
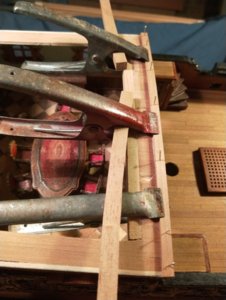
I will wait until tomorrow now before I do anything else,
.
Last edited:
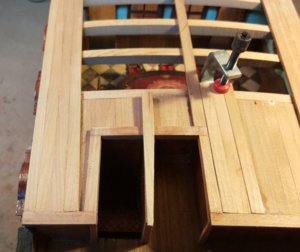
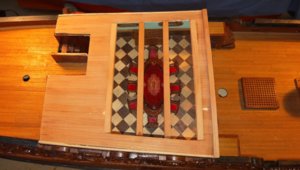
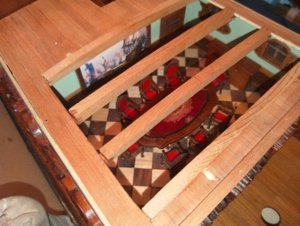
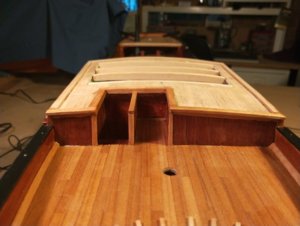
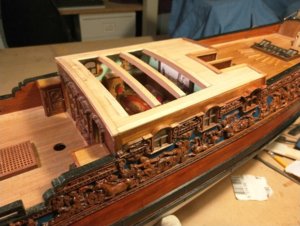
To plank the roof of the cabin I decided to run three planks the full length of the roof, that is three planks each side,
then I tapered one to fit at the side of the hatch way, I also glued one plank near the centre just to get a straight
line through the middle, the plank was just glued at each end not to the beams, the plank after tapering,
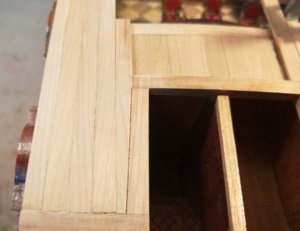
and glued in place,
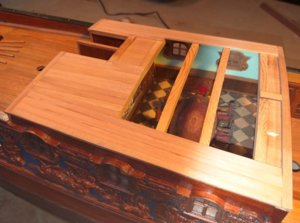
Just the small area by the hatch way to fill in and also across the front,
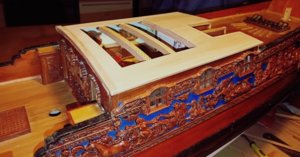
the finished planking and with the cross plank glued in place at the front,
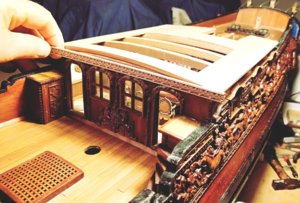
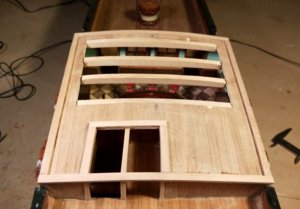
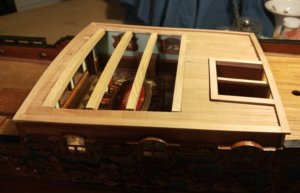
There is a decorative strip to go across the top of the cabin front, I will have to steam it to shape first,
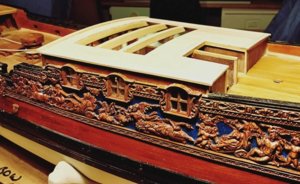
and another view,
.
Oh, John, have you finally got it? Is it electronic or paper?I was in touch with ZHL and they have now sent me the full English instructions and parts list, I will go through them later, but they should be a great help
it is 30 files on disc, but the English is not that good, I could probably send you them by email if you would like them,Oh, John, have you finally got it? Is it electronic or paper?
best regards john,
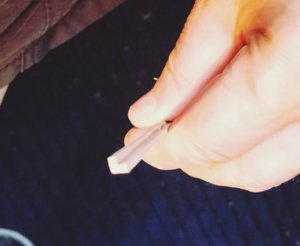
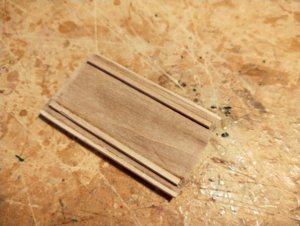
Well I thought while I was on the cabin I might as well assemble the sliding hatch, these are the two timbers that
glue together to make the runners, the lower piece is 4mm x 2mm and the upper piece is 2mm x 2mm, they have
to be 105mm long,
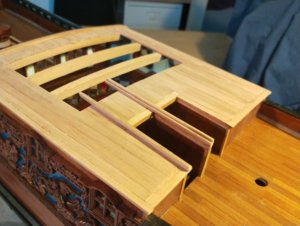
and glued in place,
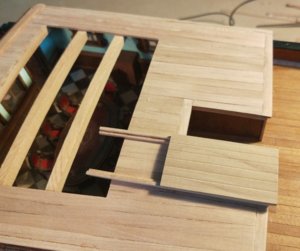
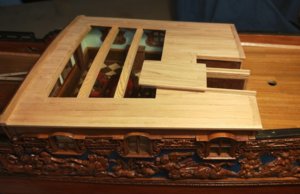
just trying out the sliding part to make sure it fits OK,
you have to glue another 2 2mm x 2mm timbers under the hatch to enable it to slide on the runners, although
it will eventually be glued in place,
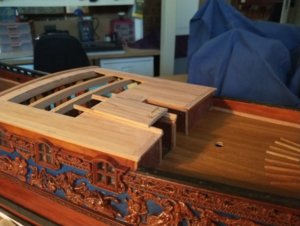
checking the fit, everything is OK,
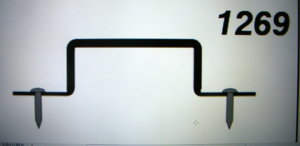
they supply 1mm brass rod for the hatch handle, and they say to bend the rod to the shape in the next pic,
flatten the ends and drill a hole through and then fix pins in to hold it in place, so i decided to just
bend the rod to the shape in the above pic, then I drilled two 1mm holes and just glued the handle in these,
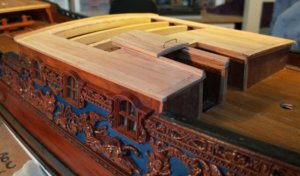
another view,
.
Duplicate post removed.
Last edited by a moderator:
For a bit of a change and after discussing the Cannon on Alex's log I thought I would have a go at building mine,
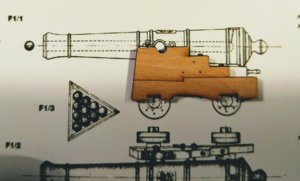
First I copied a page out of the book The Royal Yatch Caroline, and I had a nice surprise, it printed out the exact size
of the cannons, this is the side of the carriage laid over the print out,
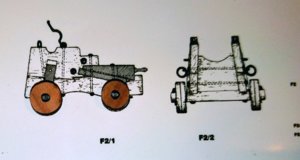
and I thought that with not using the metal tyres on the trucks that I would have to turn some more a bit bigger,
but these are just the right size,
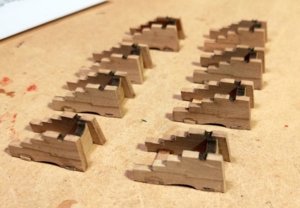
The eight carriages assembled, you can see that I have sanded the axles down to the bottom of the carriage,
the reason for this is will be clear later in the build,
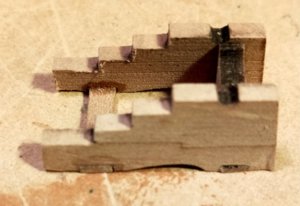
I also filed the steps on the carriage sides level,
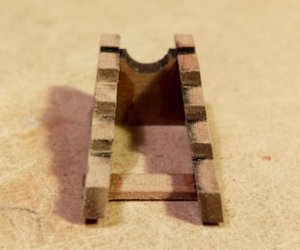
still got to have a bit of a clean up,
best regards John,
.

First I copied a page out of the book The Royal Yatch Caroline, and I had a nice surprise, it printed out the exact size
of the cannons, this is the side of the carriage laid over the print out,

and I thought that with not using the metal tyres on the trucks that I would have to turn some more a bit bigger,
but these are just the right size,

The eight carriages assembled, you can see that I have sanded the axles down to the bottom of the carriage,
the reason for this is will be clear later in the build,

I also filed the steps on the carriage sides level,

still got to have a bit of a clean up,
best regards John,
.
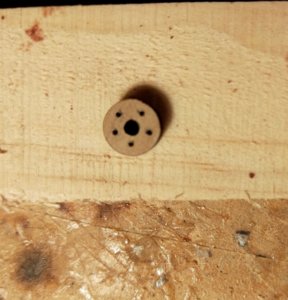
Next up were the wheels, this first one I marked and drilled by hand,
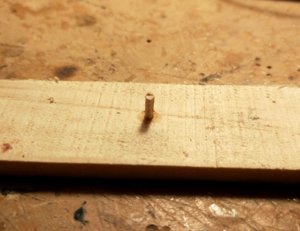
then I drilled a 2.1mm hole in some scrap wood and glued in a small piece of the axle dowel,
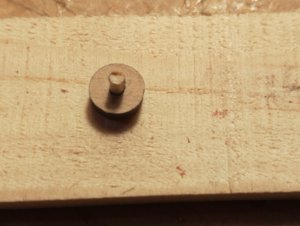
then I put a blank wheel on the dowel,
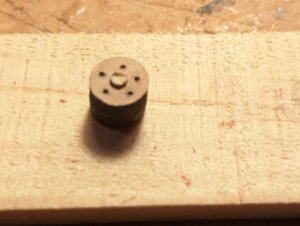
and over the blank I put the one that had been drilled,
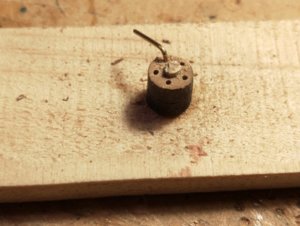
I drilled through the first hole and then put a piece of .7mm brass wire through and into the scrap wood below
just to lock everything in place while I drilled the other four holes,
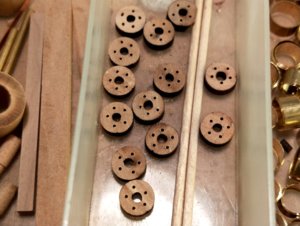
not exactly perfect, but I'm happy with the result, several of the wheels after drilling,
thank you for watching and the comments and likes,
best regards John.
.
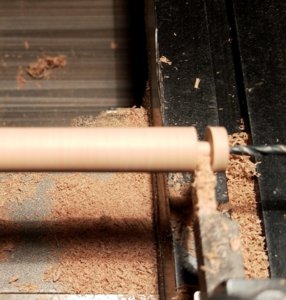
When I checked the large wheels for the cannon, two of them were split out, so I had to make another two,
I was lucky and had a piece of Pear that I had gotten a few years ago from a local orchard and it matched
the wheels in the kit,
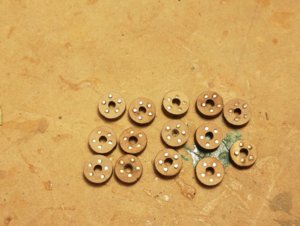
Most of the large wheels with the brass rod inserted,
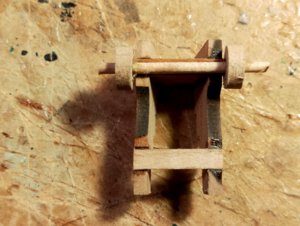
This is the reason that I sanded the axles back to the base of the carriages, I like to run a make do axle right
across the base of the carriage, I think it is easier to do this way and when the cannon are on the deck you
do not know the difference,
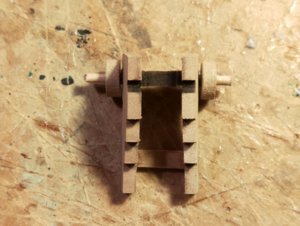
and looking down on top of the carriage,
,
Hi John,
I think they look better without the the brass rings. I will redo mine also without the rings.
I think they look better without the the brass rings. I will redo mine also without the rings.
Dear John, I am glad I inspired you!
I would also remove my metal belts (as my building blog "is inspired by Maarten"), but then I miss a good story to tell! (this is a nice way of saying "I am too lazy"... (or am I afraid of my father's anger?)).
I would also remove my metal belts (as my building blog "is inspired by Maarten"), but then I miss a good story to tell! (this is a nice way of saying "I am too lazy"... (or am I afraid of my father's anger?)).
Dear John, I am glad I inspired you!
I would also remove my metal belts (as my building blog "is inspired by Maarten"), but then I miss a good story to tell! (this is a nice way of saying "I am too lazy"... (or am I afraid of my father's anger?)).
G'day Alex, seems like you are the Captain of the ship Royal Caroline, but I think your
Dad is the Admiral, and what the Admiral wants he gets,
best regards John,
Hi John,
I think they look better without the the brass rings. I will redo mine also without the rings.
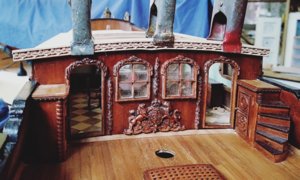
I was thinking the same thing about the Cabin, I was just going to leave the roof on, and
then when I went back and looked through your build and saw yours opened up and it
looked so good, I just had to do the same although not as magnificent as yours, I'm glad
I did it now, one of the next jobs is to do the cabin doors, but I'm going to make some
false hinges to on mine, I've downloaded some of your pics on how to do the inside of
the doors, but that will probably be next week,
best regards john,


