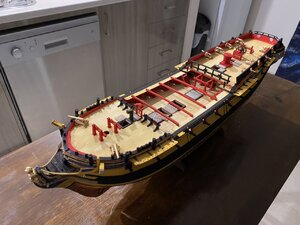
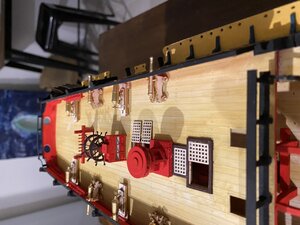
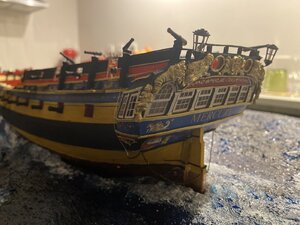
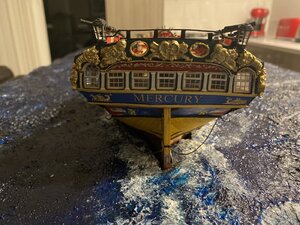
HMS Mercury 1/72, Shipyard models

Your Admiral may not like some of the photos you have posted! These may cause rough seas if they are seen at home.
Haha luckily nothing too racy, so she’ll be fine.

Thanks for leading us into your kitchen and to this status of your build.

Yes I like these dioramas - but does the foam plates not do desintegrate over the tome as the railbed from foam does do, too? Or infecting your copper surface?

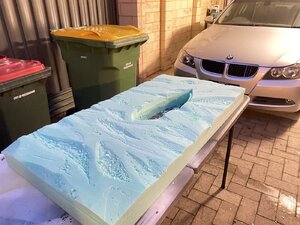
The foam I use is industrial insulation foam, has a lifespan of 80+ years so will at least last my life time. The diorama is designed that the hull is removable and the cutout will be primed and resined prior to installing the hull proper. This way it shouldn’t affect the copper at all.
6CAE64CE-F046-4DEE-929D-549D64D64432.jpegD962C51F-74F5-4452-BA8E-1254AFD093A4.jpegC36BF05E-87BB-4E2B-8A48-E3681F98B577.jpeg
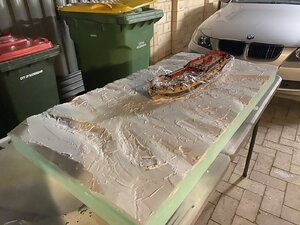
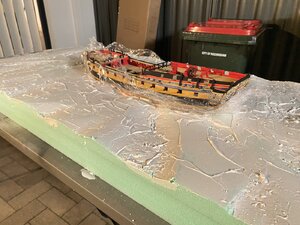
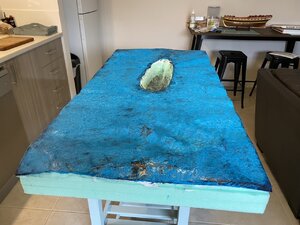
Base has been carved, and first coat of filler set over the top. The model has been wrapped and placed in to get the filler up towards the hull. Once dry, I’ll remove the hull and continue with the painting and finish of the water.
 
I'm flabbergasted. I only started model ship building (USS Constitution,cross section,wood) and had no idea that high quality card models were even a thing. Your work is excellent!
 
I'm flabbergasted. I only started model ship building (USS Constitution,cross section,wood) and had no idea that high quality card models were even a thing. Your work is excellent!
Thanks @Brewerpaul, Shipyard produce some amazing kits to choose from. The only issue is, unlike wood it’s not so forgiving. You can’t just sand the card down so definitely measure everything before gluing when it comes to the planking.
 
32ACBBC2-58D7-4FAE-9A05-08B3F46B1073.jpeg414E41A0-ABCB-4FB9-B74D-24E13B0A44E5.jpegC4E4C3B5-EFC7-4ED2-B23F-790DA7C343DB.jpegF6BEAC6F-5F16-4AB8-B2CC-76DDEF7280D1.jpeg
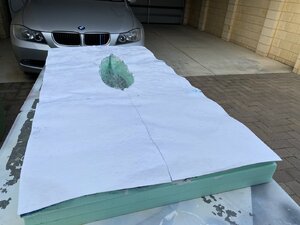
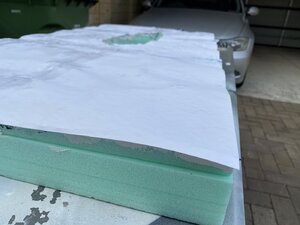
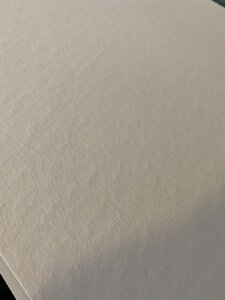
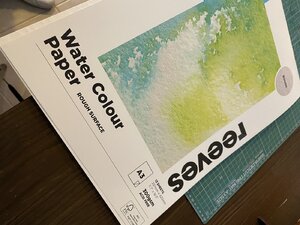
Once the plaster had set, I soaked textured water colour paper glued over the top of the base. The paper shows a nice wave like surface while keeping the larger troughs smooth.
4792F40F-5846-4958-8D73-357173274B64.jpeg7A341CED-661F-4466-9EA2-BB921A8EFC7E.jpeg
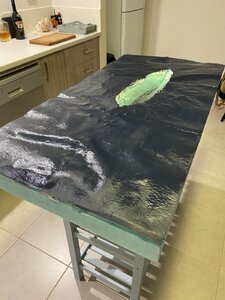
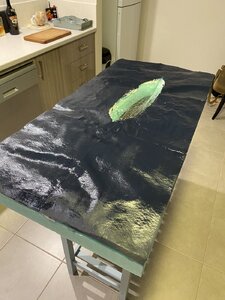
Once dried, the paper is painted with a midnight blue paint base coat. This will be left to dry for 24hours.
 
That's a huge diorama! Where will it be displayed?
Good question! That’s an after problem the diorama base is still a what if atm, I’ve designed it that the model won’t have to be displayed in it, though most likely will. To be honest, with the overall size of the model, and width with the yards rigged and fitted it wouldn’t be that much smaller inside a glass case. This was the reasoning for trying out the seascape base.
 
6B4DC725-0480-4A10-83BD-6E24E4488914.jpeg
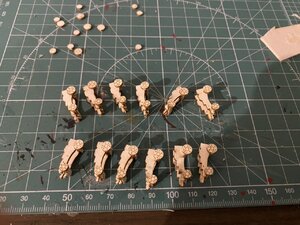
After the base coat has dried, I used Vallejo Mediterranean water texture to coat the whole seascape. This is an acrylic tinted gel that will give the actual surface of the water. Lighter blues and off white was used around the peaks of some waves and around the hull opening. This gel takes at least 24 hours to set and dry, so more gun carriages were built up.
FD9E69B8-18AE-4768-B329-1938C9FAF3F2.jpeg
Not including the iron eyelets and brackets
ADA22C6F-5B93-4146-AC0F-282B30526005.jpeg 5BE2E6EE-A5C3-42A0-8713-2F7CA8C70B1E.jpeg
this is how the seascape looks now after 24 hours, a few areas are still yet to set completely before I can start with the white wash and foam detailing.
 
Wow, I am waitong for the masting and rigging result too. Intersesting avenue at cheaper price with these Shipyard Cardboard stuff. Curious to know if the Victory model is well done. Your kit is an all-in-one purchased, but what quantity of rope to up to for the non all-in -one kit is not provided. The rigging stuff seem good quality.

WIll have to search in the forum for answer, or may be some have clues about how to order for regular card board and accessories stuff.

Michel
 
It shouldn’t be long before I start the rigging and masts, I’m just concentrating on finishing all the hull fit out. I’ve got a few things not included in the kit to add like the scuppers on the hull and if the enterprise class had any airing ports. The canon balls aren’t included in the kit but the wooden bases are. A little frustrating but I’ve got a heap of artesania latina ones which are the correct size.

It’s definitely an interesting avenue, though this particular kit isn’t any cheaper than a wooden kit at $800 AUD. However the level of detail is quite outstanding. The paper kits from shipyard are much cheaper as they contain only the printed parts on which you have to purchase the card thicknesses yourself - the printed parts are then glued onto the various card thicknesses. Of course these also don’t include any brass canon or decorations apart from the paper parts. You mention their Victory which I have seen some outstanding examples. You can however purchase masting sets for the paper kits from shipyard, as well as rigging. I’ll most likely replace the rigging as it’s all provided in natural colour. So rather than paint the tarred rigging I may just purchase the black and brown rigging for that.

One thing that does surprise me, unlike the smaller colour printed models from shipyard this kit doesn’t include the ship’s boats. Odd as the smaller paper kit of mercury and enterprise do. I’ll make the four ship’s boats out of wood using the plans from the AOTS Diana blown up to scale.
 
Oh! I was not aware of the need to purchase the cardboard to complete the kit.
Yes the paper kits are just colour printed parts. These will need to be transferred to the correct card thickness. I’ve never build a paper kit like this so I can’t say if that’s just for the frames etc. The laser cut card kits as mine is, comes with all the parts printed on card - though all parts are built up of various thicknesses of card to get the correct thickness and of course is not coloured and must be painted.
 
Tanks, I saw the site before, but dont find all the required infos. I saw the laser cutty cardboard list and présupposés the cardboard incluses. I am Not very fluent in english, so sometime i miss detail .
 
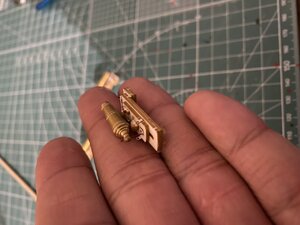
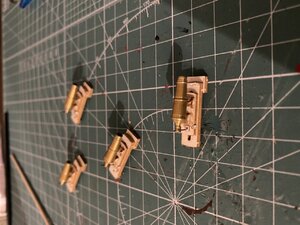
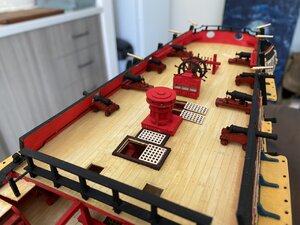
Work has continued on the weapons. The remaining upper deck cannon and now the caronades have been built up. The upper gun carriages are as the guns on the gun deck. The caronades are also quite detailed with 17 parts including the brass caronade itself. This now only leaves the swivel guns to be mounted with making the brackets out of copper wire. 4E3656F4-6038-404B-AB9F-4F3FAE7C9080.jpeg55AA594A-0A0F-49F7-BBA7-50B22C42DC07.jpeg66436905-9A63-4438-95DD-6F826FE53BB3.jpeg2A29E063-5E4B-42F5-B06C-DF5FEEB1384F.jpegI’ve yet to make up the tackle etc for the guns. I’m planning on having them rigged ‘secure for sea’ rather than cleared for action, though might have a play with the tackle to see how it would look. The smallest blocks in the kit appear too large to my eye, so will source smaller blocks for these.
 
More progress over this last week. All upper guns are painted and ready to be rigged, rudder chains rigged also and the seats of ease added to the beakhead.

One slight frustration, when putting the swivel guns together, I found out I only have 10 barrels. There are 14 mounts for swivel guns. I emailed Shipyard, who replied within a day and will be sending out the missing four barrels! Brilliant!

It was after further research I found out that the two bow chaser guns, should actually be caronades as per the actual Mercury. However I’m happy and can live with the two cannon in place.

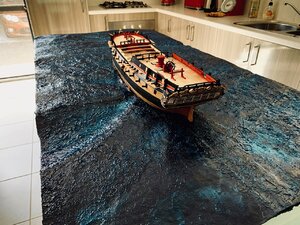
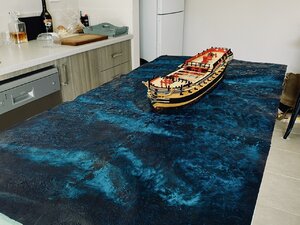
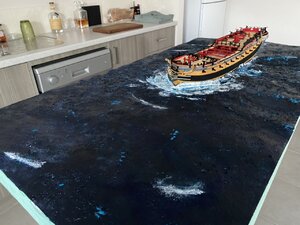
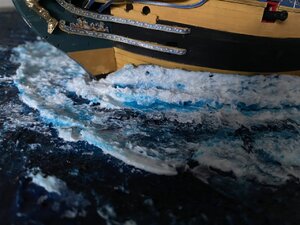
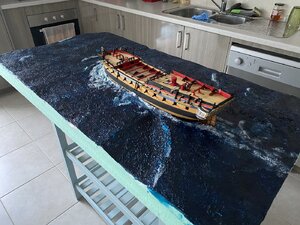
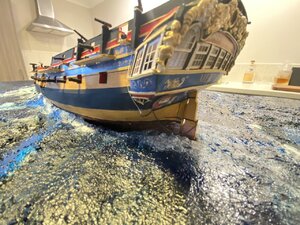
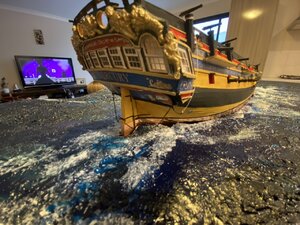
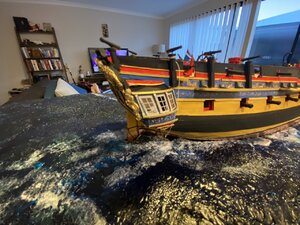
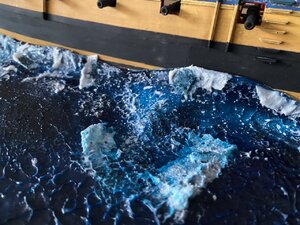
I’ve also progressed with the seascape base to where I’m quite happy with the overall colour. The white wash has been added using a mix of Vallejo snow and Vallejo extra thick gel. While far from finished, the ship in the base is starting to look like a ship making its way through the sea.1F0BA2BB-8047-49F4-AD27-308085AC7CC4.jpegA7F67EF6-06CD-454A-A471-C5AD878C13D6.jpegABCC7C70-BDC7-4D3C-9A37-D142C6EDA6D4.jpeg842CF18F-EF87-4147-98AE-9B59B526526A.jpegE892E2D8-3226-4F79-AA22-884147702BD2.jpeg
 
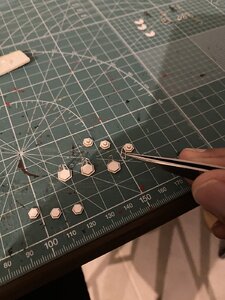
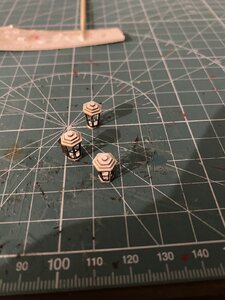
Continuing on with the fitting out of the hull, I’ve now made up the lanterns. There’s three provided, two for the stern and one which is to be mounted on the main top. Frigates and smaller ships would only have one or two lanterns mounted on the stern, with three lanterns reserved for larger first and second rates and flagships like the Victory. I’ve built up all three, though I may make a smaller one for the main top rather than use the provided lantern. 39959FA0-900C-4CD0-80A5-1EDB36FB506D.jpegCA29643C-9E4F-434D-9336-960E5DD9DE96.jpegimage.jpgimage.jpg
 
Back
Top