-

Win a Free Custom Engraved Brass Coin!!!
As a way to introduce our brass coins to the community, we will raffle off a free coin during the month of August. Follow link ABOVE for instructions for entering.
-

PRE-ORDER SHIPS IN SCALE TODAY!
The beloved Ships in Scale Magazine is back and charting a new course for 2026!
Discover new skills, new techniques, and new inspirations in every issue.
NOTE THAT OUR FIRST ISSUE WILL BE JAN/FEB 2026
- Home
- Forums
- Ships of Scale Group Builds and Projects
- HMS Alert 1777 1:48 PoF Group Build
- HMS Alert 1777 1:48 Group Build Logs
You are using an out of date browser. It may not display this or other websites correctly.
You should upgrade or use an alternative browser.
You should upgrade or use an alternative browser.
The kit is a joy to work with, lots of fun.
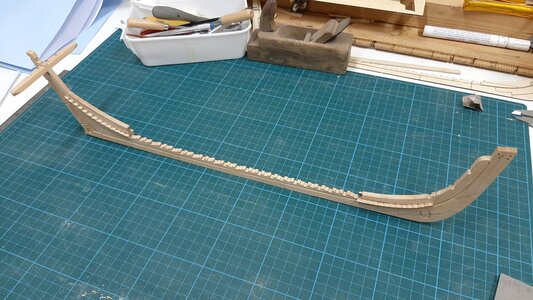
Before fitting the keel assembly in the jig I first clean and sand the keel. Here fwd and aft with its sternpost fitted just before fitting into the jig.
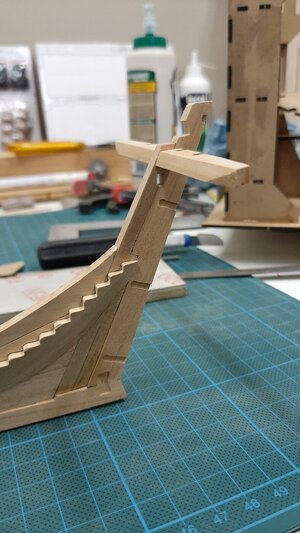
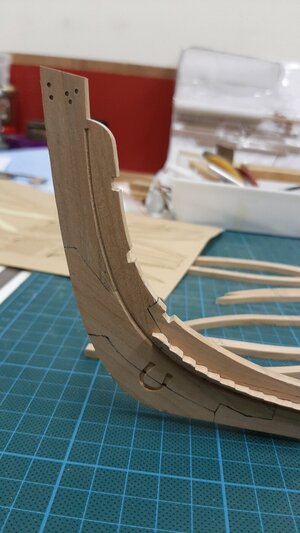
The keel fits into the jig perfectly.
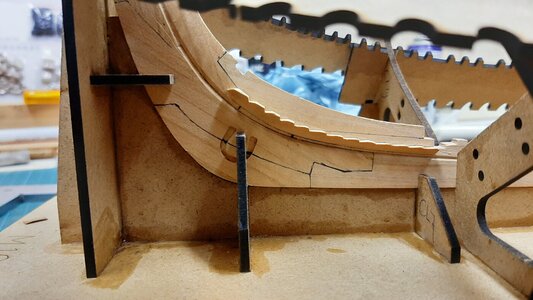
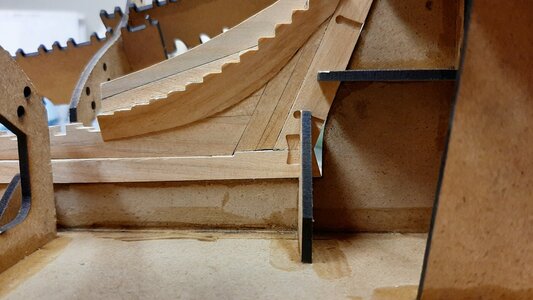
At the bow I locked it between two pieces of veneer to avoid any movement during first frame instalation.
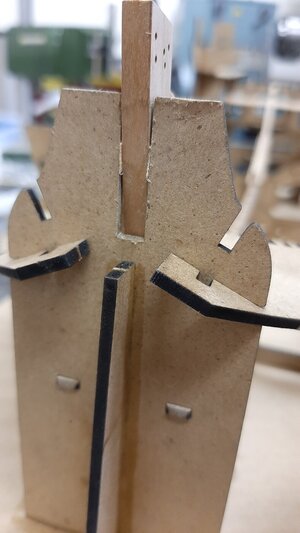
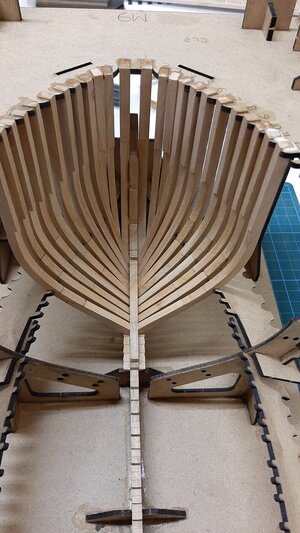
Now I can start the first cant frames in the bow.
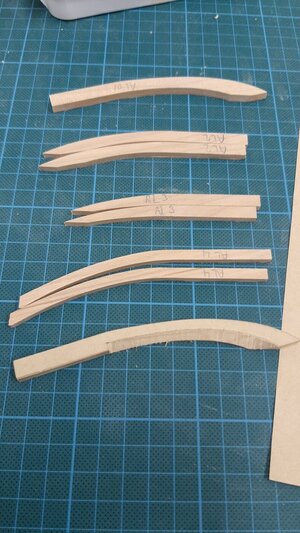
These are the parts for the first 4 frames.
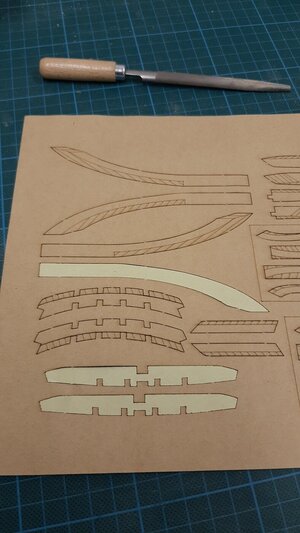
With the help of the template stickers I saw these roughly in shape on the bandsaw.
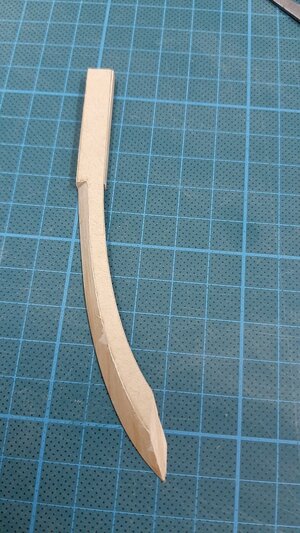
Followed by filing, sanding and scraping to get a smooth surface.
Finally the first frame no.1 fitted on PS.
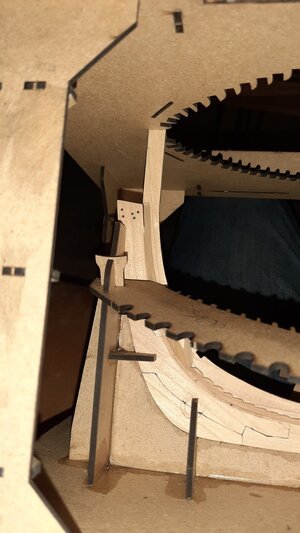


The keel fits into the jig perfectly.


At the bow I locked it between two pieces of veneer to avoid any movement during first frame instalation.

Now I can start the first cant frames in the bow.
These are the parts for the first 4 frames.

With the help of the template stickers I saw these roughly in shape on the bandsaw.

Followed by filing, sanding and scraping to get a smooth surface.

Finally the first frame no.1 fitted on PS.

Very fine and accurate work - great to see and a good help to follow
Thx for all the likes and comments.
Working on tge rest of the cant frames. I see the templates are not always spot on but most probably this will be nearly impossible as it is all hand work resulting in the fact every model will be slightly different.
So my advise, keep some extra meat and dry fit, file, dry fit etc.
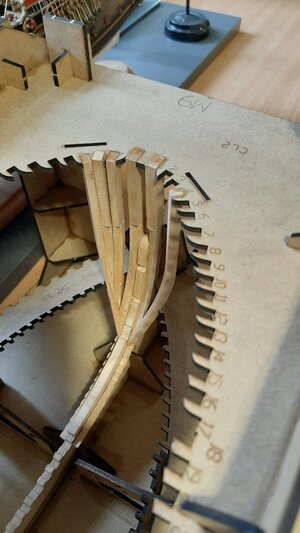
On the outside you see there is no perfect flow of the frames yet, this I will finish when the hull is taken out of the berth.
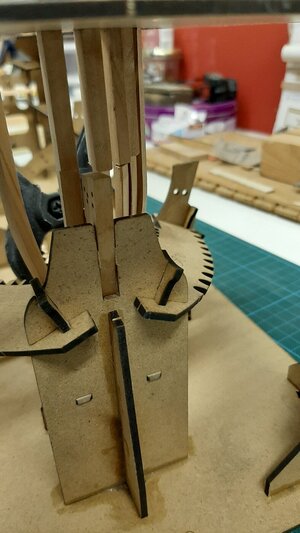
Working on tge rest of the cant frames. I see the templates are not always spot on but most probably this will be nearly impossible as it is all hand work resulting in the fact every model will be slightly different.
So my advise, keep some extra meat and dry fit, file, dry fit etc.

On the outside you see there is no perfect flow of the frames yet, this I will finish when the hull is taken out of the berth.

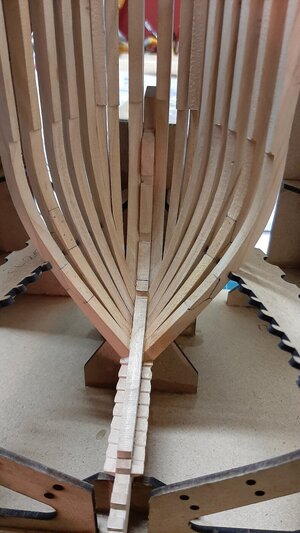
Continuing the cant frames.
The fantastic solution of @Trident Model to faring the frames works perfectly.
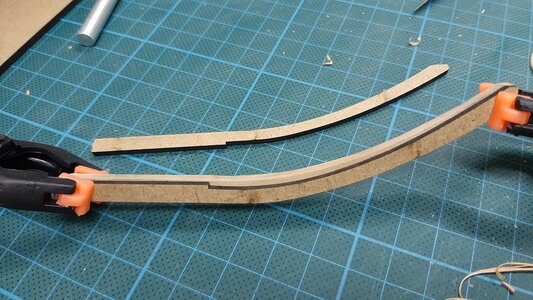
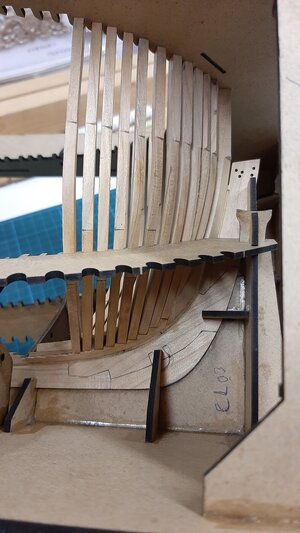
Frame 5 is the first that is placed on the deadwood.
To fit it properly the deadwood has to be be trimmed.
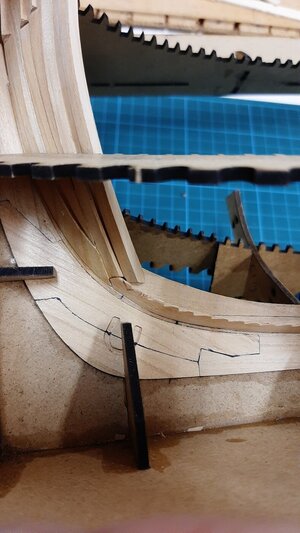
On the left side trimmed on the right side not trimmed.
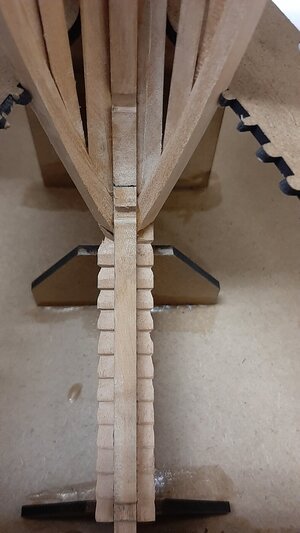
The frame now slides in perfectly, also the frame fairing is perfect.
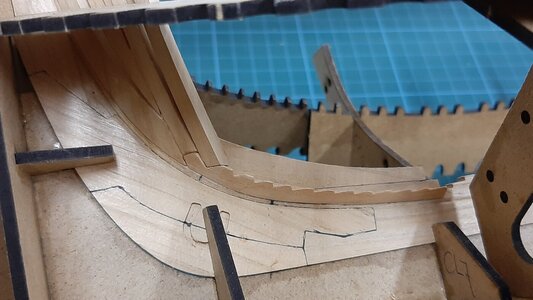
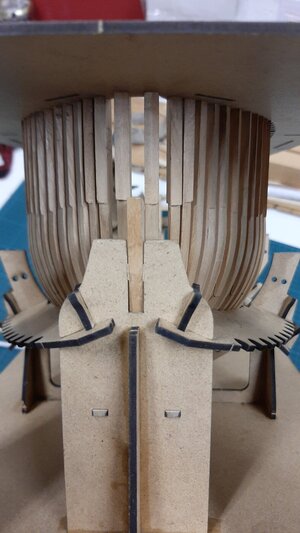
Same on the SB side with the frames 5 and 6 fitted.
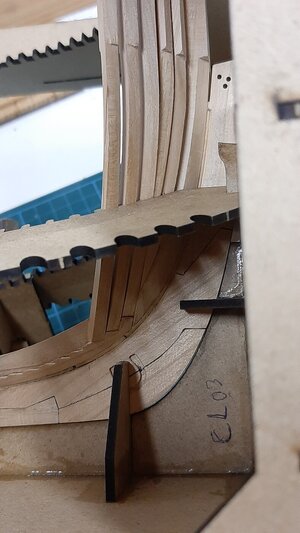
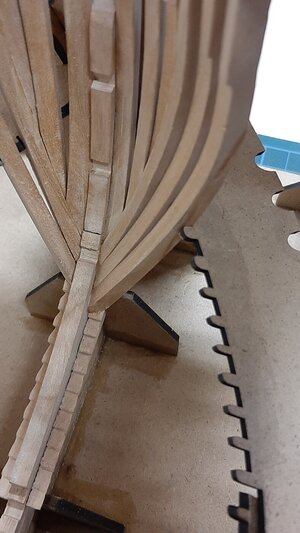
She is starting to show us her beautiful lines.
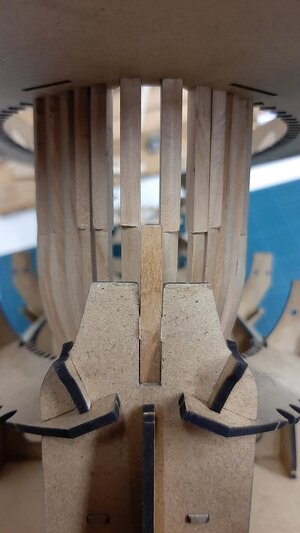
The fantastic solution of @Trident Model to faring the frames works perfectly.

Frame 5 is the first that is placed on the deadwood.
To fit it properly the deadwood has to be be trimmed.

On the left side trimmed on the right side not trimmed.

The frame now slides in perfectly, also the frame fairing is perfect.

Same on the SB side with the frames 5 and 6 fitted.


She is starting to show us her beautiful lines.

Very good photos - extremely informative - many thanks for sharing with us
Agreed, very informative. I had no idea I was suppose to trim into the deadwood, it looks so much better!
Hope @Maarten don't mind to answer. It is Cherry, for the most part. And you are correct, it is of really good quality.Lumber in the kit looks great. What is it? Thanks.
Well, I've never seen such a good quality cherry, very different from what I got in La Belle kit. Thanks.Hope @Maarten don't mind to answer. It is Cherry, for the most part. And you are correct, it is of really good quality.
It is certainly not bad. Not so delicate and compact as pear but with fine sanding and scraping it gives an excellent smooth surface finish.Well, I've never seen such a good quality cherry, very different from what I got in La Belle kit. Thanks.
I am not an expert on Cherry wood, but this one is of excellent quality and very consistent in color and grains.Well, I've never seen such a good quality cherry, very different from what I got in La Belle kit. Thanks.
Continuing on the cant frames. Glueing the first sets in the template, again I decided to use my black pva for this.
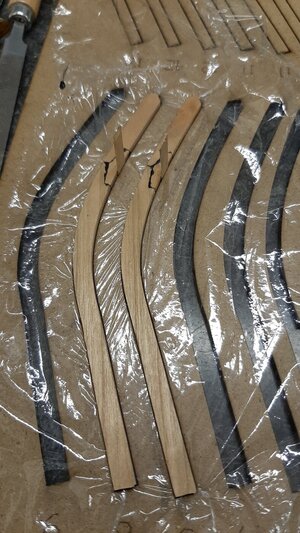
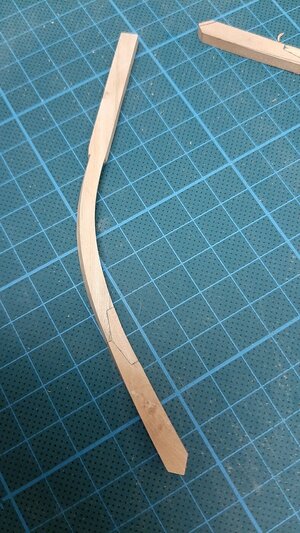
After sanding a very fine line apears.
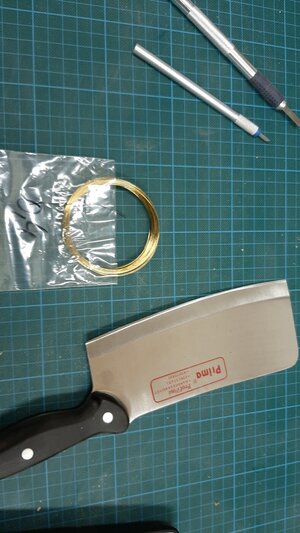
For the nails of the chocks I made a test with 0.4 mm brass or 0.6 mm soft iron wire which I made nails from following the Russian knive methode.
The aots on Alert mentions the frames are bolted with two 0.5 inch bolts per scarph.
In 1:48 scale this is 0,27 mm, for the bolt head I take 1,5 x the bolt shaft, this means the 0,4 mm wire is the size to go for.
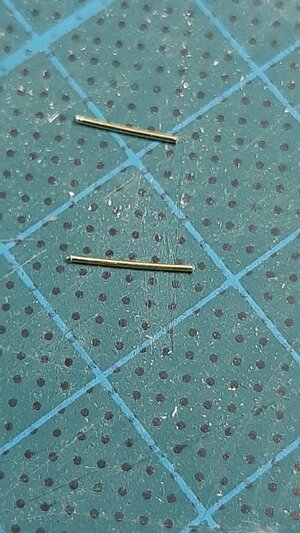
See the 0,4 and 0,6 bolt examples below.
The 0,6 I will use for the keel.
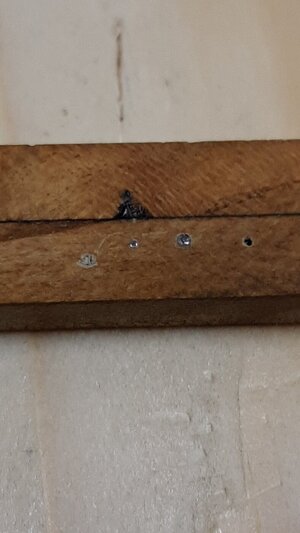
The first frame with bolts.
When oiled they will be more clearly visible.

After sanding a very fine line apears.

For the nails of the chocks I made a test with 0.4 mm brass or 0.6 mm soft iron wire which I made nails from following the Russian knive methode.
The aots on Alert mentions the frames are bolted with two 0.5 inch bolts per scarph.
In 1:48 scale this is 0,27 mm, for the bolt head I take 1,5 x the bolt shaft, this means the 0,4 mm wire is the size to go for.


See the 0,4 and 0,6 bolt examples below.
The 0,6 I will use for the keel.

The first frame with bolts.

When oiled they will be more clearly visible.
Bolts are not visible from outside of the frame?
These bolts are clenched and also visible on the outside.Bolts are not visible from outside of the frame?
I love the way you layout the cant frames! This template technology is very effective, and you executed very-well: clean and accurate (no gaps)!!! Applaud!
You will love the burr technology. Try using the smallest for the wire 0,4mm and cut wire flash before 'burring' Make sure to show the results.
You will love the burr technology. Try using the smallest for the wire 0,4mm and cut wire flash before 'burring' Make sure to show the results.
The smallest I could get is 0,8 mm. Sure will test and documentI love the way you layout the cant frames! This template technology is very effective, and you executed very-well: clean and accurate (no gaps)!!! Applaud!
You will love the burr technology. Try using the smallest for the wire 0,4mm and cut wire flash before 'burring' Make sure to show the results.


