-

Win a Free Custom Engraved Brass Coin!!!
As a way to introduce our brass coins to the community, we will raffle off a free coin during the month of August. Follow link ABOVE for instructions for entering.
-

PRE-ORDER SHIPS IN SCALE TODAY!
The beloved Ships in Scale Magazine is back and charting a new course for 2026!
Discover new skills, new techniques, and new inspirations in every issue.
NOTE THAT OUR FIRST ISSUE WILL BE JAN/FEB 2026
- Home
- Forums
- Ships of Scale Group Builds and Projects
- HMS Alert 1777 1:48 PoF Group Build
- HMS Alert 1777 1:48 Group Build Logs
You are using an out of date browser. It may not display this or other websites correctly.
You should upgrade or use an alternative browser.
You should upgrade or use an alternative browser.
Great thinking from Trident Model...luckily there are 6 pieces in the kit and only need 4.

My friend -> Beautiful work
PS: I like the bold-heads also very much - I will try this also
PS: I like the bold-heads also very much - I will try this also
Thx Uwe.My friend -> Beautiful work
PS: I like the bold-heads also very much - I will try this also
The tip from @Jimsky works great.
One question about this to @Maarten and @Jimsky :Thx Uwe.
The tip from @Jimsky works great.
When you have the wire sanded flash with the timber - How you can keep the burr really on top of the wire / nail?
I have the fear, that if you start the drill and the burr starts to turn, the burr will walk over the timber surface and will not stay exactly over the bolt?
Answering on my behalf. You are correct, if you make the wire a.c.a. bolt flush with the frame - you cannot make the head with the bur. So... you will make those bolts already rounded (both ends), and then just push them thru the hole after the final sanding (inside-outside). However, if you drill hole 0.38 ~0.39mm drill bitt, the wire should go tight into the wood and shouldn't twist while 'rounded' the head.One question about this to @Maarten and @Jimsky :
When you have the wire sanded flash with the timber - How you can keep the burr really on top of the wire / nail?
I have the fear, that if you start the drill and the burr starts to turn, the burr will walk over the timber surface and will not stay exactly over the bolt?
I choose to make bolts flush to the frames, but... if you wait till this evening, I will reveal the secret of my latest discovery, which could be yet another option, IMHO. It doesn't require a bur... and makes nice rounded heads.
It is possible to do it, I did it with these test pieces. Just press the burr on the of the wire. My bur is 0,8 mm with sharp edges. My wire is 0,4 mm so the burr edges wil press into the wood, then start the drill and the harde brass wire will keep the burr in place.One question about this to @Maarten and @Jimsky :
When you have the wire sanded flash with the timber - How you can keep the burr really on top of the wire / nail?
I have the fear, that if you start the drill and the burr starts to turn, the burr will walk over the timber surface and will not stay exactly over the bolt?
See the effect below, the were flat filed brass wires before applying the burr.
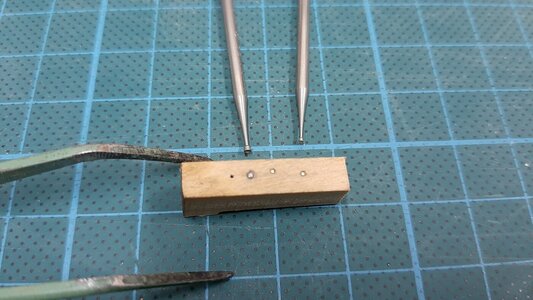
Yes, you can do it this way, but... the bur also 'eat' some wood and makes hole appearance a bit bigger which I do like as I called a 'washer' effect.It is possible to do it, I did it with these test pieces. Just press the burr on the of the wire. My bur is 0,8 mm with sharp edges. My wire is 0,4 mm so the burr edges wil press into the wood, then start the drill and the harde brass wire will keep the burr in place.
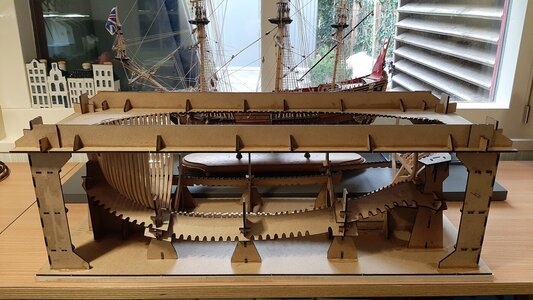
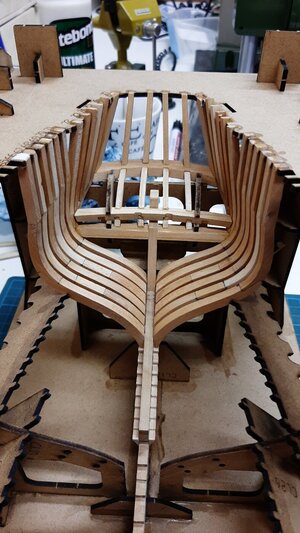
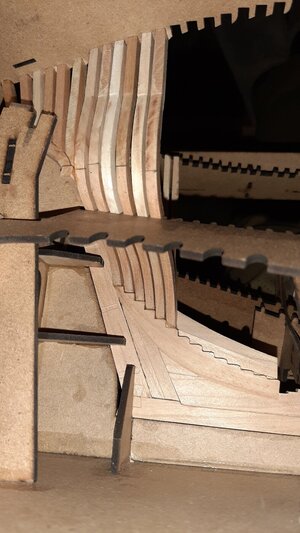
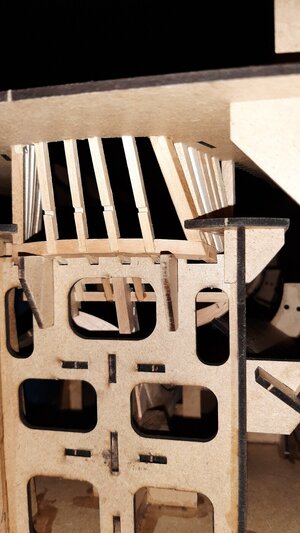
Before continueing on the stern I removed already a piece of the berth to look at the bow frames, these are the enjoyable moments of a full frame build like this.
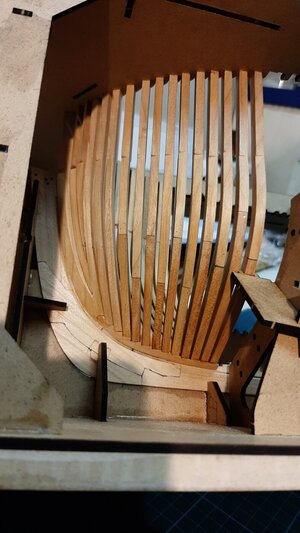
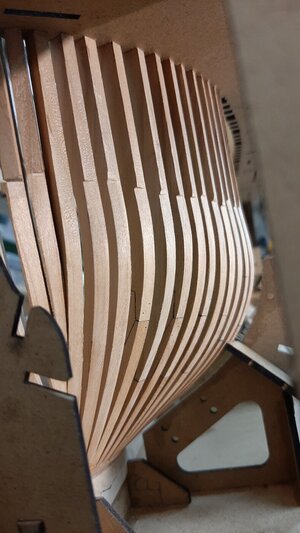
Yes we continue on the stern section.
After fitting the wing transom and counter pieces I have fitted the deck transom.
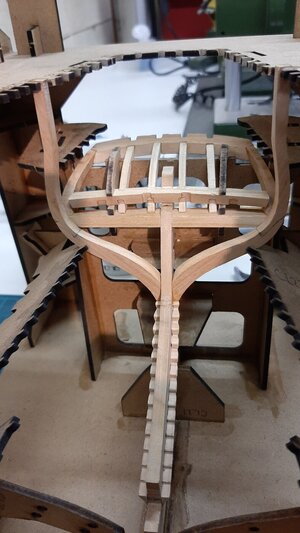
Then onto the stern timbers above the counter.
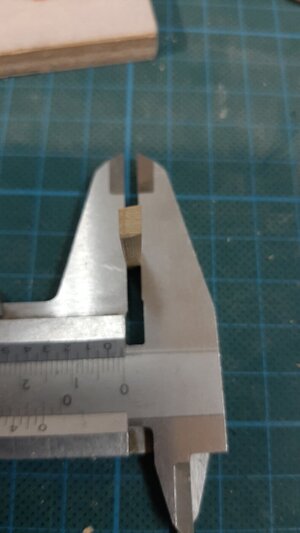
The are square and should be diamond shaped following the shape of the stern on the inner and outside.
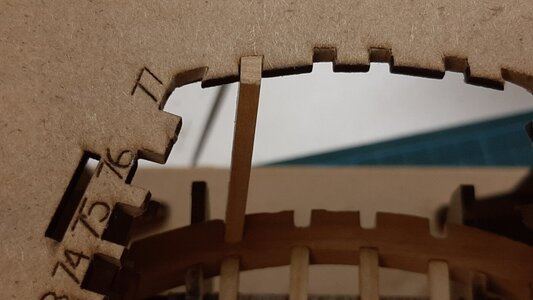
4 timbers create the stern plus two fashion pieces on the corners.
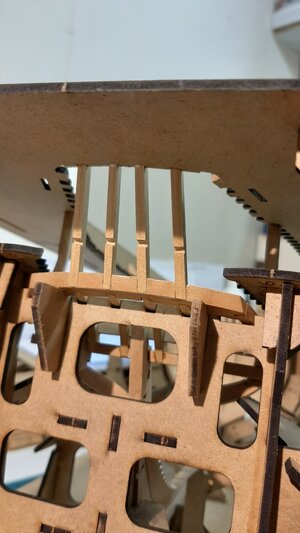
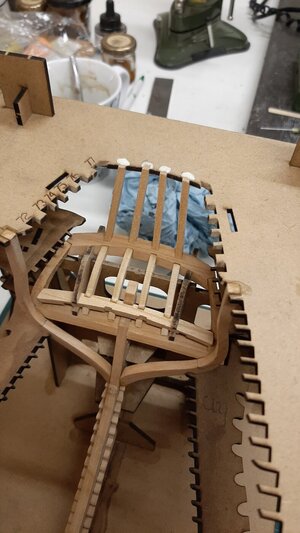
For the corner fashion pieces there are sticker templates provided, to properly fit them you have to file the berth into correct shape.
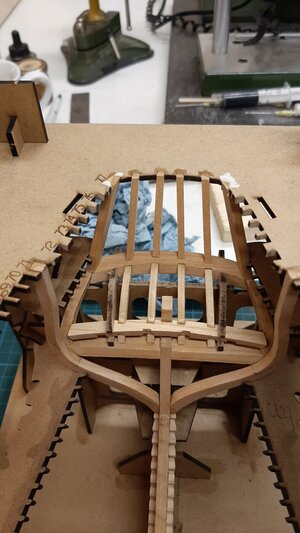
Now on to the other fashion pieces 72 to 76.
They all have to be filed or sanded into shape to fit correctly onto the counter timber. This is a lot of trimming and fitting.
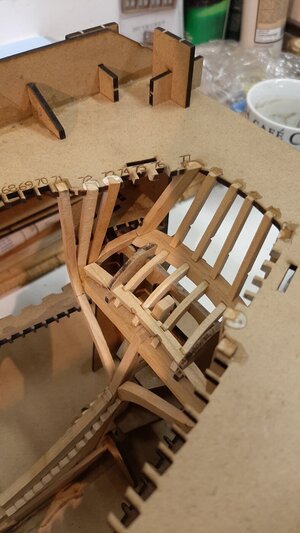
Until satisfactory fitting is created.
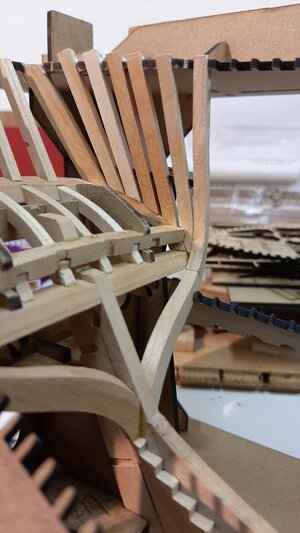
Inside and outside.
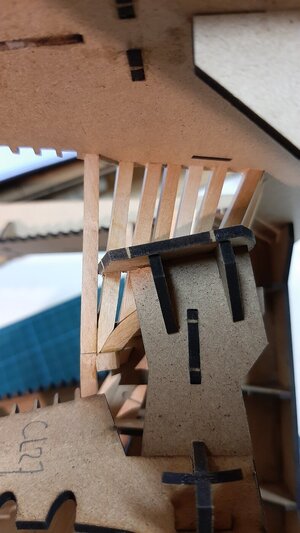
The stern is now finished, next are the stern cant frames.
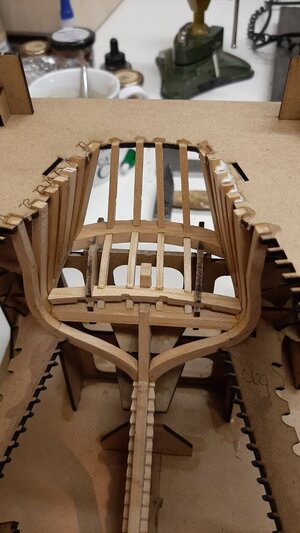


Yes we continue on the stern section.
After fitting the wing transom and counter pieces I have fitted the deck transom.

Then onto the stern timbers above the counter.
The are square and should be diamond shaped following the shape of the stern on the inner and outside.


4 timbers create the stern plus two fashion pieces on the corners.


For the corner fashion pieces there are sticker templates provided, to properly fit them you have to file the berth into correct shape.

Now on to the other fashion pieces 72 to 76.
They all have to be filed or sanded into shape to fit correctly onto the counter timber. This is a lot of trimming and fitting.

Until satisfactory fitting is created.

Inside and outside.

The stern is now finished, next are the stern cant frames.


In that second picture the fairing of the frames look perfect.
Did you sand/fair the frames after you glued them in place or were they sanded separately as per the template stickers before you placed them in the jig?
If this is the result of the accuracy of Trident's kit (and Maarten's skills) then I think a strong recognition and appraisal of the quality of both is in order.
John , No they do not fit like that ootb, they need attention, but Maarten is a clever man. To do that inside the berth would be a lot of work.
Yes, Maarten, I am completely in synch with you! They are truly enjoyable moments, and if they are the way you made them, it is double-joy!!! Great job on both: cant frames and stern sections!Before continueing on the stern I removed already a piece of the berth to look at the bow frames, these are the enjoyable moments of a full frame build like this.
Hello John, It is a combination of accuracy of Triden's templates, and for sure, Maartens skils!!! Check my log, post #203 I have not shape mine yet.In that second picture the fairing of the frames look perfect.
Did you sand/fair the frames after you glued them in place or were they sanded separately as per the template stickers before you placed them in the jig?
If this is the result of the accuracy of Trident's kit (and Maarten's skills) then I think a strong recognition and appraisal of the quality of both is in order.
Thx gents for the comments.In that second picture the fairing of the frames look perfect.
Did you sand/fair the frames after you glued them in place or were they sanded separately as per the template stickers before you placed them in the jig?
If this is the result of the accuracy of Trident's kit (and Maarten's skills) then I think a strong recognition and appraisal of the quality of both is in order.
I haven t been finishing anything yet, this is how the come out of the process using tridents templates.
The fairing is nearly perfect if you cut the frames into the deadwood and create a good fit to the keel, think that is essential.
Final finishing I will do when she comes out of the berth.
WOW - Looking very good - great work by Maarten and Trident Model
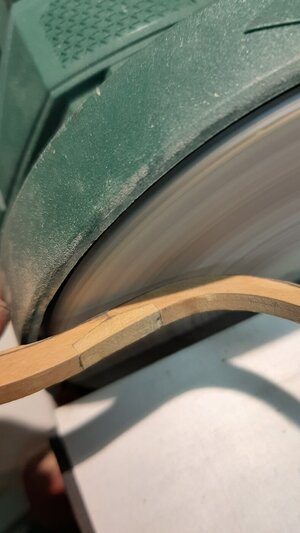
Coming back to the frames, after marking the fairing using the templates I trim the outside curvature fairing of the frames using my sanding disc.
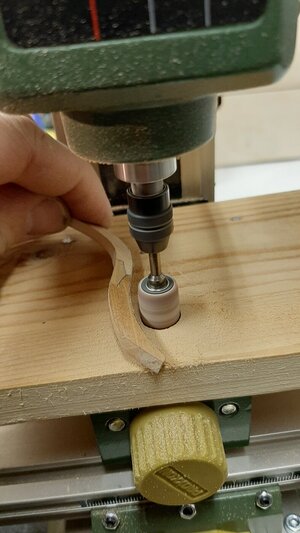
The inside curvature fairing I do with a small sanding drum.
Then the finall trimming with a small file and scraping with a razor blade untill a smooth surface is reached.
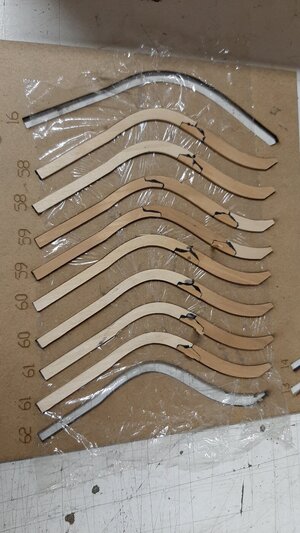
Last weekend I ran some preproduction of the stern cant frames.
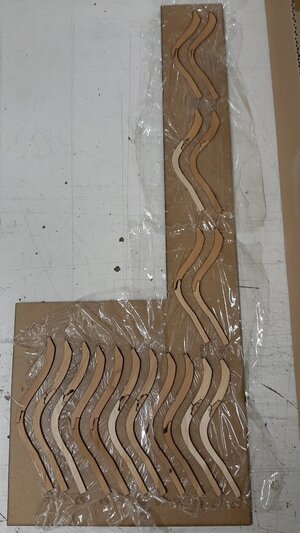
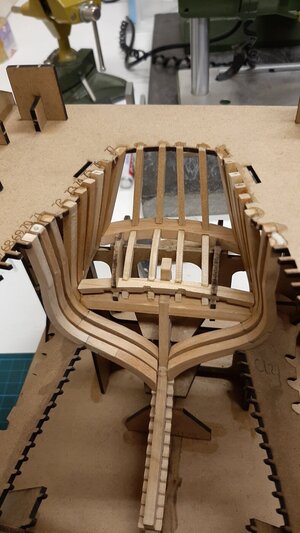
The first of these are now trimmed and fitted.

The inside curvature fairing I do with a small sanding drum.

Then the finall trimming with a small file and scraping with a razor blade untill a smooth surface is reached.
Last weekend I ran some preproduction of the stern cant frames.


The first of these are now trimmed and fitted.

Looking awesome, Maarten.
Hi Maarten ,what is the purpose of the plastic on the templates?Coming back to the frames, after marking the fairing using the templates I trim the outside curvature fairing of the frames using my sanding disc.
View attachment 189463
The inside curvature fairing I do with a small sanding drum.
View attachment 189464
Then the finall trimming with a small file and scraping with a razor blade untill a smooth surface is reached.
Last weekend I ran some preproduction of the stern cant frames.
View attachment 189465
View attachment 189466
The first of these are now trimmed and fitted.
View attachment 189467
Zoly, this is the so-called 'Plastic wrap'. Ask your Admiral, most likely she has it somewhere in the kitchen, It is a very thin 'film' used to wrap the food before storing them in the fridge.Hi Maarten ,what is the purpose of the plastic on the templates?
As per Triden's recommendation (it does make sense), it prevents frames from gluing to the templates jig while assembling.
Gents Thx for the comments.
And yes that is the reason and it works fine.
And yes that is the reason and it works fine.


