Thanks Paul, having fun creating my vision of a clan tale of adventure. Eventually there will be drunken Scotts in these rooms.These open cabins are just so much fun! Thanks for sharing your vision and planning.


 |
The beloved Ships in Scale Magazine is back and charting a new course for 2026! Discover new skills, new techniques, and new inspirations in every issue. NOTE THAT OUR NEXT ISSUE WILL BE MARCH/APRIL 2026 |
|
 |
As a way to introduce our brass coins to the community, we will raffle off a free coin during the month of August. Follow link ABOVE for instructions for entering. |
|
Thanks Paul, having fun creating my vision of a clan tale of adventure. Eventually there will be drunken Scotts in these rooms.These open cabins are just so much fun! Thanks for sharing your vision and planning.


Love these! Bravo!I still haven’t finished the fire hearth. Don’t feel like soldering yet. I spent some time creating some furniture for the Commander. His bed frame, still working on it. Also some gilded shelves with plenty of reading material.
View attachment 211975View attachment 211976View attachment 211977View attachment 211978View attachment 211979


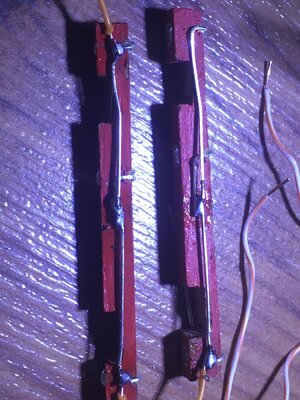
Where did you get the lights, Chris?Received my yellow flickering LED lights and fine wire to create the lantern and candle lighting throughout the model.
I will post my lighting plan for this build once I figure out where I plan on putting lighting. Time for some additional studying of the plans. I can’t do too much more in this build as I will need to run all my under deck wiring. As I’m doing this I will be installing balsa support blocks in the 1st 3 bow bulkheads and in the last 2 full stern bulkheads (10-12).
View attachment 207253
Be sure to actually measure your figures - I have learned that scale cannot be trusted to be as advertised (or sold).Well I gave myself a small heart attack when I placed a couple of figures beside my walls for the Commander’s area.
View attachment 211986
Then I realized that the Quarter deck supports were not there. When I remove the bases from the figures they should work out fine.
View attachment 211988
The doors will need to be reworked but that’s about all. My bed frame needs adjustment as well.


The Admiral says I should put a chocolate on the pillow.Amazing detail. You really have it going well there Chris!

Hi I really like this build log, the details you are adding are fantastic. Are you going to leave some of the deck planks off so we can see inside the cabin. I have recently installed some flickering yellow LEDs in my model and am pleased with the way they look. I will follow your progress I can learn along the way. TonyI rearranged the furniture, added mattress and linens to the bed and started on the Commander’s armoire.
View attachment 212401
Looking cozy in there Chris! Good job! Perhaps a candle or lantern are in order?I rearranged the furniture, added mattress and linens to the bed and started on the Commander’s armoire.
View attachment 212401
")


Great painting Chris! I understand the challenge well. You did a wonderful job!My 1st miniature done. The Commander who is about to lose his ship to Clan Edgar.View attachment 212823View attachment 212824View attachment 212825View attachment 212826View attachment 212827