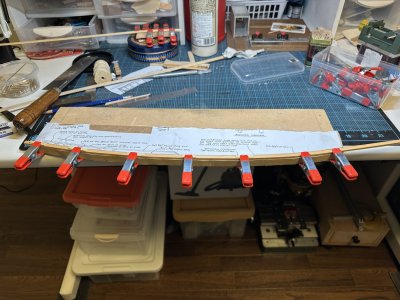
Wow, you've got a great build in progress. I'm delighted to follow along.
Jan
Jan
 |
As a way to introduce our brass coins to the community, we will raffle off a free coin during the month of August. Follow link ABOVE for instructions for entering. |
 |
 |
The beloved Ships in Scale Magazine is back and charting a new course for 2026! Discover new skills, new techniques, and new inspirations in every issue. NOTE THAT OUR FIRST ISSUE WILL BE JAN/FEB 2026 |
 |
Thanks for joining! I’ve seen the quality of work put out by you and others so I hope I don’t disappoint!Wow, you've got a great build in progress. I'm delighted to follow along.
Jan

I just looked up the build myself. His ship looks great, but when it comes to a ship that we have few sources about on its appearance and specifications, I don’t think there’s anything wrong with making deviations in the design that make sense to you. He also didn’t refine the figurehead like you did, so it I think your own interpretation will work quite well.He's got some photos that give a pretty clear view of how the figurehead is intended to fit with the overall buildup of the stern and I now understand what the kit designers intended, but there's no going back on that now.
Thank you! I concur!I just looked up the build myself. His ship looks great, but when it comes to a ship that we have few sources about on its appearance and specifications, I don’t think there’s anything wrong with making deviations in the design that make sense to you. He also didn’t refine the figurehead like you did, so it I think your own interpretation will work quite well.
Thank you, Günther. I’m looking forward to seeing how it progresses alsoHey Namabiiru,
I'm really looking forward to seeing how your model progresses. Nice to see you making the walk round planks.
Cheers
Günther

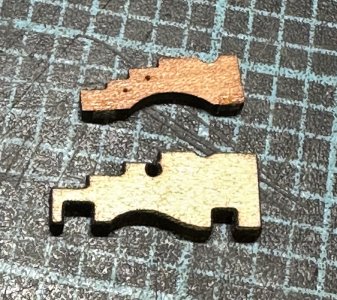
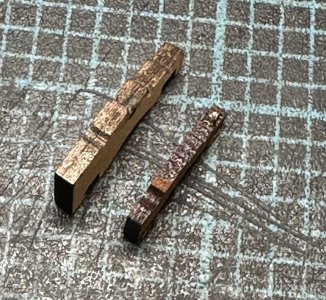
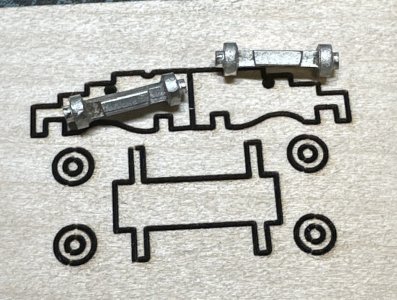
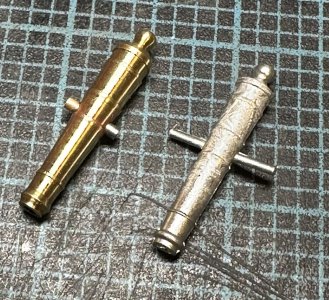
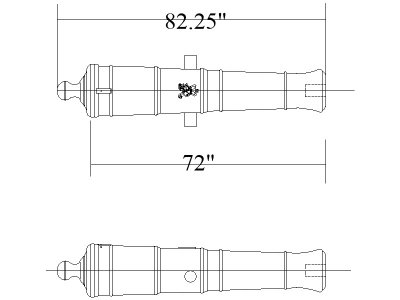
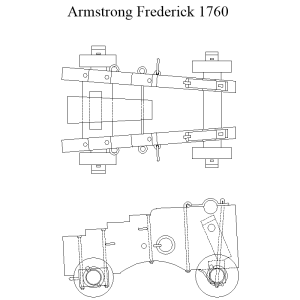
Allan, thank you very much for sharing that. I’ve actually been following the cannon thread. I’ve known from the get-go that both the brass and the white metal are only representations of cannons, not accurate replicas, but I also considered them good enough for my purposes.Sorry to say but I don't think either looks right. For a fun side project would you consider making your own? If so, the Making Cannon thread here at SoS may be useful. Cost would be cheap for accurate barrels and carriages. Assuming she was a Bermuda built rig and considering the time frame she may have carried barrels that were similar to Armstrong Fredericks (1760-1790.)
Allan
Of course the sizes may be off on the below depending on her armament but the designs should be close. I have no idea on the cannon length or caliber but guess at 4 pounders, maybe 3s or 6s. $15 would get you at least a dozen 3D printed barrels that are super detailed. Drawings are available if you are interested
as well as contact information on a printer here in the US who has experience making these barrels.
Armstrong Frederick 6 pounder barrel:
View attachment 536736
View attachment 536737
However, now I am faced with the choice of having to either make new carriages or purchase them. If I end up buying new ones from somewhere like Syren, that to me it makes sense to go ahead and pay the few extra dollars to get barrels as well.
Thank you! Many options to consider!If you are looking at 3D printed resin barrels Syren are good, but limited in stock sizes rather than custom printing to your specs and 2.5 to 3 times more expensive than what I have been paying from a professional 3D printer. I have absolutely no affiliation with the company I use and would be happy to send his contact information. Making carriages yourself in the pattern and size that is appropriate is not difficult. Your choice of course.
Allan


Well said. I built mine so long ago and before I had the slightest idea of what I was doing, that I'm afraid I have nothing to offer other than in the end the results were pleasing enough that a Navy vet in Boca Raton Fl. decided to buy it!Namabiiru!
Just a short note on the proposal to plank - Yes do that thing! IMHO. I think you are right to analyze and question the instructions and find a method that makes sense to you based on your vision for your model. I see no reason to delay the planking of the hull - IF - by doing so you will retain access to the parts of the ship's guts you need to get to as you progress in the build - I'm thinking of the stern cabin in particular and the details you ar planning there.
Blessings.
Chuck
Thank you, Chuck! The deck planking will go later, so access to the great cabin shouldn’t be a problem. I saw a wise man say on two different sites that he wished he had moved the poop deck bulkhead aft so I’m already working on retro-fitting on of the bulkheads the practicum had me cut out. Looks like it will still be a respectably-sized great cabin.Namabiiru!
Just a short note on the proposal to plank - Yes do that thing! IMHO. I think you are right to analyze and question the instructions and find a method that makes sense to you based on your vision for your model. I see no reason to delay the planking of the hull - IF - by doing so you will retain access to the parts of the ship's guts you need to get to as you progress in the build - I'm thinking of the stern cabin in particular and the details you ar planning there.
Blessings.
Chuck
Thank you, Peter. I doubt mine will turn out that nice. But I can already see the difference between my first attempt at this kit and my current effort, which benefits from the knowledge gained from this wonderful community.Well said. I built mine so long ago and before I had the slightest idea of what I was doing, that I'm afraid I have nothing to offer other than in the end the results were pleasing enough that a Navy vet in Boca Raton Fl. decided to buy it!
