



You totally owned that Bill. Cheers Grant

 |
The beloved Ships in Scale Magazine is back and charting a new course for 2026! Discover new skills, new techniques, and new inspirations in every issue. NOTE THAT OUR NEXT ISSUE WILL BE July/August 2026 |
|
 |
As a way to introduce our brass coins to the community, we will raffle off a free coin during the month of August. Follow link ABOVE for instructions for entering. |
|

Thanks, Peter. It didn't take long for me to discover this hobby can be a lot more than just assembling a kit. This is a good thing!Better to think twice (or three times) than to be wrong once. It’s all about the details, and here …… the looks. And this is looking good, Bill.
Regards, Peter

Thanks, Grant! A new challenge or bit of research is always just around the corner.You totally owned that Bill. Cheers Grant


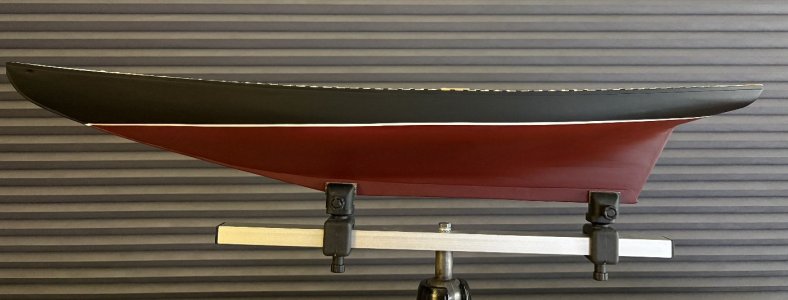
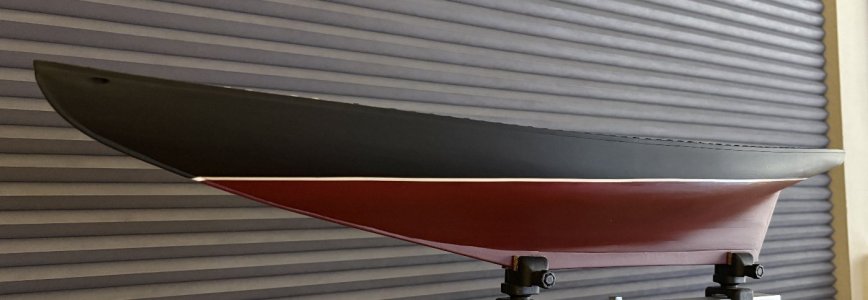
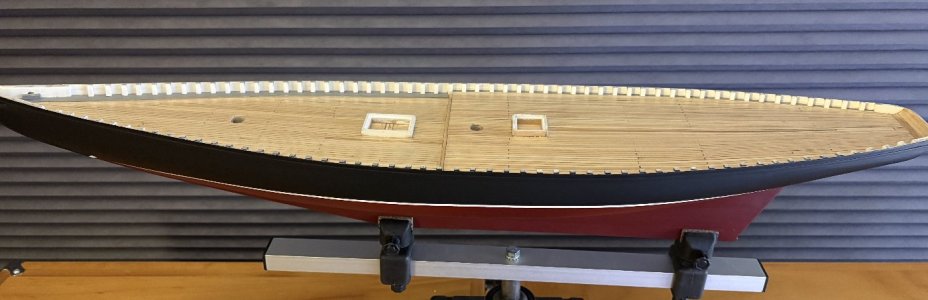

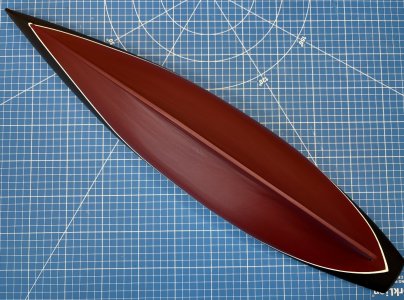
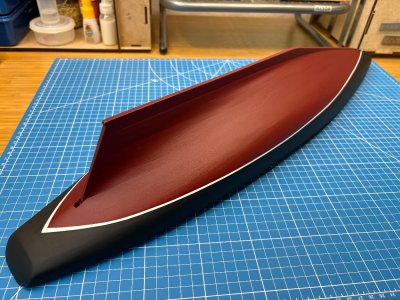
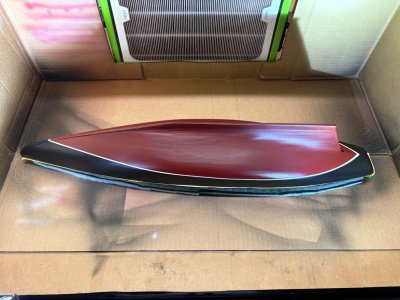
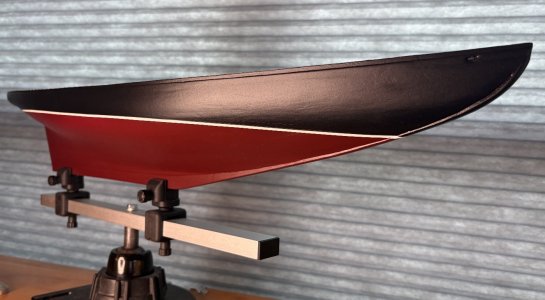
Congratulations with this milestone, Bill. That painting look very very nice!Finally got around to spraying the black upper hull. Despite my anxiety on the stripe tape removal, everybody played nicely for the most part. I did have one small area where the masking lifted and allowed some black overspray on the stripe, which should be easy to repair by hand. After I clean that, I'll shoot my clear coats and let her cure so I can safely handle when transitioning to deck fun! Happy to reach this millestone!
View attachment 623776View attachment 623777View attachment 623778

Thanks, Peter. Painted and natural finishes each have their own quirks, but going through this has given me a whole new appreciation for the folks who can lay down perfect paint. There’s way more planning and prep than I ever expected — honestly, half the battle feels like convincing the paint to behave.Congratulations with this milestone, Bill. That painting look very very nice!
Regards, Peter
 Those pros make it look easy, but it’s definitely not!
Thank you, Paul! I'm slow but also learning a lot along the way!Oooh! That looks great!
 From a distance, and soon under a clear coat, the effect would probably be less but I didn't want to chance it. I even thought about re-spraying just that area but this could lead to all kinds of blending risks. I knew my red paint had a few thin areas of coverage so that finalized my decision to take the time to spray a second round. Of course this meant masking each area again, not to mention the stripe edges twice.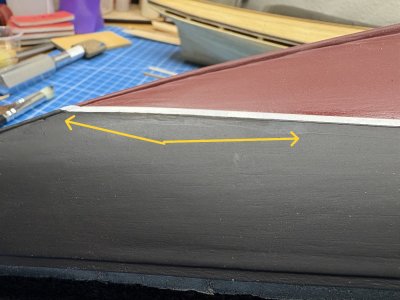
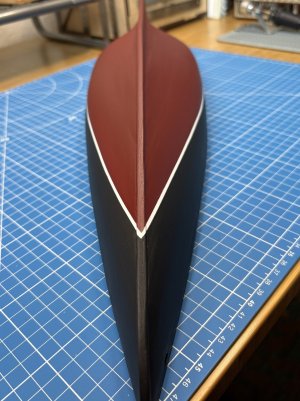
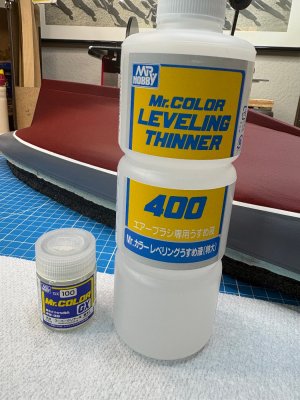
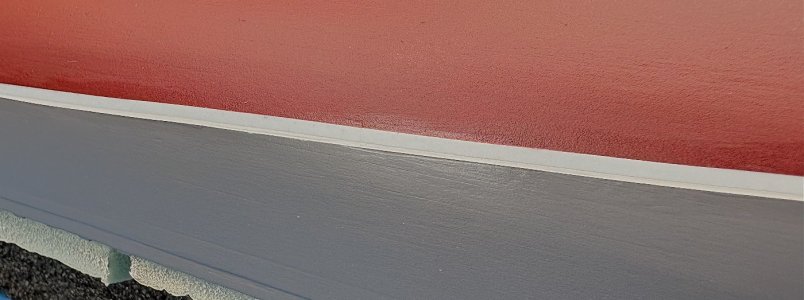
 Turns out a barely damp wipe with thinner (in my case Mr Color 400) takes it right off. Just a couple light swipes, no rubbing. I even crafted a quick sponge tool to make getting into the corners easier. A sample of before and after is shown below.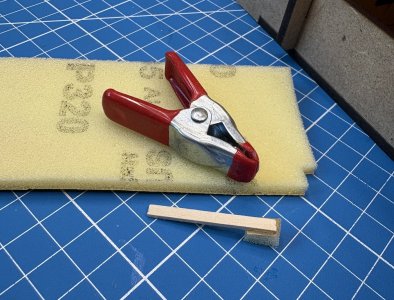

Thanks, Tom! These extra steps do slow us down but it’s not a race!Bill,
She's looking really elegant. I think going back to fix something that you know will drive you crazy is always the right decision.
It’s good that you took your time, Bill. You have touch up the paintwork nicely.I did go back and clean the overspray off the stripe at the bow/starboard and the stripe itself was fine. Unfortunately, the bordering black paint was not as cooperative and I chose to lightly spot paint along that edge using a dry brush. This contrast of sprayed and brushed locked my eyes on the area and not in a good way.
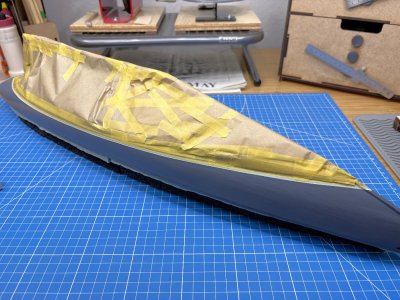
So over the weekend I masked one stripe edge (all Tamiya tape this time!), base masked with wider tape toward the masked red/black, then paper masked over the red/black. Then I repeated the same thing in the opposite direction the following day. Talk about anxiety...especially at tape removal. In the end, I'm very happy with the much more consistent results. I plan to shoot my clear coat tonight.
View attachment 625507
After
View attachment 625512View attachment 625510View attachment 625511
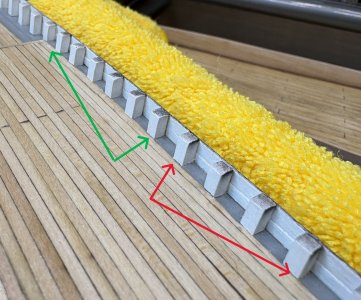
While I wait, I started to clean up my stanchions, which took on some overspray from the painting of the upper (black) hull. Yeah, I could have masked more precisely.
View attachment 625508View attachment 625509
Hopefully my next few posts will be with my clear-coated hull and the start up of fitting my main rail.
Thanks, Peter! I try my best to operate by the motto of one of my college professors: "It doesn't cost any more to do it right."It’s good that you took your time, Bill. You have touch up the paintwork nicely.
Regards, Peter



Bill your paint job is amazing. I hope I can do half as well as you when I get to that point! For the stern rail I would seriously consider splitting it and putting in some thin scrap "wedge" pieces to get the angle and width you need.Option 1 - New Stern Piece
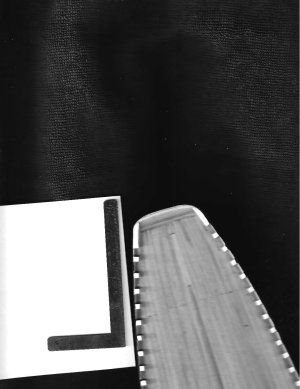
This was my first scan (the model angled due to a lack of space around my scanner at the time). The square was included to calibrate scale.
View attachment 626942
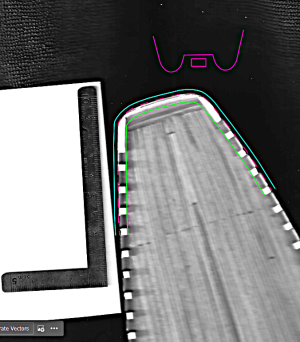
I also scanned the actual stern piece (but lost the actual scan somehow), then traced profiles for each. On the main stern tracing, I started by tracing along the edge of the hull (the dashed magenta line), then offset it 2mm outward (the blue line) to create the outer edge. Then I offset copied the blue line inward 6.5mm to create the inside (green) edge of the legs. I kept the magenta hull tracing as I'll use it for rough registration of the piece relative to the hull.
I didn't bother to create the joints at the ends of the legs knowing they're easy enough to add by hand.
View attachment 626978
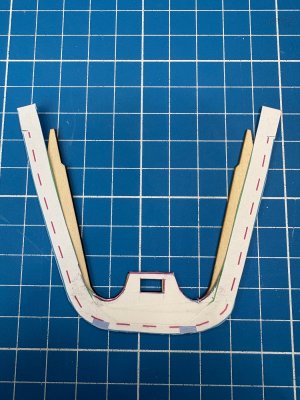
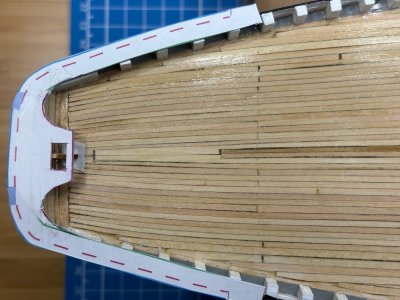
I then printed the traced profiles, cut them out, then fit their relative positions over the kit's part and taped the two pieces together.
View attachment 626973
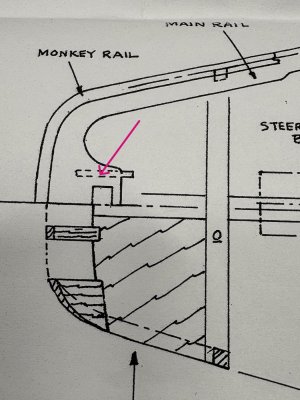
I knew I wanted the two small braces that fit under the piece (ultimately on each side of the rectangular cutout) to determine my fore/aft position of the profile back there so I temporarily secured one of the braces to the deck/transom on center so I can see its position through the cutout. By the plan, the top front tip of the brace (before it curves downward to the deck) should fall at the fore edge of the cutout.
This positioning made the overlap at the transom a bit wide but then I remembered I had shortened the stern a bit when I reworked the back end earlier in the build. So, I'm ok with this and can shorten the new piece or trim/sand when installing.
A more important observation is the inner edge of the legs don't quite overlap the stanchions enough. I can update the profile and reprint or just cut it out a little wider and adjust when I install the long connecting pieces between the stern and bow.
View attachment 626983View attachment 626953View attachment 626951View attachment 626952
With a few simple adjustments, the template is probably good enough to hand cut a new piece but before I do, I'm going to look into modifying the provided stern piece. **Now if I just had a laser cutter!
Back soon!
The semi-gloss clear coat did a very nice final touch, Bill. I gave nice deep warm colors.The hull finish came out pretty nice. Predictably, the red and black both sprayed on rather flat and a little chalky but the semi-gloss clear coat smoothed that out. The red pops more and the black looks deeper. Glad to have this behind me but the experience was very educational.
View attachment 626852
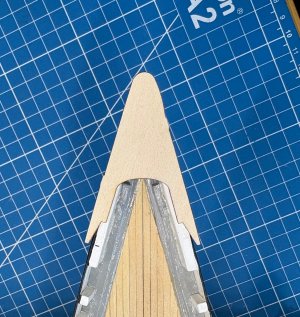
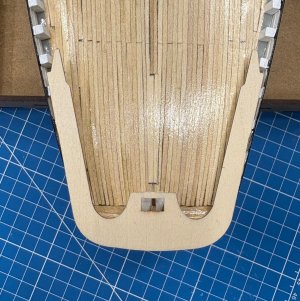
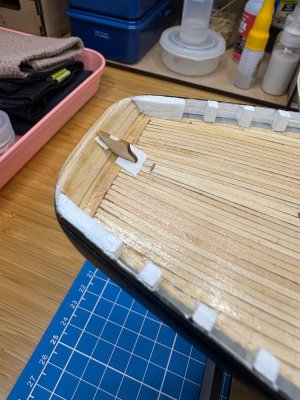
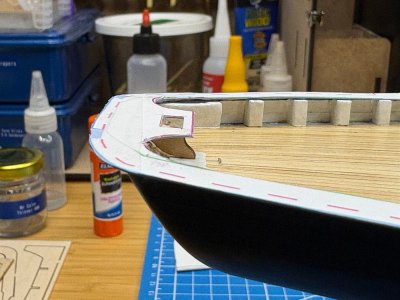
With the hull painting finally completed, it's time to move to the deck and begin the installation of the main rail. Like others have experienced, the fit of the kit's bow and stern pieces can be a challenge. My bow piece looks pretty good and will work fine but as I already knew from a much earlier dry fit, my hull is too broad at the stern and the kit's piece will not work as-is.
View attachment 626713View attachment 626714
I decided to chase two options:
Both options require a scan of the stern. Sure, I could have attached card stock to the stern and cut out a profile but that's a bit fiddly and I didn't want to risk damaging my finishes with all of the handling.
- Create a template in Illustrator and use it to cut out a brand new stern piece
- Modify the existing stern piece to fit my broader hull profile.
More on this later....


